
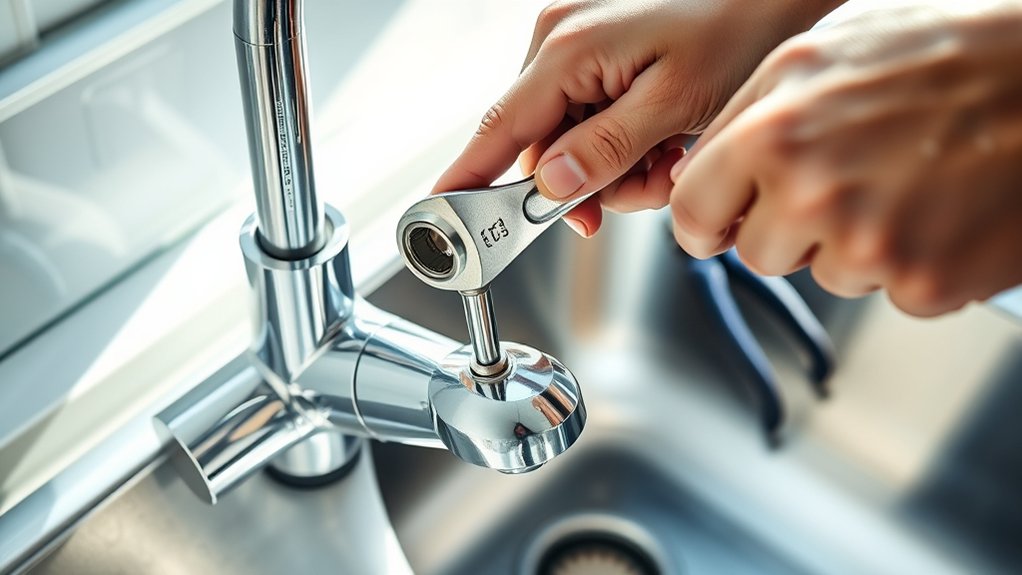
How to Change a Kitchen Faucet in 5 Steps
Choosing the right kitchen faucet can feel overwhelming, especially when you’re dealing with leaks, low water pressure, or an outdated design. You’re not alone—many homeowners struggle to find a faucet that fits their sink and meets their daily needs.
This guide will help you compare your options and learn how to change a kitchen faucet with confidence.
To change a kitchen faucet, first confirm the new faucet fits your sink, gather tools, and shut off both water valves. Disconnect the supply lines, remove the mounting nuts, and lift out the old faucet.
Clean and inspect the sink holes.
Install the gasket and new faucet, tighten the mounting hardware, and connect hot and cold lines. Slowly restore water, flush the lines, and check for leaks.
Follow the steps below for helpful installation details.
Key Takeaways
- Gather tools, confirm faucet compatibility, shut off hot and cold valves, open the faucet, and place a bucket beneath connections.
- Disconnect supply lines and sprayer hoses, loosen mounting hardware, and lift the old faucet from the sink.
- Clean the sink surface, inspect mounting holes for damage, and confirm spacing and cover-plate requirements.
- Install the gasket and new faucet, secure mounting nuts evenly, and connect hot and cold supply lines.
- Open valves slowly, flush the lines, and check every connection and the faucet base for leaks.
Check Faucet Fit, Gather Tools, and Shut Off Water
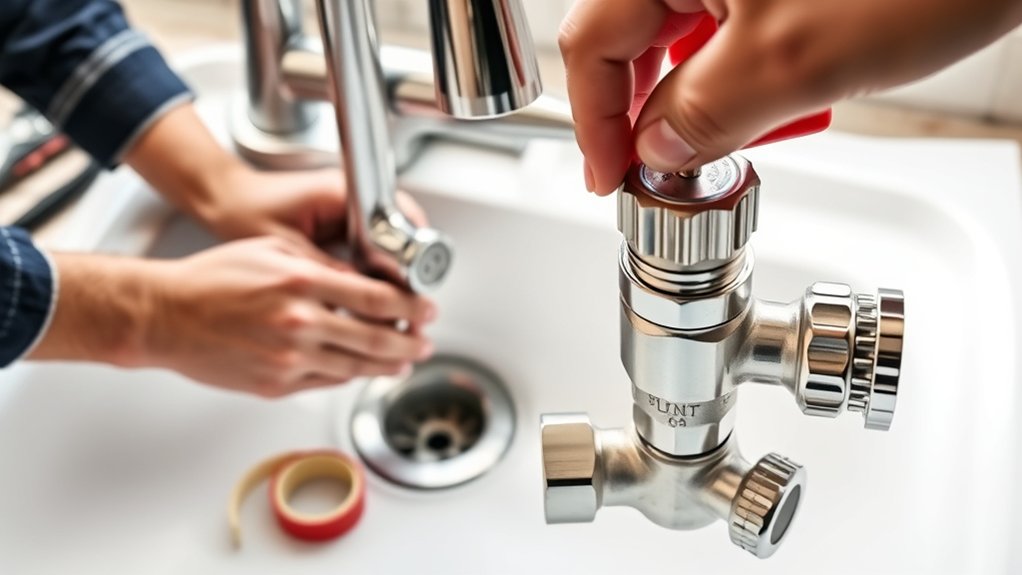
Before you begin, confirm that the new faucet matches your sink’s number and spacing of mounting holes and that its supply connections fit your plumbing. Check the product instructions for required adapters, hose lengths, and clearance beneath the counter. This faucet compatibility check can prevent delays and leaks later.
Next, focus on tool selection. Gather an adjustable wrench, basin wrench, Phillips and flat-head screwdrivers, plumber’s tape, a bucket, towels, and a flashlight. Keep the faucet’s instructions and a small container nearby for parts.
Choose tools that fit the fasteners securely, since cramped spaces make slipping more likely. Wear safety glasses if you’ll work overhead or beneath the cabinet.
Before handling any connections, shut off both hot and cold water valves beneath the sink. Turn each handle clockwise until it stops, but don’t force it. Open the existing faucet briefly to release pressure, then close it.
Place the bucket and towels beneath the valves to catch residual water. Confirm that the water has stopped completely before proceeding.
Remove the Old Kitchen Faucet
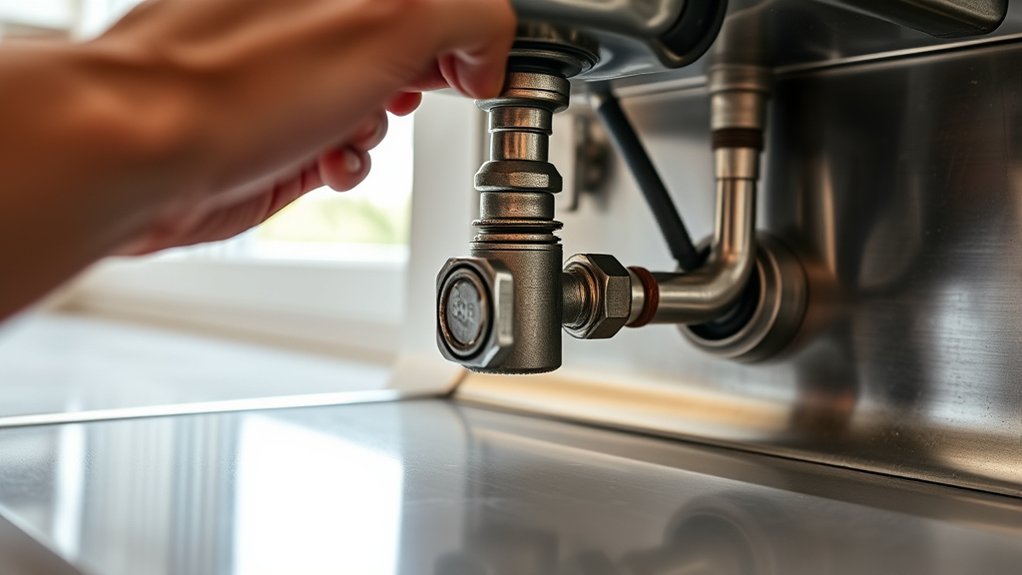
Disconnect the faucet’s hot and cold supply lines with an adjustable wrench, keeping the bucket beneath each connection to catch trapped water. Open the faucet briefly to release remaining water pressure, then close it again.
Shut off and disconnect the hot and cold supply lines, catching trapped water in a bucket before relieving pressure through the faucet.
If a sprayer hose connects beneath the sink, loosen its coupling and pull the hose free.
Locate the mounting nuts or bracket holding the faucet to the countertop. Support the faucet from above while you loosen each nut with a basin wrench, adjustable wrench, or socket, depending on the available space.
Remove washers and brackets, keeping small parts together in a container. If corrosion makes a nut difficult to turn, apply penetrating oil and wait several minutes before trying again.
Once the hardware comes off, lift the faucet and attached hoses through the sink openings. Note how the old faucet styles used the available holes, especially if you’re replacing it with a different configuration.
Wipe away drips, then set the old faucet aside for disposal.
Clean the Sink and Check the Mounting Holes
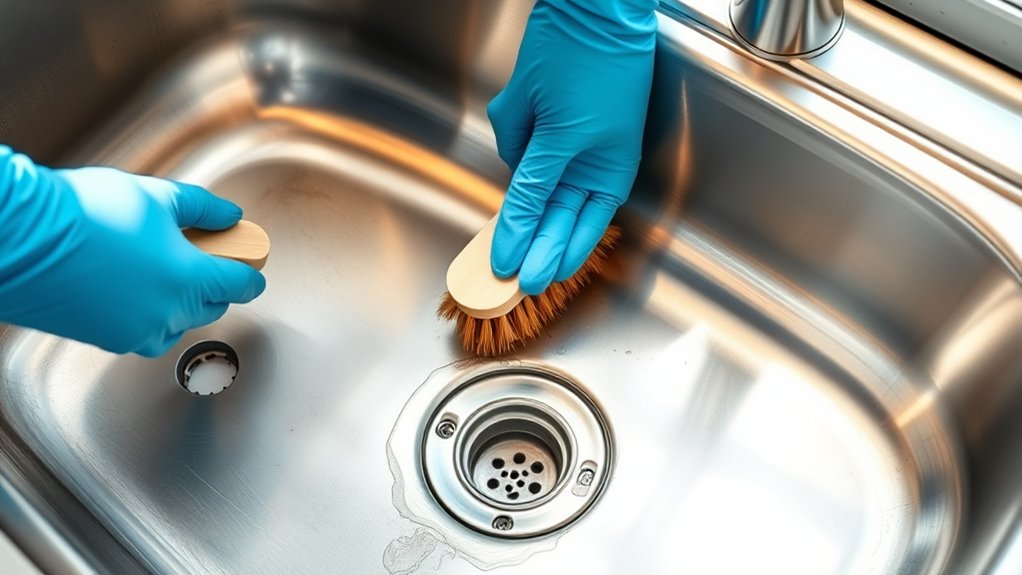
With the old faucet removed, clean the sink surface around the openings using a nonabrasive cleaner and a rag. Remove soap residue, grease, and mineral buildup that could prevent a new fixture from sitting evenly.
For stubborn sink stains, let the cleaner work briefly, then wipe without scratching the finish. Rinse the area with clean water and dry it completely with a soft cloth.
Next, inspect each mounting hole from above and below the sink if you can access the underside. Check for cracks, chips, corrosion, or hardened putty around the openings.
Make sure the holes match the replacement faucet’s spacing and configuration. If your sink has unused holes, measure their diameter and note whether you’ll need a cover plate.
Clean the underside, too, removing dirt that could interfere with inspection. Don’t force tools into damaged openings.
Replace or repair the sink if a crack weakens the mounting area, and confirm the surface is dry before continuing.
Mount the Faucet and Connect the Water Lines
Position the faucet’s gasket or putty on the clean, dry sink surface, then lower the faucet shanks through the mounting holes. From beneath the sink, slide on the mounting washer and thread the mounting nuts onto the shanks.
Secure the gasket and faucet, then fasten the mounting washer and nuts beneath the sink.
Center the faucet, then tighten the nuts evenly with a basin wrench. Don’t overtighten; you could distort the gasket or damage the faucet material.
Identify the hot and cold supply lines before connecting them. Attach the line marked hot to the hot shutoff valve and the cold line to the cold valve.
Hand-tighten each compression nut, then give it another quarter-turn with an adjustable wrench. Hold the valve steady while tightening so you don’t twist the supply pipe.
If the connections use flexible hoses, keep them free of sharp bends and abrasion. Confirm that each washer sits inside its fitting, and make sure the hoses reach without strain.
Check the manufacturer’s instructions for compatible materials and recommended water pressure.
Turn On Water, Flush Lines, and Check for Leaks
Once the faucet and supply lines are secure, slowly open both shutoff valves and watch the connections for immediate leaks. If you see moisture, close the valve, tighten the connection slightly, and inspect the washer or threaded fitting. Don’t overtighten, since excessive force can damage the parts.
Turn on the cold handle gradually, then open the hot handle. Increase the Water pressure slowly while checking beneath the sink and around the faucet base.
Let the water run for about a minute to flush debris from the new lines. Remove the Faucet aerator first if the manufacturer recommends it, because sediment can clog its screen.
Run water through the spout, then replace the cleaned aerator securely.
Wipe every connection with a dry paper towel and check again after several minutes. Look for drips, dampness, or swelling beneath the cabinet.
If everything stays dry, close the handles, clean up, and confirm both temperature controls work smoothly.
Frequently Asked Questions
How Long Does It Typically Take to Change a Kitchen Faucet?
You’ll typically need 1–2 hours to change a kitchen faucet, though your exact time depends on access, experience, and the old faucet’s condition. You can finish in about 30–60 minutes if connections loosen easily and you’ve prepared the Tools needed.
First, use the Water shutoff to stop supply, then disconnect the lines, remove the old faucet, install the replacement, and test for leaks. Corroded fittings may extend the project.
Can I Install a Kitchen Faucet Without Professional Plumbing Experience?
Yes, you can install a kitchen faucet without professional plumbing experience if you’re comfortable following instructions and working carefully. Gather basic plumbing tools, including an adjustable wrench, basin wrench, screwdriver, bucket, and plumber’s tape.
Shut off the water supply, remove the old faucet, clean the mounting surface, and connect the new lines securely. Helpful DIY tips include checking for leaks gradually and keeping the manufacturer’s instructions nearby throughout the installation.
Should I Replace the Faucet Supply Lines During Installation?
Yes, you should usually replace the faucet supply lines during installation—because trusting ancient hoses is a thrilling way to redecorate your cabinet with water.
New lines reduce leak risks and guarantee compatibility with your faucet material and connections. Choose braided stainless-steel lines, match the correct length and thread size, and check your water pressure rating.
Don’t overtighten fittings. After installation, open the valves slowly and inspect every connection for drips.
What Type of Kitchen Faucet Is Easiest to Maintain?
You’ll find a single-handle, pull-down kitchen faucet easiest to maintain. You can control temperature with one lever and rinse the sink using the removable spray head.
Choose a model with ceramic cartridges, flexible supply lines, and readily available replacement parts. Smooth Faucet finishes, such as brushed stainless steel, hide fingerprints and resist corrosion.
Check your Water pressure before buying, since some spray heads perform poorly with low pressure. Regularly clean the aerator to prevent buildup and preserve flow.
How Often Should a Kitchen Faucet Be Replaced?
You should usually replace a kitchen faucet every 10–15 years, though heavy use, hard water, and repeated leaks can shorten that period. Nearly 30% of household water use occurs in kitchens and bathrooms, so a failing faucet can waste surprisingly large amounts of water and money.
Your faucet lifespan depends on its materials and maintenance. Watch for corrosion, persistent drips, loose handles, or unavailable parts. Replace it sooner when repairs cost more than a new fixture.
Conclusion
With your new faucet secured, you’ve turned a small kitchen project into a fresh start. Turn on the water, flush the lines, and watch every connection for leaks.
If everything stays dry, your work is complete. This kitchen faucet replacement makes daily meals, quick cleanups, and countless moments at the sink easier.
That steady stream reflects your patience, preparation, and confidence.