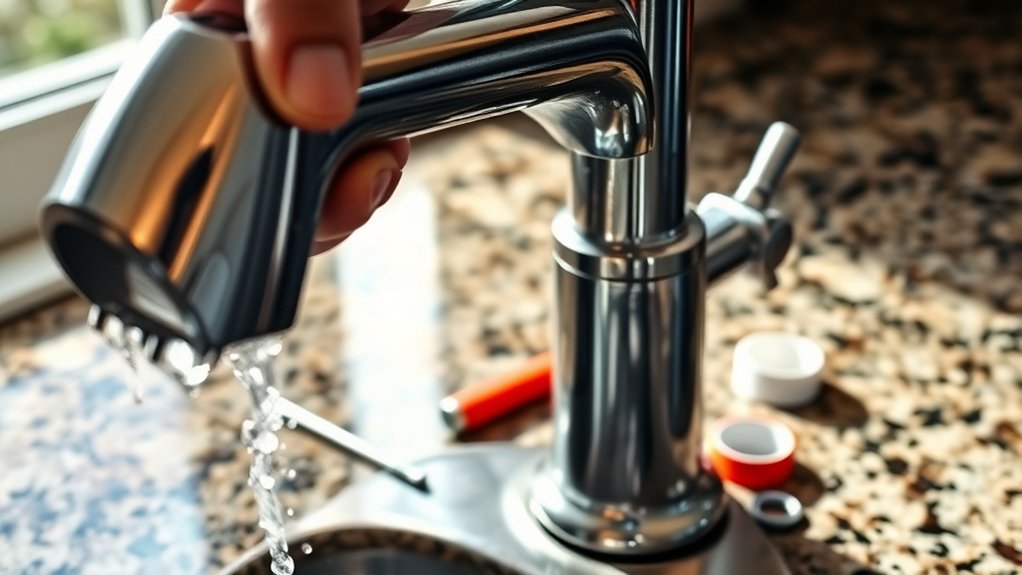
How to Fix a Leaky Kitchen Faucet in 7 Steps
A leaky kitchen faucet can quickly become an annoying daily problem, from constant dripping sounds to wasted water and damp countertops. You’re not alone—many homeowners struggle to identify the source and choose the right repair parts.
This guide to how to fix a leaky kitchen faucet will help you get started with confidence.
Find the leak by drying the faucet and watching where water first appears.
Shut off both supply valves, open the faucet, and gather basic tools and replacement parts.
Identify whether your faucet uses a cartridge, ball, ceramic-disk, or compression valve.
Remove the handle and retaining hardware, then replace the worn cartridge or valve.
Renew damaged base O-rings and clean mineral buildup.
Slowly restore water, test every connection, and tighten gently.
The detailed steps below will help you finish confidently.
Key Takeaways
- Identify the leak’s source by drying the faucet and observing whether water comes from the spout, handle, base, or connections.
- Shut off both supply valves, open the faucet to release pressure, and protect the sink drain and cabinet.
- Remove the handle and retaining hardware carefully, documenting component orientation before accessing the cartridge or valve.
- Replace the matching cartridge, washer, O-rings, or seals, cleaning mineral buildup and applying plumber’s grease where appropriate.
- Slowly restore water, test hot and cold operation, inspect every connection for moisture, and gently tighten any loose fittings.
Find the Leak in Your Kitchen Faucet
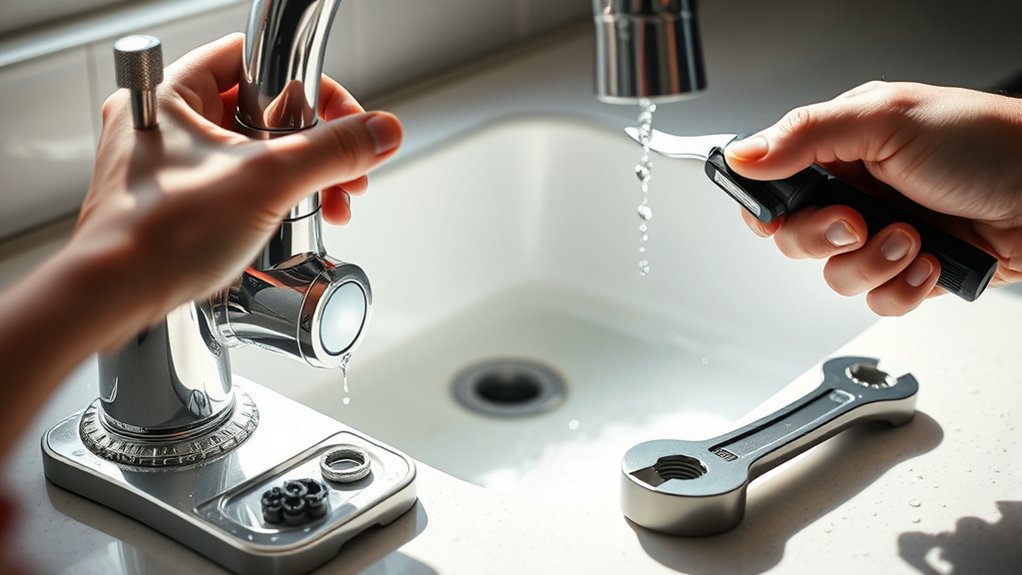
Before you repair your leaky kitchen faucet, find exactly where the water is coming from. Begin your leak detection by drying the faucet, handles, and sink area completely.
Dry the faucet and sink area completely first, then watch closely to identify where the leak begins.
Watch closely as water flow resumes, then note the first place that becomes wet. A drip from the spout usually points to an internal valve or cartridge problem.
Water around the handle may indicate a worn stem seal or loose connection. If moisture appears beneath the sink, inspect the faucet base, supply connections, and hose fittings for visible beads or trails.
Run the faucet in both hot and cold positions, and move the handle through its range to reproduce the leak. Use a flashlight to examine hidden areas, but don’t rely on stains alone; trapped water can travel along the countertop or plumbing.
Wipe each suspect area dry and test it again. Identifying the source accurately helps you choose the correct repair instead of replacing sound components.
Shut Off Water and Gather Tools
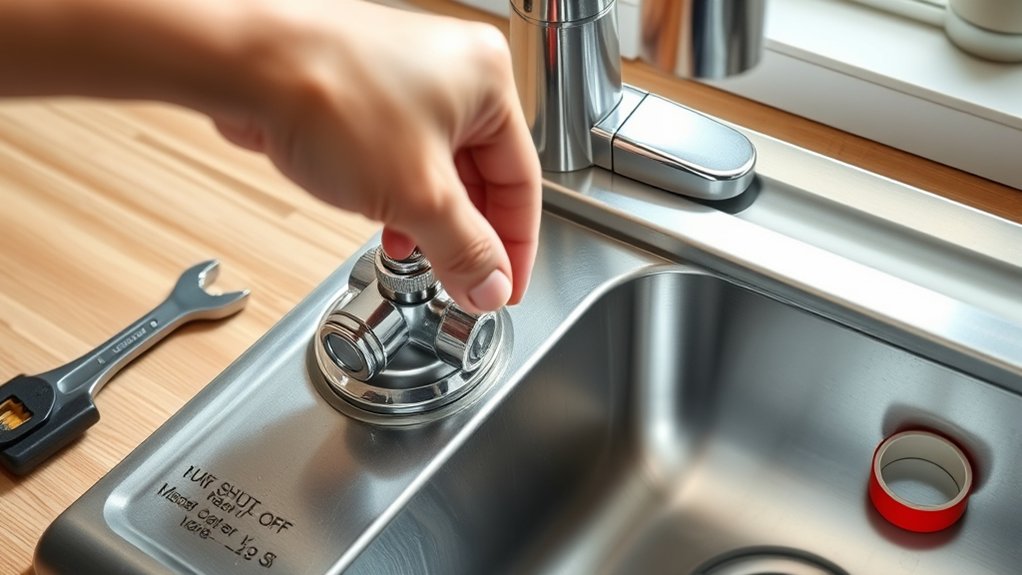
Before you begin, find the shutoff valves beneath the sink. Turn them clockwise to stop the water, then open the faucet to relieve any pressure. Gather an adjustable wrench, a screwdriver, pliers, and any replacement parts you’ll need.
Locate Shutoff Valves
Start by locating the hot- and cold-water shutoff valves beneath the sink, then turn both clockwise to stop the water supply. Look along the wall or cabinet floor where the flexible supply lines connect to the plumbing system.
You’ll usually see one small valve for each line, with the left valve serving hot water and the right valve serving cold water. If the valves are hidden behind stored items, clear the area so you can reach and identify them easily.
Check for labels, colored handles, or temperature markings before you begin any repair. Understanding each valve’s function helps you manage water pressure safely and prevents confusion during faucet maintenance.
Keep a flashlight nearby if the cabinet is dark, and place a towel beneath the connections to protect the cabinet floor.
Turn Off Water
Turn off both shutoff valves by turning their handles clockwise until they’re snug, but don’t force them. If a handle resists, stop rather than risk damage from pipe corrosion.
Place a bucket beneath the faucet and open the faucet to release water pressure in the supply lines. Let the water run until the flow stops completely.
If water continues flowing, close the home’s main shutoff valve and test the faucet again. Keep the faucet open while you work; this confirms the lines have emptied and prevents trapped pressure from spraying when you disconnect a connection.
Wipe up any spilled water promptly to protect the cabinet and floor. Check both valves once more before proceeding.
If either valve leaks, won’t close, or feels unusually loose, contact a plumber before continuing with the repair.
Gather Necessary Tools
With the water off, gather an adjustable wrench, Phillips and flat-head screwdrivers, a basin or bucket, a flashlight, and replacement parts recommended for your faucet model. You’ll also need a clean cloth to protect the finish and wipe away standing water.
Keep a small container nearby for screws, caps, and other loose components so nothing disappears down the drain. Check your faucet’s manual or manufacturer’s website before buying cartridges, washers, O-rings, or seals; matching parts prevent repeat leaks.
If you don’t have the correct tool, get it before disassembly rather than forcing a fitting. Follow local Plumbing regulations when replacing supply lines or disposing of old parts.
Choose Eco friendly solutions, such as reusable cloths and durable replacement components, to reduce waste. Organize everything within reach before you begin.
Identify the Faucet Valve or Cartridge
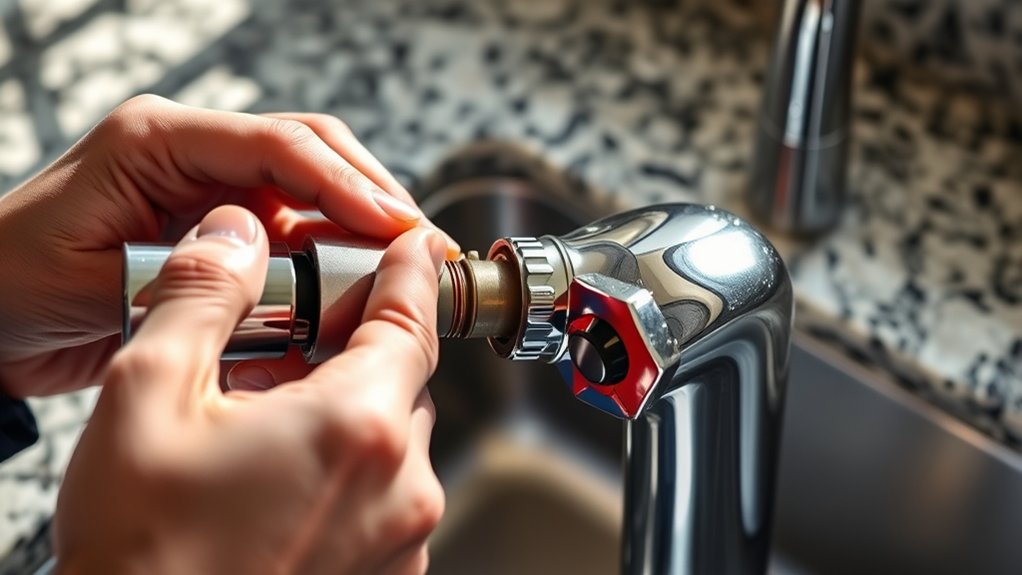
Start by checking whether your faucet has one handle or two. This will help you determine its configuration. Next, remove the handle and trim to expose the valve assembly. From there, identify whether the faucet uses a cartridge, ball, or compression valve. Knowing the valve type will help you choose the correct replacement and repair method.
Check Faucet Configuration
Before you remove any parts, identify your faucet’s configuration and valve type. Repair steps depend on whether it has one handle or two and uses a cartridge, ball, ceramic-disk, or compression valve.
Check the faucet’s shape, handle count, and labels or markings around the base. Don’t confuse external components with the valve itself: the Faucet aerator affects water flow at the spout, while the Sprayer assembly may share supply connections but doesn’t identify the faucet’s internal design.
- One-handle faucet: Look for a cartridge, ball, or ceramic-disk system.
- Two-handle faucet: Expect separate hot- and cold-water compression or cartridge valves.
- Unusual model: Photograph the faucet and record its brand before buying parts.
Use your manual or the manufacturer’s website to confirm the configuration. This quick check helps you choose the correct repair kit and avoid unnecessary disassembly.
Locate Valve Assembly
Once you’ve confirmed the faucet’s configuration, shut off the water supply and remove the handle to expose the valve assembly. Keep a towel beneath the opening to catch trapped water.
Look inside the faucet body for the central component secured by a retaining nut, clip, or collar. Use a flashlight, and consult the manufacturer’s Plumbing diagram if the layout isn’t clear.
Don’t force stuck parts. Photograph their positions before moving them.
| Location | What to inspect |
|---|---|
| Under handle | Retaining nut or clip |
| Faucet body | Valve assembly seat |
Mark the component’s orientation so you can reinstall it correctly. Check for corrosion, mineral buildup, or damaged fasteners around the assembly, but leave detailed cartridge identification for the next step.
If you can’t see the assembly, remove the decorative cap or escutcheon carefully. Avoid scratches by using a padded tool.
Identify Cartridge Type
Identify the valve or cartridge by its shape, retaining method, and manufacturer markings. Before removing anything, photograph the assembly and note how each part fits. Your faucet may use a ceramic-disc, ball, or compression design, and each requires different replacement parts and repair steps.
- Check the shape: A tall cylinder often indicates a cartridge; a dome-shaped cap may cover a ball mechanism.
- Inspect the retainer: Look for a retaining nut, clip, pin, or threaded sleeve securing the component.
- Read markings: Search the faucet body, cap, cartridge, or handle for a brand name or model number.
Understanding these cartridge types helps you select an exact match. Compare the replacement with the old part, including length, splines, tabs, and seals. Don’t force removal, since hidden screws or clips can damage valve mechanisms.
Remove the Faucet Handle
Turn off the faucet’s water supply, then plug the drain to keep small parts from falling inside. Place a towel over the sink to protect the finish and catch dropped screws.
Examine the handle for a decorative cap, exposed screw, or side set screw. Pry off a cap gently with a thin, flat tool, protecting the faucet’s aesthetics with tape.
| Handle feature | Removal method |
|---|---|
| Decorative cap | Lift it carefully, then remove the screw |
| Side set screw | Loosen it with an Allen key |
Support the handle while you loosen its fastener, then pull it straight upward. If it sticks, rock it gently instead of forcing the stem.
A handle puller can help with stubborn fittings without scratching the fixture. Keep every screw and cap in a small container.
Note the handle’s original position so you can restore proper water flow control during reassembly. Don’t disconnect hoses or disturb internal parts yet. Your goal is only to expose the cartridge housing for the next repair step.
Replace the Worn Valve or Cartridge
With the handle removed, you can access the cartridge housing and replace the worn valve or cartridge causing the leak. Shut off the water supply, then open the faucet briefly to release pressure. Cover the drain so small parts don’t disappear.
> Access the cartridge housing after removing the handle, shut off the water, release pressure, and cover the drain.
- Remove the retaining clip, nut, or collar securing the cartridge. Use pliers gently to avoid damaging the housing.
- Pull the old cartridge straight out. If it’s stuck, use a cartridge puller instead of twisting forcefully.
- Install the matching replacement, aligning its tabs with the housing slots, then reinstall the fastener and handle.
Before starting valve replacement, take a photo of the cartridge’s orientation and bring it to the hardware store for an exact match. For some two-handle faucets, cartridge repair may involve replacing worn O-rings or seals rather than the entire unit.
Turn the supply back on slowly and test the handle. If the faucet still drips, remove the cartridge and check its alignment, seals, and retaining hardware for damage. Replace any compromised parts before retesting.
Fix Leaks Around the Faucet Base
Leaks around the faucet base usually come from worn O-rings, a loose mounting nut, or mineral buildup beneath the spout. Shut off the water supply, then remove the handle, escutcheon, or retaining hardware according to your faucet’s design.
Lift the spout carefully and inspect its O-rings for flattening, cracks, or brittleness. Replace damaged rings with matching parts, coat them lightly with plumber’s grease, and slide the spout back into place without twisting the seals.
If mineral buildup blocks the joint, scrub it away with a nylon brush and white vinegar, then wipe the area clean. Reinstall the mounting nut and tighten it firmly by hand before giving it a slight turn with a wrench.
Don’t overtighten, or you may damage the faucet or countertop. Clean and dry the surrounding surface to complete this aesthetic repair.
Regular Seal maintenance, including periodic cleaning and lubrication, helps prevent future base leaks and keeps the faucet secure.
Test the Faucet for Remaining Leaks
Once the faucet is reassembled, open the shutoff valves slowly and run both hot and cold water. Watch the spout, handles, base, and connections beneath the sink.
Open shutoff valves slowly, run hot and cold water, and inspect every faucet connection for drips or moisture.
Dry each area with a clean paper towel, then check it again. Even a small drip will leave a visible mark.
Test the faucet thoroughly with these steps:
- Turn each handle on and off several times, checking for leaks around the cartridge, stem, or handle.
- Move the spout from side to side while water runs, then inspect the base and supply lines.
- Fill the sink, pull the drain stopper, and watch the connections below for moisture.
Let the faucet run for a few minutes, including the sprayer if you have one. Tighten a loose connection gently, but don’t overtighten fittings or damage seals.
If water still appears, shut off the valves and replace the faulty washer, O-ring, or cartridge. This final DIY plumbing check supports leak prevention and confirms your repair worked.
Frequently Asked Questions
Can I Fix a Leaky Kitchen Faucet Without Turning off the Water Supply?
You can sometimes fix a leaky kitchen faucet without turning off the water supply, but it’s risky. Water may spray when you remove parts, causing flooding or injury.
For safer DIY tips, close the faucet’s shutoff valves beneath the sink first. If they’re stuck or missing, turn off your home’s main valve.
Common causes include worn washers, damaged cartridges, or loose connections. Keep a bucket and towels nearby, and test carefully after repairs.
How Much Does a Plumber Typically Charge to Repair a Leaky Kitchen Faucet?
You’ll typically pay $100–$300 for a plumber to repair a leaky kitchen faucet, though complex jobs can feel like your wallet’s springing a leak. Your cost estimate usually includes diagnosis, labor, and replacement parts.
Expect service fees of roughly $50–$150, sometimes charged separately or waived if you approve the repair. Ask for an upfront quote, confirm whether parts are included, and compare local rates before scheduling the visit.
When Should I Replace the Entire Faucet Instead of Repairing It?
Replace the entire faucet when repair costs approach half the price of a new, quality model, or when leaks keep returning after repairs. You should also replace it if corrosion, cracks, broken threads, or internal damage affect the body.
Consider the faucet material: inexpensive plastic or plated finishes may not justify repair, while solid brass or stainless steel can deserve new cartridges or seals. Upgrade when you want better efficiency, features, or reliability.
Are Leaky Kitchen Faucets Responsible for Significantly Higher Water Bills?
Usually, a leaky kitchen faucet won’t cause a dramatically higher water bill, but persistent dripping can waste hundreds or thousands of gallons annually. You may notice a modest increase, especially if the leak flows steadily rather than occasionally.
Fixing it promptly supports Water conservation and delivers cost savings over time. Check your water meter, estimate the leak’s rate, and compare recent bills.
If usage rises unexpectedly, inspect other fixtures or contact your utility provider.
How Can I Prevent My Kitchen Faucet From Developing Leaks in the Future?
Preventative maintenance helps you prevent future kitchen faucet leaks. You should avoid overtightening handles, clean mineral buildup regularly, and check supply lines, seals, and connections for moisture.
Replace worn washers or cartridges before they fail, and don’t use excessive force when operating the faucet. Consider faucet upgrades, such as ceramic-disk cartridges, braided supply lines, or touchless models.
You’ll also protect your plumbing by maintaining proper water pressure and addressing drips promptly.
Conclusion
You’ve now found the leak, replaced the worn valve or cartridge, and sealed any gaps around the faucet base. Turn the water back on slowly, then test both the handle and spout for drips.
If everything stays dry, clean up your tools and enjoy your repair. Remember, a stitch in time saves nine: Addressing small leaks promptly can prevent cabinet damage, wasted water, and more expensive plumbing problems later.
If leaking continues, call a professional plumber for help with your leaky kitchen faucet.