How to Clean a Kitchen Sink in 7 Easy Steps
Cleaning a kitchen sink can feel like a never-ending chore, especially when hard-water stains, lingering odors, and grime build up in hidden corners. You’re not alone—many people struggle to keep their sink fresh and spotless.
These simple kitchen sink cleaning steps can help make the task easier.
Gather mild dish soap, a nonabrasive sponge, microfiber cloth, baking soda, vinegar, and gloves. Clear and rinse the sink, then scrub away food residue and grime.
Treat hard-water stains with a 1:1 vinegar solution for 10–15 minutes.
Clean the faucet, edges, seams, and drain with a soft toothbrush. Disinfect surfaces safely, without mixing cleaners. Rinse thoroughly, sprinkle baking soda near the drain if needed, and dry everything completely.
Keep these simple maintenance tips in mind for lasting freshness.
Key Takeaways
- Clear debris, remove the strainer, and rinse the sink thoroughly with warm water.
- Scrub the basin, drain, faucet, seams, and corners using dish soap and a nonabrasive sponge.
- Treat mineral deposits with equal parts white vinegar and water for 10–15 minutes, then scrub and rinse.
- Disinfect the basin, drain, faucet, handles, and overflow, following the product’s required contact time.
- Rinse completely, deodorize with baking soda if needed, and dry every surface to prevent spots and odors.
Gather Safe Kitchen Sink Cleaning Supplies
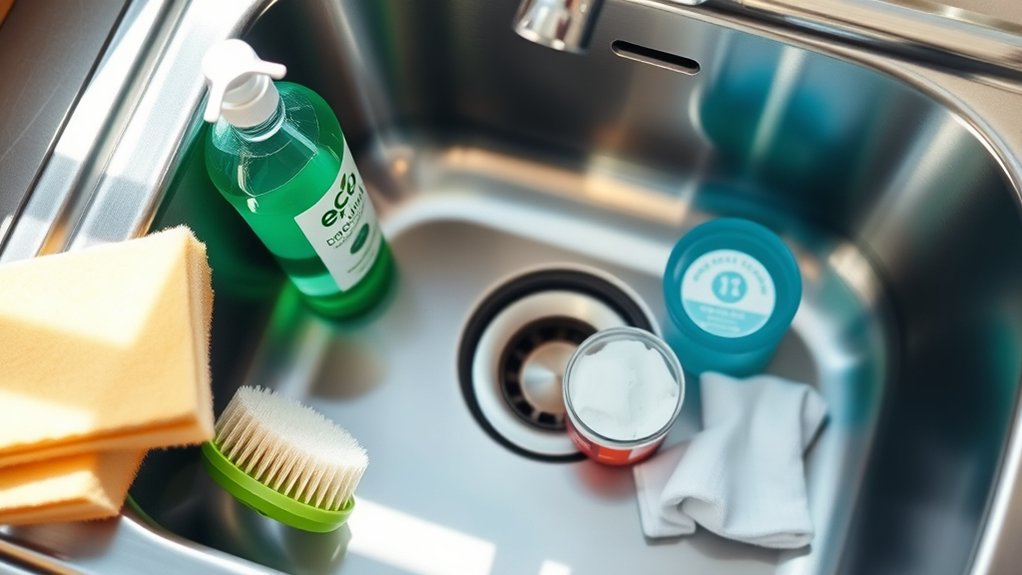
Before you begin, gather a mild dish soap, a nonabrasive sponge, a soft scrub brush, microfiber cloths, baking soda, white vinegar, and an old toothbrush for tight spaces. Choose tools that match your sink’s material so you don’t scratch stainless steel, porcelain, composite, or enamel surfaces.
Keep a pair of rubber gloves nearby if your hands react to soap or vinegar. For stubborn buildup, prepare Eco friendly cleaners rather than harsh products with strong fumes.
Baking soda and white vinegar support simple DIY solutions, but don’t mix vinegar with bleach or other chemical cleaners. Use separate cloths for the faucet, drain area, and surrounding counter to prevent spreading grime.
Check product labels before using any commercial cleaner, especially if your sink has a special finish. Set everything within reach before you start, and remove jewelry that could snag on the faucet or scratch the basin while you work.
Keep children and pets away from your supplies.
Clear and Rinse the Sink Basin
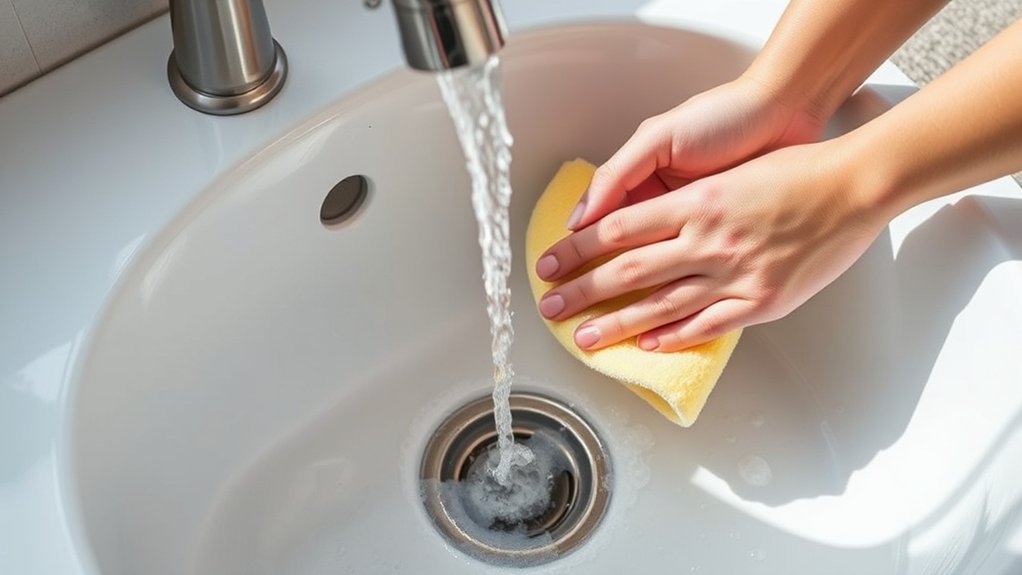
Start by removing dishes, food scraps, and debris from the basin, then rinse away loose residue with warm water. Check the drain opening and lift out anything caught near the strainer. You can use a paper towel or disposable cloth to collect pieces, but don’t push waste into the drain, where it may cause a clog.
Next, run clean water around the sides and bottom of the sink to carry remaining particles toward the drain. Adjust the water temperature based on the mess: warm water helps loosen oils, while cool water works well for general rinsing.
Consider your sink material before choosing the temperature, since extreme heat may damage some finishes or seals. If your sink has a removable stopper, take it out and rinse it separately.
Keep the faucet running briefly until the water flows clear and the basin looks free of loose debris. Turn off the tap and remove any standing water with a clean cloth.
Scrub Away Food Residue and Grime
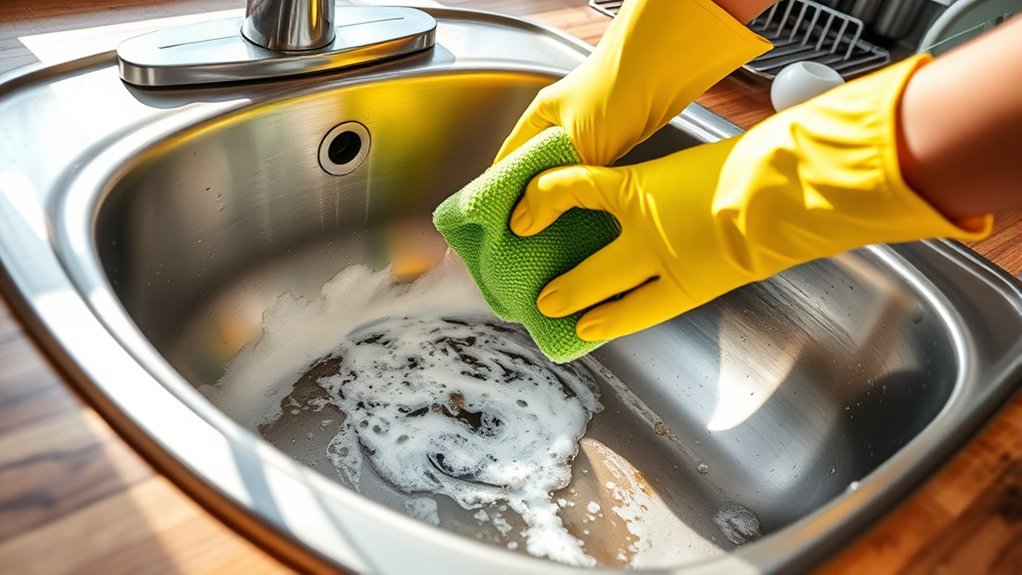
With the loose debris cleared, apply a small amount of dish soap to a damp, nonabrasive sponge and scrub the sink’s basin, sides, and corners. Work in circular motions, using steady pressure to loosen stuck-on Food debris and greasy grime.
Pay extra attention to the drain opening, faucet base, seams, and other spots where residue collects. Rinse the sponge often so you don’t spread dirt across clean surfaces.
For effective Grime removal, follow these steps:
- Scrub the basin from the edges toward the drain.
- Use a soft toothbrush around fixtures, seams, and crevices.
- Reapply soap to stubborn food residue instead of scraping forcefully.
- Rinse the entire sink with warm water after scrubbing.
Wipe the sink with a clean microfiber cloth, checking for leftover particles as you go. If you still see residue, repeat the targeted scrubbing.
Avoid steel wool and harsh scouring pads, which can scratch the finish and create places for grime to collect.
Lift Hard-Water Stains and Mineral Buildup
Look for white, chalky mineral deposits around the faucet, drain, and sink basin. Apply a vinegar solution to dissolve the buildup, then gently scrub the affected areas. Finally, rinse the sink thoroughly and dry it to help prevent new stains.
Identify Mineral Deposits
Mineral deposits usually appear as white, chalky spots or cloudy rings around the faucet, drain, and sink basin. You can identify mineral buildup by its rough texture, dull appearance, and stubborn edges that remain after ordinary rinsing.
Look closely before cleaning so you’ll know which areas need focused attention.
- Check faucet bases for crusty white lines or greenish discoloration.
- Inspect the drain flange for rings, flakes, or gritty residue.
- Run your fingers over the basin to find rough patches.
- Note whether stains cover metal, porcelain, ceramic, or composite surfaces.
Hard-water deposits may also collect beneath the rim and around seams. Photograph severe buildup if you need to compare progress later.
Identify the material and stain locations first. Accurate observation helps you choose safe deposit removal methods and avoid scratching delicate finishes during cleaning.
Apply Vinegar Solution
Once you’ve identified the affected areas, apply a solution of equal parts white vinegar and water to lift hard-water stains and mineral buildup. Pour the mixture into a spray bottle, then coat the stained surfaces generously.
Vinegar’s acidity helps dissolve chalky deposits, soap residue, and dull mineral films without harsh chemicals. Its vinegar benefits also include odor control and support for a fresher, cleaner sink.
As one of several natural disinfectants, vinegar can help reduce some surface germs, though it isn’t a substitute for a registered disinfectant when sanitizing is essential.
Let the solution sit for 10 to 15 minutes so it can loosen stubborn buildup. Keep the area wet during this contact time, and reapply vinegar solution if the stains begin drying before you proceed.
Scrub and Rinse
After the vinegar solution has worked for 10 to 15 minutes, scrub the stained areas with a soft sponge or nonabrasive brush, working in small circles to loosen the softened deposits. Add a drop of Dish soap to your sponge if greasy residue remains.
For stubborn mineral buildup, use a Soft brush to reach around the faucet, drain, and seams. Apply gentle pressure without scratching the surface.
- Scrub stainless steel with the grain.
- Avoid steel wool and harsh scouring pads.
- Reapply vinegar to spots that still look cloudy.
- Rinse thoroughly with warm water.
Flush away loosened residue, then inspect the basin under good light. Repeat the treatment rather than forcing persistent stains.
Once the surface looks clean, wipe it dry with a microfiber cloth. Drying prevents fresh water spots and leaves your sink bright, smooth, and ready for regular use.
Clean the Faucet, Edges, and Drain
Next, clean the faucet to remove grime and water spots. Then scrub the sink’s edges and drain, where residue often collects. Giving these areas a thorough pass will help keep them fresh and sanitary.
Clean the Faucet
Start by wiping the faucet and handles with warm, soapy water to remove grime and fingerprints. Use a soft cloth or sponge so you don’t scratch the finish.
Rinse the cloth, wipe away soap, and dry every surface to prevent water spots. For stuck-on residue, let the damp cloth sit on the area briefly, then wipe gently.
Check the Faucet aerator at the spout’s tip; mineral buildup can reduce Water flow. If needed, unscrew it carefully, soak it in white vinegar, rinse it, and reinstall it.
Keep these faucet-cleaning habits in mind:
- Wipe the faucet daily.
- Dry it after cleaning.
- Avoid abrasive powders and steel wool.
- Test the Water flow after cleaning.
Polish chrome with a dry microfiber cloth, but follow your faucet manufacturer’s care instructions for special finishes.
Scrub Edges and Drain
Once the faucet is clean, scrub the sink’s edges and drain with warm, soapy water and a soft brush. Work along the rim, seams, and corners where crumbs, grease, and grime collect.
Use a toothbrush to reach tight crevices, and rinse your brush often so you don’t spread residue. For effective edge maintenance, wipe the surrounding countertop lip and backsplash, too.
Next, remove the drain strainer and wash both sides thoroughly. Brush around the drain opening, then flush it with hot water to loosen buildup.
For drain clearing, pour a cup of baking soda into the opening, followed by a cup of white vinegar. Let the fizzing mixture sit for five minutes, then rinse with hot water.
Replace the strainer and wipe everything dry to prevent water spots and odors.
Disinfect and Freshen the Kitchen Sink
After rinsing away the cleaner, disinfect the sink by spraying an appropriate disinfectant over the basin, drain, faucet, and handles. Choose a product labeled safe for your sink’s material, and follow its required contact time.
Don’t wipe it away too soon; the solution needs time to work. Keep the area ventilated, and never mix disinfectant with bleach, vinegar, ammonia, or other cleaners.
Allow the disinfectant its full contact time, ventilate the area, and never mix it with other cleaners.
For effective bacteria elimination, pay attention to spots you touch often:
- Coat the faucet neck, spout, and aerator area.
- Cover both sides of each handle.
- Spray around the drain opening and stopper.
- Treat the basin’s corners and overflow opening.
Use a clean cloth or disposable towel to remove residue after the label’s contact time. For kitchen deodorizing, sprinkle baking soda around the drain, add a small amount of water, and scrub gently with a brush.
Avoid forcing powder into the pipes or using abrasive tools that could scratch the finish. Keep disinfectants away from food, children, and pets.
Rinse, Dry, and Prevent Future Grime
Rinse the sink thoroughly with warm water to remove cleaner and loosened grime, then dry the basin, faucet, handles, and surrounding counter with a clean, lint-free cloth. Drying prevents water spots, mineral deposits, and lingering moisture that can encourage bacteria and mildew.
Pay special attention to the drain rim, seams, and faucet base, where droplets often hide.
For better Kitchen hygiene, wipe the sink after each use, especially after washing raw meat, produce, or greasy dishes. Don’t let food scraps collect in the strainer; empty it promptly and rinse away residue.
To support Grime prevention, keep a small squeegee or towel nearby, and wipe spills before they dry. Clean the faucet aerator and drain area regularly, since buildup there can spread odors and germs.
Avoid leaving wet sponges in the basin. Wring them out and store them in a ventilated holder.
A quick daily wipe and weekly deep clean will keep your sink fresh, dry, and ready for the next task.
Frequently Asked Questions
Can I Clean a Kitchen Sink Without Using Commercial Cleaning Products?
Yes, you can clean your kitchen sink without commercial products. Try these Eco friendly methods and Natural cleaning tips: sprinkle baking soda over the basin, scrub gently with a damp sponge, then rinse with warm water.
Pour white vinegar down the drain to reduce odors, but never mix it with bleach. Use lemon halves to polish fixtures and freshen the sink.
Finally, dry everything with a clean cloth to prevent water spots and buildup.
How Often Should I Replace My Kitchen Sink’s Drain Strainer?
Replace your kitchen sink’s drain strainer when it cracks, rusts, loosens, or stops sealing properly, often every five to ten years. Coincidentally, the same moment you notice slow draining may reveal a worn strainer, so inspect it during routine cleaning.
Your replacement frequency depends on water quality, usage, and material. For reliable drain maintenance, check the basket monthly, clean buildup promptly, and replace it sooner if leaks, corrosion, or persistent odors appear around the seal.
Are Different Sink Materials Cleaned Differently?
Yes, you’ll clean different sink materials with different products and methods. Stainless steel tolerates mild dish soap, baking soda, and a soft sponge, while you should avoid bleach and abrasive pads that scratch it.
Porcelain needs gentle, nonabrasive cleaners, and you should prevent chips by avoiding heavy impacts. Composite granite requires manufacturer-approved products and minimal scrubbing.
Check material compatibility first, then choose cleaning techniques that protect your sink’s finish and drain strainer.
Can Sink Cleaning Damage Septic Systems or Garbage Disposals?
Yes, sink cleaning can damage septic systems or garbage disposals if you use harsh chemicals or flush grease. Septic safety starts with biodegradable cleaners, small amounts, and keeping bleach, solvents, and drain openers out of septic lines.
For Disposal maintenance, run cold water while grinding scraps, avoid fibrous waste, and skip chemical cleaners, which can corrode components. About 25% of household water use occurs in bathrooms, so protect every drain you maintain.
When Should I Hire a Professional to Repair or Clean My Sink?
Hire a professional when your sink leaks, drains repeatedly clog, smells persist after cleaning, or water backs up into the basin. You should also call one if you notice low water pressure, damaged pipes, unusual noises, or mold beneath the cabinet.
Professional plumbing repairs can prevent costly water damage, while expert sink installation guarantees proper connections and drainage. Don’t attempt complex repairs if you lack experience, especially around garbage disposals or septic-related plumbing.
Conclusion
Now that you’ve followed these seven steps, your kitchen sink should look and smell fresh again. A clean basin can make the entire kitchen feel tidier, so you may even find yourself wiping the counters next.
Keep grime away by rinsing dishes, drying the sink after use, and cleaning it regularly. With a few minutes of care, you can prevent buildup, protect the finish, and enjoy a brighter, more inviting kitchen every day.