Where to Put a Microwave in a Small Kitchen
Small kitchens can make microwave placement feel like a constant puzzle. You’re not alone—many people struggle to free up valuable counter space without creating a cramped or unsafe setup.
This guide will help you find the best place to put a microwave in a small kitchen while keeping it accessible and practical.
Place your microwave on a sturdy open shelf, beneath a cabinet, in a pantry, or in a properly installed microwave drawer to free counter space.
Choose a spot near your main prep area, but keep it away from sinks, cooktops, and crowded edges.
Leave the manufacturer-required clearance around vents, doors, and controls, and use a dedicated outlet without extension cords.
Pick a height you can reach safely, and examine each option to find your best fit.
Key Takeaways
- Place the microwave on a corner countertop or sturdy shelf, keeping it accessible without consuming essential preparation space.
- Install it beneath a counter or island to save space, provided the door opens fully and users can reach it safely.
- Use a microwave cart or rolling island for flexible placement, ensuring locking casters and a weight-rated, stable surface.
- Position it inside a pantry only when manufacturer-approved ventilation clearances and electrical access are maintained.
- Keep the microwave away from sinks and cooktops, and use a properly grounded outlet without extension cords or power strips.
Choose the Best Small-Kitchen Microwave Location
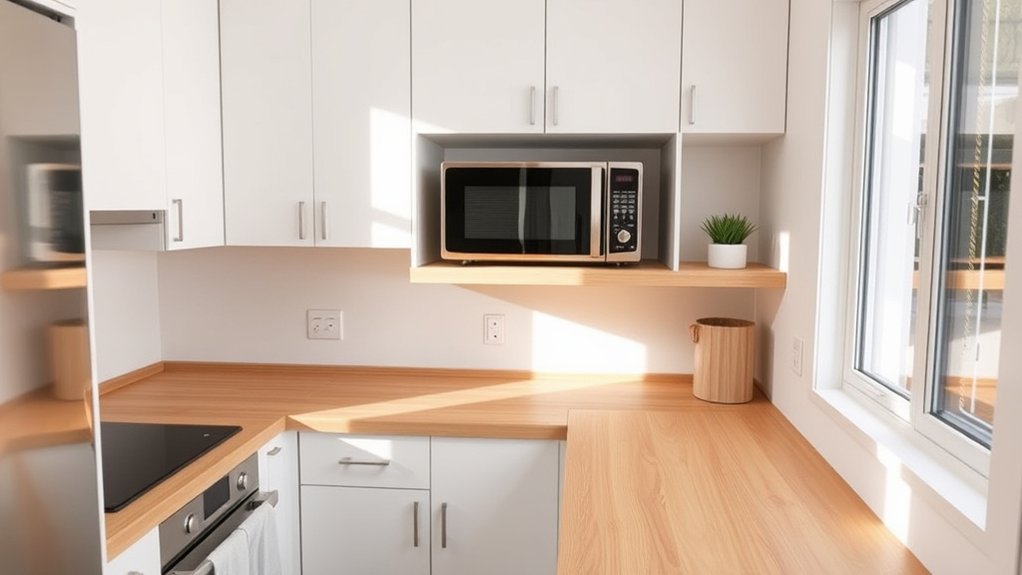
Start by choosing a microwave location that keeps the appliance easy to reach without crowding your limited counter space. Consider how you move through the kitchen, then select a spot that supports your cooking routine rather than interrupting it.
Choose a convenient microwave location that preserves counter space and complements your everyday kitchen workflow.
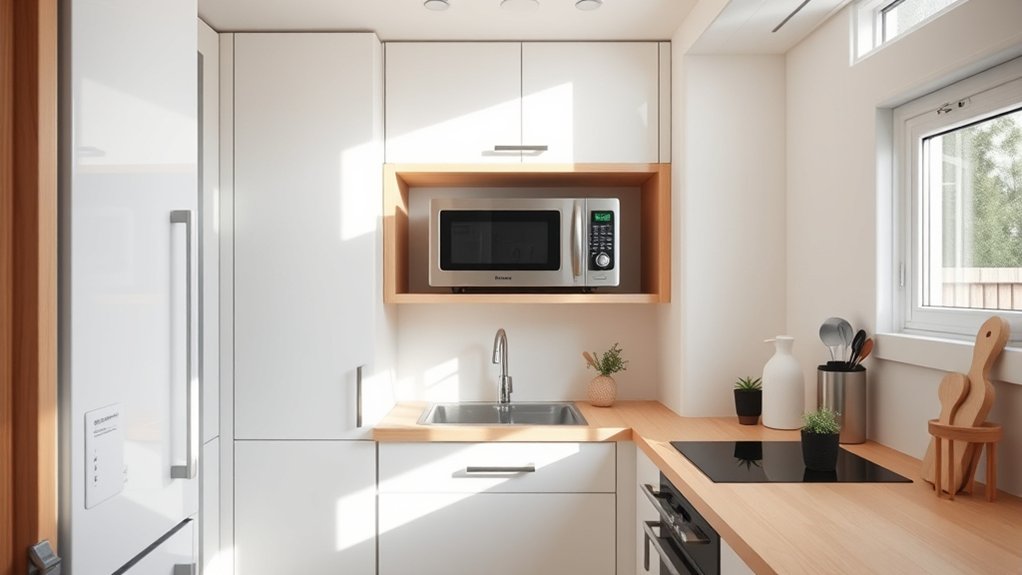
A corner countertop position can work well if you reserve nearby space for food preparation and keep the surrounding area visually calm. You might also choose a sturdy open shelf, a microwave cart, or a built-in cabinet niche, depending on your kitchen’s layout and storage needs.
Prioritize a level, stable surface that can support the appliance’s weight and withstand heat, moisture, and daily use. This attention improves microwave durability and reduces damage from accidental bumps or spills.
Match the microwave’s finish and shape to nearby cabinetry, appliances, and hardware for better aesthetic integration. Choose a location that feels intentional, not temporarily assigned.
Before committing, consider electrical access and ventilation requirements. Avoid placing the appliance near sinks, stovetops, or cluttered work zones.
Check Clearance, Height, and Daily Access
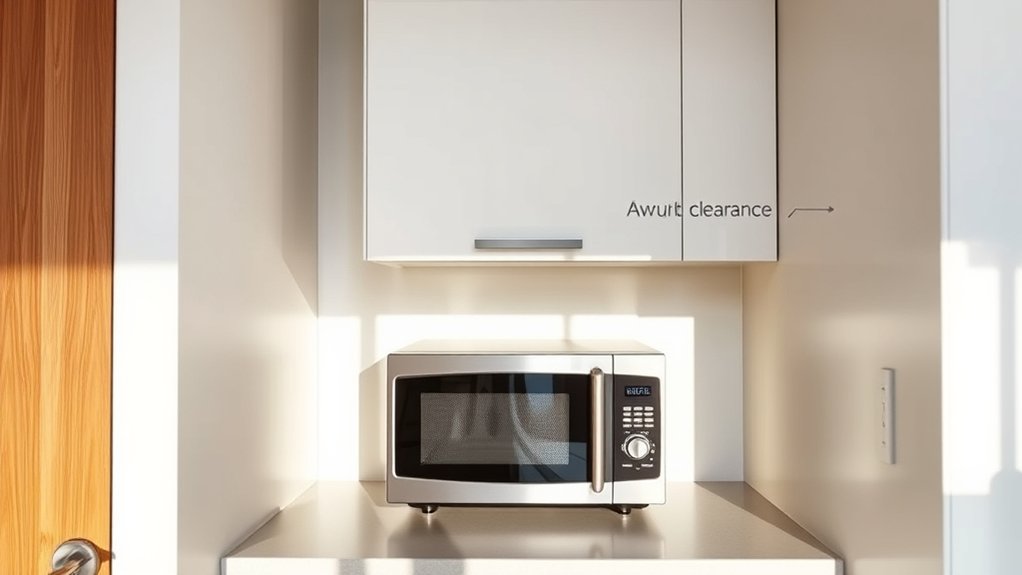
Once you’ve chosen a suitable spot, check that the microwave has enough clearance for safe operation and easy handling. Leave room around the vents, door, and controls so heat can escape and you can remove hot dishes without twisting your wrist.
Keep the opening clear of nearby appliances, walls, and frequently used prep areas.
Consider how the placement fits your routine. You shouldn’t need to reach across a sink, lean over a cooktop, or move other items every time you reheat food.
Protect valuable counter space by measuring both the appliance and the landing area beside it.
- Place it where you can see the display clearly.
- Keep hot containers within comfortable lifting range.
- Test the door swing before committing.
Check countertop height, too. A position that’s too low strains your back, while one that’s too high makes steaming bowls harder to handle.
Ask every household user to test the reach, then adjust the location before installation.
Place the Microwave Under a Cabinet
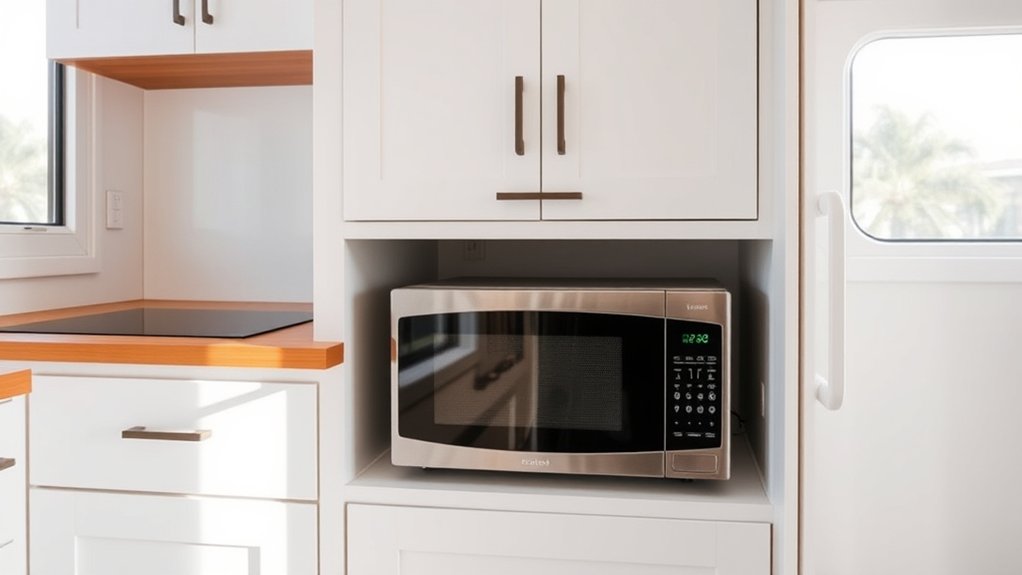
Placing the microwave under a cabinet can free valuable counter space without requiring a major remodel. Choose a sturdy, open area beneath the cabinet where you can reach the controls and see inside easily.
Measure the microwave and the available width, depth, and height before moving it. Allow room for ventilation according to the manufacturer’s instructions.
Measure the microwave and available space carefully, leaving adequate clearance for ventilation as the manufacturer recommends.
You can install a strong shelf beneath the cabinet or use a purpose-built microwave shelf that attaches securely to wall studs. Don’t rely on the cabinet’s bottom panel unless it can support the appliance’s weight and vibration.
Keep the microwave’s door from striking nearby walls, handles, or cabinet doors. Leave enough space to place hot dishes safely.
Think about appliance placement near your refrigerator, prep area, or outlet, but avoid stretching cords across walkways. This arrangement gives you practical access while preserving counter space.
Secure the shelf, test the door swing, and confirm the outlet remains easy to reach.
Install an Over-the-Range Microwave
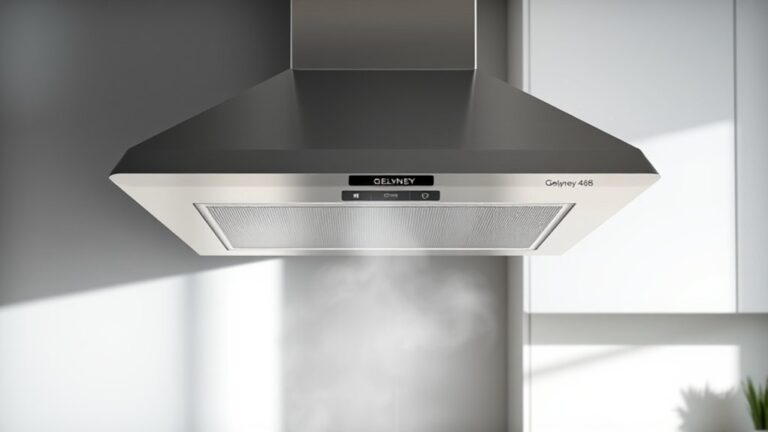
If you need stronger ventilation and want to reclaim both counter and cabinet space, install an over-the-range microwave above the cooktop. This solution combines cooking functions in one vertical zone, supporting efficient appliance integration in a compact kitchen. You’ll free valuable workspace for countertop organization while keeping the microwave within easy reach.
Before choosing a model, measure your range, ceiling, and available wall width. Confirm that the microwave’s height won’t force you to reach over hot pans or block your view of the cooktop. You’ll also need a dedicated electrical connection and proper venting, so hire a qualified installer if necessary.
- Choose a model with a powerful, appropriately sized exhaust fan.
- Check cabinet and wall clearances against the manufacturer’s instructions.
- Match the microwave’s finish to your range for a cohesive look.
An over-the-range unit works best when you cook frequently and can accept less accessible microwave controls. Secure installation matters, since the appliance must support its weight safely above active burners.
Set It on a Sturdy Open Shelf
A sturdy open shelf can keep the microwave off your counter without requiring permanent installation. Choose a shelf rated for the appliance’s weight, and confirm that it’s deep and wide enough for stable placement. Leave several inches around the microwave for ventilation, especially above and behind the unit. Don’t block its vents or place it directly beneath a cabinet that could trap heat.
Secure the shelf to wall studs, or use appropriate anchors for your wall type. Check that it doesn’t wobble when you open the door or press the controls. Position the shelf near an outlet so you won’t need an extension cord, and keep the cord away from heat and walkways.
This setup supports countertop organization while keeping the microwave accessible. One of the key open shelving benefits is visibility: you can reach the appliance quickly and use the space below for dishes or cooking supplies. Just avoid overcrowding the shelf, and wipe spills promptly to protect the surface.
Add a Microwave to a Rolling Cart
A rolling cart can give your microwave a flexible home while freeing valuable counter space. Choose a cart with a broad, sturdy top that supports your appliance without wobbling. Keep the microwave’s vents clear, and leave enough room to open its door comfortably. Locking casters help you steady the cart during use, then move it aside when you need more floor space.
Look for features that make the cart practical:
- Select shelves or drawers for mugs, towels, and microwave-safe containers.
- Use a heat-resistant top to protect the finish from warm dishes.
- Check that the cart’s height lets you lift food safely without stretching.
You can style the cart to suit your kitchen, too. Pair a portable countertop microwave with a coordinated cart, or let a decorative microwave become a focal point. Route the cord where it won’t snag, and plug it directly into a suitable outlet. Don’t overload the cart, especially if you’ll roll it frequently.
Tuck the Microwave Into a Pantry
When floor space is tight, tuck the microwave into a pantry to keep counters clear. Choose a sturdy, waist-high shelf so you can lift dishes safely without bending or reaching overhead. Leave several inches around the appliance for ventilation, and keep its door fully openable.
Good pantry organization makes this setup practical rather than cramped. Store microwave-safe bowls, plates, and potholders nearby, but don’t crowd the vents. If the pantry has a door, consider hidden microwave options such as a roll-up door or a vented open cubby. Never run the appliance with a closed door unless the manufacturer specifically permits it.
| Pantry feature | Why it matters | Quick tip |
|---|---|---|
| Strong shelf | Supports weight | Anchor it securely |
| Air clearance | Prevents overheating | Follow manual guidelines |
| Nearby supplies | Speeds meal prep | Group essentials |
| Power access | Avoids unsafe cords | Use a proper outlet |
Check that the pantry’s outlet can handle the microwave’s load. Keep cords away from shelves, spills, and stored food, and maintain a clear landing area beside the pantry for hot dishes.
Consider a Microwave Drawer
Consider a microwave drawer if you want to preserve counter space and create a streamlined look. You can install this hidden appliance beneath a countertop or island, where it stays accessible without dominating your kitchen’s sightlines.
Its pull-out design lets you place dishes at a comfortable height, reducing the need to lift hot containers overhead.
Before choosing a model, consider how you’ll use it each day:
- Choose a location near your main prep area for convenient loading and unloading.
- Match the drawer’s finish to your cabinets for a cohesive, built-in appearance.
- Measure nearby clearance so the drawer opens fully without blocking walkways.
A microwave drawer works especially well in compact kitchens because it shifts the appliance below eye level and frees valuable counter space.
You’ll also gain a cleaner visual line than you would with a countertop unit. If you entertain often, an island installation can let guests heat food without entering your primary work zone.
Review the controls and interior capacity to ensure they suit your cooking habits.
Plan Ventilation and Electrical Safety
Before installing your microwave, make sure the outlet can handle its power requirements. Also, leave enough space around the unit for proper airflow, and plan a safe route for any required venting.
Check Outlet Capacity
Check the outlet’s capacity before you install the microwave, since most countertop and over-the-range models draw significant power. Locate the circuit rating on the breaker panel, then compare it with the microwave’s wattage and installation instructions.
A dedicated power outlet can reduce the risk of overloading a shared circuit, especially if you’ll run a toaster, kettle, or coffee maker nearby. Don’t rely on extension cords or power strips, as they may overheat under a sustained electrical load.
If you’re unsure, ask a licensed electrician to inspect the wiring and confirm the circuit can handle the appliance safely.
- Check the outlet for damage, looseness, or discoloration.
- Keep high-wattage appliances off the same circuit when possible.
- Test the microwave after installation while monitoring for unusual heat, odors, or breaker trips.
Resolve electrical concerns before regular use, and follow the manufacturer’s requirements.
Maintain Airflow Clearance
Leave adequate clearance around the microwave so heat and steam can escape without damaging nearby cabinets or walls. Check your model’s ventilation requirements before choosing a shelf, cabinet, or countertop location.
Keep the intake and exhaust openings unobstructed, and follow the manufacturer’s specified spacing on every side, especially above the unit. An airflow obstruction can trap heat, reduce performance, and create a fire risk.
Don’t push the microwave tightly against a backsplash or wall, and don’t cover its vents with décor, cookware, or paper.
If you place it inside cabinetry, use a model approved for built-in installation rather than forcing a countertop unit into a confined space.
Leave enough room to open the door fully and clean around the vents. Recheck clearances after arranging nearby appliances.
Plan Safe Vent Routing
Airflow clearance is only part of safe microwave placement; you’ll also need a clear plan for venting and power. Before you install an over-the-range model, check whether your kitchen supports horizontal, vertical, or recirculating vent ducting. Keep the exhaust fan’s path short, smooth, and accessible, and follow the manufacturer’s required clearances.
- Confirm the duct outlet’s location before cutting cabinets or walls.
- Use the correct duct size and avoid sharp bends that restrict airflow.
- Have a qualified electrician inspect the outlet and circuit.
Don’t run the microwave from an overloaded extension cord or share an unsuitable circuit with high-demand appliances. Place the receptacle where the plug won’t contact hot surfaces or interfere with cabinet doors.
If venting outdoors isn’t practical, choose a recirculating setup with the recommended charcoal filter, then replace it regularly.
Avoid Unsafe Microwave Placement Mistakes
When choosing a microwave location, keep it away from sinks, stovetops, and crowded counter edges to reduce the risk of water damage, heat exposure, and accidental falls.
You’ll also need clearance around vents so heat can escape. Don’t place it inside a tight cabinet unless the manufacturer approves that installation.
Check the outlet, too: avoid extension cords, overloaded circuits, and dangling wires.
Proper microwave insulation protects nearby surfaces, while countertop safety depends on a level, sturdy base that won’t shift when you open the door.
| Mistake | Why It’s Risky | Safer Choice |
|---|---|---|
| Beside the sink | Splashes can damage components | Leave separation |
| Above a hot burner | Heat can harm the unit | Choose a cool wall |
| On an unstable shelf | Vibrations may cause falls | Use a reinforced surface |
Keep the door, controls, and plug accessible.
Never block the exhaust, cover ventilation openings, or store items on top unless the manual permits it.
Before daily use, confirm the microwave sits securely and doesn’t interfere with nearby appliance doors.
Frequently Asked Questions
How Much Electricity Does a Microwave Use Compared With a Conventional Oven?
A microwave typically uses 600–1,200 watts while running, whereas a conventional oven often uses 2,000–5,000 watts. Because you cook smaller portions faster, you’ll usually consume 50–80% less electricity with a microwave.
Your actual energy consumption depends on cooking time, food quantity, and appliance efficiency. In this efficiency comparison, microwaves generally win for reheating and small meals, while ovens make sense for large dishes, baking, or extended cooking.
Can I Microwave Metal-Rimmed Dishes or Aluminum Foil Safely?
No, you shouldn’t microwave metal-rimmed dishes or aluminum foil routinely. Metal safety requires keeping metal away from microwave energy because edges can spark, damage the appliance, or ignite nearby materials.
Aluminum foil may be used only in tiny, smooth pieces when your microwave’s manual specifically permits it; never cover food completely, crumple foil, or let it touch the walls.
Use microwave-safe glass or ceramic instead, and stop immediately if you see sparks or smell burning.
How Often Should I Clean the Microwave Interior and Turntable?
Clean your microwave interior and turntable at least once a week, or immediately after spills. About 60% of microwave messes come from uncovered food splatters, so a quick wipe prevents buildup.
For effective Microwave maintenance, remove and wash the turntable weekly, wipe the ceiling, walls, and door, and sanitize high-touch areas. If you use it daily, clean it every few days.
Consistent care also supports Kitchen organization by keeping your workspace fresh.
What Microwave Features Matter Most for Cooking in a Small Household?
For a small household, prioritize practical microwave features: adjustable power levels, a sensor-cooking setting, a compact footprint, and an easy-to-clean interior. Choose enough capacity for your usual dishes without wasting counter space.
A quiet door and clear controls also improve daily use. During microwave placement, consider outlet access, ventilation, and comfortable reach.
Small kitchen layouts benefit from models with streamlined designs, useful presets, and reliable turntables rather than oversized cooking capacity or unnecessary smart functions.
How Long Do Compact Microwaves Typically Last Before Needing Replacement?
You can typically expect a compact microwave to last about five to ten years. For example, if you heat meals twice daily and clean spills promptly, your unit might serve you reliably for seven years before its door latch or keypad fails.
Heavy use may shorten that lifespan. Watch for uneven heating, unusual noises, sparks, or repeated shutdowns.
Apply practical Microwave placement options and Small kitchen layout tips to keep ventilation clear and prevent overheating.
Conclusion
Choosing where to put a microwave in a small kitchen comes down to safe clearance, easy access, and smart use of space. You can place it under a cabinet, on a sturdy shelf, in a pantry, or in a microwave drawer, depending on your layout.
Don’t overlook ventilation, outlet safety, and comfortable reach. With the right spot, even the tiniest kitchen can feel like a cooking powerhouse, helping you make every inch work harder for you.