How to Install a Kitchen Backsplash in 7 Steps
A kitchen backsplash can transform your space, but choosing the right materials and installing them correctly can feel overwhelming. You’re not alone—many homeowners struggle with uneven walls, tricky cuts, and messy grout.
This kitchen backsplash guide walks you through the process so you can achieve a polished result with confidence.
Choose tile, adhesive, and grout suited to your wall and kitchen. Measure the area, plan a balanced layout, and mark guidelines. Remove outlet covers, clean the wall, and repair imperfections.
Cut and dry-fit tiles, then spread adhesive and set them with spacers. Let the adhesive cure according to its instructions.
Apply grout, wipe away excess, and seal porous surfaces. Finish edges with trim or caulk, then clean up. The detailed tips below will help you avoid common mistakes.
Key Takeaways
- Choose tile, grout, adhesive, and trim suited to your kitchen’s moisture, heat, style, and maintenance requirements.
- Measure walls, subtract openings, add 10% waste, and plan a balanced layout around outlets, corners, and focal points.
- Clean, repair, smooth, and dry the wall before dry-fitting tiles and marking accurate cuts.
- Apply adhesive with a notched trowel, set tiles using spacers, check alignment, and allow proper curing time.
- Remove spacers, grout the joints, seal porous surfaces, caulk edges, clean residue, and wait until everything cures before use.
Choose Tile, Adhesive, and Grout
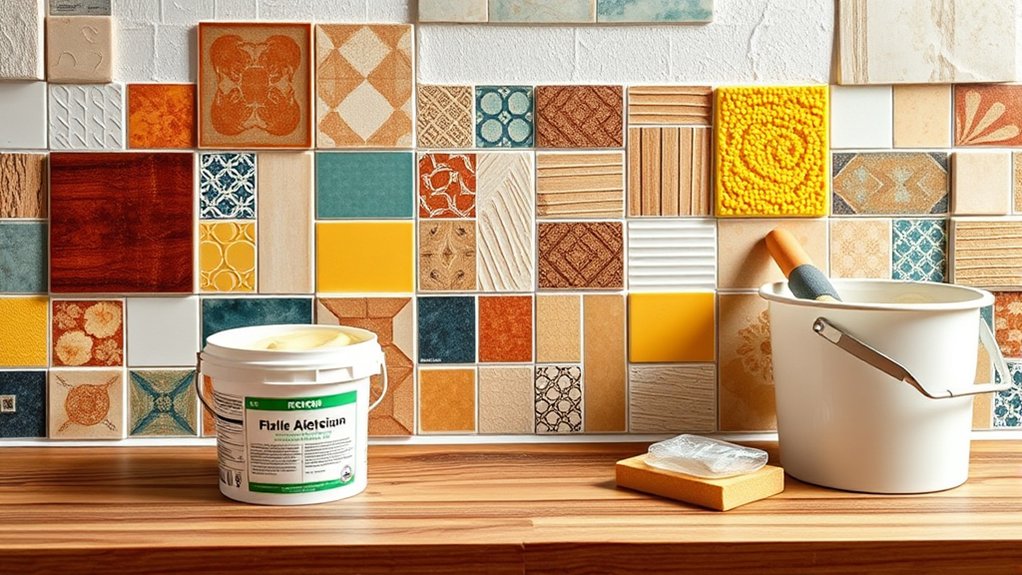
Choose a backsplash tile that suits your kitchen’s style and can withstand moisture, heat, and frequent cleaning. Compare ceramic, porcelain, glass, and natural stone options.
Choose a backsplash tile that complements your kitchen while resisting moisture, heat, and frequent cleaning.
Ceramic and porcelain offer durability and simple maintenance, while glass reflects light and creates a sleek appearance. Natural stone adds texture but may require sealing.
Consider tile design carefully. Large tiles create a calm look, mosaics add detail, and textured surfaces provide visual interest.
Use color coordination to connect the backsplash with your cabinets, countertops, flooring, or hardware. Request samples so you can view colors under your kitchen’s lighting before buying.
Select a thin-set mortar or adhesive labeled for your tile type and installation surface. Choose a premixed adhesive for small, dry areas or cement-based mortar for heavier tiles and demanding conditions.
Match grout to your design. A similar shade creates a seamless appearance, while a contrasting shade highlights each tile.
Pick sanded grout for wider joints and unsanded grout for narrow joints. Buy spacers, a notched trowel, and sealer if needed.
Measure the Wall and Plan the Layout
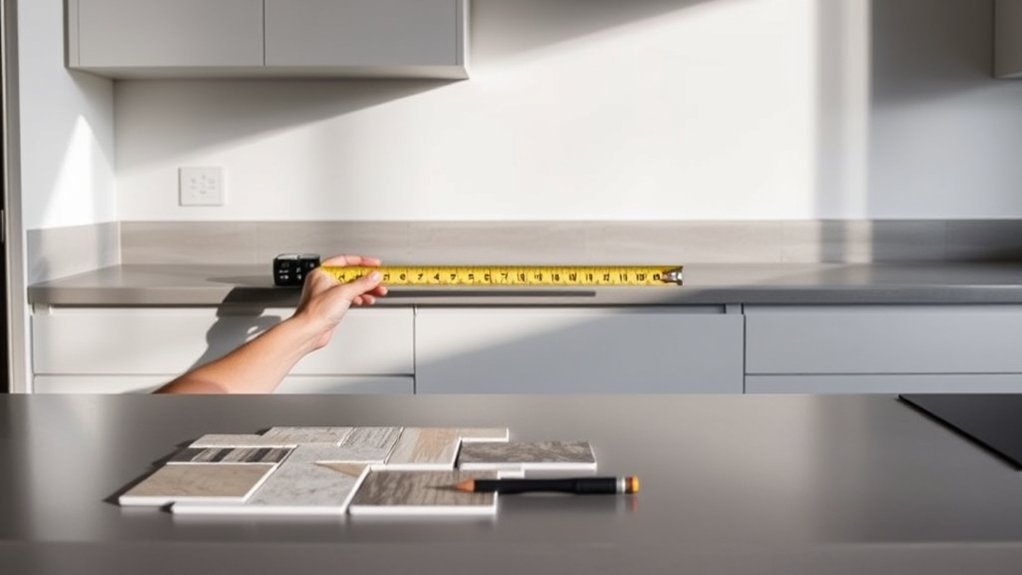
Measure the wall’s height and width, then multiply those numbers to find the total area you’ll cover.
Next, plan your tile layout from the center of the wall or another focal point. This helps keep the cuts at the edges balanced. Before you start, clearly mark your starting lines.
Measure Wall Dimensions
Before you buy materials or begin installing tile, measure the wall areas where the backsplash will go. Use a tape measure to record each section’s width and wall height, measuring from the countertop to the bottom of cabinets or ceiling.
Note outlets, switches, corners, and window placement, since these features interrupt usable space. Measure twice, and write dimensions in inches for consistent calculations.
| Area | Measurement |
|---|---|
| Left wall | Width: ___ in. |
| Right wall | Width: ___ in. |
| Countertop to cabinet | Height: ___ in. |
| Window opening | Width: ___ in. |
| Outlet locations | Distance: ___ in. |
Sketch each wall separately, labeling openings and fixed features. Multiply width by height for each rectangular area, then subtract windows or other openings.
Add the sections together and include about 10 percent extra material for cuts and breakage. Keep your notes nearby when purchasing supplies.
Plan Tile Layout
Once you’ve measured the wall, plan the tile layout to create balanced edges and avoid awkward slivers. Mark the wall’s centerline, then arrange tiles along the counter and upward without adhesive.
Check how full tiles meet cabinets, corners, outlets, and the backsplash’s outer edges. Adjust the starting point so cuts at opposite ends look similar, and keep narrow pieces out of prominent areas.
Consider color coordination with your countertops, cabinets, flooring, and appliances. Use a dry layout to confirm pattern selection, especially with geometric, herringbone, or multicolor tiles.
Number pieces or photograph the arrangement before taking them down. Account for grout joints when measuring, and use spacers to preview their width.
If the wall isn’t level, establish a straight reference line rather than following the counter. Mark cut lines clearly, and plan openings around electrical boxes carefully.
Prepare and Clean the Kitchen Wall
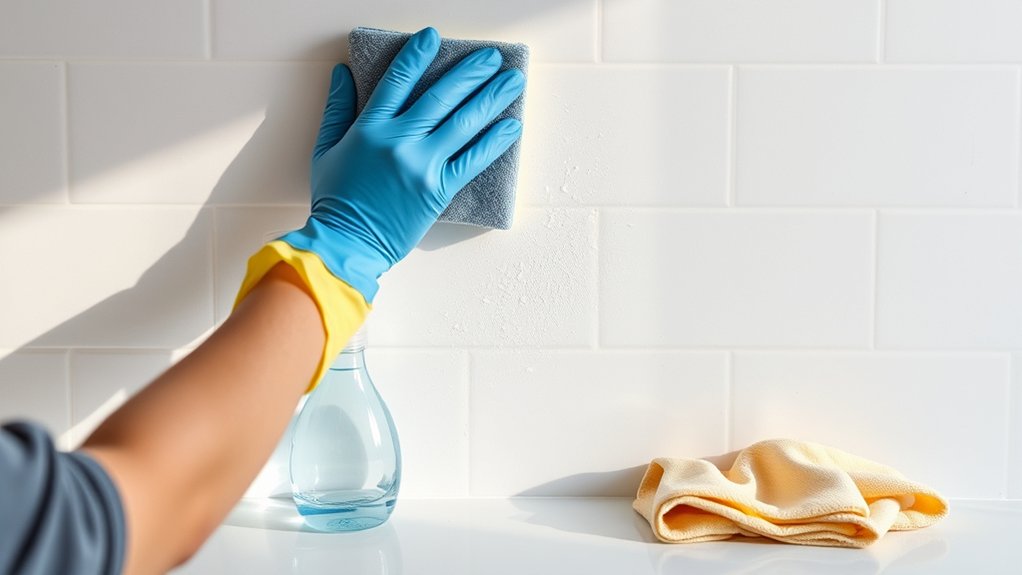
A clean, smooth wall gives your backsplash a strong foundation. Begin your wall preparation by removing outlet covers, switch plates, and nearby hardware.
Protect your countertop and cabinets with drop cloths, then inspect the surface for grease, dust, loose paint, or old adhesive.
Use suitable cleaning techniques for the wall’s condition. Wipe ordinary dust with a dry or slightly damp cloth.
For cooking residue, wash the area with warm water and a small amount of degreasing dish soap. Rinse with a clean, damp sponge, and let the wall dry completely.
Don’t soak drywall, since excess moisture can cause damage. Scrape away flaking paint and hardened residue with a putty knife.
Fill small holes, dents, and cracks with appropriate patching compound, then allow the repairs to dry.
Sand patched areas until they’re level with the surrounding surface, and remove all sanding dust.
Check the wall with your hand. It should feel firm, clean, dry, and smooth before you continue.
Cut and Set the Backsplash Tile
Measure and mark each tile carefully before cutting. Wear safety glasses, and use the right tool to cut the tiles safely. Set each tile with even spacing and consistent pressure to create a clean, polished backsplash.
Measure and Mark Tiles
Accurate measurements help you mark each backsplash tile for clean, precise cuts. Measure the wall space between the countertop and cabinets, then record each section separately. Account for outlets, corners, and uneven edges.
Plan your tile design before marking so patterns align and color coordination looks intentional. Use a level and straightedge to transfer dimensions onto the tile’s face or back.
Mark waste areas clearly, and label tiles by location to keep your layout organized.
| Measurement | Marking method | Check |
|---|---|---|
| Wall width | Measure in sections | Confirm twice |
| Wall height | Record from counter | Check level |
| Outlet location | Trace its outline | Verify placement |
| Corner spacing | Note the gap | Compare tiles |
Dry-fit marked tiles against the wall without adhesive. Confirm the pattern, spacing, and orientation before proceeding.
Keep your notes nearby, and update them whenever measurements change. Accurate planning saves tiles and prevents frustrating layout mistakes.
Cut Tiles Safely
Before cutting, put on safety glasses and gloves, secure each tile firmly, and use the correct wet saw or tile cutter for its material. Your safety gear protects your eyes and hands from sharp fragments and dust.
Keep fingers away from the blade, and never force a tile through the machine.
Mark every cut on the tile’s glazed face with a pencil or grease pencil. For straight cuts, score once with steady pressure, then snap the tile along the line.
Use a wet saw for thick porcelain, stone, or notches. Apply gentle pressure and let the blade do the work.
For curved cuts, drill relief holes or use tile nippers gradually. Smooth rough edges with a rubbing stone, and wipe away slurry before inspecting each cut for chips or cracks.
Set Tiles Evenly
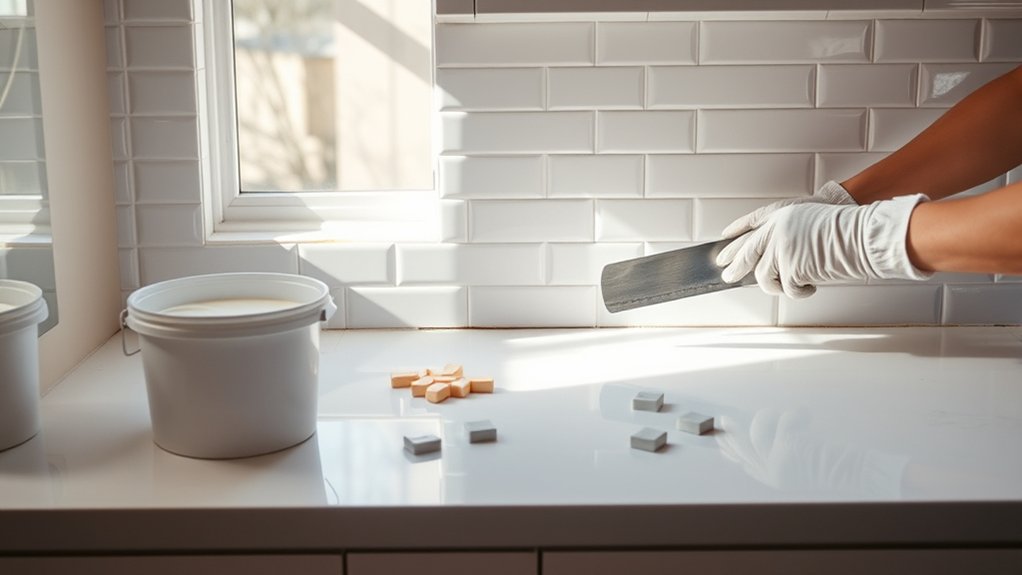
Once your cuts fit, spread tile adhesive in a small section with a notched trowel, then press each tile into place with a slight twist. Follow your tile pattern from the countertop upward, checking the layout after every few tiles.
Use tile spacers to maintain spacing consistency, and adjust tiles before the adhesive sets. Press firmly enough for good contact, but don’t squeeze adhesive into the joints.
Check the surface with a level frequently; small corrections now prevent a crooked backsplash later. When you reach outlets or corners, align cut edges carefully and keep visible joints uniform.
Wipe away excess adhesive with a damp sponge immediately. Continue across the wall in manageable sections, keeping mortar ridges consistent.
Let the adhesive cure according to the manufacturer’s instructions before removing spacers or applying grout.
Give the Adhesive Time to Set
Let the adhesive set according to the manufacturer’s instructions before grouting or putting the backsplash under stress. Check the label for the recommended drying time, since temperature, humidity, and tile size can affect how quickly the bond firms up.
Don’t rely on a surface that feels dry. The adhesive may still be soft underneath while it completes its curing process.
While you wait, protect your work with these simple steps:
- Keep the room’s temperature and humidity steady.
- Avoid splashing water near the backsplash.
- Don’t press, bump, or lean against the tiles.
- Keep children and pets away from the work area.
Use a timer or note the earliest safe handling time on your calendar. If the manufacturer lists a longer period for heavy or nonporous tiles, follow that guidance.
When a tile shifts, don’t disturb neighboring pieces. Gently reposition it only if the adhesive instructions allow.
Give the installation extra time whenever conditions feel cool or damp. Patience now helps the tiles stay aligned and securely bonded.
Grout the Tile and Seal Porous Surfaces
After the adhesive has cured, spread grout across the tile joints with a rubber float, pressing it firmly into each gap. Hold the float at a 45-degree angle and work diagonally across the tiles to fill every void.
Scrape away excess grout with the float’s edge, taking care not to pull material from the joints. This grout application creates a durable, moisture-resistant surface.
Let the grout rest for the manufacturer’s recommended time, then gently wipe the tile faces with a barely damp sponge. Rinse the sponge frequently and use light, diagonal passes to avoid disturbing the joints.
Allow the grout to cure fully before applying sealer.
If your grout is porous, use a compatible penetrating sealer. Follow the label’s coverage, drying, and reapplication instructions.
Apply it carefully along the joints with a narrow applicator, and remove any residue from tile surfaces promptly. These sealing techniques help prevent stains, moisture absorption, and discoloration.
Finish the Edges and Clean Up
With the grout and sealer fully cured, finish exposed tile edges with matching trim, caulk, or a clean bead of mildew-resistant silicone where the backsplash meets countertops, cabinets, or walls. Your edge finishing protects vulnerable joints and gives the installation a polished appearance.
- Apply painter’s tape on both sides of each joint for sharper caulk lines.
- Cut the nozzle at a slight angle, then run a steady, narrow bead.
- Smooth silicone with a damp finger or finishing tool before it skins.
- Remove tape immediately and let the sealant cure as directed.
Begin the cleanup process by scraping away dried grout or adhesive with a plastic scraper. Don’t use metal tools that could scratch tile or counters.
Wipe the surface with a damp sponge, changing the water frequently, then buff away haze with a clean, dry microfiber cloth. Remove remaining tape, inspect every joint, and touch up gaps or uneven caulk.
Keep the backsplash dry until all sealants cure fully. Finally, wash tools promptly and dispose of debris safely.
Frequently Asked Questions
Can I Install a Backsplash Over Existing Tile?
Yes, you can install a backsplash over existing tile if the surface is sound, clean, and level. Check tile adhesion by removing loose pieces, scuffing glossy surfaces, and washing away grease.
Confirm material compatibility between the old tile, primer, adhesive, and new backsplash. Fill deep grout lines, let repairs dry, then apply a suitable bonding primer.
Install your new tile with compatible thinset or adhesive, and allow proper curing before grouting.
How Long Should I Wait Before Exposing the Backsplash to Water?
Wait at least 24 to 48 hours before exposing your backsplash to light water, depending on the adhesive and grout manufacturer’s instructions. Give grout drying a full 48 to 72 hours before heavy splashing or cleaning.
If you’re sealing backsplash grout, wait until it has cured completely, typically 48 to 72 hours, though some products require longer. Don’t scrub, soak, or use harsh cleaners until the sealer has cured.
Do I Need Permits to Install a Kitchen Backsplash?
You usually don’t need a permit to install a kitchen backsplash if you’re only applying tile over existing walls. However, permit requirements vary under local regulations.
You may need approval if you’re moving electrical outlets, altering plumbing, removing walls, or making structural changes.
Contact your city or county building department before starting, especially if you live in a condominium or homeowners’ association. They can confirm exactly what your project requires.
How Do I Repair a Cracked or Damaged Backsplash Tile?
A single cracked tile can let moisture reach your wall, so don’t ignore it. For minor damage, clean the area, remove loose pieces, and apply matching epoxy.
For serious cracks, carefully cut out surrounding grout, break and remove the tile, then scrape away adhesive. Set a matching tile with thin-set, let it cure, and seal the edges.
Finish with Grout repair, or complete Tile replacement if damage spreads.
Can I Install a Backsplash Behind a Gas or Electric Range?
Yes, you can install a backsplash behind a gas or electric range, but plan carefully. Choose heat-resistant tile, mortar, and grout, and follow your appliance manufacturer’s clearance requirements.
Range safety matters: keep combustible materials away from burners and avoid placing outlets directly behind the appliance.
Consider ventilation considerations, especially if your backsplash reaches beneath a hood. Turn off power or gas before working, and let materials cure fully before using the range.
Conclusion
With your tile grouted, sealed, and edges finished, your new kitchen backsplash is ready to protect and brighten your kitchen. Step back and inspect each line, then wipe away any remaining haze.
Let everything cure as directed. You’ll have created a durable surface that looks polished and reflects your style, bringing the whole room together.
Now enjoy your refreshed kitchen and the satisfaction of installing the backsplash yourself.