How to Install a Kitchen Backsplash in 10 Steps
A kitchen backsplash can look like a small project, but choosing materials, measuring correctly, and getting clean cuts can quickly feel overwhelming. You’re not alone—many homeowners struggle to create a polished result without costly mistakes.
This guide to how to install a kitchen backsplash breaks the process into simple steps.
Choose your backsplash, gather tools, and measure the wall, adding 10% for waste. Turn off power, remove outlet covers, and protect counters.
Clean, repair, sand, and prime the wall.
Mark a level starting line, spread adhesive, and press tiles into place with spacers. Cut around outlets and corners.
Let the adhesive cure, then apply and wipe away grout.
Seal grout, caulk edges, and replace covers. Keep going for detailed tips that help your finished backsplash look professional.
Key Takeaways
- Measure the backsplash area, calculate tile quantities, add 10% for waste, and plan the layout around corners, outlets, and focal points.
- Clean, repair, sand, and prime the wall so it is smooth, dry, level, and free from grease or dust.
- Turn off electrical power, remove outlet covers, protect countertops, and gather tile, adhesive, spacers, cutting tools, grout, and caulk.
- Apply adhesive with a notched trowel, press tiles into place, maintain consistent spacers, and make accurate cuts around outlets and corners.
- Let adhesive cure, apply grout, remove haze, seal the grout, caulk edges, and reinstall outlet covers after restoring power safely.
Choose Your Backsplash Material
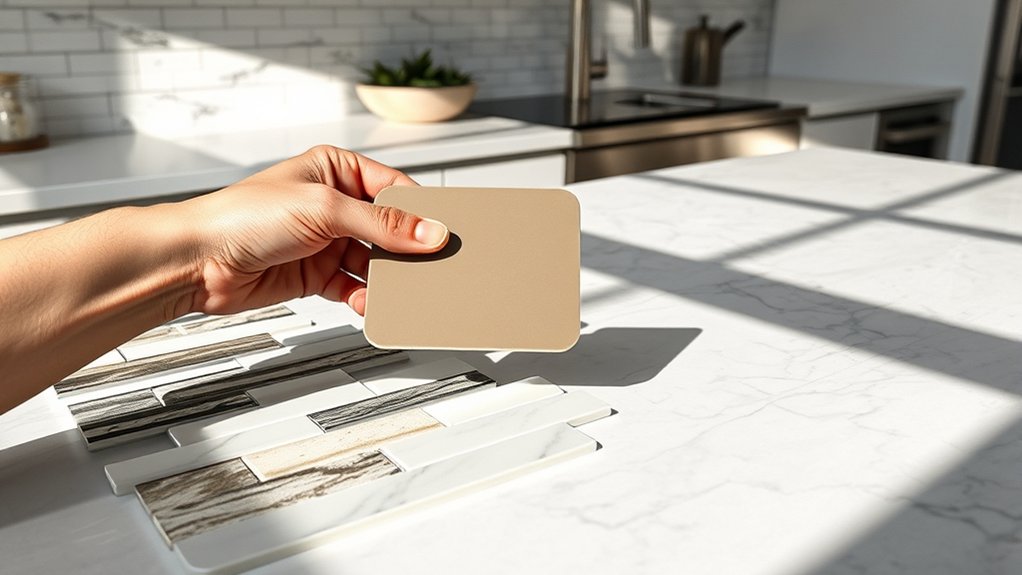
Start by choosing a backsplash material that suits your kitchen’s style, budget, and maintenance needs. Ceramic and porcelain tile offer affordable, durable options in countless colors, shapes, and finishes.
Choose a backsplash material that balances your kitchen’s style, budget, durability, and maintenance needs.
You can select simple subway tile for a clean look or explore decorative designs that create a focal point.
If you want natural character, consider stone. Marble patterns add elegance and visual movement, but marble requires regular sealing and careful cleaning because it can stain or etch.
Granite and slate provide rugged alternatives with different color ranges and maintenance demands.
Glass tile brightens a kitchen by reflecting light, while varied glass textures give the wall depth and personality.
However, glass can show adhesive irregularities beneath translucent surfaces, so choose an opaque style if you prefer a more forgiving finish.
For a modern, seamless appearance, consider metal or peel-and-stick panels. Compare each option’s durability, moisture resistance, cleaning requirements, and overall appearance before making your final selection.
Gather Tools and Materials
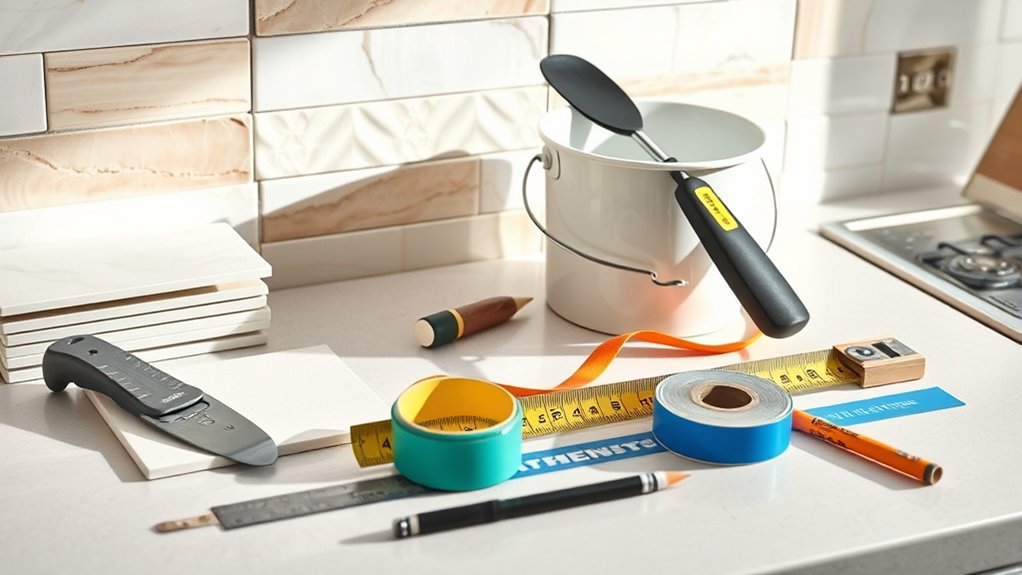
Gather your tile, thin-set mortar or tile adhesive, grout, spacers, and caulk before you begin. Choose products compatible with your tile and wall surface, and check each package for coverage, curing time, and application instructions.
Add a notched trowel for spreading adhesive, a grout float, a utility knife, tile nippers or a wet saw, a level, a pencil, a sponge, buckets, and clean rags.
Protect your work area with drop cloths, and keep a dust mask, safety glasses, and waterproof gloves nearby. Follow tool safety practices: inspect cords, use blades and saws as directed, and unplug powered equipment before adjustments or cleaning.
Select grout and caulk suited to kitchen moisture, heat, and cleaning products to support material durability. Keep extra tiles, spacers, adhesive, and grout available for mistakes or future repairs.
Gather a mixing paddle and drill if your mortar requires mixing, plus a sealant if the grout manufacturer recommends it. Organize everything within easy reach before installation.
Measure and Plan the Layout
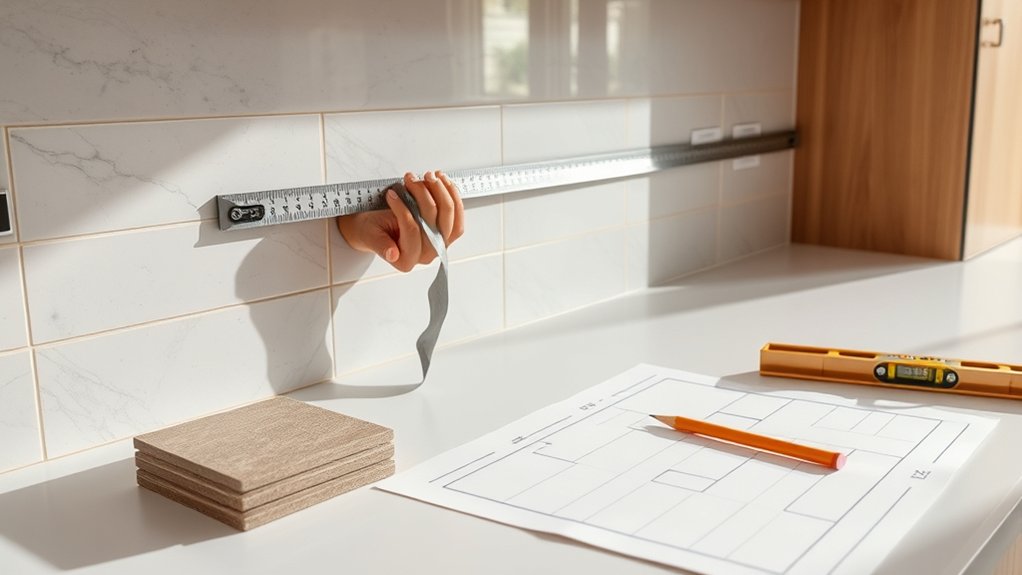
Measure the wall’s height and width to determine how much area you’ll cover. Then, plan where each tile will go, keeping outlets, corners, and cut pieces in mind. Finally, mark a level starting line to help you create an even, balanced backsplash.
Measure Wall Dimensions
Before you choose a tile pattern, measure each backsplash wall’s width and height to determine its total square footage. Record every measurement in inches, including the wall height from the countertop to the bottom of the cabinets or intended backsplash limit.
Measure the width of each separate wall section, noting spaces interrupted by outlets, windows, or appliances. Don’t assume adjoining walls match; older homes may have uneven surfaces or slight differences.
Check corner angles with a combination square or angle finder, especially where walls meet, because out-of-square corners can affect material calculations.
Multiply each section’s width by its height, then add the results. Convert the total to square feet by dividing by 144.
Add 10 percent for cuts, breakage, and measurement errors when ordering tile.
Plan Tile Placement
Once you’ve recorded the wall dimensions, plan the tile layout so the pattern looks balanced and ends with attractive cuts. Find the wall’s center, then dry-lay tiles outward to see where joints and edges fall.
Account for outlets, corners, cabinets, and the countertop line before applying adhesive. Your tile patterns and design considerations should guide the starting point and orientation.
- Center prominent patterns on the most visible wall.
- Keep narrow slivers, ideally under half a tile, out of corners.
- Align grout joints across adjoining walls when possible.
- Mark a level baseline above the countertop and plan upward.
Use spacers during the dry layout, and label cut pieces if your arrangement spans several walls. Check the plan from normal viewing distance, adjust for symmetry, and photograph it before removing the tiles.
This preparation reduces waste and creates a cleaner, professional finish.
Turn Off Power and Protect Counters
Switch off the circuit breaker that supplies power to outlets and switches in the backsplash area, then confirm they’re dead with a noncontact voltage tester. Test each outlet before removing cover plates or handling nearby wiring.
If the tester signals power, stop and check the breaker or call a qualified electrician. Electrical safety comes first, so don’t rely on a wall switch alone, and keep the breaker off throughout the installation.
Create countertop protection before you begin removing outlet covers or setting out tools. Clear appliances, utensils, and other loose items from the work surface.
Lay thick drop cloths, cardboard, or a padded moving blanket over the counter, securing the covering so it can’t slide. Use painter’s tape along the backsplash edge to hold the protective layer in place without damaging the finish.
Cover the sink and cooktop, too, if debris or tools could fall into them. Keep screws and cover plates in a labeled container, and organize tools away from the counter’s edge.
Good preparation helps prevent scratches, chips, and electrical accidents.
Clean and Prepare the Wall
Before installing the backsplash, clean the wall to remove any dirt or grease. Repair holes, cracks, and other imperfections, and let the patches dry completely. Then, sand the surface smooth so the backsplash adheres properly.
Remove Dirt and Grease
Start by wiping the wall with a degreasing cleaner to remove cooking residue, dust, and grime. Work in small sections, especially behind the range and near countertops, where grease collects.
Use suitable Cleaning supplies, including a spray bottle, microfiber cloths, a nonabrasive sponge, and warm water. Follow the cleaner’s label, and ventilate the room while you work.
- Spray the cleaner onto your cloth, not directly onto outlets or switches.
- Let stubborn grease sit briefly so it loosens without aggressive scrubbing.
- Wipe with a clean, damp cloth to remove cleaner residue.
- Dry the wall completely with a lint-free towel.
Repeat grease removal until the cloth stays clean after wiping. Don’t use steel wool or harsh abrasives, which can damage painted surfaces.
Keep the wall free of dust and cooking film before continuing with backsplash installation.
Repair Wall Imperfections
Once the wall is clean and dry, inspect it for holes, cracks, loose paint, or raised drywall seams. Scrape away flaking paint with a putty knife, and remove any loose drywall paper.
Fill small holes and cracks with spackling compound, pressing it firmly into each opening. For larger damage, apply joint compound in thin layers, allowing each layer to dry before adding more.
Sand repaired spots lightly until they’re free of ridges and loose material. Use wall sanding techniques that limit dust, and wear a mask while you work.
Wipe the wall with a clean, slightly damp cloth afterward to remove residue. Let every repair dry completely.
Finish with paint touch ups where exposed drywall or patched areas need sealing before you install the backsplash.
Ensure a Smooth Surface
With repairs dry and sealed, smooth the entire wall so the backsplash can adhere evenly. Scrape away loose paint, wallpaper residue, and dried adhesive.
Wash grease and dust with a degreasing cleaner, then rinse and let the surface dry completely. Sand glossy paint lightly to create tooth, and wipe away every trace of powder.
Check the wall with a straightedge. Mark dips or ridges, then skim low spots with joint compound or patching compound.
After it dries, sand those areas flush and remove the dust. Your preparation supports precise tile patterns and helps different backsplash styles look intentional.
- Vacuum corners, outlets, and the countertop edge.
- Protect counters and cabinets before sanding.
- Confirm the wall feels clean and uniformly flat.
- Prime porous patches before applying tile adhesive.
Don’t rush this step. Uneven surfaces can cause cracked grout or shifting tiles.
Cut Tile Around Outlets and Corners
Accurate cuts around outlets and corners give your backsplash a clean, finished appearance. Before you cut tile, measure each space carefully, accounting for grout lines and the outlet installation.
Turn off power at the breaker, then remove the outlet cover and loosen the receptacle so you can measure behind it safely. Mark the tile’s face with a pencil or grease pencil, using a template when possible.
For straight cuts, use a tile cutter or wet saw. Create outlet openings with a diamond hole saw for round shapes, or make several passes with a grinder for rectangular openings.
Keep the opening slightly larger than the electrical box, but verify the cover plate will hide the gap. For outside corners, measure both surfaces and plan cuts so the edges meet neatly.
At inside corners, scribe the tile to follow the wall’s shape. Wear eye protection, support pieces fully, and smooth sharp edges with a rubbing stone.
Apply Adhesive and Install the Tile
Spread the adhesive evenly across the wall with a notched trowel. Then, press each tile firmly into place, using spacers to keep the spacing even.
Spread the Adhesive
Once the surface is clean and dry, use a notched trowel to spread a thin, even layer of tile adhesive over a small section of the wall. Choose an adhesive based on your tile material, wall surface, moisture exposure, and the manufacturer’s recommendations.
Your application technique should create consistent ridges without exposing the bare wall.
- Hold the trowel at a 45-degree angle.
- Cover only an area you can tile before the adhesive skins over.
- Comb the adhesive in one direction for uniform thickness.
- Keep the ridges straight and evenly spaced.
Avoid spreading adhesive over grout lines, outlets, or large areas at once. Scrape away excess adhesive immediately, and check the recommended working time on the product label.
If the adhesive looks dry or develops a film, remove it and apply fresh material.
Press Tiles Firmly
Press each tile firmly into the adhesive with a slight twisting motion to set it into the ridges and guarantee full contact. Work outward from your starting point, placing tiles onto the adhesive while it’s still workable.
Use steady pressure across the tile’s surface, especially near corners and edges, so the adhesive bonds securely. Don’t slide the tile excessively, which can push adhesive away or create uneven coverage.
To press tiles firmly without damaging the surface, use a clean grout float, rubber mallet, or your palm, depending on the tile material. Lift an occasional tile to check that adhesive covers most of its back.
If you see gaps, add fresh adhesive and reset the tile. Press from the center outward to avoid air bubbles beneath the backsplash. Wipe away squeeze-out promptly with a damp sponge.
Maintain Even Spacing
As you set each tile, maintain even spacing with tile spacers between adjoining edges. Press each tile firmly into the adhesive, then check that its corners align with neighboring tiles.
Adjust the tile immediately if it drifts, because adhesive becomes harder to move as it sets. Keep joints consistent across the backsplash, including areas around outlets and cabinet edges.
Use these checks to preserve a professional layout:
- Confirm spacers remain upright and fully seated.
- Compare each row with a level.
- Wipe adhesive from joints before it hardens.
- Step back often to inspect alignment.
Consistent gaps support clean grout lines and make your color coordination look intentional. If your design inspiration includes varied tile shapes or patterns, mark reference lines first and follow the manufacturer’s spacing guidance.
Remove spacers only after the adhesive reaches the recommended set time.
Let the Adhesive Cure
Give the adhesive time to cure according to the manufacturer’s instructions before grouting or using the backsplash. Adhesive drying requires patience, even if the tile feels firmly attached.
The surface may seem ready while the adhesive underneath remains soft, so don’t disturb the tiles prematurely.
Check the product label for the recommended curing time, which can vary with adhesive type, tile size, temperature, and humidity.
Cool, damp conditions often slow the process, while good ventilation can support consistent drying. Keep the kitchen area undisturbed, and avoid leaning tools, containers, or other objects against the backsplash.
If you notice a loose tile, shifting edges, or adhesive squeezing through a joint, don’t proceed.
Carefully correct the problem while the adhesive remains workable, then restart the curing period as needed.
Resist the urge to test the installation repeatedly. Pressure can break the bond or move tiles out of alignment.
Once the stated time has passed, inspect the surface for secure, even tiles before continuing.
Apply Grout to the Backsplash
Once the adhesive has cured, mix the grout according to the manufacturer’s instructions until it reaches a smooth, spreadable consistency. Choose sanded or unsanded grout based on your joint width, and consider color matching the tile or creating contrast.
Scoop grout onto a rubber float, then press it diagonally across the tiles to fill every joint. Hold the float at a 45-degree angle and make several passes from different directions.
- Work in small sections so the grout doesn’t dry before cleanup.
- Remove excess grout by scraping the float diagonally across the tile faces.
- Wait about 10 to 15 minutes, then wipe the tiles with a damp sponge.
- Rinse the sponge frequently and avoid digging into the joints.
After the surface develops a light haze, polish the tiles with a dry microfiber cloth. Let the grout cure for the time specified on the package.
Once cured, apply grout sealing to protect against stains and moisture, following the sealer’s directions carefully.
Caulk Edges and Replace Covers
After the grout has cured, apply a thin bead of mildew-resistant caulk along the backsplash’s edges, inside corners, and where it meets the countertop. Use a caulk gun for consistent coverage, and keep the bead narrow to create a neat, flexible seal.
To caulk edges cleanly, hold the nozzle at a steady angle and move it smoothly without stopping. Immediately smooth the bead with a damp finger or caulk tool, wiping away excess as you go.
Don’t stretch or disturb the fresh caulk, and allow it to cure according to the manufacturer’s instructions. Keep the area dry during curing to prevent gaps or adhesion problems.
Once the seal has set, reinstall outlet and switch covers. Before you replace covers, turn off power at the breaker and confirm the circuits are dead with a voltage tester.
Position each cover squarely, tighten screws gently, and avoid overtightening, which can crack the plate or damage the backsplash. Restore power and inspect your finished installation for gaps, smears, or loose covers.
Frequently Asked Questions
Can Backsplash Tiles Be Installed Directly Over Existing Tile?
Yes, you can install backsplash tiles directly over existing tile if the surface is firmly attached, clean, dry, and reasonably flat. Remove grease, repair cracks, and lightly sand glossy areas so mortar or adhesive bonds properly.
Choose suitable Material options, such as ceramic, porcelain, or glass, and plan Tile patterns before installation. Use a thinset recommended for tile-over-tile applications, maintain even spacing, and allow adequate curing time.
How Do You Remove a Backsplash Without Damaging Drywall?
You’ll protect drywall best by cutting the backsplash’s edges with a utility knife, then warming adhesive with a hair dryer. Starting at a loose corner, slide in a stiff putty knife and gently pry, keeping it nearly flat.
Work slowly, supporting each tile as it releases. For stubborn spots, score grout lines and remove tiles individually.
Finish by removing adhesive with a scraper. Expect minor drywall repair: skim damaged paper with joint compound, sand, and prime.
What Backsplash Style Works Best With Open Shelving?
Open shelving works best with a simple, continuous backsplash that keeps your kitchen feeling uncluttered. Choose white subway tile for a timeless look, handmade zellige tile for texture, or a slab backsplash for sleek, minimal appeal.
Among popular backsplash styles, select one that complements your shelves, dishes, and hardware without competing for attention. You’ll create a cohesive display by repeating one color from your dinnerware or cabinetry throughout the backsplash design.
How Do You Repair Cracked or Chipped Backsplash Tiles?
Repair cracked or chipped backsplash tiles by removing loose pieces, cleaning the area, and replacing severely damaged tiles. For minor damage, sand the edges gently, then fill the chip or crack with matching epoxy or tile filler. Let it cure, sand it smooth, and apply a protective sealant.
Check the surrounding tile grout, too. Remove crumbling sections and press in fresh grout. Effective crack repair prevents moisture from spreading beneath nearby tiles.
How Often Should a Kitchen Backsplash Be Cleaned and Sealed?
You should clean your kitchen backsplash weekly, or sooner when splatters appear. Coincidentally, tonight’s pasta sauce may remind you why a quick wipe prevents stubborn buildup. Your Cleaning schedule should include warm water, mild dish soap, and a soft cloth; avoid abrasive pads.
Seal porous stone or unglazed tile every one to two years, depending on use and the manufacturer’s guidance. Your Sealing frequency may increase if water no longer beads on the surface.
Conclusion
With your kitchen backsplash installed, you’ve turned a plain wall into the kitchen’s finishing touch. Let the adhesive and grout cure fully before exposing the surface to moisture or heavy cleaning.
Once you’ve caulked the edges and replaced the outlet covers, wipe away the last haze and admire your work. Like the final brushstroke on a painting, this project ties the room together while protecting your wall and adding color, texture, and personality for years to come.