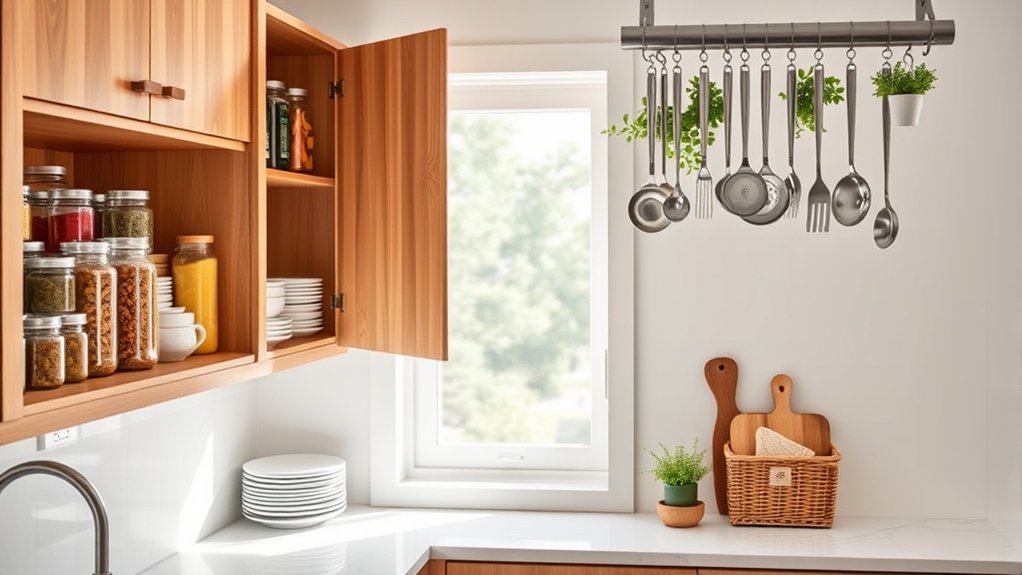
How to Organize Your Kitchen Cabinets
Struggling to keep your kitchen cabinets organized? You’re not alone—many people deal with cluttered shelves, wasted space, and hard-to-find essentials. The right tools can make organizing your kitchen cabinets simpler and help create a system that lasts.
Declutter your kitchen cabinets by removing duplicates, broken tools, expired food, and rarely used appliances. Group remaining items by task, such as cooking, baking, breakfast, or snacks.
Measure cabinets before buying bins, dividers, or risers, and check clearance around hinges and plumbing. Keep everyday dishes, tools, and ingredients between waist and eye level.
Use vertical dividers, door racks, labels, and pantry zones to maximize space. A few simple habits will help you maintain the system with ease.
Key Takeaways
- Declutter cabinets by removing duplicates, expired food, broken tools, and items you no longer use.
- Group items by task, such as cooking, baking, coffee preparation, meal planning, and lunch packing.
- Keep frequently used dishes, ingredients, and tools between waist and eye level for easy access.
- Use risers, dividers, labeled bins, racks, and door organizers to maximize available storage space.
- Measure cabinets and test organizer layouts before purchasing to ensure proper fit, clearance, and accessibility.
Declutter Your Kitchen Cabinets First
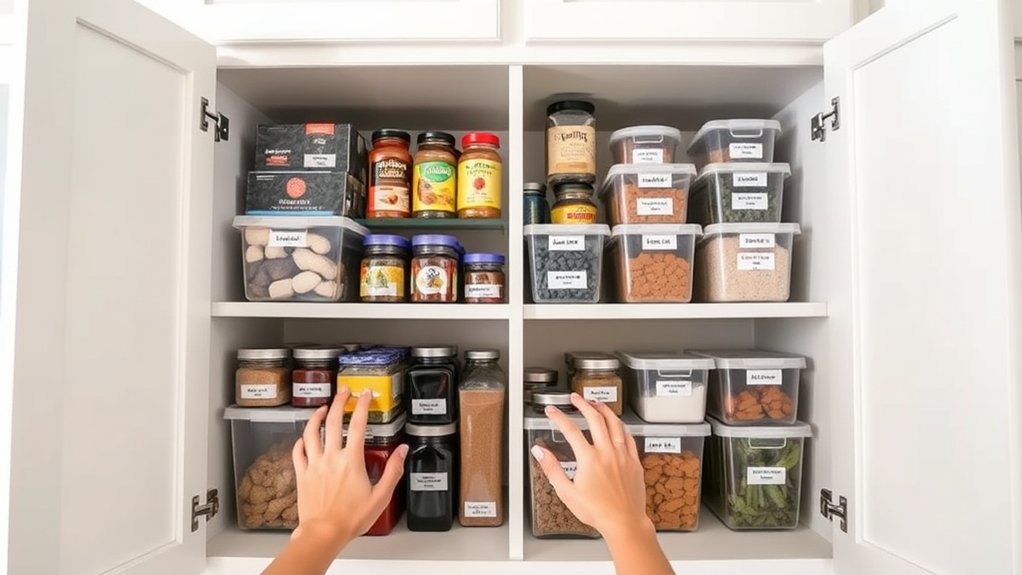
Before you organize your kitchen cabinets, remove everything and sort each item by use. Set aside duplicates, broken tools, expired food, and anything you haven’t touched in the past year. If an item doesn’t work, donate it only if it’s safe and functional; otherwise, recycle or discard it responsibly.
Clear out every cabinet, sort items by use, and responsibly remove duplicates, broken tools, expired food, and unused essentials.
Wipe empty shelves and inspect corners for crumbs, leaks, or pests. Measure available space before deciding what returns to the cabinets.
Review your appliance organization, too. Keep only appliances you regularly use, and move bulky or rarely needed models elsewhere. Seasonal storage can hold holiday bakeware, specialty serving pieces, and equipment you use only occasionally. Label those containers clearly so you won’t unpack everything later.
As you declutter, question each item’s condition, usefulness, and space requirements. Keep valuable counter and cabinet space for essentials.
Once you’ve removed excess items and cleaned the interiors, you’ll have a clear starting point for arranging the remaining contents efficiently.
Group Items by How You Use Them
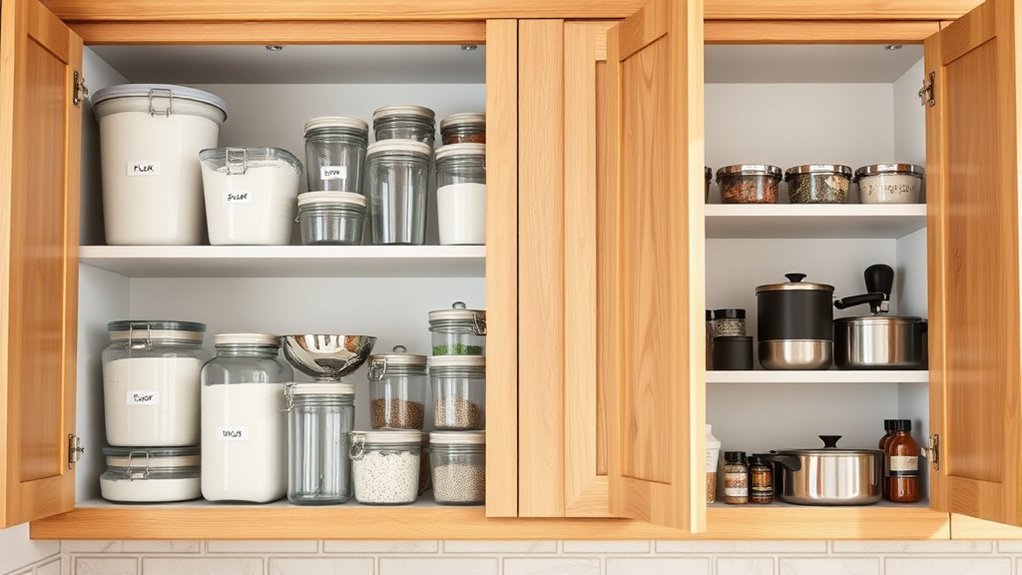
Group items by how often you use them and what you use them for to make your cabinets easier to navigate. Keep everyday essentials within easy reach, then create task-based zones for cooking, baking, and serving. Store your favorite tools and ingredients where they’re easy to grab, so you spend less time searching.
Store by Daily Use
Arrange cabinet contents around the routines you perform most often, keeping everyday dishes, glasses, mugs, and cooking tools within easy reach. You’ll save time when frequently used items sit between waist and eye level, while special-occasion pieces can occupy higher shelves.
- Place breakfast essentials together, including cereal bowls, coffee mugs, and serving spoons.
- Keep daily dinnerware near the dishwasher or dining area for quicker unloading and setting.
- Store less-used platters, baking dishes, and seasonal entertaining pieces toward the back or above.
Review your cabinets every few months and adjust locations as your habits change. Consider kitchen aesthetics when choosing visible storage, so commonly reached items still look intentional.
Also evaluate appliance placement. Keep frequently used countertop appliances accessible without crowding your main workspace. Label shelves only when shared storage creates confusion, and leave enough room to remove items comfortably.
Create Task-Based Zones
Create zones around the tasks you perform in the kitchen, such as preparing coffee, baking, cooking, or packing lunches. Place related tools and ingredients together so each activity flows smoothly.
For a coffee zone, group mugs, filters, grounds, and measuring spoons near the machine. Keep baking supplies, mixing bowls, pans, and decorating tools in one cabinet or drawer.
Arrange cooking utensils, spices, oils, and cookware near your main preparation area. Designate a lunch-packing zone with containers, wraps, clips, and labels.
Use meal planning to identify the tasks you repeat most often, then organize cabinets around those routines. Consider appliance storage, too: keep the toaster, blender, or food processor near the ingredients and tools you use with them.
Clear labels can help everyone return items to the correct zone after each task.
Keep Favorites Accessible
Keep the dishes, tools, and ingredients you use most within easy reach. Store them between waist and eye level so you won’t strain or dig through crowded shelves. Group items according to your daily routines, placing breakfast supplies near mugs and coffee, cooking tools beside prep surfaces, and favorite snacks in a cabinet everyone can reach.
- Put plates, bowls, and glasses together for quick table setting.
- Keep cherished utensils in a shallow drawer or countertop holder.
- Arrange frequently used ingredients in labeled bins at the front.
Move rarely used appliances, specialty serving pieces, and seasonal items to higher cabinets. After a week, notice what you still reach for often and adjust accordingly.
Your cabinet layout should match how you actually cook, eat, and clean, not an imagined routine. Leave a little open space, too, so returning favorites won’t become a daily puzzle.
Measure Cabinets Before Buying Organizers
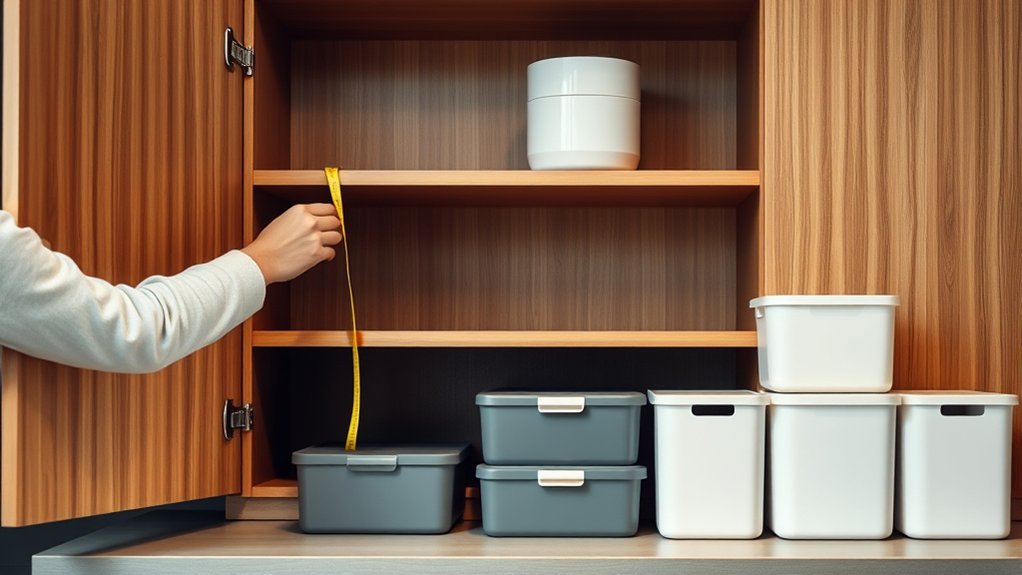
Before buying cabinet organizers, measure each space’s width, depth, and height, accounting for hinges, shelves, and plumbing that may limit usable room. Use a sturdy measuring tape, and record every measurement in inches or centimeters.
Measure cabinet width, depth, and height carefully, accounting for hinges, shelves, and plumbing before purchasing organizers.
Don’t assume cabinets that look identical share exact dimensions. Slight differences can affect fit.
Measure the opening at the front, then check the interior depth from the back wall to the door or frame. Note fixed shelves, center supports, hinges, drawer slides, and pipes beneath the sink.
For doors, measure the clearance needed to open fully without striking nearby cabinets or appliances. If walls or shelves aren’t perfectly square, take measurements at several points and use the smallest number.
Write your measurements in a simple sketch, labeling each cabinet clearly. Bring those notes when you shop or compare products online.
Confirm an organizer’s external measurements, required clearance, and weight capacity before purchasing. Leave enough room for comfortable access.
Choose Dividers, Bins, and Shelf Risers
With your cabinet measurements in hand, choose organizers that match both the space and the items you’ll store. Consider each tool’s purpose, material, and flexibility before you buy.
1. Dividers: Use adjustable dividers to separate baking sheets, cutting boards, lids, or serving trays. Choose sturdy models with nonslip grips, and set them vertically or horizontally according to cabinet dimensions.
2. Bins: Select stackable bins for packets, small appliances, cleaning supplies, or pantry overflow. Clear fronts help you identify contents, while built-in handles make each bin easier to remove.
Leave enough clearance to lift the top bin without scraping the shelf.
3. Shelf risers: Add shelf risers when cabinets have unused vertical space. They create tiers for plates, cups, cans, or jars, letting you see more items without overcrowding.
Pick stable risers that support the expected weight and fit securely from front to back.
Before purchasing, check door clearance and shelf depth. Favor washable, durable organizers, and avoid buying more than your cabinets can comfortably hold.
Test a few layouts with empty boxes if you’re unsure.
Place Everyday Items Within Reach
Place your everyday dishes on an easy-to-reach shelf so you can grab them quickly. Keep frequently used tools, like spatulas and measuring cups, close by, too. This saves time and makes meal prep smoother.
Keep Daily Dishes Accessible
Keep the plates, bowls, glasses, and mugs you use every day on a shelf or in a drawer that’s easy to reach. Arrange them at a comfortable height so you won’t stretch, crouch, or move other items each morning.
Use dishware stacking to keep matching plates and bowls together, but don’t create piles so tall they wobble. Leave enough space for quick unloading from the dishwasher and easy replacements after meals.
- Group plates by size, placing dinner plates below smaller ones.
- Nest bowls together, keeping the most-used sizes on top.
- Line up glasses and mugs with handles facing outward.
Reserve the easiest spots for your household’s daily settings. During utensil sorting, separate forks, spoons, and knives into labeled compartments.
Keep seasonal dishes, serving pieces, and special-occasion items in higher or less convenient cabinets. Reassess the arrangement after a week, then adjust anything that slows you down.
Store Frequently Used Tools Nearby
Once your daily dishware has a convenient home, give the same attention to the tools you use most. Store frequently used items where you can grab them without opening several cabinets.
Keep spatulas, wooden spoons, tongs, and measuring cups in a utensil drawer beside your prep area. Use dividers to separate categories, so you won’t dig through a crowded space.
Place knives in a countertop block or a drawer insert, keeping blades secure and handles easy to identify. If you use a kitchen gadget every day, such as a can opener or peeler, position it in the front of the appropriate drawer.
Reserve higher shelves for tools you rarely need. Return each item after use, and your cabinets will stay orderly while meal preparation moves faster. Keep the layout intuitive, and you’ll save time daily.
Arrange Dishes, Glasses, and Mugs
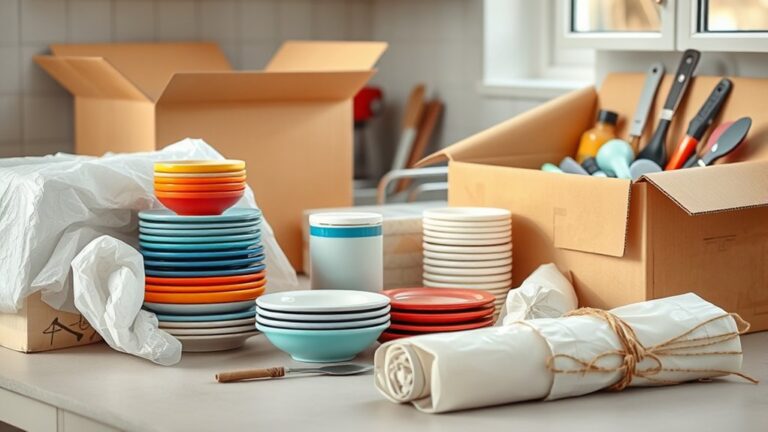
Group dishes, glasses, and mugs by type and frequency of use so your cabinets stay easy to navigate. Keep everyday plates at eye level, placing less-used serving pieces on higher shelves. Use dish stacking carefully: align plates by size, and avoid tall piles that could topple or strain your wrists.
- Store bowls beside plates so you can set the table quickly.
- Line up glasses on a stable shelf, with heavier tumblers below delicate stemware.
- Arrange mugs with handles facing outward, leaving enough space to lift each one safely.
Thoughtful mug placement prevents crowded shelves and chipped handles. Reserve a small section for travel cups or seasonal drinkware, and avoid mixing them with fragile glasses.
If shelves feel deep, place shorter items in front of taller ones, or add a riser to create a second level. Use shelf liners to reduce sliding, but don’t overfill cabinets.
Finally, keep children’s sturdy cups within their reach while storing breakable items higher. Return each piece to its assigned spot after washing.
Organize Pots, Pans, and Baking Tools
Arrange pots, pans, and baking tools by size and frequency of use so you can grab what you need without shifting a crowded stack. Keep everyday skillets and saucepans in the easiest-to-reach cabinet, while you place specialty cookware higher or farther back.
For efficient cookware stacking, nest compatible pots and pans, but separate them with felt protectors, towels, or thin dividers to prevent scratches. Store lids vertically in a rack, file sorter, or cabinet-door holder so you won’t dig through a pile.
Use shelf risers to create levels for Dutch ovens and smaller pans, protecting your back and maximizing space. For baking tool storage, group measuring cups, rolling pins, whisks, spatulas, and cookie cutters in labeled bins or shallow drawers.
Keep baking sheets upright with tension dividers, and place frequently used tools near your prep area. Before returning everything, remove duplicates and damaged pieces. Leave enough room to lift each item out smoothly.
Set Up Pantry Zones for Food Storage
Create clear pantry zones by grouping similar foods together and placing everyday staples at eye level. Assign spaces for breakfast items, canned goods, grains, baking supplies, and cooking essentials.
Keep heavier containers on lower shelves and reserve higher areas for foods you use less often. Your zones might include:
- Daily staples: Place cereal, bread, coffee, and rice together for quick access.
- Meal builders: Group pasta, sauces, canned vegetables, and spices near one another.
- Treats and extras: Create a dedicated area for desserts, drinks, and backup packages.
Use pantry labeling to identify each zone and prevent items from drifting into random spots. Clear labels help everyone return food correctly.
Improve snack organization by placing individually packaged foods in one accessible bin or basket. Arrange newer purchases behind older ones.
Check expiration dates during weekly resets and wipe spills immediately. Restock each zone after grocery trips.
You’ll save time, reduce duplicate purchases, and keep your pantry easy to navigate.
Use Cabinet Doors and Vertical Dividers
You can maximize cabinet-door storage with slim racks for spices, lids, or cleaning supplies. Adding vertical dividers keeps baking sheets, cutting boards, and trays upright and easy to grab. These simple upgrades will free up shelf space and help keep everything organized.
Maximize Door Storage
Cabinet doors and vertical dividers can turn overlooked space into practical storage. Attach slim racks inside doors to hold wraps, lids, measuring cups, or spice packets without crowding your shelves.
Choose sturdy, adjustable organizers that fit the door’s width and leave room for hinges. You can also use:
- Magnetic strips for scissors, bottle openers, and small metal tools.
- Clear pockets for recipes, labels, or lightweight packets.
- Hooks for pot holders, brushes, and reusable bags.
Keep door-mounted items light so hinges won’t strain, and place frequently used supplies at eye level. Don’t let the door collide with interior containers when you close it.
Although Overhead shelving uses upper wall space effectively, door storage keeps essentials accessible and makes every cabinet surface work harder. Check each rack periodically, and remove anything you no longer use.
Add Vertical Dividers
Vertical dividers keep baking sheets, cutting boards, trays, and pot lids upright instead of stacked in unstable piles. Install adjustable racks inside a lower cabinet, or use tension dividers that fit without drilling.
Measure the cabinet’s width, height, and depth first, then leave enough clearance for each item. Group similar pieces together so you can grab what you need without shifting everything else.
Place frequently used boards and pans near your work area, while storing occasional serving trays higher or farther back. You can also add narrow dividers to deep drawers for lids and bakeware.
Secure each divider firmly to prevent tipping, and label sections if your household shares the space. This simple upgrade improves cabinet organization, protects cookware from scratches, and makes vertical dividers a practical part of your daily routine.
Keep Your Kitchen Cabinets Organized
Once everything has a designated place, maintain order by returning each item immediately after use. You’ll prevent clutter from spreading and make daily cooking feel easier.
After unloading groceries, group new items with similar products and move older packages forward. This simple rotation helps you notice what you have and reduces waste.
Use this quick routine:
- Reset nightly: Wipe spills, close containers, and return stray tools before bed.
- Review weekly: Check crowded shelves, combine duplicates, and remove expired food.
- Adjust monthly: Reconsider inconvenient storage and relocate items you rarely use.
Keep frequently used cookware near your main prep area, while seasonal or specialty pieces can occupy higher shelves. Label bins when several family members share the kitchen, so everyone can follow your system.
Don’t let organization hurt accessibility. You should be able to reach essentials without stacking unstable piles.
Good Kitchen lighting helps you spot messes, while consistent cabinet aesthetics make order easier to maintain. With small, regular resets, your cabinets will stay functional, tidy, and welcoming.
Frequently Asked Questions
How Often Should I Deep-Clean My Kitchen Cabinets?
Deep-clean your kitchen cabinets every three to six months, then wipe spills and crumbs as soon as you notice them. You’ll prevent grease buildup, odors, pests, and damaged finishes by emptying each cabinet, vacuuming corners, and washing surfaces with a mild cleaner.
Include shelves, doors, handles, and hinges while checking expired items. Use this routine to support better Cabinet organization and improve your Storage solutions throughout the kitchen year-round.
What Cleaning Products Are Safe for Different Cabinet Materials?
Cabinet cleaning starts with matching your product to the surface. For painted or laminate cabinets, use warm water with a few drops of mild dish soap; it lifts grime like rain washing dust from leaves.
For wood, choose a barely damp microfiber cloth and wood-safe cleaner, then dry immediately. For metal, use diluted dish soap.
Avoid bleach, ammonia, abrasive pads, and excess water. Safe cleaning protects finishes and keeps every cabinet shining.
How Can I Childproof Kitchen Cabinets and Drawers?
Install sturdy Cabinet locks on every lower cabinet and drawer containing knives, cleaners, medicines, or breakable items. Choose latches that match your cabinet style, and secure them according to the manufacturer’s instructions.
Move hazardous products to high, locked storage, and keep appliance cords out of reach. Add corner guards to sharp edges, use stove-knob covers, and secure freestanding appliances.
Check locks regularly, since growing children may eventually figure out simple mechanisms.
How Do I Prevent Cabinet Odors, Moisture, and Mold?
Think of your cabinet as a tiny cave: when damp air lingers, it becomes mold’s welcome mat. Keep doors slightly open after washing dishes, wipe spills immediately, and fix leaks quickly.
Improve airflow by spacing items apart, and use shelf liners you can remove and clean. Run a dehumidifier nearby if humidity stays high.
For odors, place baking soda inside. Use an air freshener only after cleaning, not to mask mustiness. Inspect regularly for stains.
When Should I Repair or Replace Damaged Cabinet Hardware?
Repair cabinet hardware when screws loosen, hinges squeak, handles wobble, or drawer slides stick but remain structurally sound. Tighten, realign, lubricate, or replace individual screws and fittings as part of cabinet hardware repair.
Choose hardware replacement when parts bend, crack, rust, repeatedly fail, or damage cabinet surfaces. Replace mismatched or outdated hardware during a renovation, especially if repairs cost nearly as much as new components.
Inspect everything regularly to prevent sudden failures and injuries.
Conclusion
Keep your kitchen cabinets organized by returning each item to its designated home after use. Review crowded shelves regularly, remove expired food, and adjust organizers as your needs change.
Store everyday essentials where you can reach them easily, while keeping occasional tools higher or farther back. Don’t aim for perfection; aim for a system that saves time and reduces stress.
With a little consistency, your kitchen cabinets will run like a well-oiled machine, making every meal easier and keeping your kitchen cabinets organized.