How to Unclog a Kitchen Sink in 10 Steps
A clogged kitchen sink can quickly turn a simple chore into a frustrating mess. If water is pooling, the drain smells bad, or both basins are backing up, you’re not alone—many people struggle with kitchen sink clogs.
The good news is that you can often fix the problem yourself with a few basic tools.
To unclog a kitchen sink in 10 steps, wear gloves, remove standing water, and clear the stopper and drain opening. Turn off power before checking or resetting the garbage disposal.
Plunge the drain, then flush it with hot tap water. If it remains blocked, clean the P-trap and use a drain snake.
Test both basins and check for leaks. Avoid grease and scraps, and call a plumber for persistent clogs.
The steps below explain each part in detail.
Key Takeaways
- Clear standing water, remove the stopper, and extract visible debris with pliers or a wire hook.
- Turn off disposal power, remove obstructions safely, free jams with an Allen wrench, and reset the unit.
- Seal the overflow or second basin, then plunge firmly using the correct sink plunger.
- Flush with hot tap water, or use baking soda and vinegar. Never mix these with chemical cleaners.
- If needed, clean the P-trap or use a drain snake, then check flow and connections for leaks.
Remove Standing Water Safely
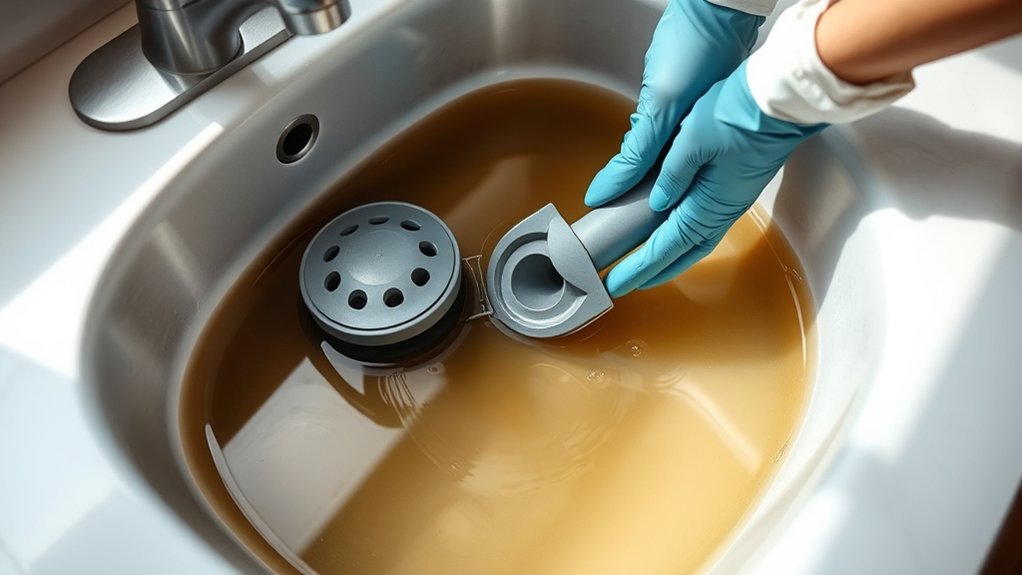
Before you begin, put on rubber gloves and remove any dishes, food scraps, or utensils from the sink. Standing water removal starts with protecting your hands and clearing a safe work area.
Place a bucket beneath the sink cabinet, then scoop water from the basin with a cup or small container. Pour each scoop into the bucket slowly to prevent splashing.
Place a bucket beneath the sink and scoop water slowly into it to prevent splashing and keep the surrounding area dry.
If the water looks greasy or contains chemical cleaner, avoid skin contact and don’t mix it with other substances.
Use a wet/dry vacuum if you have one, following the manufacturer’s instructions for liquid pickup.
Otherwise, absorb the last thin layer with disposable towels, and seal them in a sturdy trash bag. Keep the cabinet floor dry by wiping spills immediately.
These Water drainage tips help you work safely and reduce mess. Carry the filled bucket carefully, and dispose of the water according to local wastewater guidance.
Wash your gloves afterward.
Check the Stopper and Drain Opening
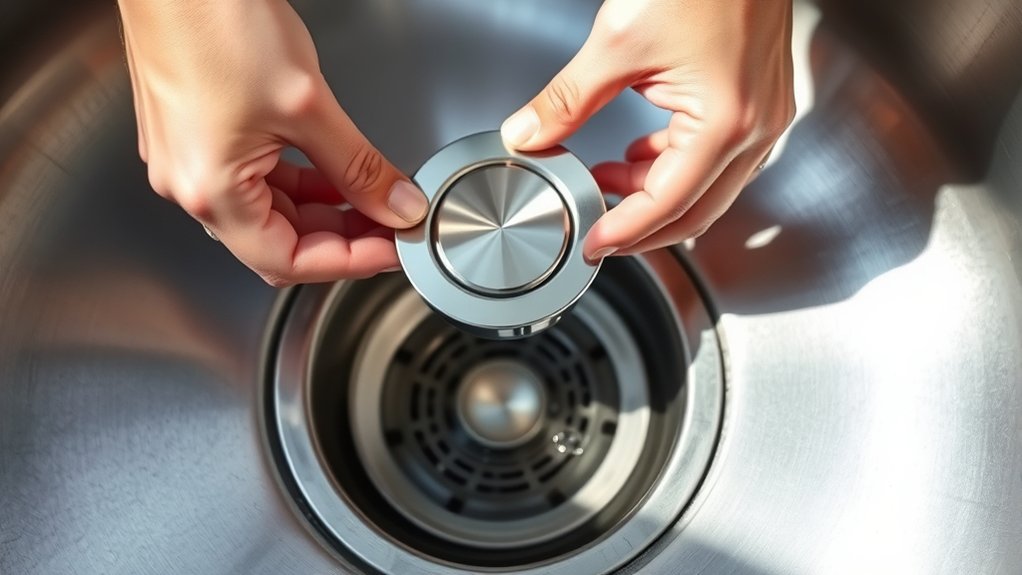
Once the standing water is gone, inspect the stopper and drain opening for visible debris. Begin your stopper inspection by lifting or twisting the stopper according to its design. Remove hair, food scraps, grease, or other buildup with a paper towel or gloved fingers. If the stopper feels stuck, avoid forcing it, since excessive pressure can damage its linkage.
Next, shine a flashlight into the drain opening. Check the visible walls and crossbars for material that might restrict water flow. Use needle-nose pliers to pull out reachable debris, or straighten a small wire hook for stubborn clumps. Don’t push debris farther down the pipe.
For drain opening maintenance, wipe the stopper and surrounding rim with warm, soapy water. Rinse away loosened grime, then replace the stopper and test its movement. If water still drains slowly, leave the stopper removed while you continue with the next appropriate unclogging method. Keep removed debris out of the sink.
Reset and Clear the Garbage Disposal

Before you work on the disposal, turn it off at the switch and circuit breaker. Check for any visible obstructions, but never put your hands inside. After clearing the blockage, restore power and press the reset button if necessary.
Turn Off Power Safely
Turn off the garbage disposal and unplug it or switch off its circuit breaker before checking for a clog. This step protects you from accidental activation while you inspect the sink.
Don’t rely on the wall switch alone, because someone could turn it on accidentally, or a faulty switch could leave the unit energized.
For stronger electrical safety, verify that the disposal won’t run by testing the wall switch only after you’ve confirmed the plug is disconnected or the breaker is off.
Keep your hands, tools, and clothing away from the drain opening until power remains disconnected.
If you can’t identify the correct breaker, shut off the main power and call an electrician.
Careful power isolation supports appliance maintenance and prevents shocks, damaged tools, or unexpected injuries.
Clear and Reset Disposal
With the power disconnected, clear the disposal to remove any visible obstruction. Use tongs, never your hands, to lift out food, glass, or utensils. Shine a flashlight inside, then check the drain opening for buildup.
For safe disposal troubleshooting, follow these steps:
- Insert an Allen wrench into the bottom reset socket and rock it back and forth to free a jam.
- Press the red reset button underneath until it clicks.
- Restore power and run cold water before switching on the disposal briefly.
If the motor only hums, disconnect power again and repeat the clearing process. Don’t force the wrench or pour chemical drain cleaner into the unit.
If it still won’t run, arrange professional service. Regular disposal maintenance, including cold-water flushing and avoiding grease, bones, and fibrous scraps, helps prevent future clogs and protects the motor.
Plunge the Kitchen Sink Drain
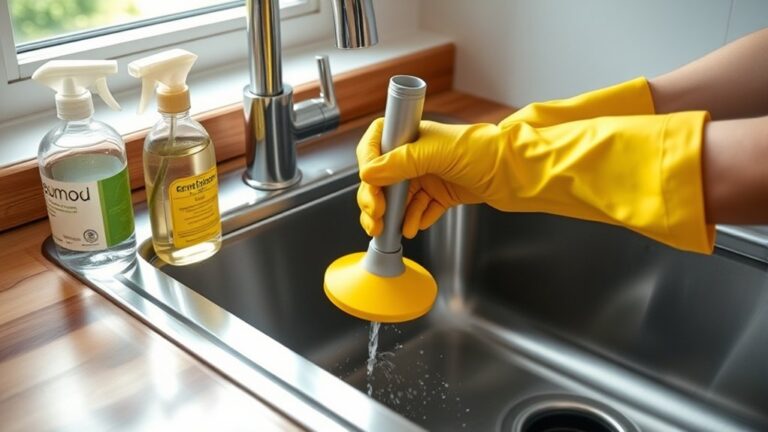
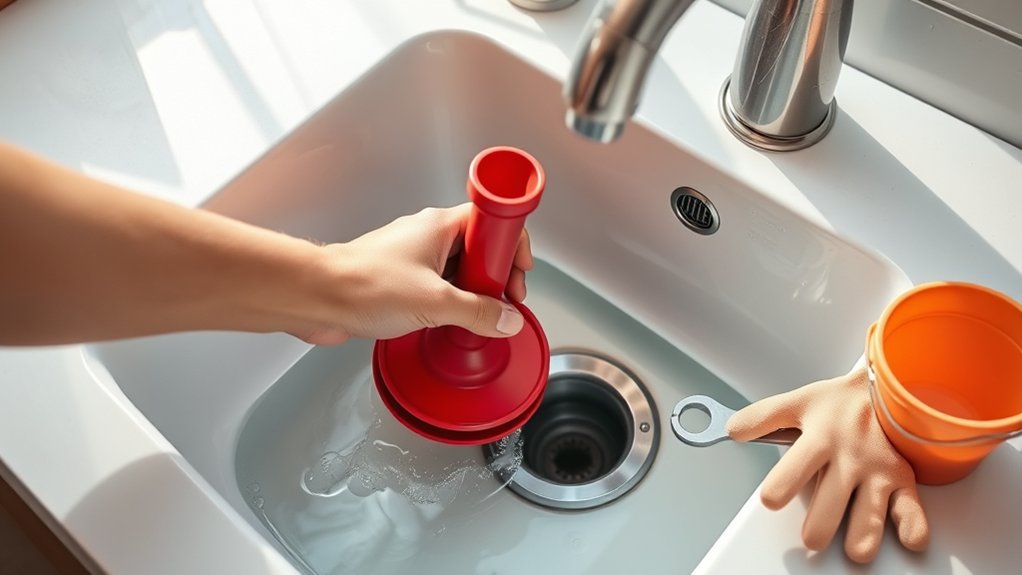
Choose a cup plunger for a flat kitchen sink drain. Place it directly over the opening and press down firmly to create a tight seal. You’ll get better results when no air escapes around the edges.
Choose the Right Plunger
The right plunger creates a tight seal and gives you enough force to clear the clog. Before you start, identify your sink and choose a tool designed for it.
Plunger types differ in shape, size, and purpose, so don’t grab the first one you see.
- Cup plunger: Choose this flat-bottomed model for standard kitchen sinks and straightforward drain clogs.
- Accordion plunger: Select it for extra pushing power, but handle the rigid plastic carefully to avoid damaging fixtures.
- Sink-and-toilet plunger: Keep separate tools for each job to maintain hygiene and prevent cross-contamination.
Pick a handle that feels sturdy and comfortable, allowing controlled, repeated strokes.
Check the rubber cup for cracks, hardening, or distortion before use. Good plunger maintenance includes rinsing away debris, disinfecting the tool, and letting it dry completely after every project.
Replace worn plungers promptly.
Create a Tight Seal
Once you’ve selected a sound plunger, position its cup directly over the kitchen sink drain. Confirm the cup sits flat against the basin, completely covering the opening.
If you have a double sink, press a wet cloth firmly over the second drain to block escaping air. Add enough water to cover the plunger’s rubber cup, but don’t overfill the basin.
You may need to remove the sink strainer so the cup can sit evenly. Check the rim for food particles, then wipe it clean.
A thin layer of petroleum jelly around the cup can help seal gaps and strengthen suction. Hold the handle upright, keeping the cup centered as you prepare to plunge.
A tight seal directs pressure into the clog, helping improve drainage instead of forcing air around the edges.
Flush the Drain With Hot Water
After removing the clog, pour a kettle of hot water slowly down the drain to flush away loosened grease and residue. This simple Hot water method supports effective Drain cleaning by carrying softened buildup through the pipes. Don’t dump the water all at once; a slow stream helps prevent splashing and gives the heat time to work.
For a safe, thorough flush:
- Heat about two quarts of water until it’s steaming, but avoid boiling water if your pipes are PVC or your sink is porcelain.
- Pour half the water into the drain, wait 30 seconds, then add the remainder gradually.
- Run the faucet with hot water for another minute and check whether the sink drains freely.
If water still moves slowly, repeat the flush once. Use a towel to wipe away any residue around the drain opening. Don’t combine this step with chemical cleaners, which can create dangerous fumes or splashes.
A final hot-water rinse keeps fresh grease from settling again.
Try Baking Soda and Vinegar
Grab some baking soda and pour it down the drain. Then add vinegar, let the mixture fizz for a few minutes, and flush the drain with water.
Gather Baking Soda
If the sink still drains slowly, reach for baking soda and white vinegar to break down grease and buildup. Before combining them, gather your supplies and remove standing water with a cup or small bowl.
Use fresh baking soda, not baking powder, because baking soda’s mild alkalinity helps loosen residue without harsh chemicals.
- Measure about half a cup of baking soda.
- Keep a dry funnel or spoon nearby for accurate pouring.
- Set aside a stopper or cloth to cover the drain afterward.
Wear gloves if your hands are sensitive, and clear dishes from the area. This simple setup supports natural cleaning while keeping splashes manageable.
If you don’t have baking soda, look into baking soda alternatives, such as washing soda, but check your sink material first.
Don’t pour anything into the drain until you’ve gathered everything.
Add Vinegar
Pour the baking soda into the drain, then slowly add about 1 cup of white vinegar. You’ll see fizzing as the ingredients react, helping loosen greasy residue and minor buildup inside the pipe. Cover the drain with a stopper or cloth to keep the bubbling action directed downward. Let the mixture work for 10 to 15 minutes without disturbing it.
This combination offers useful Vinegar benefits, including cutting through odors and dissolving some organic debris without harsh commercial chemicals. Its natural cleaning action makes it a convenient first step for a sluggish sink.
Keep your face away from the opening, since the reaction can splatter. If your sink has a garbage disposal, apply the mixture carefully and avoid pushing large amounts of dry baking soda into the unit. Next, remove the cover and assess the drain before continuing.
Flush With Water
After 10 to 15 minutes, flush the drain with hot water to wash away loosened residue and baking soda. Turn on the faucet gradually, then increase the flow to build gentle Water pressure without splashing.
Watch the water level; if it drains quickly, the mixture likely cleared the clog. If water still pools, repeat the treatment once rather than forcing a full blast through the pipes.
- Run hot water for two to three minutes.
- Check beneath the sink for leaks or damp connections.
- Wipe the strainer and surrounding basin to restore Drain aesthetics.
Avoid boiling water if your sink has PVC pipes, since extreme heat can soften or damage them. Use hot tap water instead.
Once the drain flows freely, rinse away remaining foam, remove visible debris, and dry the area. A clean, unobstructed strainer helps prevent future buildup and keeps your kitchen sink looking neat.
Clean the Kitchen Sink P-Trap
Place a bucket beneath the P-trap, then loosen the slip nuts with your hands or tongue-and-groove pliers. Keep the bucket centered to catch trapped water and debris. Remove the curved section carefully, and empty its contents into the bucket.
Rinse the P-trap with hot water, then scrub its interior with a bottle brush or an old toothbrush. Remove grease, food particles, and sludge clinging to the walls. Inspect the slip-joint washers, and replace any that look cracked, flattened, or brittle.
During your P trap inspection, check every surface for pipe corrosion, including pinholes, flaking metal, or greenish buildup. Replace a damaged trap instead of reinstalling it. Clean the connecting pipe openings as well, but don’t push debris farther into the drain.
Reassemble the trap with its washers seated correctly. Tighten the slip nuts firmly by hand, then give them a slight additional turn with pliers. Run water and watch each joint for leaks. If you spot moisture, tighten the connection slightly.
Use a Drain Snake for Tough Clogs
If water still drains slowly after you clean the P-trap, feed a drain snake into the wall pipe to break up the deeper clog. This drain cleaning method reaches blockages that plungers and household cleaners can’t touch.
- Remove the drain opening or strainer, then insert the snake’s cable slowly. Turn the handle clockwise as you push, letting the auger work through resistance.
- When you feel the cable catch, rotate it several times to pierce or hook the obstruction. Pull the cable back gradually, wiping away debris as it emerges.
- Continue feeding and retracting the snake until it moves freely. Don’t force it, since excessive pressure can damage pipes or leave the cable stuck.
Wear gloves and eye protection during this task, and keep a bucket nearby for wastewater. If the cable won’t pass or the blockage remains firmly lodged, stop and call a professional plumber.
Proper clog prevention begins with avoiding grease, fibrous scraps, and objects that can enter the drain.
Test the Drain and Prevent Future Clogs
Run hot water through the drain for several minutes to flush away loosened debris, then fill the sink and release the water to test its flow. Watch for quick drainage, bubbling, or standing water.
Run both basins, if you have a double sink, and check beneath the cabinet for leaks around the trap and connections. Tighten fittings gently if needed, but don’t overtighten them.
For effective drain maintenance, rinse the drain with hot water after washing greasy dishes. Wipe oil and fat from pans with a paper towel before cleaning them, since these materials can harden inside the pipes.
Use a sink strainer to catch food scraps, coffee grounds, and other debris, and empty it into the trash or compost. Don’t pour grease, rice, pasta, flour, or fibrous peels down the drain.
Once a week, clean the strainer and flush the drain with hot water. These simple clog prevention habits keep water moving and reduce future blockages.
Call a Plumber for Persistent Blockages
When a clog remains after plunging and cleaning the trap, call a licensed plumber to diagnose the problem. Don’t keep forcing tools down the drain, because you could damage pipes or push the blockage deeper. A timely Plumber consultation helps you identify hidden grease, tree-root intrusion, or a damaged line.
During a Professional inspection, the plumber may use a drain camera to locate the obstruction and assess your pipe’s condition. They can then recommend the safest solution, such as hydro jetting, mechanical snaking, or targeted repairs. Ask for an explanation of the cause, expected results, and total cost before work begins.
A professional inspection can pinpoint the blockage and guide safe, cost-effective repairs.
- Describe when the blockage started and what you’ve already tried.
- Mention slow drainage, odors, leaks, or gurgling sounds.
- Follow the plumber’s maintenance advice after clearing the line.
If several fixtures back up, wastewater appears, or your sink overflows repeatedly, stop using the plumbing and seek help promptly. Professional service can prevent contamination and expensive water damage.
Frequently Asked Questions
Can Chemical Drain Cleaners Damage Kitchen Sink Pipes or Fixtures?
Yes, chemical drain cleaners can damage your kitchen sink’s pipes, seals, and fixtures. Strong formulas create chemical reactions that generate heat, which may soften plastic, crack fittings, or harm metal components.
Repeated use can cause pipe corrosion, especially in older plumbing or systems with galvanized steel. You shouldn’t mix cleaners, because dangerous fumes or reactions can result.
Instead, try a plunger or drain snake, and call a plumber if the blockage persists.
How Much Does Professional Kitchen Sink Unclogging Typically Cost?
Professional kitchen sink unclogging typically costs you $150–$400, though severe blockages, emergency visits, or difficult access can raise the bill to $500 or more. Think of your drain as a narrow road: a plumber clears the traffic jam with specialized plumbing tools, restoring flow safely.
You might try DIY remedies first, but avoid repeated chemical cleaners. Ask for an upfront estimate, diagnostic fee, and warranty before approving the work.
Can a Clogged Sink Indicate Problems With the Home’s Main Sewer Line?
Yes, a clogged sink can indicate problems with your home’s main sewer line, especially if multiple drains back up, toilets gurgle, or wastewater returns through floor drains.
A single slow sink usually points to a local blockage, but recurring backups suggest main sewer issues. You should stop using water and contact a plumber for pipe inspection.
Professionals can locate tree roots, collapsed sections, or severe buildup before damage spreads throughout your home.
Are Kitchen Sink Clogs Covered by Homeowners Insurance?
Usually, homeowners insurance doesn’t cover kitchen sink clogs caused by grease, food, hair, or poor plumbing maintenance. Your policy may cover resulting water damage if a sudden, covered event causes it, but exclusions and limits apply.
You’ll need to check your policy or contact your insurer for confirmation. You can reduce claims and expenses through drain prevention: avoid pouring grease down the drain, use a strainer, and address slow drainage promptly before backups occur.
Should Renters Contact Their Landlord Before Attempting Drain Repairs?
Yes, you should contact your landlord before attempting drain repairs. Landlord notification protects you from violating your lease and helps determine whether the owner must arrange and pay for service.
Explain the symptoms, avoid harsh chemicals, and ask for written instructions. Tenant responsibility may apply if you caused the clog through misuse, but normal plumbing problems often fall under the landlord’s duties.
Document everything, including photos, messages, and receipts, before taking action.
Conclusion
With these steps, you can often unclog a kitchen sink and restore normal drainage without harsh chemicals. If your sink backs up after washing dishes, clearing the stopper, resetting the disposal, and plunging may solve the problem quickly.
If water still won’t drain after cleaning the P-trap and using a snake, don’t keep forcing it. You could damage the pipes. Call a licensed plumber for persistent clogs, recurring backups, leaks, or foul odors.
To prevent future blockages, keep grease and food scraps out of the drain.