How to Clean a Kitchen Sink in 10 Steps
A grimy kitchen sink can make the whole room feel less clean, even after you’ve finished the dishes. You’re not alone—many people struggle with stains, buildup, odors, and hard-to-reach areas.
This guide to how to clean a kitchen sink in 10 steps breaks the process into simple tasks. With a few everyday supplies, you can refresh the basin, fixtures, drain, and surrounding areas.
Gather dish soap, a soft sponge, microfiber cloths, baking soda, vinegar, and gloves. Remove dishes and debris, then rinse the basin.
Scrub the sink, rim, seams, and faucet base with soapy water. Clean the drain and disposal, using baking soda and vinegar cautiously.
Treat stains with baking soda paste. Disinfect with a sink-safe product, wash fixtures, and remove mineral deposits.
Rinse, dry, and polish everything. Daily rinsing and drying keep your sink fresh; the steps below explain each task.
Key Takeaways
- Remove dishes, food scraps, and debris, then rinse the sink thoroughly with warm water.
- Scrub the basin, rim, corners, faucet base, and drain edges using dish soap and a soft sponge.
- Treat stains and hard-water deposits with baking soda paste or diluted vinegar, avoiding abrasive tools.
- Disinfect with a sink-safe, EPA-registered product, following its required contact time and safety instructions.
- Rinse, dry, and buff the sink and fixtures with a clean microfiber cloth to prevent spots and buildup.
Gather Safe Sink-Cleaning Supplies
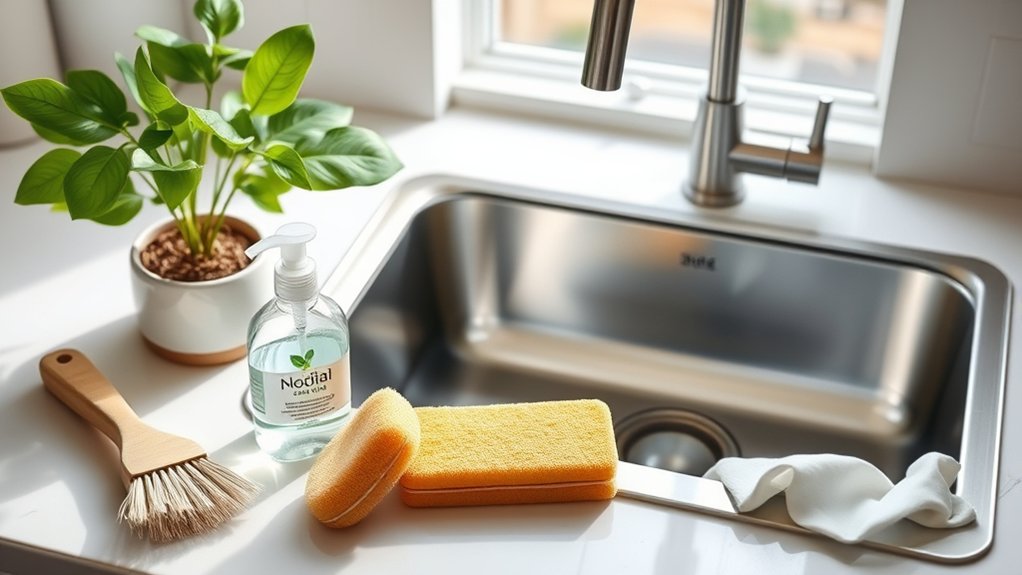
Before you start, gather a soft sponge, microfiber cloths, dish soap, baking soda, white vinegar, and an old toothbrush. These supplies support Eco friendly cleaning without harsh fumes or abrasive damage.
Choose a fresh sponge for general work, and reserve the toothbrush for tight seams, faucet bases, and drain edges. Keep separate cloths for the basin and surrounding counters to prevent cross-contamination.
Check your sink’s material before choosing a scrubber. Stainless steel tolerates gentle baking soda, while porcelain, enamel, and composite surfaces may scratch or dull under rough pads.
Skip steel wool, scouring powders, bleach mixtures, and strong acids unless your manufacturer specifically approves them. Never combine vinegar with bleach or other chemical cleaners.
Wear reusable gloves if you have sensitive skin, and open a window for ventilation. Read product labels, especially when using concentrated soap or specialty cleaners.
These simple Sink maintenance tips help you clean safely while protecting your sink’s finish and reducing waste. Keep supplies within reach, but store them securely afterward.
Clear and Rinse the Kitchen Sink
Start by removing dishes, utensils, and food scraps from the sink, then rinse the basin with warm water. Check the drain opening and lift out trapped debris with a paper towel or gloved hand. Don’t push scraps farther into the plumbing.
- Run warm water around the basin, corners, and drain to loosen loose particles.
- Wipe visible residue toward the drain with a disposable towel, then discard it.
- Flush the drain with steady warm water for 30 seconds, watching for slow flow.
- Dry the rim and nearby counter with a clean cloth to prevent standing moisture.
Consider your kitchen sink materials before choosing water temperature or tools. Stainless steel, porcelain, composite, and copper can respond differently to heat, pressure, or abrasive contact, so use a gentle rinse and avoid metal objects.
If the drain still empties slowly, remove remaining debris from the stopper and check beneath it. Adjust your cleaning frequency based on use: rinse after each meal and clear scraps daily to keep odors and buildup from developing.
Scrub the Sink With Dish Soap
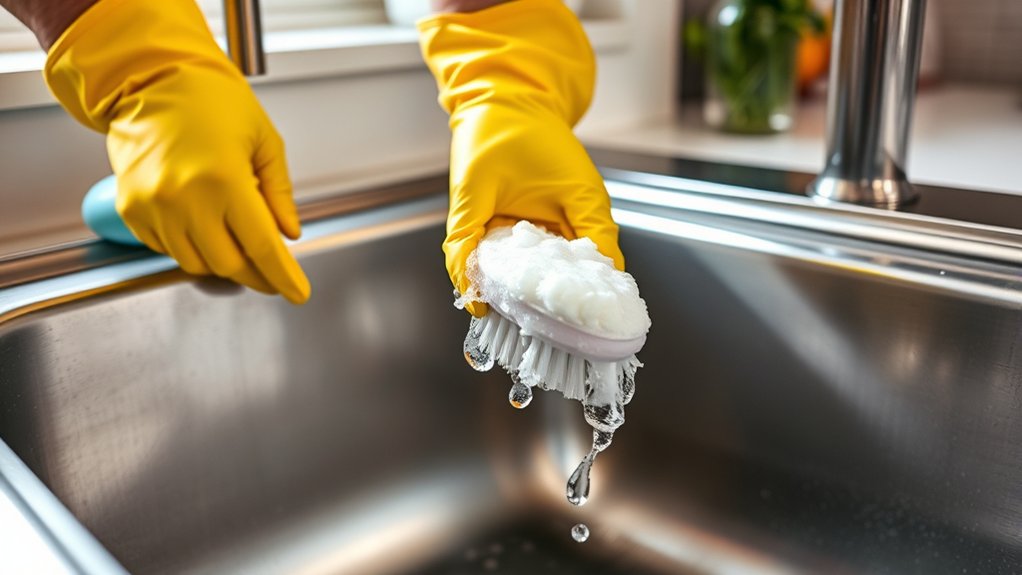
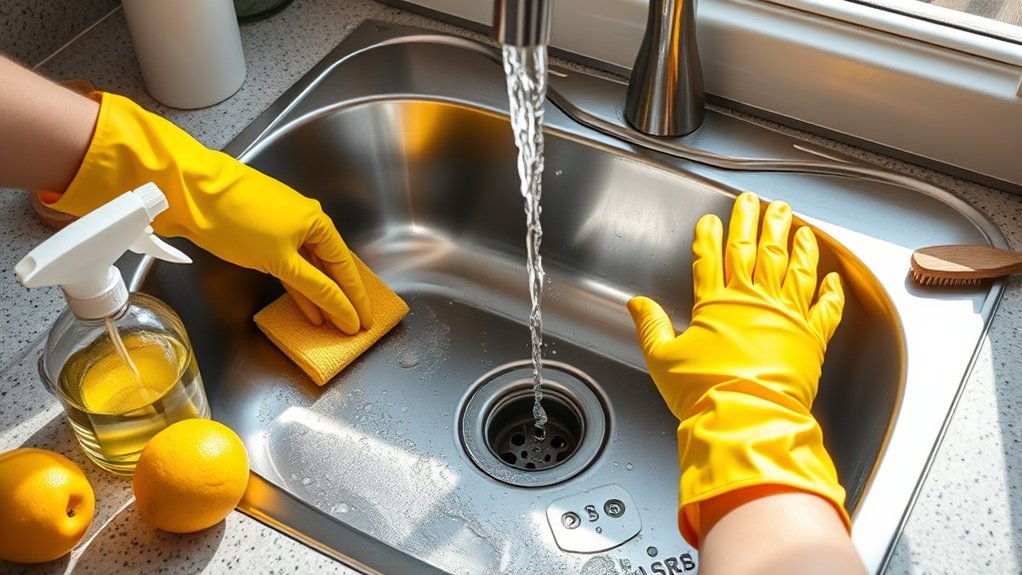
Apply a small amount of dish soap to a damp, nonabrasive sponge, then scrub the sink in overlapping circles. Work across the basin, sides, rim, and faucet base, using steady pressure to loosen grease, food residue, and everyday grime. Add a little more water if the sponge drags, but don’t dilute the Dish soap too much before it can lift dirt.
For textured surfaces, corners, or stubborn spots, switch to a soft scrubbing brush. Use short strokes rather than harsh force, which can scratch stainless steel, enamel, or composite materials.
Pay special attention to seams and around the drain opening, where residue often collects, without moving into drain cleaning.
Rinse the sponge frequently so you’re not spreading grime. Keep scrubbing until the surface feels smooth and looks evenly clean.
If a mark remains, apply another small drop of soap and repeat gently. Avoid steel wool, abrasive powders, and stiff brushes that may dull or damage the finish.
Clean the Drain and Garbage Disposal
Now clean the drain to remove buildup and lingering odors. Flush it with hot water and a safe cleaning solution.
Next, freshen the garbage disposal by grinding ice or citrus peels. This helps clear away residue and leaves a clean, fresh scent.
Clean the Drain
How can you clean a smelly or sluggish drain? Start with safe, simple steps that clear buildup without damaging your pipes. Put on gloves, remove the stopper, and lift out visible debris. Then follow this routine:
- Flush the drain with hot tap water for several minutes to loosen grease and residue.
- Pour half a cup of baking soda into the opening, followed by one cup of white vinegar. Cover the drain for 10 minutes.
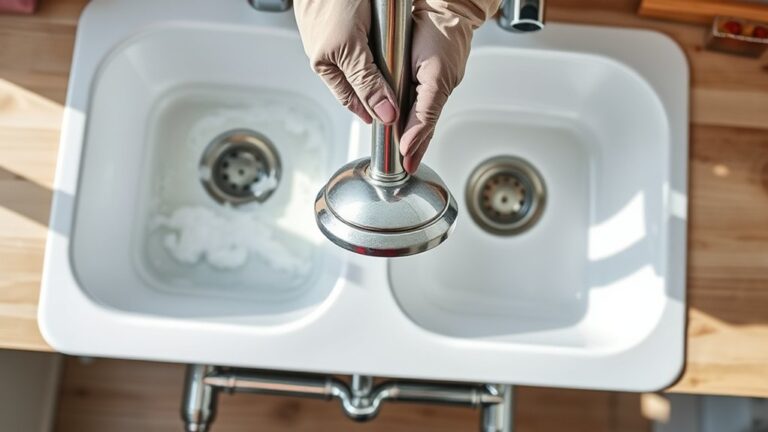
- Rinse thoroughly with hot water. If water still drains slowly, use a plunger, then a hand auger if needed.
- Finish your drain maintenance by rinsing weekly and keeping coffee grounds, grease, and food scraps out. This clogged prevention habit reduces odors and blockages.
Never mix vinegar with commercial drain cleaners, and avoid boiling water if you have delicate plastic pipes.
Freshen the Disposal
Freshen the garbage disposal by turning off its power, removing visible debris with tongs, and scrubbing the splash guard with a soapy brush. Restore power, run cold water, and turn on the disposal for several seconds.
Add a cup of ice cubes to sharpen the blades and dislodge residue, then follow with citrus peels for a fresh scent. Never put your hands inside the unit, and don’t mix cleaners, especially bleach and vinegar.
For stubborn Disposal odors, pour half a cup of baking soda into the opening, add a cup of vinegar, and let the fizzing work for five minutes. Flush with cold water.
Skip commercial Freshening sprays unless the label approves them for disposals. They may contain flammable or corrosive ingredients.
Repeat weekly to keep buildup and smells under control.
Remove Sink Stains With Baking Soda
Mix baking soda with a little water to create a thick paste. Apply the paste to the stains, then gently scrub with a soft sponge. Rinse the sink thoroughly to reveal a cleaner surface.
Make Baking Soda Paste
For stubborn sink stains, make a thick paste with baking soda and a small amount of water. This paste gives you a concentrated cleaner that clings to marked surfaces instead of running into the drain. Baking soda also offers mild deodorizing and stain-lifting action without harsh fumes.
- Measure three tablespoons of baking soda into a small bowl.
- Add water gradually, using about one teaspoon at a time.
- Mix after each addition until the texture resembles toothpaste.
- Adjust the consistency with more baking soda or water as needed.
Keep the mixture thick enough to stay where you place it. Prepare only what you need, since fresh paste works best.
Avoid adding vinegar during preparation. The fizz reduces the paste’s staying power. Use a clean, dry bowl and spoon for reliable results.
Scrub Stains Gently
Apply the baking soda paste directly to stained areas with a soft sponge or microfiber cloth. Use small, circular motions and light pressure to lift food marks, grease, and discoloration without scratching your sink’s surface.
This gentle scrubbing approach supports effective stain removal while protecting stainless steel, porcelain, or ceramic finishes. Let the paste sit for five to ten minutes if a stain looks stubborn, then scrub it again carefully.
Rinse your sponge frequently so you don’t spread loosened grime across the basin. Once the marks disappear, rinse the sink thoroughly with warm water and wipe it dry with a clean towel.
Avoid abrasive pads or harsh force, which can dull finishes and create scratches. For persistent stains, repeat the process rather than pressing harder. Always test an inconspicuous spot first.
Remove Hard-Water Stains From the Sink
When hard-water stains dull your sink, spray them with equal parts white vinegar and water, then let the solution sit for 10–15 minutes. This loosens mineral buildup without harsh scrubbing.
Wipe the surface with a soft microfiber cloth, and repeat the treatment if cloudy marks remain.
- Sprinkle baking soda over stubborn spots.
- Add a little water to form a paste.
- Rub gently with a nonabrasive sponge.
- Rinse thoroughly and dry the sink.
For metal fixtures, wrap a vinegar-soaked cloth around the stained area for several minutes, then wipe it clean.
Don’t use steel wool, abrasive powders, or rough scouring pads, which can scratch the finish and make future stains cling more easily.
If your sink contains natural stone, skip vinegar because its acidity can etch the surface. Use a manufacturer-approved cleaner instead.
Regular drying after each use helps prevent new deposits and makes stain removal easier.
Check the drain rim, faucet base, and corners, where mineral residue often collects.
Finish by buffing the entire sink with a clean, dry cloth for a smooth, streak-free appearance.
Disinfect the Kitchen Sink Safely
After cleaning away food residue, disinfect the sink with an EPA-registered product labeled safe for its material, following the product’s contact time exactly. Read the label before applying it, and wear gloves if the instructions recommend them.
Keep the surface visibly wet for the entire contact period. Wiping too soon can leave germs behind.
Keep the surface wet for the full contact time—wiping early may leave harmful germs behind.
Safe disinfectant options may include hydrogen-peroxide or quaternary-ammonium products, but choose only one approved for your sink’s finish.
Never mix disinfectants with bleach, vinegar, ammonia, or other cleaners, because dangerous fumes can form. Open a window or run the exhaust fan to improve ventilation.
Use proper cleaning techniques by spraying or applying the product evenly. Pay attention to the basin, drain area, and seams.
Don’t use abrasive pads or harsh chemicals that could scratch or dull the surface. After the required time, rinse if the label directs you to, then dry the sink with a clean towel.
Store the disinfectant securely away from children and pets.
Wash the Faucet and Fixtures
Wash the faucet and fixtures to remove mineral deposits and restore their shine. Scrub the handles and spout, paying special attention to buildup around seams and joints. Then, rinse everything thoroughly and dry the fixtures to prevent water spots.
Remove Mineral Deposits
Hard-water stains can leave your faucet and fixtures looking dull, but you can dissolve most mineral deposits with white vinegar. Water hardness determines how quickly mineral buildup appears, so treat deposits before they become stubborn.
- Soak a microfiber cloth in undiluted white vinegar, then wrap it around the affected fixture.
- Secure the cloth with a rubber band, and let the vinegar work for 30–60 minutes.
- Remove the cloth and rinse the area thoroughly with clean water to wash away dissolved minerals.
- Dry the fixture completely with a soft towel to prevent new spots from forming.
For thick deposits, repeat the treatment rather than using abrasive powders that could damage the finish. Check your fixture’s care instructions first, especially if it has a delicate coating.
Don’t leave vinegar on natural stone surfaces, because its acid can etch them.
Scrub Handles and Spout
Once mineral deposits are gone, scrub the faucet handles and spout to remove soap residue, grease, and everyday grime. Apply a few drops of dish soap to a damp microfiber cloth, then wipe every surface, including handle bases, seams, and the underside of the spout.
Use a soft toothbrush to loosen buildup around crevices, aerator edges, and mounting points. For stubborn spots, let the soapy cloth sit briefly before scrubbing gently.
Avoid abrasive powders, steel wool, and stiff brushes, which can scratch finishes. Pay attention to textured areas where grime collects.
This simple handle maintenance routine helps preserve smooth operation and a clean appearance. During spout cleaning, work around the aerator carefully, using light pressure so you don’t damage its screen or surrounding finish.
Rinse and Dry Fixtures
After scrubbing, rinse the faucet and fixtures thoroughly with clean water to remove loosened grime and soap residue. Use a gentle stream rather than leaving the tap running, supporting Water conservation while clearing every crevice.
- Rinse handles, the spout, and the sprayer, paying attention to seams where residue collects.
- Wipe away remaining cleaner with a clean microfiber cloth.
- Dry each fixture immediately to prevent water spots, mineral buildup, and streaks.
- Polish metal surfaces with a dry section of the cloth, following the fixture’s finish.
Check around the faucet base and supply connections for trapped moisture, then wipe those areas dry. Regular drying is simple Fixture maintenance that helps preserve shine and reduces corrosion.
Don’t use abrasive towels or harsh products, which can scratch protective coatings. Finish by rinsing the sink basin and wringing out your cloth.
Rinse, Dry, and Polish the Sink
Rinse the sink thoroughly with warm water to remove any remaining cleaner and loosened grime. Check the basin, corners, drain, and seams for residue, then run water until it flows clear.
Use a clean microfiber cloth to dry every surface, including the faucet base and rim. Drying prevents water spots and leaves the finish ready for polishing.
| Surface | Cleaning tools | Polishing techniques |
|---|---|---|
| Stainless steel | Microfiber cloth | Buff with the grain |
| Porcelain | Soft towel | Use gentle circular strokes |
Apply a small amount of manufacturer-approved polish to a fresh cloth rather than directly onto the sink. Work in thin, even sections, following the sink’s finish.
For stainless steel, move with the grain to reduce visible streaks. For porcelain, choose a nonabrasive product and avoid harsh scrubbing.
Wipe away excess polish with a dry cloth, then inspect the basin under good light. Don’t leave oily residue near the drain, seams, or faucet.
Your sink should feel smooth, look bright, and remain completely dry when you finish.
Rinse and Dry the Sink Daily
Make it a daily habit to rinse the sink with warm water after use, clearing away food particles, soap, and other residue before they dry. This simple Daily maintenance routine helps prevent stains, odors, and bacterial buildup.
- Flush the basin, drain, and faucet area with clean water.
- Wipe the sides and bottom with a soft sponge or microfiber cloth.
- Rinse the cloth, then remove any remaining cleaner or debris.
- Dry every surface, including the rim, handles, and drain cover.
Drying matters because standing water can leave mineral spots, encourage mildew, and dull the finish. Use a separate towel for the sink, and wash it regularly to avoid spreading grime.
If you have stainless steel, wipe with the grain to maintain its appearance. For porcelain or composite sinks, skip abrasive pads that can create scratches.
Check the drain strainer daily and empty it before residue hardens. Consistent rinsing and drying provide essential Surface protection, keeping your sink cleaner, fresher, and easier to deep-clean throughout the week.
You’ll also notice problems, such as leaks or chipped finishes, sooner.
Frequently Asked Questions
Can I Clean a Kitchen Sink Without Using Chemical Cleaners?
Yes, you can clean your kitchen sink without chemical cleaners. Try these eco friendly solutions and natural cleaning methods: sprinkle baking soda across the basin, scrub with a damp sponge, then rinse with warm water. For stains and odors, spray white vinegar, let it sit briefly, and wipe clean. Rub half a lemon over fixtures to remove residue and add freshness. Always rinse thoroughly, and never mix vinegar with bleach or other cleaners.
How Often Should I Deep-Clean My Kitchen Sink?
You should deep-clean your kitchen sink once a week, but don’t wait too long. Grime, bacteria, and odors can build up unnoticed.
After each use, rinse away food particles and wipe surfaces dry. Weekly, scrub the basin, clean the drain opening, and inspect hidden edges.
Include drain maintenance monthly to prevent buildup, and finish with faucet polishing for a spotless shine. If you notice smells, stains, or slow drainage, clean it immediately.
What Materials Should I Avoid Using on Stainless Steel Sinks?
Avoid abrasive scrubbers, steel wool, and harsh scouring powders on stainless steel sinks because they can scratch the surface and encourage rust. Don’t use bleach solutions undiluted or leave them sitting, especially near metal cleaners, since they may discolor stainless steel and create dangerous fumes. Skip strong acids, oven cleaner, and drain cleaner on exposed surfaces.
Instead, use a soft sponge, mild dish soap, and warm water, then rinse and dry thoroughly.
Can Sink Cleaning Prevent Unpleasant Odors and Bacterial Growth?
Yes, regular sink cleaning can prevent unpleasant odors and limit bacterial growth. Rinse away food particles, scrub the basin, drain, and faucet daily, and dry surfaces thoroughly.
Use mild dish soap or a manufacturer-approved cleaner to support odor prevention without damaging stainless steel. Flush the drain with hot water, and clean the strainer frequently.
For stronger bacterial control, disinfect periodically according to product directions, and don’t mix cleaning chemicals.
When Should I Replace a Damaged or Corroded Kitchen Sink?
When your sink leaks repeatedly, develops deep corrosion, or shows cracks, you should consider sink replacement. As the saying goes, “A stitch in time saves nine”: don’t ignore small damage that worsens beneath cabinets.
Try corrosion repair for light surface rust, loose seals, or minor discoloration, but replace the sink when damage affects structure, drainage, hygiene, or appearance. You should also replace it if repairs cost nearly as much as a new sink.
Conclusion
You’ve cleared crumbs, stains, and hidden grime—but the final step keeps your kitchen sink fresh. Rinse away every cleaner, dry the basin and faucet, and polish away water spots.
Then make daily rinsing and drying a quick habit; it prevents buildup from returning. Don’t forget the drain, where odors can quietly develop.
Give it a final flush, wipe the fixtures, and pause for a spotless shine. That last minute could be what keeps tomorrow’s mess from becoming a bigger chore.