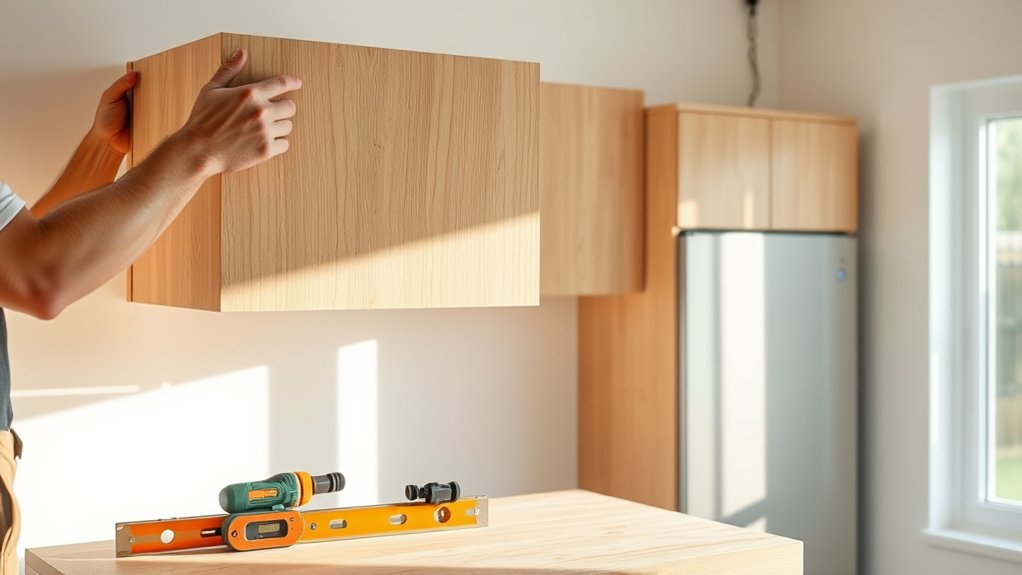
How to Hang Kitchen Cabinets in 5 Steps
Hanging kitchen cabinets can feel overwhelming, especially when uneven walls, unclear measurements, or missing tools get in the way. You’re not alone—many homeowners struggle to achieve a secure, professional-looking fit.
To hang kitchen cabinets in five steps, first measure the cabinets, check clearances, find wall studs, and gather a level, drill, shims, screws, and a helper.
Next, mark the layout and stud lines. Attach a level support rail to the studs, then lift cabinets onto it, clamp them together, and secure them with screws.
Finally, level, plumb, and adjust doors and drawers, then test stability. Follow the detailed steps below for a secure, professional installation.
Key Takeaways
- Measure cabinet dimensions, inspect materials, protect finishes, locate wall studs, and gather the necessary tools and assistance.
- Mark level cabinet reference lines, transfer cabinet widths, identify stud locations, and verify clearances around walls, windows, and appliances.
- Install a straight support rail into wall studs, using shims to correct uneven walls and washers for secure fastening.
- Lift cabinets onto the rail, clamp neighboring units together, then fasten mounting rails into studs while maintaining level, plumb, and square alignment.
- Adjust doors and drawers, install hardware, and test the completed cabinet run for smooth operation, stability, and secure attachment.
Check Cabinet Height, Wall Studs, and Tools
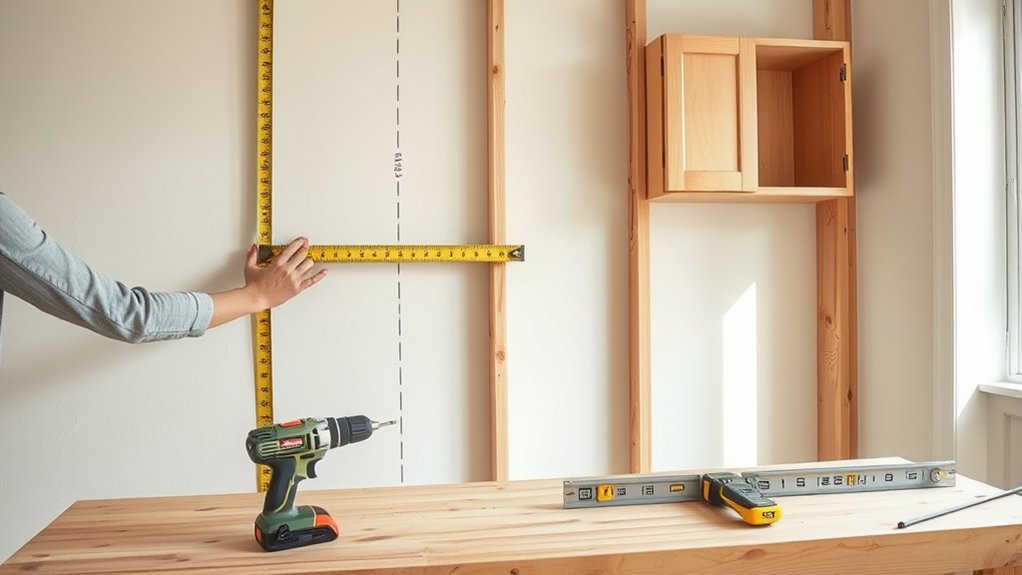
Before you lift a cabinet, confirm its height, locate the wall studs, and gather the necessary tools. Measure the cabinet from top to bottom, then compare that dimension with your available wall space and ceiling clearance.
Check the cabinet material, since solid wood, plywood, and particleboard require different handling and fastening approaches. Inspect the paint finish for chips or soft spots that could worsen during installation, and protect finished surfaces with blankets or cardboard.
Use a stud finder to identify solid framing behind the wall. Don’t rely on drywall anchors for upper cabinets; they can’t support a loaded cabinet safely.
Gather a level, tape measure, drill, driver bits, stud finder, clamps, shims, screws rated for cabinet installation, and a sturdy work platform. Keep a helper nearby, because cabinets become awkward and heavy quickly.
Remove doors or shelves if the manufacturer recommends it, and label each piece so reassembly stays simple. Confirm your tools work before you begin lifting.
Mark the Cabinet Layout and Stud Lines
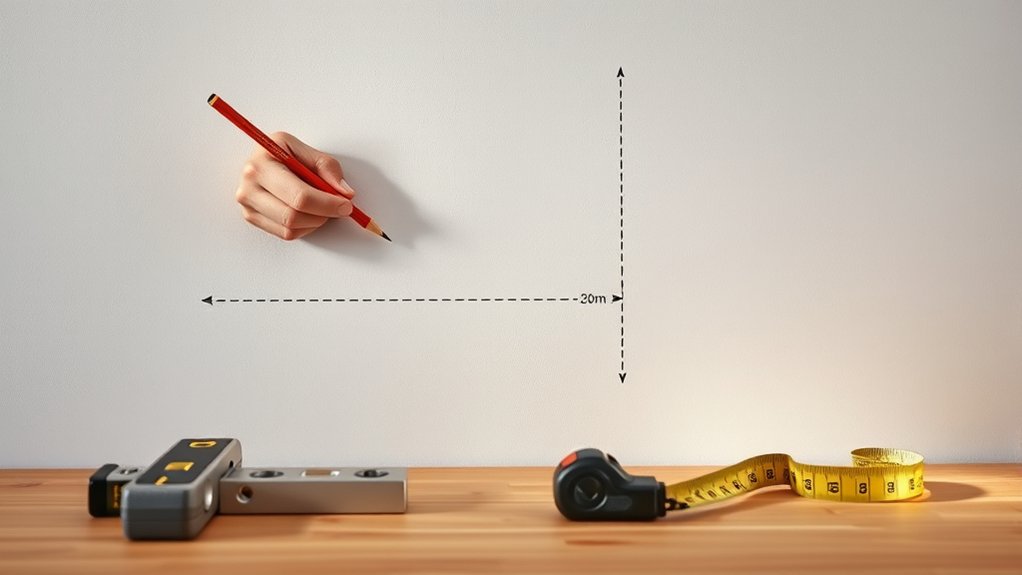
Once you’ve confirmed the cabinet height and located the studs, mark the wall layout with a level and pencil. Draw a straight horizontal reference line at the cabinet’s top or bottom edge, depending on your installation plan.
Then transfer each cabinet’s width onto the wall, labeling sections so you’ll know where every box belongs.
Use these marks to check spacing around corners, windows, appliances, and trim. Account for the cabinet material, especially if its thickness affects adjoining doors or fillers.
Confirm adequate wall clearance for handles, doors, and nearby fixtures before lifting anything.
| Mark | Purpose | Check |
|---|---|---|
| Level line | Establish height | Verify with level |
| Stud lines | Show fastening points | Confirm locations |
| Cabinet widths | Plan placement | Allow fillers |
Extend stud marks above and below the cabinet boundaries so they remain visible during installation.
Circle obstacles and note required fillers. Recheck measurements from multiple points because walls may vary.
Don’t erase these guides until all cabinets align correctly.
Attach a Level Support Rail to Wall Studs
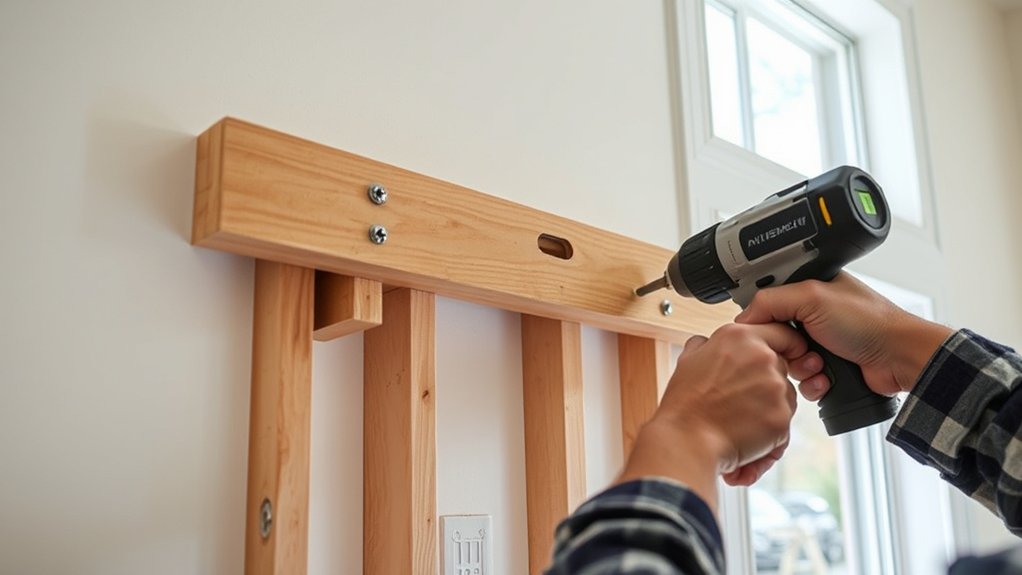
With the layout marked, fasten a straight support rail to the wall studs along the cabinet’s lower edge. Choose a sturdy, straight board wide enough to support the cabinet boxes without interfering with their backs.
Position its top edge precisely on your marked line, then check it with a long level. If the wall dips, use shims behind the rail until the bubble centers from end to end.
Drive screws through the rail and into each marked stud, using washers if needed to prevent the screw heads from pulling through. Confirm every connection feels solid, and recheck the rail’s level after tightening.
A twisted or sloped rail can affect the entire installation. When the wall is uneven, keep the rail straight rather than forcing it against the surface.
Leave adequate clearance for your cabinet painting plans, doors, decorative hardware, and backsplash. This temporary support will hold the cabinet bases at the correct height while you prepare for installation.
Hang and Secure Kitchen Cabinets
Lift the first cabinet onto the support rail, keeping its bottom edge firmly seated as you align it with the layout marks. Clamp neighboring cabinets together at their face frames, then drive cabinet screws through the mounting rails into the wall studs.
Use a drill and pilot bit to prevent splitting, and keep each screw head flush without crushing the wood.
| Task | Tool | Check |
|---|---|---|
| Join cabinets | Face-frame clamps | Seams meet |
| Drive screws | Drill, bit | Studs reached |
| Fill openings | Plugs or caps | Hardware concealed |
Continue across the run, supporting each cabinet on the rail while you connect it to the previous box. Use shims behind mounting rails only when needed to maintain firm contact with studs.
Don’t rely on drywall anchors for loaded cabinets. After securing the boxes, install temporary fillers or end panels according to your design.
Protect the cabinet paint from scratches, and postpone decorative hardware until the doors and drawers are adjusted.
Adjust Doors, Level Cabinets, and Test Stability
After securing the cabinet boxes, check that the entire run is level, plumb, and firmly attached before adjusting the doors and drawers. Place a level across adjoining face frames and shim low spots as needed. Tighten mounting screws only after confirming each box sits square, then recheck the wall and base alignment.
> Ensure the cabinet run is level, plumb, square, and securely fastened before adjusting doors and drawers.
Adjust cabinet door hinges one at a time. Turn the hinge screws to correct side-to-side gaps, height, and depth until doors align evenly and close without rubbing. Keep consistent reveals between neighboring doors.
Complete cabinet drawer installation by checking that each drawer sits level, slides smoothly, and meets the face frame evenly. Adjust the runners or mounting clips if necessary, and verify that drawers don’t bind when loaded.
Finally, test stability. Pull gently on doors and drawers, press against the cabinet sides, and inspect every fastener. The run shouldn’t shift, wobble, or separate from the wall. Tighten hardware or add support before moving on.
Frequently Asked Questions
Can I Hang Kitchen Cabinets Without Professional Installation Experience?
Yes, you can hang kitchen cabinets without professional installation experience if you plan carefully and work patiently. Learn basic DIY techniques, measure every wall and cabinet precisely, and follow the manufacturer’s instructions.
Review tool requirements beforehand, including a level, stud finder, drill, clamps, and shims. Get help lifting large cabinets, secure them to wall studs, and check alignment repeatedly.
If walls are uneven or plumbing complicates installation, hire a professional for safety.
What Safety Precautions Should I Take While Installing Wall Cabinets?
Safety comes first: protect your head, eyes, hands, and back before lifting wall cabinets. Wear safety glasses, gloves, and sturdy shoes, and ask someone to help with heavy pieces.
Turn off nearby electricity, inspect the wall for pipes or wiring, and use proper wall anchoring into studs or approved anchors. Secure cabinets before releasing them, keep tools organized, and don’t overreach.
Install cabinet hardware carefully, checking every fastener for tightness before use.
How Much Does Professional Kitchen Cabinet Installation Typically Cost?
You’ll typically pay $2,000–$6,000 for professional kitchen cabinet installation, depending on kitchen size, cabinet material, layout complexity, and local labor rates. Contractors may charge $50–$150 per hour or $100–$300 per cabinet.
Expect higher costs if you need demolition, wall repairs, electrical work, or custom adjustments. Ask for a detailed, written estimate that includes labor, hardware, disposal, and the installation timeline before you sign a contract.
Can Existing Cabinets Be Reused During a Kitchen Remodel?
Yes, you can often reuse existing cabinets during a kitchen remodel, giving your budget a welcome second wind.
First, inspect the cabinet material for water damage, warping, cracks, and loose joints. Your reuse considerations should include layout, storage needs, door styles, hardware, and whether cabinets fit your updated appliances.
You can refresh sturdy boxes with paint, new doors, or hardware, but replacement makes more sense when damage or poor construction outweighs savings.
How Should I Dispose of Old Kitchen Cabinets Responsibly?
Start by checking whether your old cabinets can be donated, reused, or repurposed before arranging cabinet disposal. Remove hardware, doors, and shelves, then separate wood, metal, glass, and plastic components.
Contact local charities, reuse centers, or your municipality to learn accepted materials and pickup options. Choose environmental recycling whenever possible, and avoid burning painted or laminated wood.
If recycling isn’t available, use a licensed waste facility that follows local regulations.
Conclusion
Now step back and look at your kitchen. The cabinets should form a clean, level line, but don’t celebrate yet. Open each door, test every hinge, and press gently against the boxes.
If anything shifts, stop and tighten the screws before loading dishes inside. Once everything feels solid, remove the support rail, fill visible holes, and admire the transformation.
Your tools may be scattered, but the final reveal is waiting just beyond that last careful adjustment. With these steps, you’ve learned how to hang kitchen cabinets securely and achieve a polished finish.