How to Sharpen a Kitchen Knife in 7 Steps
A dull kitchen knife can make even simple meal prep feel frustrating, slow, and unsafe. You’re not alone—many home cooks struggle to keep their blades sharp and ready for everyday use.
In this guide to how to sharpen a kitchen knife in 7 steps, we’ll compare practical tools and techniques to help you find the best option for your kitchen.
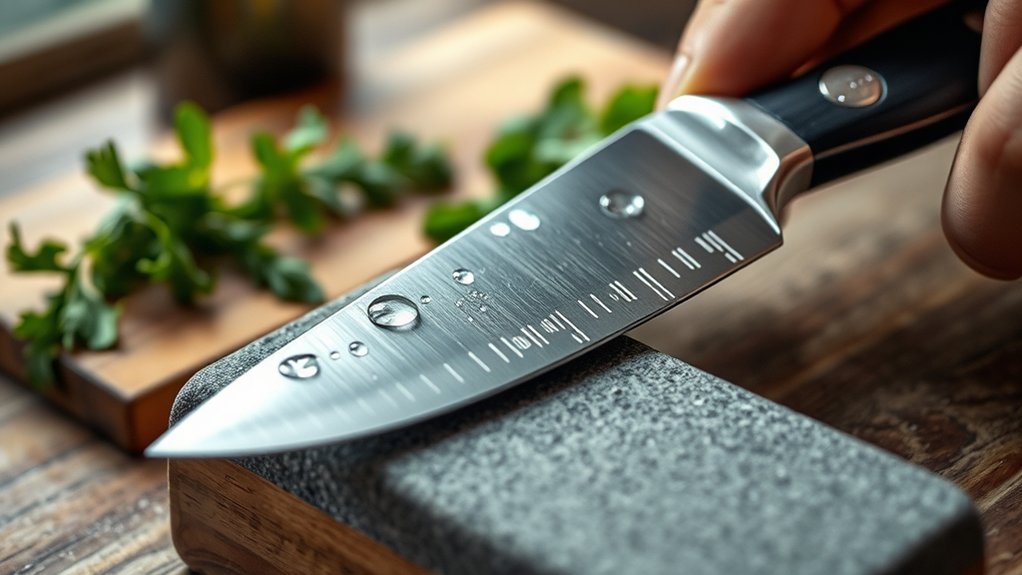
Choose a suitable sharpener and secure it on a stable surface. Identify your knife’s angle, usually 15–20 degrees. Starting at the heel, draw the blade to the tip with light, even pressure.
Repeat on the opposite side to match the bevel. Remove the burr with alternating, gentle strokes, then polish with a fine stone or strop.
Test the edge on paper or a tomato safely. Hone regularly, clean, dry, and store your knife properly.
The details below will help you refine each step.
Key Takeaways
- Choose a suitable sharpener, secure your workspace, and identify the knife’s recommended sharpening angle, typically 15–20 degrees.
- Starting at the heel, draw the blade across the sharpener toward the tip using light, consistent pressure.
- Repeat evenly on both sides until you raise a small burr along the full edge.
- Remove the burr with alternating light strokes, then refine the edge using a fine-grit stone or strop.
- Test the knife on paper or a tomato, then clean, dry, hone, and store it safely.
Choose the Right Kitchen Knife Sharpener
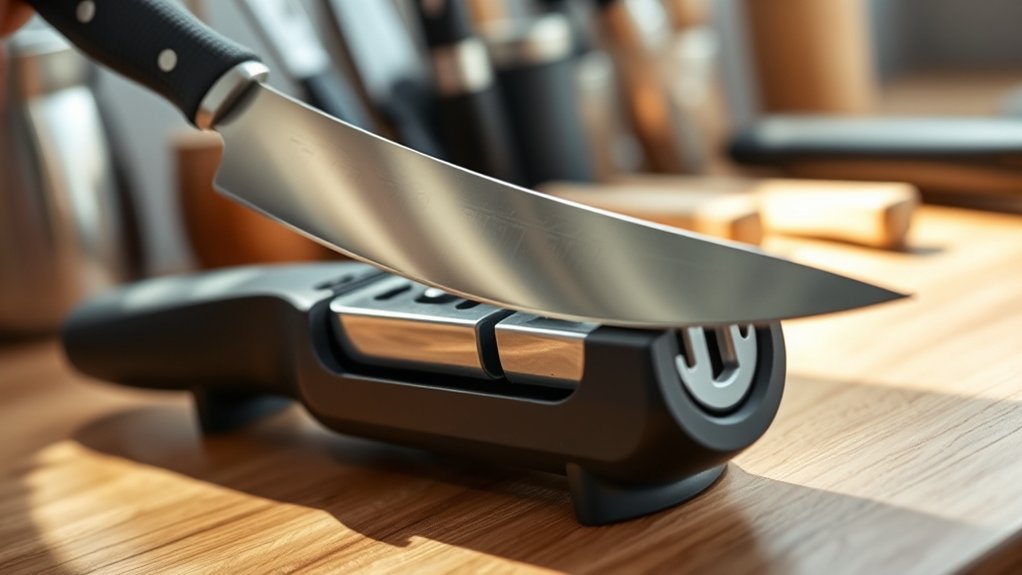
Choose a sharpener that matches your knife and comfort level. For simple maintenance, choose a honing rod. It realigns a knife’s edge between sharpening sessions, though it won’t repair a dull or damaged blade.
Manual pull-through sharpeners offer speed and consistent results, making them practical for many home cooks. However, they remove more metal and may not suit premium, thin, or single-bevel knives.
Electric sharpeners provide convenience and guided stages, but they can remove substantial material and cost more. Whetstones give you precise control and suit most quality knives, yet they require practice and careful handling.
Guided sharpening systems help you maintain consistency without mastering stone technique.
Compare sharpener types with your blade’s steel, edge design, and condition. Read the manufacturer’s instructions before buying, and prioritize kitchen safety by choosing a stable, well-made tool with protective features.
Skip damaged, loose, or poorly designed sharpeners that could slip or create an uneven edge.
Set Up Your Sharpener and Find the Angle
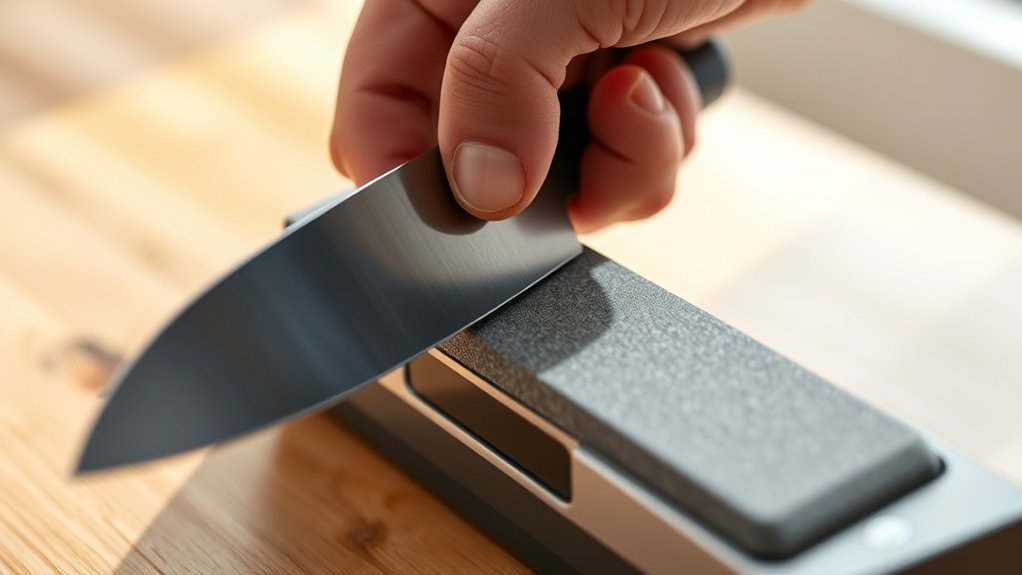
Before sharpening, place your tool on a stable, well-lit surface and secure it according to the manufacturer’s instructions. Clear nearby clutter, keep your fingers away from abrasive surfaces, and confirm that the sharpener sits firmly without rocking.
If you’re using a whetstone, check that it’s adequately soaked or lubricated as directed, then position it on a nonslip base.
Identify your knife’s intended edge angle before you begin. Most kitchen knives use roughly 15 to 20 degrees per side, while sturdier blades may require a wider angle.
Check the manufacturer’s guidance, especially when blade materials differ. Hard steel, ceramic, and softer stainless steel can have distinct recommendations.
A built-in angle guide can simplify setup, but don’t force the blade against it. Keep a small towel nearby for moisture and cleanup.
Move knife storage blocks or magnetic strips away from your workspace. Good lighting helps you see the edge clearly, so you can maintain the chosen angle consistently during sharpening.
Sharpen the First Side Consistently
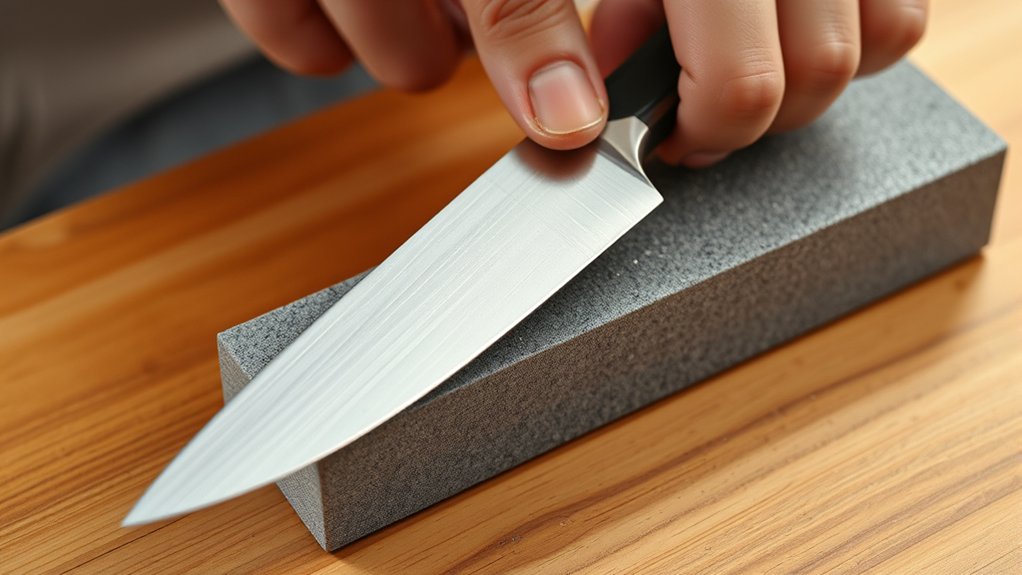
Start with the heel of the knife and place the edge against the sharpener at the angle you identified. Keep your wrist firm, and draw the blade toward you in one smooth motion, moving from heel to tip. Use light, even pressure; pressing harder won’t sharpen faster and can damage the edge.
Draw the blade smoothly from heel to tip, maintaining a steady angle and using light, even pressure throughout each pass.
Maintain the same blade angle throughout every pass. Watch the contact point so you can correct your honing technique immediately if the edge slips or the handle rises. Complete several controlled strokes, then inspect the bevel for a consistent, polished line.
Let the sharpener do the work, and keep your shoulders relaxed to prevent uneven movement. Count your passes to maintain a steady rhythm, and wipe away metal filings when necessary.
Stop when the entire first-side edge feels uniformly refined, with no dull section or rough patch. Work slowly enough to control the knife, and prioritize repeatable motion over speed during each pass.
Match the Angle on the Second Side
Now sharpen the second side at the same angle you used for the first. Match your strokes and pressure to keep the edge even. Take your time—rushing can create an uneven bevel.
Maintain Consistent Angle
Once you’ve sharpened one side, hold the knife at the same angle for the other side to create an even, centered edge. Use the bevel as your guide, keeping its flat surface aligned consistently with the sharpening tool.
If you’re unsure, estimate the angle you used on the first side rather than changing it midway. A consistent angle helps the edge meet at the center and prevents a lopsided bevel.
Account for the blade curvature, especially near the tip, by gently adjusting your wrist while preserving the same general angle. You can use an angle guide or marker on the bevel to check your position.
Your sharpening frequency may affect how much metal you remove, so avoid raising the angle to compensate for a dull edge. Focus on matching the established angle throughout.
Match Strokes and Pressure
Match the number of strokes and the pressure you used on the first side when sharpening the second. If you made ten passes with light pressure, repeat ten passes with similar pressure on the opposite bevel. This stroke consistency keeps both edges balanced and helps prevent an uneven, lopsided profile.
Watch your pressure control as you work. Press firmly enough to maintain contact, but don’t force the blade into the stone. Excess pressure can remove too much metal, create deep scratches, or flex the edge.
As you near the final passes, lighten your touch to refine the burr rather than grind aggressively. Check both sides regularly by feeling for a small, continuous burr. When it extends along the edge, switch sides.
Finish with equal, gentle strokes to align the apex.
Remove the Burr and Finish the Edge
Once you’ve sharpened both sides, feel along the opposite edge for a burr. Use lighter strokes to hone the edge, then polish and strop it to remove any remaining roughness and refine the blade.
Detect the Burr
After sharpening both sides, check for a burr by gently dragging your fingertip—not along the edge—from the spine toward it. A burr feels like a fine, raised wire catching your skin on one side. Repeat this burr detection test along the entire blade, working carefully and slowly.
Check both sides, because the burr may shift as you sharpen.
- Inspect the heel, middle, and tip separately.
- Use a fingertip, cotton swab, or thin paper strip.
- Look for a slight glint under bright light.
- Don’t press directly against the cutting edge.
If you feel roughness only on one side, you’ve found the burr’s location. If neither side catches, make a few controlled, light strokes before checking again.
Confirming a continuous burr gives you a reliable starting point for edge refinement. Keep your movements deliberate so you don’t damage the newly sharpened edge.
Hone the Edge
With a continuous burr confirmed, hone the edge to remove it and refine the blade. Return the knife to your sharpening tools, using the same grit and angle that created the burr.
Make one or two light strokes per side, alternating sides after each stroke. Keep the blade’s angle consistent, and reduce pressure as the edge becomes cleaner.
Check the edge frequently with a fingertip only by gently feeling for remaining roughness from the spine side; never slide your finger along the edge.
Good knife safety means keeping your free hand behind the blade and the stone stable on a damp towel or secure base.
When the burr disappears along the entire length, rinse and dry the knife and stone. Don’t chase a new burr; excessive strokes can round the edge.
Polish and Strop
Now that the burr is gone, polish the edge with a few light strokes on a fine-grit stone, keeping the same angle and alternating sides. This refinement removes tiny irregularities and leaves a cleaner, keener cutting surface. Use minimal pressure and let the stone do the work.
Next, prepare a leather strop, applying a thin layer of honing compound if desired. Use this strop technique:
- Place the knife flat against the leather.
- Lift it to your sharpening angle.
- Pull the blade spine-first, never edge-first.
- Alternate sides for several gentle passes.
Wipe the blade clean, then test it on paper or a tomato. A smooth cut indicates a finished edge. If the knife catches or tears, repeat a few light stone strokes and strop again.
Clean and dry your tools before storing them.
Test Your Knife’s Sharpness Safely
Test your knife’s sharpness with a ripe tomato or a sheet of paper rather than your finger. A sharp blade should slice the tomato’s skin with light pressure, without crushing the flesh.
To use paper, hold a sheet by one edge and carefully draw the knife through it from the heel toward the tip. The blade should cut cleanly instead of catching, tearing, or sliding off.
Prioritize Knife safety during every test. Keep your free hand behind the blade’s path, point the edge away from your body, and place the food on a stable cutting board.
Don’t test sharpness by touching the edge, shaving arm hair, or running your thumb across the blade. Those methods can cause injuries and don’t reflect kitchen performance.
Inspect the edge under bright light, too. A dull or uneven section may reflect light as a bright spot.
If the knife fails these tests, return to your Sharpening tools and refine the edge carefully. Wipe the blade before use.
Maintain Your Knife Between Sharpenings
Maintain your knife between sharpenings by honing the edge regularly, washing and drying the blade by hand, and storing it in a knife block, sheath, or on a magnetic strip. This simple blade maintenance routine preserves sharpness and protects the steel from rust, stains, and accidental damage.
Maintain knife sharpness and protect the steel with regular honing, careful hand washing, thorough drying, and secure storage.
Use a honing rod every few uses to realign the edge, not remove metal. Hold the knife at a consistent angle and make gentle strokes from heel to tip.
Avoid glass, stone, and ceramic plates, which can dull the edge quickly. Practice safe cutting techniques by using a stable board, smooth forward strokes, and the knife’s full length instead of pressing straight down.
- Wipe the blade during extended food preparation.
- Never leave your knife soaking in a sink.
- Keep acidic foods from sitting on the steel.
- Inspect the edge regularly for chips or bends.
When honing no longer restores performance, sharpen the knife with a whetstone or reliable sharpener. Replace damaged storage solutions promptly to keep your knife secure and ready for use.
Frequently Asked Questions
Can I Sharpen Serrated Knives Using the Same Sharpener?
Usually, you can’t sharpen serrated knives with a standard pull-through or flat whetstone sharpener. Their teeth require a tapered rod or specialized serrated sharpener that matches each groove’s size.
For effective serrated sharpening, work on the beveled side only, moving the rod gently through every scallop. Don’t flatten the opposite side.
Using the right tool preserves cutting performance and supports knife longevity while preventing unnecessary damage to delicate serrations and edges.
How Often Should I Replace a Kitchen Knife?
A stitch in time saves nine: replace your kitchen knife when sharpening no longer restores a safe, effective edge.
With proper care, a quality knife can last 10–20 years or longer. Knife longevity depends on steel, construction, use, and maintenance.
Your replacement frequency may increase if you notice cracks, chips, excessive blade thinning, loose handles, rust, or repeated slipping.
Don’t wait for failure; replace any knife that feels unsafe or damaged beyond repair.
What Safety Gear Should I Wear While Sharpening?
Wear protective gloves that resist cuts, and put on safety goggles to shield your eyes from metal particles and abrasive dust. Choose snug gloves that won’t catch on moving equipment, and keep your fingers away from the blade’s edge.
Secure the sharpener or whetstone on a stable surface, maintain good lighting, and avoid loose clothing. You don’t need specialized gear, but never sharpen while distracted, rushed, or handling a damaged tool.
Can Professional Sharpening Services Repair Chipped Knife Blades?
Yes, professional sharpeners can often repair chipped knife blades, like smoothing a rough stone into something useful. They assess the damage and choose a suitable repair technique, such as grinding away the chip or reshaping the edge.
For severe damage, they may need to regrind the blade profile. You shouldn’t attempt major repairs with household tools, since you could remove too much metal or weaken the knife.
Ask about the expected results, cost, and remaining blade life.
Are Ceramic Knives Sharpened Differently From Steel Knives?
Yes, you sharpen ceramic knives differently from steel knives. Ceramic and steel blades require different tools and techniques.
You’ll need a diamond-coated wheel or sharpening service for ceramic knives because standard whetstones won’t effectively cut their extremely hard material.
You can sharpen steel blades with whetstones, honing rods, or pull-through sharpeners. Apply light pressure to ceramic knives because they chip easily, and don’t expect to remove major damage without professional help.
Conclusion
A sharp knife makes kitchen prep safer, faster, and more precise. In fact, a dull blade requires more force, increasing the chance of slipping and cutting yourself.
By choosing the right sharpener, maintaining a consistent angle, and removing the burr carefully, you’ll restore a clean, reliable edge. Test your knife safely, then store it properly and hone it regularly.
With a few minutes of care between uses, you’ll keep your favorite kitchen knife performing at its best. Follow these steps to learn how to sharpen a kitchen knife safely and effectively.