How to Reface Kitchen Cabinets in 7 Steps
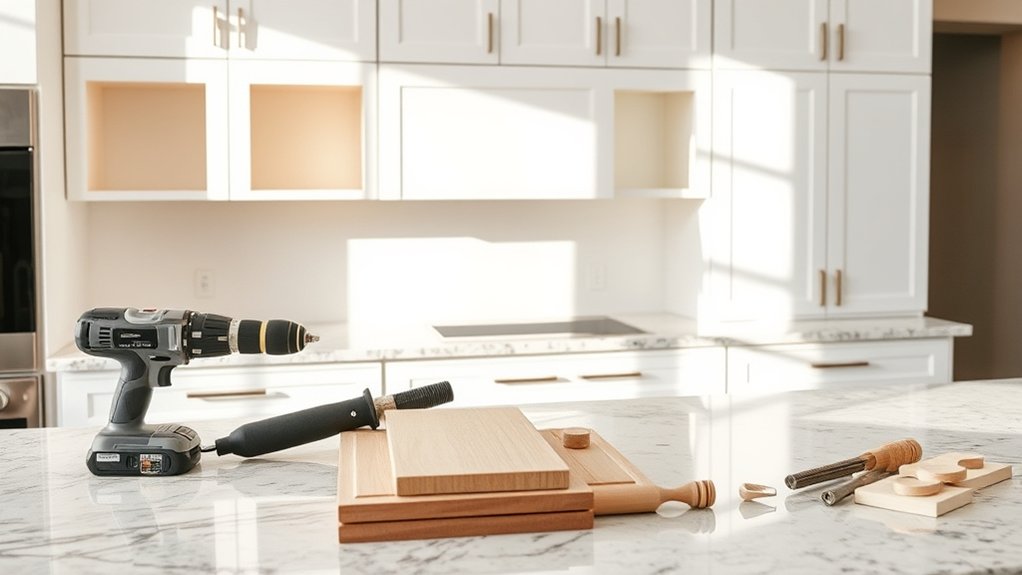
Tired of a dated kitchen but not ready for the cost, mess, and disruption of a full remodel? You’re not alone—many homeowners struggle to refresh worn cabinets without replacing the entire kitchen. Learning how to reface kitchen cabinets can offer a practical way to create a fresh, updated look while keeping your existing cabinet boxes.
To reface kitchen cabinets in seven steps, first inspect the boxes and measure each run. Next, choose compatible doors, veneer, and hardware.
Remove and label doors, drawers, and hinges, then clean, repair, and lightly sand the cabinet surfaces.
Apply veneer carefully, smoothing out bubbles and trimming excess.
Install the new doors and drawers, adjusting hinges and slides for even gaps.
Finally, seal exposed edges, attach hardware, inspect every component, and let the finish cure; the details below can help you avoid common mistakes.
Key Takeaways
- Inspect and measure the cabinet boxes, confirming they are sturdy, square, and free from significant water damage or rot.
- Remove and label doors, drawers, hinges, and hardware, storing screws and components in clearly marked bags.
- Clean, repair, and lightly sand cabinet surfaces so veneer or laminate adheres smoothly and securely.
- Apply veneer to exposed cabinet boxes, trimming edges carefully and allowing the adhesive to cure completely.
- Install and adjust doors, drawers, and new hardware. Then seal edges, inspect alignment, and clean the finished cabinets.
Check Cabinet Condition and Measure for Refacing
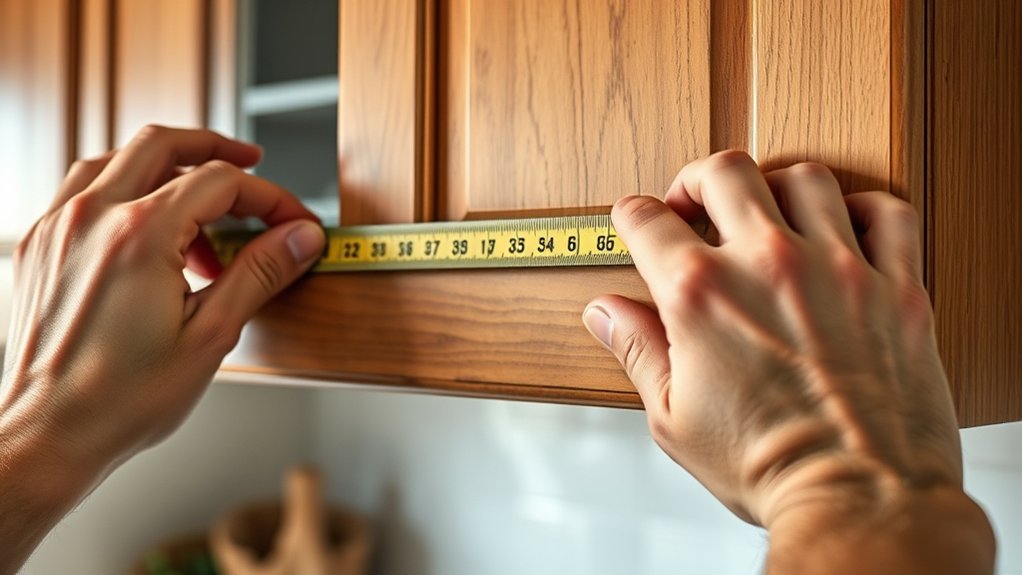
Before choosing new doors or finishes, inspect the cabinet boxes for water damage, swelling, rot, loose joints, and sagging shelves. Refacing works best when the existing boxes remain square, sturdy, and securely attached to the wall.
Press gently against each side panel and shelf. Movement, soft spots, or persistent odors may indicate problems that require repair or replacement.
Identify the cabinet materials, such as plywood, particleboard, or medium-density fiberboard. Note chipped edges, exposed fasteners, and areas that won’t hold screws.
Check hinges, drawer openings, and shelf supports for alignment without selecting replacement hardware yet.
Measure every cabinet run from wall to wall, recording height, width, and depth. Measure openings, corner spaces, fillers, and appliance gaps separately.
Check whether doors and drawers open freely and whether countertops limit access. Count shelves and drawers to document your current storage capacity.
Photograph each section and label measurements clearly. This will help you plan accurately and spot discrepancies before ordering materials.
Choose Doors, Veneer, and New Hardware
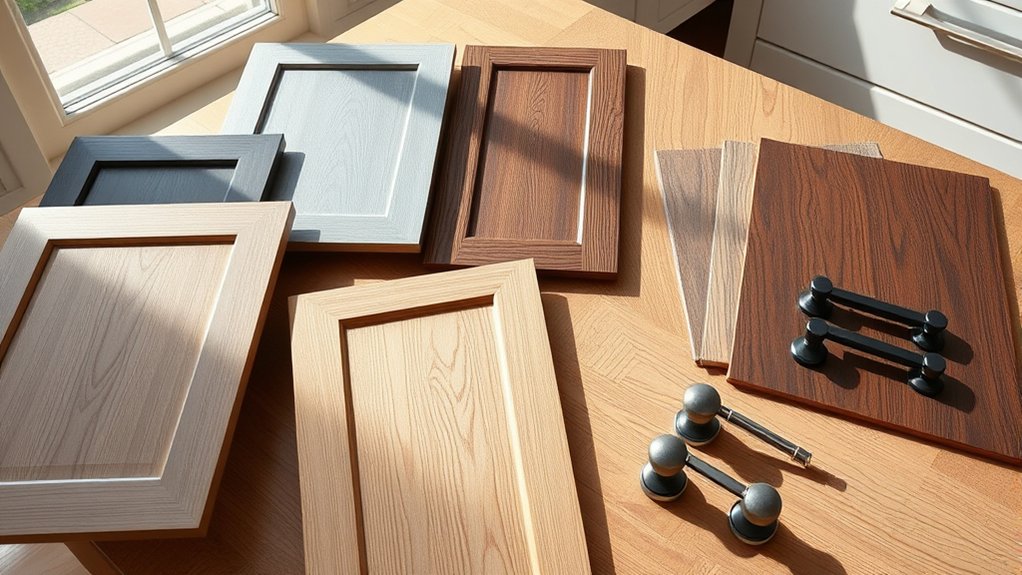
Once you’ve confirmed that the cabinet boxes are sound and recorded accurate measurements, choose door styles, veneer, and hardware that fit your kitchen’s layout and daily use.
Consider flat-panel doors for a clean, modern look, raised panels for traditional rooms, or slab fronts for a streamlined appearance. Make sure your selection suits existing appliances, trim, and available clearance around corners.
Choose a veneer that complements your counters and flooring. Wood veneer adds natural grain, while laminate offers consistent color and simple maintenance.
Order samples before committing, since lighting can change how colors appear. Select durable materials designed for kitchen moisture and frequent cleaning.
Next, compare hardware finishes, such as brushed nickel, matte black, brass, or polished chrome. Match the finish to your faucet or intentionally create contrast.
Pick pulls that feel comfortable and knobs that fit your hand. Confirm each option’s size and mounting pattern so your planned design remains balanced and cohesive.
Don’t forget hinges if your chosen doors require compatible ones.
Remove and Label Doors, Drawers, and Hardware
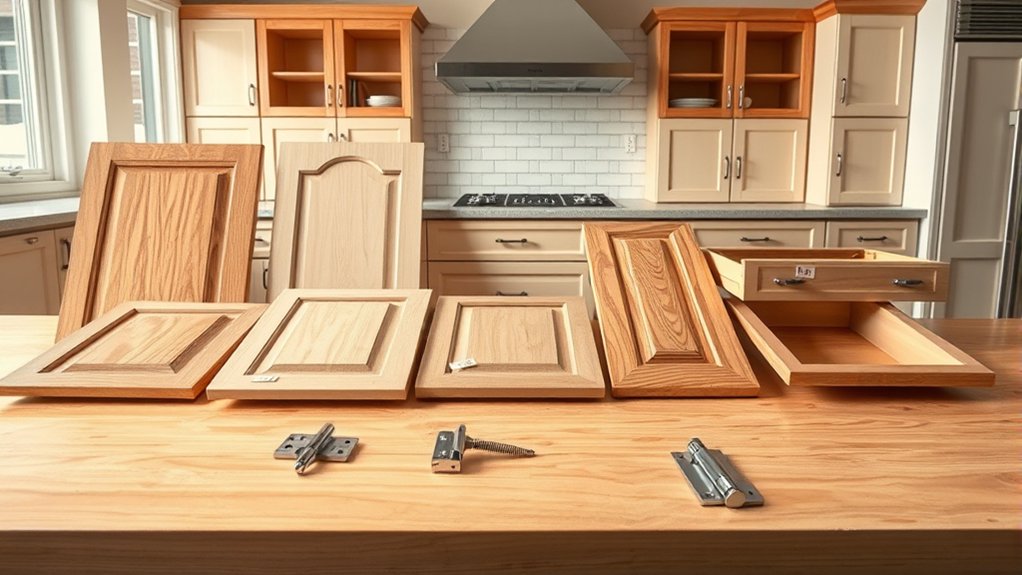
Start by removing each door, drawer, hinge, and handle, keeping the screws with their corresponding piece. Work slowly to avoid dropping parts or damaging cabinet edges.
Carefully remove doors, drawers, hinges, and handles, keeping each piece’s screws together to simplify reassembly.
As you remove each item, place it on a protected surface rather than stacking pieces where they could scratch one another.
Create a simple door labeling system before you begin. Mark every door and drawer with a removable label showing its cabinet position, such as “upper left” or “base right.”
Use painter’s tape in an inconspicuous spot, and write clearly with a permanent marker. Record the matching location in a notebook or take a quick photo for reference.
During hardware removal, put screws, hinges, pulls, and knobs from each piece into a separate labeled bag. Don’t mix hardware, even if pieces look identical; slight differences can affect alignment later.
Keep the bags in a small container so nothing gets misplaced while you prepare the cabinet components for refacing.
Clean, Repair, and Sand Cabinet Boxes
With the doors and hardware removed, clean the cabinet boxes with a degreasing cleaner to remove grease, dust, and residue. Protect your floor and countertop, then wipe every surface with a damp cloth.
Follow the cleaner’s instructions, and let the boxes dry completely before continuing.
Inspect the cabinets for loose joints, damaged edges, water swelling, and holes left by old hardware. Complete minor repairs with wood glue, clamps, or suitable filler.
Replace severely damaged material rather than covering an unstable surface. Let repaired areas cure, then scrape away hardened drips and raised residue.
Sand the cabinet boxes lightly with medium-grit sandpaper to smooth rough spots and help create an even surface. Use finer grit on filled areas.
Sand by hand around corners to avoid removing too much material. Vacuum the dust, then wipe the boxes with a clean, lint-free cloth.
Your cabinet cleaning and preparation should leave each box dry, smooth, solid, and free of dust before the next stage.
Apply Veneer to the Cabinet Boxes
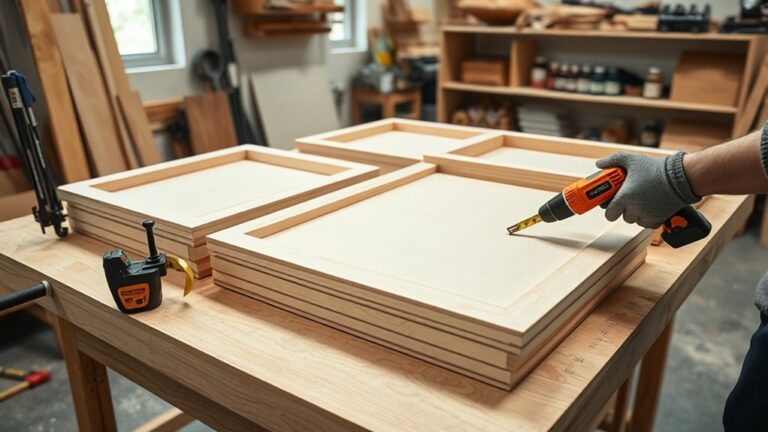
Before applying the veneer, prepare the cabinet surfaces to create a smooth, clean bonding surface. Next, measure and cut the veneer panels to fit each area. Finally, apply and secure the panels, pressing out any bubbles and carefully aligning the edges.
Prepare Cabinet Surfaces
Once the cabinet boxes are clean, smooth, and dry, apply veneer to their exposed surfaces to create a consistent foundation for the new doors and drawer fronts. Begin with the face frames, then cover the cabinet ends and any visible filler strips.
Measure each surface carefully, and mark its direction so the grain remains consistent. Apply contact cement or the manufacturer’s recommended adhesive evenly, then press the veneer firmly into place with a laminate roller.
Work from the center outward to remove air pockets and guarantee full contact. Trim excess material neatly along edges with a sharp utility knife.
If you’re considering cabinet paint instead, follow its preparation and curing requirements. Complete hardware replacement after the veneer sets, so drilling won’t damage the newly finished surfaces or loosen the adhesive.
Cut Veneer Panels
Measure each cabinet box surface and cut the veneer panels slightly oversized, keeping the grain direction consistent with the face frames. Account for side edges, corners, and any exposed end panels before marking your cuts.
Choose suitable Veneer types, such as wood, laminate, or pressure-sensitive sheets, based on your design and cabinet condition. Use accurate Cutting tools to create clean, controlled edges:
- A sharp utility knife for thin wood veneer
- Fine-tooth scissors for flexible laminate sheets
- A straightedge to guide long cuts
- A pencil and square for precise layout marks
Work on a flat, protected surface, and label each panel’s location and grain direction. Dry-check every piece against its cabinet box, trimming only when necessary.
Keep the oversized allowance modest and consistent so later fitting remains manageable without wasting material. Store panels flat to prevent curling or damage.
Apply And Secure Veneer
Apply the veneer to each cabinet box with the adhesive recommended for your veneer type, starting at one edge and pressing across the surface to prevent bubbles. Use a thin, even coat of veneer adhesive, covering the box’s front and any exposed sides.
Follow the product’s open-time instructions before positioning the panel. Align the veneer carefully, because repositioning may weaken surface bonding.
Once it’s in place, smooth it with a J-roller, working from the center outward to force out air and ensure firm contact. Pay special attention to edges and corners, where lifting often begins.
Trim excess veneer with a sharp utility knife or router. Secure stubborn edges with painter’s tape or clamps while the adhesive cures.
Let the adhesive set fully before installing doors, hinges, or hardware.
Install and Align Refaced Doors and Drawers
With the cabinet boxes prepared, install the refaced doors and drawers, then adjust the hinges and drawer slides until each piece sits level, evenly spaced, and operates smoothly. Before mounting, confirm your matching door styles and choosing hinge types fit the cabinet openings and existing layout. Use a screwdriver, level, measuring tape, and shims to make precise adjustments.
Install refaced doors and drawers, then fine-tune hinges and slides for level alignment, even spacing, and smooth operation.
- Set each door against its opening, leaving a consistent gap around every edge.
- Secure hinges loosely first, so you can shift the door before final tightening.
- Insert each drawer squarely, checking that both slides engage without scraping.
- Open and close everything repeatedly, watching for rubbing, sticking, or uneven movement.
Align the top and bottom doors across adjoining cabinets, then adjust hinges in small turns rather than forcing them. For drawers, reposition the slides if the front tilts, binds, or sits too far inward.
Keep checking the reveals from several angles; small differences become obvious across a long cabinet run. Work methodically from one section to the next, and support heavier doors while you fasten them to prevent strain on the hinges.
Seal Edges, Add Hardware, and Inspect the Results
Once the doors and drawers align, seal exposed edges with a compatible finish to protect the new veneer from moisture and wear. Apply thin, even coats, let each coat dry, and lightly sand between applications. Keep finish off hinges and drawer slides.
Next, complete hardware installation. Measure consistently, mark each location with a template, and drill clean pilot holes. Tighten screws firmly, but don’t overtighten and damage the cabinet surface.
| Task | What to Check | Result |
|---|---|---|
| Seal edges | Complete coverage | Moisture protection |
| Install pulls | Consistent spacing | Uniform appearance |
| Tighten screws | Secure fit | Stable hardware |
| Inspect surfaces | Scratches or gaps | Clean finish |
Open every door and drawer several times. Confirm smooth movement, even reveals, and secure handles. Look for bubbling veneer, unfinished corners, loose trim, or mismatched alignment.
Touch up minor flaws with matching finish, and replace damaged hardware before you consider the project complete. Clean fingerprints and dust from all surfaces, then let the finish cure fully before heavy daily use begins.
Frequently Asked Questions
Can Kitchen Cabinets Be Refaced Without Removing Countertops?
Yes, you can usually reface kitchen cabinets without removing your countertops. You’ll keep the existing cabinet boxes in place while replacing doors, drawer fronts, and exposed veneer.
Protect your countertops carefully during sanding, fitting, and installation. You won’t typically need countertop removal or cabinet demolition unless the boxes have serious damage, sit unevenly, or block access.
A professional can assess your layout and recommend the safest approach for your specific kitchen.
How Long Does Professional Cabinet Refacing Typically Take?
Professional cabinet refacing typically takes three to five days, though larger kitchens or custom work may require a week. You’ll usually receive a refacing process overview before work begins, including measurements, surface preparation, veneer installation, and new doors or hardware.
Your timeline can vary with cabinet condition, layout, and material availability. You’ll also choose from various cabinet color options, so confirm selections early to prevent ordering delays and keep the project moving smoothly.
Is Cabinet Refacing Cheaper Than Completely Replacing Kitchen Cabinets?
Cabinet refacing is usually cheaper than completely replacing your kitchen cabinets, often saving you 30–50% while preserving the room’s familiar foundation.
For a clear cost comparison, you’ll pay for new doors, drawer fronts, veneers, and labor instead of an entirely new cabinet system.
Your material options, including laminate, wood veneer, or rigid thermofoil, affect the final price. If your boxes remain sturdy, refacing offers meaningful savings. Replacement makes more sense when damage demands a fresh start.
Can I Reface Cabinets Made From Laminate or Thermofoil?
Yes, you can reface laminate or thermofoil cabinets, but preparation matters. For laminate, installers typically bond new veneer, laminate, or rigid panels over clean, secure surfaces.
Laminate durability depends on strong adhesion and protected edges. Thermofoil options include replacement doors, paint designed for vinyl surfaces, or carefully applied veneers.
Heat-damaged or peeling thermofoil may require door replacement. You’ll get the best results when cabinet boxes remain structurally sound and professionals match materials properly.
How Should I Maintain and Clean Newly Refaced Kitchen Cabinets?
Use gentle cleaning techniques to protect your newly refaced cabinets: wipe spills promptly with a soft, damp microfiber cloth and mild dish soap, then dry every surface. Avoid abrasive pads, harsh chemicals, waxes, and excess water, which can damage edges and finishes.
Keep cabinet durability high by using handles, opening doors gently, and preventing prolonged heat or moisture exposure. Don’t hang heavy items from doors, and check hinges periodically for loose screws.
Conclusion
Your cabinets are almost unrecognizable, and that final detail is where the transformation comes together. Step back, inspect every edge, and open each door. Does anything stick, shift, or reveal an unfinished seam? Fix it now.
Then load the shelves, turn on the kitchen lights, and see how the room feels. You didn’t just update cabinet fronts; you changed your daily space. And when guests ask who did the work, you’ll know the answer: you did. You successfully learned how to reface kitchen cabinets.