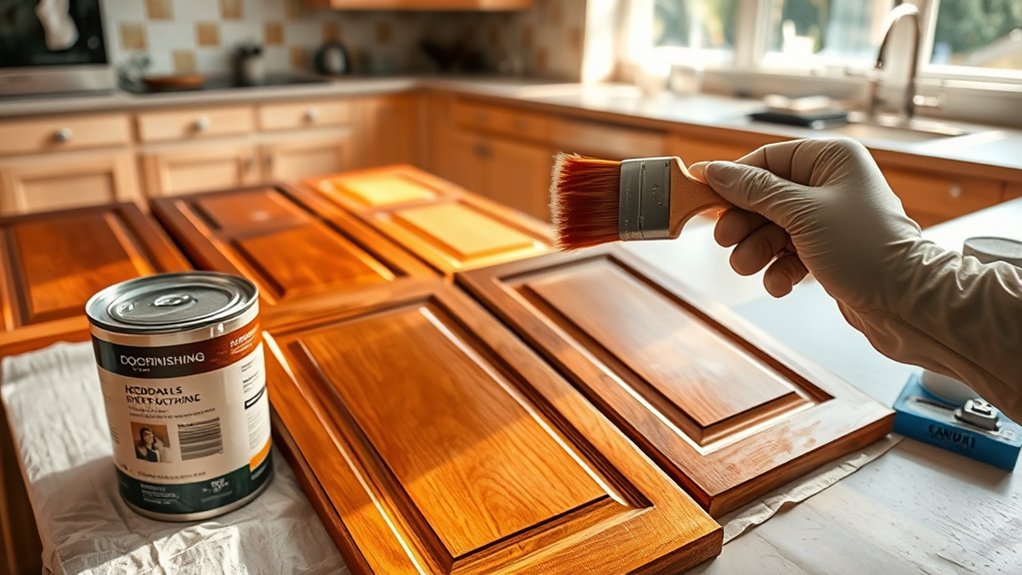
How to Stain Kitchen Cabinets Step by Step
Tired of worn, outdated cabinets but not sure where to start? You’re not alone—many homeowners struggle to get an even, professional-looking finish. The right products and preparation can make staining your kitchen cabinets much easier.
Check that your cabinets are wood or veneer before staining, since laminate and thermofoil won’t absorb it properly. Choose a compatible stain and finish, then remove and label the doors, drawers, and hardware.
Degrease, repair, and sand every surface, then remove all dust.
Apply conditioner if needed, followed by thin stain coats along the grain, wiping away excess.
Let each coat dry before adding color or sealer.
Reinstall everything after the finish cures, and find helpful details below.
Key Takeaways
- Identify the cabinet material, test stain absorption, and repair dents, scratches, loose veneer, or damaged surfaces.
- Remove and label doors, drawers, hinges, and hardware to ensure accurate reassembly later.
- Degrease, sand progressively with 120- and 180-grit paper, vacuum dust, and wipe surfaces clean.
- Apply compatible conditioner, then stain thinly along the grain, wiping away excess and layering coats gradually.
- Protect the cured stain with thin topcoat layers, lightly sanding between coats before reinstalling hardware.
Check Whether Your Cabinets Can Be Stained
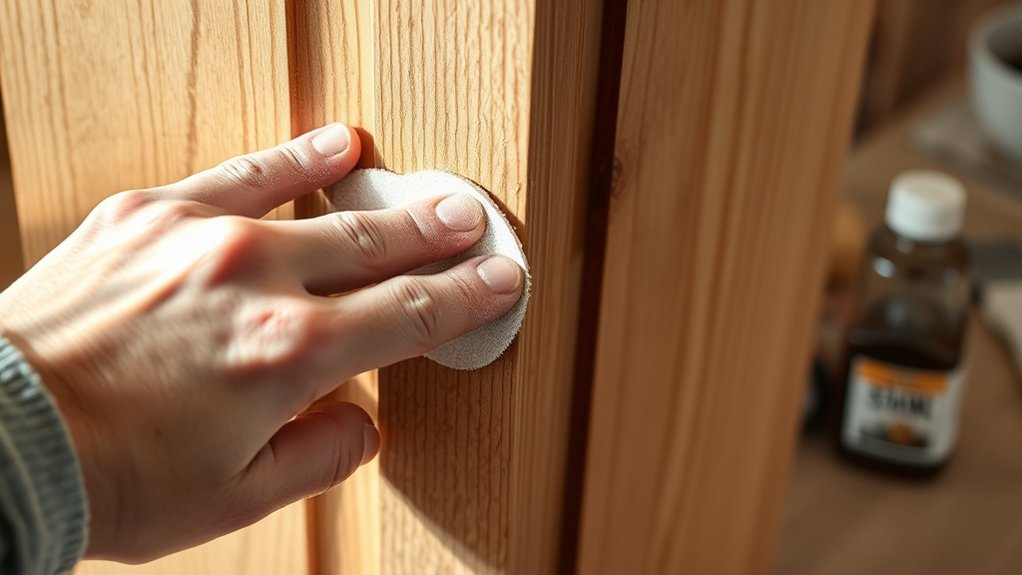
Before you begin, check whether your cabinets can accept stain. Identify the cabinet material, because wood responds differently from laminate, thermofoil, and medium-density fiberboard.
Solid wood and many wood veneers usually absorb stain, although results can vary by species and grain. Inspect an inconspicuous edge or the inside of a door to determine whether you’re working with real wood.
Solid wood and wood veneers typically accept stain, but always test an inconspicuous area to confirm absorption and color.
Look for peeling edges, a repeating printed pattern, or a smooth, plastic-like surface. These signs may indicate laminate or thermofoil, which won’t absorb conventional wood stain.
MDF can also produce uneven results, especially along exposed edges. If you’re unsure, remove a hinge or door and inspect its layers.
Test stain compatibility on a hidden area after cleaning away grease and residue. Let the test dry fully, then check the color and absorption.
If the surface stays wet-looking or barely changes, staining may not provide a reliable result. Confirm your cabinets’ condition before continuing with preparation.
Choose the Right Stain and Finish
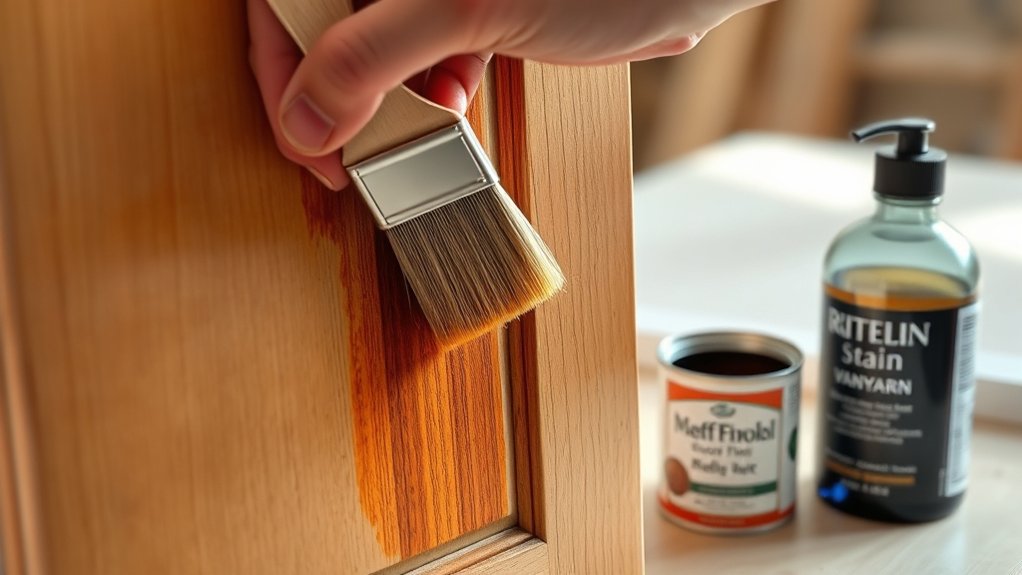
Choose a stain based on your cabinet’s wood species, existing color, and the look you want to create. Test samples on hidden areas first, because oak, maple, cherry, and pine absorb pigment differently.
Consider how the stain will interact with your flooring, counters, and wall color to support accurate Color matching.
- Choose a light stain to highlight grain while keeping the kitchen airy.
- Select a medium brown for warmth and a traditional appearance.
- Use a dark stain to create contrast and emphasize detailed doors.
- Pick a gray or whitewash for a softer, contemporary finish.
After choosing the color, select a clear topcoat that suits your kitchen’s demands. Polyurethane offers strong Finish durability, while water-based formulas typically stay clearer and dry faster.
Oil-based finishes add warmth but may yellow over time. Choose satin or semigloss for a practical balance between appearance and cleanability.
Avoid high-gloss coatings if you want to minimize visible scratches, fingerprints, and unevenness. Always follow the stain and finish manufacturer’s compatibility recommendations.
Gather Your Cabinet Staining Supplies
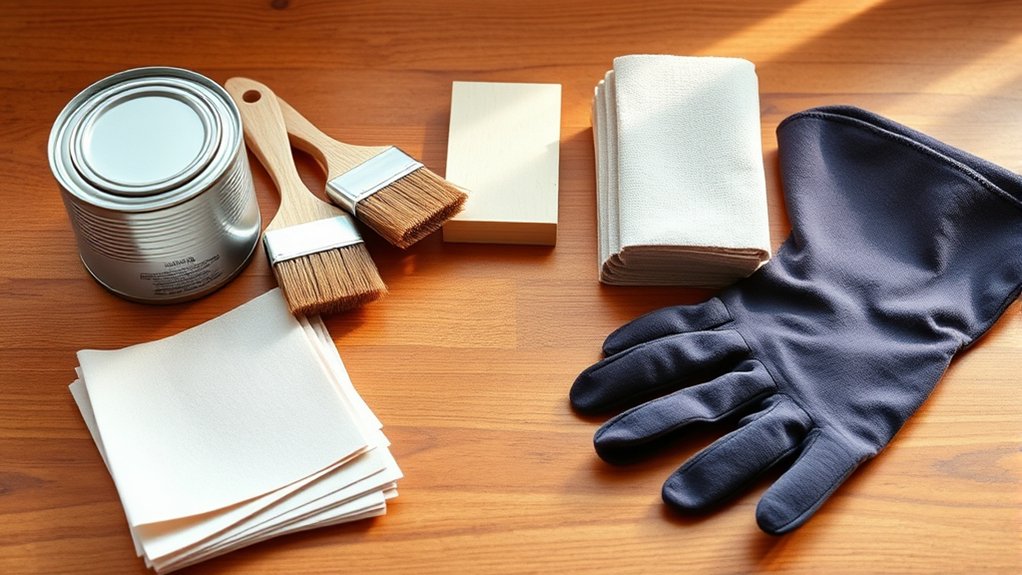
Gather all your supplies before starting: screwdrivers, labels, drop cloths, sandpaper, cleaning solution, lint-free cloths, stain, brushes or foam applicators, gloves, and a compatible clear finish. Add a bucket, measuring cups, painter’s tape, and adequate ventilation supplies.
Choose lint-free materials so fibers won’t mar the surface, and select applicators suited to your stain’s consistency.
| Supply | Purpose | Selection tip |
|---|---|---|
| Sandpaper | Smooths surfaces | Keep multiple grits |
| Cloths | Cleans and wipes | Choose lint-free |
| Finish | Protects color | Confirm compatibility |
Set aside sample boards for Color matching before you commit to the cabinets. If you’re reconsidering stain, compare paint options separately; paint requires different preparation and products.
Check the stain label for recommended cleaners, drying times, and applicators. Gather safety equipment, including gloves, eye protection, and a mask when product instructions call for one.
Organize everything within reach, but keep containers sealed until needed. This preparation helps you work efficiently and prevents interruptions once staining begins.
Don’t start until your workspace is protected, your tools are clean, and every product works together.
Remove the Doors, Drawers, and Hardware
Label each door, drawer, and corresponding cabinet location before removing anything. Carefully remove the hardware, and keep the screws and pulls together in labeled bags. Staying organized will make reassembly quick and accurate.
Label Each Piece
Label each cabinet door, drawer, and hinge as you remove it so you’ll know exactly where everything belongs during reassembly. Use painter’s tape and a pencil to create a simple numbering system that won’t leave residue or confuse you later.
Mark matching cabinet openings and pieces with the same number, keeping labels discreet but easy to read.
- Number doors from left to right.
- Match each drawer to its original opening.
- Note unusual sizes or decorative details.
- Keep a written layout as a backup.
Place the labeled pieces in a clear sequence as you work. If you’re planning color matching, record the existing finish and location of each piece.
This organization also helps with stain removal because you can track areas needing extra attention without mixing components or losing their intended positions.
Remove Hardware Carefully
Start by removing the screws that hold each door, drawer front, and hinge in place, supporting the piece with one hand as you work. Place every screw, hinge, knob, and pull in a small bag as soon as you remove it.
Continue your hardware removal methodically, working from one cabinet section to the next so nothing gets misplaced. Use your labels from the previous step to match each door and drawer with its hardware.
If pieces look identical, add a quick note describing their location, such as “left upper cabinet.” Keep bags in a container rather than on the counter, where they could spill or disappear.
After removing the hardware, set doors and drawer fronts on a protected, flat surface. Inspect each piece for hidden screws before sanding or cleaning.
Clean and Repair the Cabinet Surfaces
Before staining, clean the cabinet surfaces to remove dirt and grease. Then, sand them evenly so the stain adheres properly. Finally, repair any dents, cracks, or other damage. Starting with a smooth, clean surface will help create a more uniform finish.
Remove Dirt and Grease
Clean the cabinet doors, drawers, and frames with a degreasing cleaner to remove cooking residue, dust, and grime. Choose a product suited to your cabinet’s finish, and test it first in a hidden spot.
Apply the cleaner to a microfiber cloth rather than soaking the wood. Use these cleaning techniques and degreasing methods:
- Wipe greasy areas near knobs and handles.
- Clean corners, edges, and molding carefully.
- Rinse the cloth often to avoid spreading grime.
- Dry every surface with a clean towel.
For stubborn buildup, let the cleaner sit briefly, then wipe gently. Don’t flood seams or let moisture remain on the wood, since water can cause swelling or discoloration.
Work in small sections, changing dirty cloths as needed. Once the surfaces feel clean and dry, inspect them under bright light.
Remove any remaining residue before addressing repairs or preparing for stain.
Sand the Surfaces
Once the cabinets are clean and dry, inspect them for dents, scratches, loose veneer, or chipped finish. Note these areas, but save detailed fixes for the repair step.
Remove knobs, handles, and hinges, then place each door on a flat, protected work surface. Use 120-grit sandpaper to strip away the old finish and smooth uneven areas.
Sand with the grain pattern, using steady, overlapping strokes. Avoid circular motions, which can leave visible marks.
For corners and profiles, fold the sandpaper or use a sanding sponge. After the first pass, switch to 180-grit paper to improve surface smoothness without polishing the wood.
Vacuum the dust, then wipe every surface with a tack cloth. Don’t rush this step: leftover finish or dust can create uneven stain absorption and spoil the final appearance.
Repair Surface Damage
After sanding, inspect each cabinet surface for dents, scratches, cracks, loose veneer, or chipped finish. Note every flaw so you can complete thorough Damage repair before staining. Surface imperfections stand out under stain, so don’t rush this step.
- Fill shallow dents and scratches with stainable wood filler.
- Secure loose veneer with wood glue, then clamp it flat.
- Replace badly damaged veneer or patch deep gouges carefully.
- Smooth each repair with fine-grit sandpaper after it dries.
Wipe away sanding dust with a vacuum and a clean, slightly damp cloth. Let the wood dry completely before applying anything else.
Run your fingertips across the panels to reveal rough edges your eyes might miss. If filler looks raised, sand it level without removing the surrounding finish.
Finally, remove hardware dust and debris from corners, seams, and cabinet frames. This helps your stain apply evenly and bond cleanly.
Sand the Cabinets for Even Absorption
Smooth, even sanding helps the wood absorb stain consistently and prevents blotchy results. Remove cabinet doors, drawers, and hardware, then label each piece to simplify reassembly.
Start with 120-grit sandpaper to strip away old finish and smooth repaired areas. Move with the grain pattern, using steady strokes rather than pressing hard.
Sanding against the grain can leave scratches that show through the stain. Switch to 150- or 180-grit sandpaper for a smoother surface, especially on open wood.
Use sanding blocks on flat panels and folded paper around edges or profiles. Keep your pressure light and consistent so you don’t round corners or create low spots.
For detailed trim, use a fine sanding sponge that follows the contours. After sanding, inspect every surface under bright light.
Run your hand over the wood to find rough patches, then resand those areas. Remove dust with a vacuum and a clean, lint-free cloth before moving on.
Consistent sanding techniques produce a uniform finish.
Condition the Wood Before Staining
Clean, dust-free wood is ready for conditioning, which helps porous species such as pine, birch, and maple absorb stain more evenly. As part of your wood preparation, check that each cabinet surface feels smooth and dry.
Prepare clean, dry wood to help porous cabinet surfaces absorb stain evenly and achieve a smoother, more consistent finish.
Uneven moisture content can cause blotches, so let recently cleaned wood acclimate indoors before you continue. Keep your workspace comfortably ventilated, but avoid directing heat or fans at the doors.
Choose a compatible pre-stain wood conditioner, and read its label for application and drying guidance. Test it first on an offcut or hidden area to confirm the result suits your cabinet wood.
Gather these essentials:
- Pre-stain wood conditioner
- Clean, lint-free cloths
- Disposable gloves
- Timer and test board
Apply a thin, uniform coat with a fresh cloth or brush, working along the grain. Don’t flood edges, corners, or joints, where conditioner can pool.
Allow the recommended soak time, then remove excess gently. Let the surface dry fully before inspecting it under bright, even light. Address missed areas before proceeding.
Apply Stain to the Doors and Frames
Once the conditioner has dried, stir the stain thoroughly and test it on a hidden spot or spare board. Confirm that the color suits your kitchen before you begin.
Remove the doors, drawers, and hardware, then label each piece to simplify reassembly. Lay the doors flat on a protected, well-ventilated surface.
Use a clean, lint-free cloth or brush to spread a thin, even coat, following the wood grain. Work on one section at a time, blending overlapping strokes while the stain remains wet.
These stain techniques help prevent lap marks and uneven color blending. Avoid flooding corners, edges, or recessed panels, since excess stain can collect and turn blotchy.
Wipe away surplus stain with a fresh cloth, using long, consistent strokes. Apply the same method to the cabinet frames, working from the top downward and checking for drips.
Keep your pressure and application speed consistent so every visible surface looks uniform. Let the stain dry according to the product label before handling the pieces.
Build Color With Additional Stain Coats
After the first coat has dried completely, assess the color in natural light. If the wood looks too pale or uneven, apply another thin coat to deepen the finish.
Evaluate the dried first coat in natural light, adding a thin second coat if the finish looks pale or uneven.
Stir the stain gently, then load your cloth or brush lightly. Work with the grain, overlapping each pass to encourage smooth color blending.
Before covering the entire cabinet, test the stain layering approach on an inconspicuous edge. Let that sample dry so you can judge the finished shade accurately.
Additional coats usually intensify color, but heavy application can create streaks, tackiness, or an overly dark appearance.
- Wipe excess stain consistently across each panel.
- Keep edges from collecting thick, wet buildup.
- Match the number of coats on doors and frames.
- Allow each coat to dry before judging color.
If one area looks darker, blend its edges with a clean cloth while the stain remains workable. Don’t rush the process; gradual coats give you better control and help preserve the wood’s natural character.
Stop once the color looks even and rich enough.
Seal and Reinstall the Stained Cabinets
When the final stain coat is fully dry, protect the wood with a compatible cabinet sealer. Choose a water-based polyurethane for low odor and minimal yellowing, or an oil-based formula for added warmth and durability.
Test the sealer on an inconspicuous area first. Apply thin, even coats with a quality brush or sprayer, following the manufacturer’s directions.
These sealing techniques help prevent drips, bubbles, and uneven sheen. Let each coat dry completely, then lightly sand with fine-grit paper and remove dust before applying the next coat.
Two or three coats usually provide dependable protection.
After the final coat cures, use these reinstallation tips: Label each door and hinge location, then reinstall hinges, doors, drawers, and hardware in their original positions.
Tighten screws carefully to avoid stripping the newly finished wood. Adjust hinges so doors align evenly and open smoothly.
Wait until the sealer reaches its full cure time before heavy use, cleaning, or placing items inside the cabinets.
Frequently Asked Questions
How Long Should Stained Kitchen Cabinets Dry Before Daily Use?
Let stained kitchen cabinets dry at least 24 hours before light daily use, but wait 48 to 72 hours before regular handling. You’ll protect the finish by keeping doors and drawers open, maintaining good ventilation, and avoiding moisture, heat, and cleaning products.
Follow your stain and topcoat manufacturer’s instructions, since drying times vary. Proper curing improves finish durability, while complete drying helps preserve color matching and prevents fingerprints, sticking, or uneven sheen.
Can You Stain Cabinets Without Removing Them From the Wall?
Yes, you can stain cabinets without removing them from the wall, and roughly 70% of DIY cabinet projects involve working in place. Skip cabinet removal by protecting counters, floors, hinges, and nearby walls with drop cloths and painter’s tape.
Remove doors and hardware when possible for cleaner results. Wall staining can happen if you rush, so apply thin coats, ventilate the room, and allow each coat to dry fully before reassembly or daily use.
How Do You Maintain and Clean Newly Stained Kitchen Cabinets?
You can maintain newly stained kitchen cabinets by wiping spills promptly with a soft, damp microfiber cloth. For routine cabinet cleaning, use mild dish soap diluted in water, then dry every surface immediately.
Don’t use abrasive sponges, ammonia, wax, or harsh solvents, which can dull the finish. Keep moisture away from seams and hardware.
If scratches appear, apply matching stain touch-ups sparingly, following the stain manufacturer’s instructions carefully.
Can Previously Painted Cabinets Be Stained Successfully?
Yes, you can stain previously painted cabinets successfully, but expect substantial work. Removing the paint and preparing the surface determine the result.
Think of it this way: nearly 80% of staining success comes from preparation, not application. Start with thorough Paint removal, then complete careful Surface preparation by sanding, repairing dents, and cleaning residue.
Test your stain on an inconspicuous area first. If paint remains in the wood grain, choose paint instead.
How Much Does Professional Kitchen Cabinet Staining Typically Cost?
You’ll typically pay $1,500–$4,000 for professional kitchen cabinet staining, though larger or intricate kitchens may cost $5,000 or more.
Cost factors include cabinet size, wood condition, preparation, stain type, labor rates, and whether professionals remove doors or repair damage.
Pricing estimates often run $4–$10 per square foot or $80–$150 per cabinet door.
Request several detailed quotes, and confirm whether materials, hardware removal, cleaning, and sealing come included in the final price.
Conclusion
With careful prep, patient staining, and a protective finish, you can give your kitchen cabinets a beautiful new look. Check the wood, clean every surface, and apply thin, even coats for richer, more reliable results.
Don’t rush the drying time or skip sealing, since both steps help prevent scratches and stains. Once everything’s cured, reinstall the hardware and doors, step back, and enjoy your refreshed kitchen.
Your hard work has created a warm, welcoming space you’ll love, and these steps will help you stain kitchen cabinets with lasting, beautiful results.