How to Replace a Kitchen Sink Faucet in 3 Steps
Replacing a kitchen sink faucet can feel harder than it should, especially when tight spaces, stubborn nuts, and confusing connections get in the way. You’re not alone—many homeowners struggle with this common upgrade, but the right faucet can make the process much easier and refresh your entire kitchen.
To replace a kitchen sink faucet in three steps, first clear the cabinet, shut off both supply valves, open the faucet, and place a bucket underneath.
Next, disconnect the supply lines, remove the mounting nuts, lift out the old faucet, and clean the sink surface.
Finally, guide the new faucet through its mounting hole, secure it with the gasket and nut, connect the supply lines, and slowly restore water. Check every joint for leaks, then follow the additional tips below.
Key Takeaways
- Gather a compatible replacement faucet, adjustable wrench, basin wrench, bucket, towels, and plumber’s tape if recommended.
- Shut off hot and cold valves, open the faucet, and disconnect supply lines while catching residual water.
- Remove mounting hardware, lift out the old faucet, and clean the sink’s mounting surface thoroughly.
- Insert the new faucet, install its gasket and mounting hardware, center it, and tighten securely without overtightening.
- Reconnect supply lines, reopen valves slowly, check for leaks, and test hot and cold water operation.
Prepare to Replace a Kitchen Sink Faucet
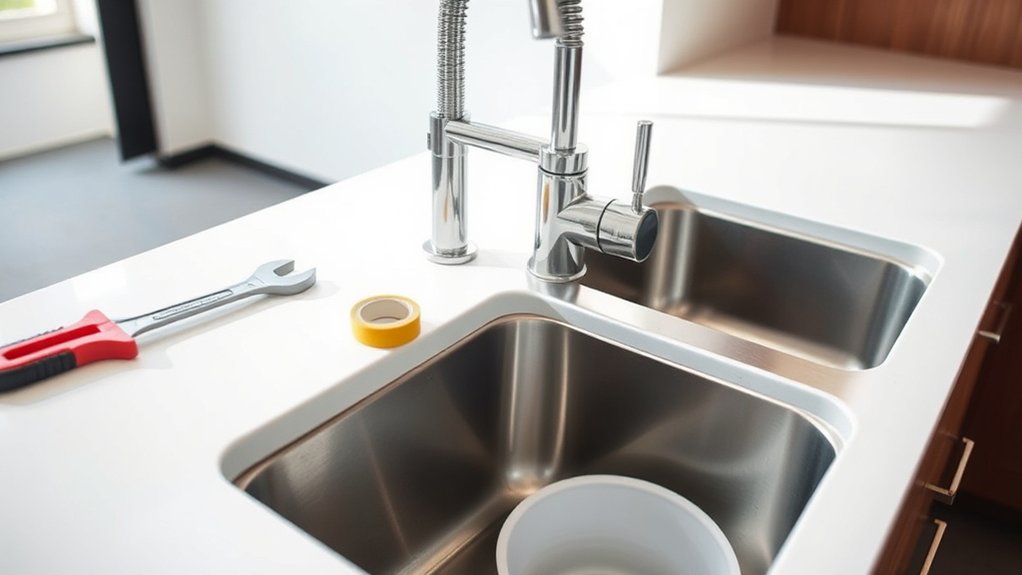
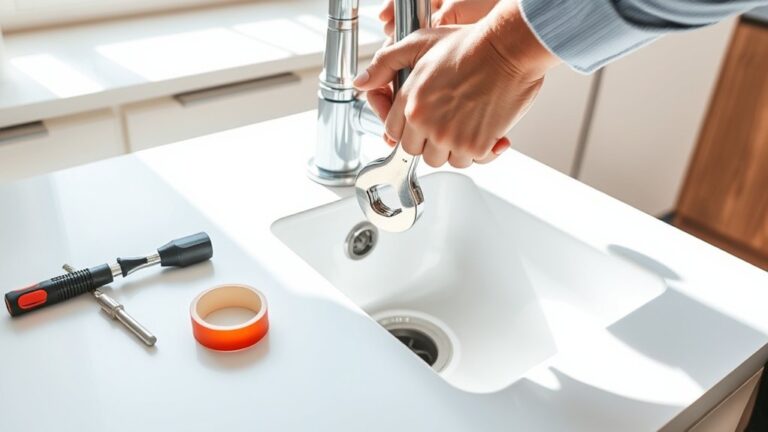
Before replacing your kitchen sink faucet, gather an adjustable wrench, basin wrench, bucket, towels, plumber’s tape, and the new faucet. Confirm that the faucet fits your sink’s mounting holes and matches the supply-line connections. Read the manufacturer’s instructions so you understand the required tools, installation steps, and warranty conditions.
Gather essential tools, confirm faucet compatibility, and review the manufacturer’s instructions before beginning your kitchen faucet replacement.
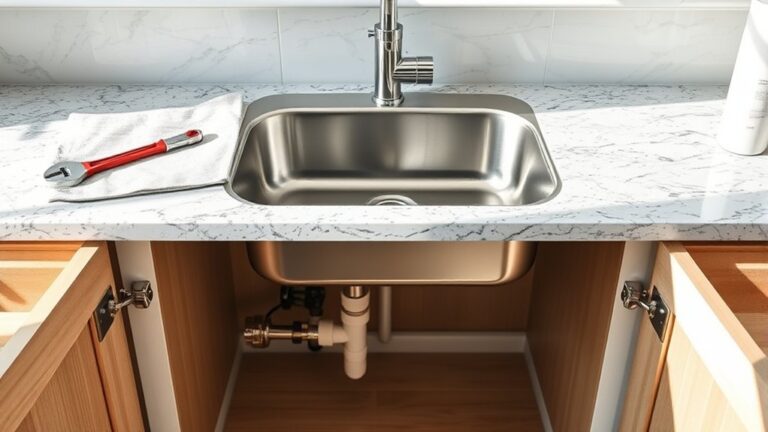
Clear the cabinet beneath the sink, remove stored items, and place a flashlight where you can see comfortably. Keep a container nearby for small parts, and wear gloves to protect your hands from grime or sharp edges.
Check the new faucet for damage, verify that its washers and mounting hardware are included, and inspect the supply lines for corrosion.
Plan your workspace before you begin, especially if limited access makes installation difficult. Consider faucet maintenance needs, such as cleaning the aerator and checking seals periodically.
Finally, identify the shutoff valves and test water pressure at the faucet so you can recognize any issues after installation.
Remove the Old Kitchen Sink Faucet
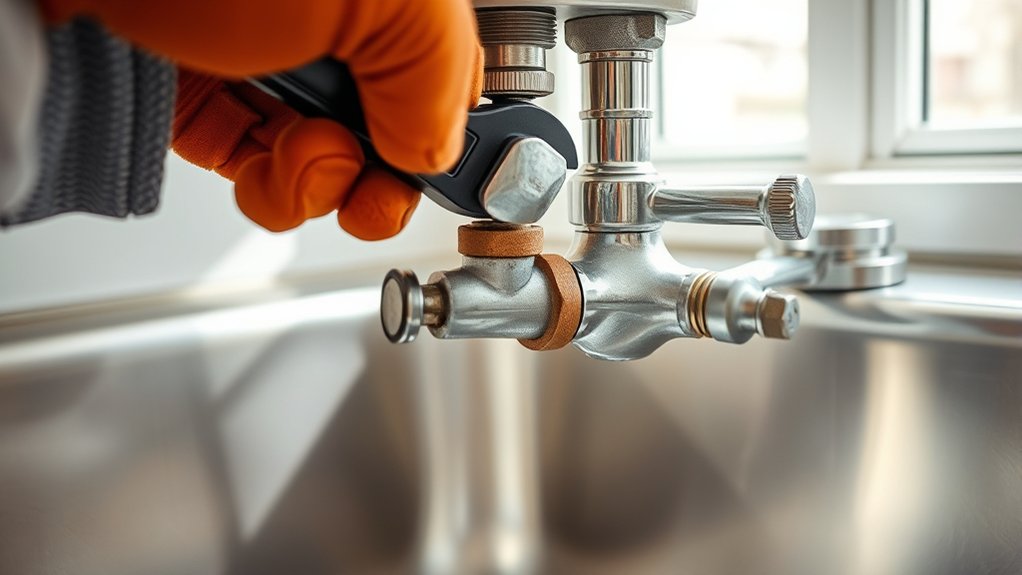
Turn off both shutoff valves beneath the sink, then open the faucet to release pressure from the supply lines. Place a bucket and towel under the connections to catch trapped water. Label the hot and cold lines if their positions aren’t obvious.
Use suitable Plumbing tools, such as an adjustable wrench, basin wrench, screwdriver, and pliers. Disconnect each supply line at the shutoff valve, then loosen the mounting nuts beneath the sink.
A basin wrench can reach tight spaces more easily than standard wrenches.
- Remove clips, washers, and nuts from the faucet shank.
- Cut away old caulk with a utility knife.
- Lift the faucet straight up through the sink opening.
- Wipe residue and rust from the mounting surface.
Different Faucet types may use one, two, or three mounting holes, but the removal process remains similar. Keep removed hardware together in case you need to identify the faucet’s mounting arrangement.
Don’t force corroded connections. Apply penetrating oil, wait several minutes, and try again.
Dispose of the old faucet responsibly, and leave the sink opening clean and unobstructed.
Mount the New Faucet and Check for Leaks
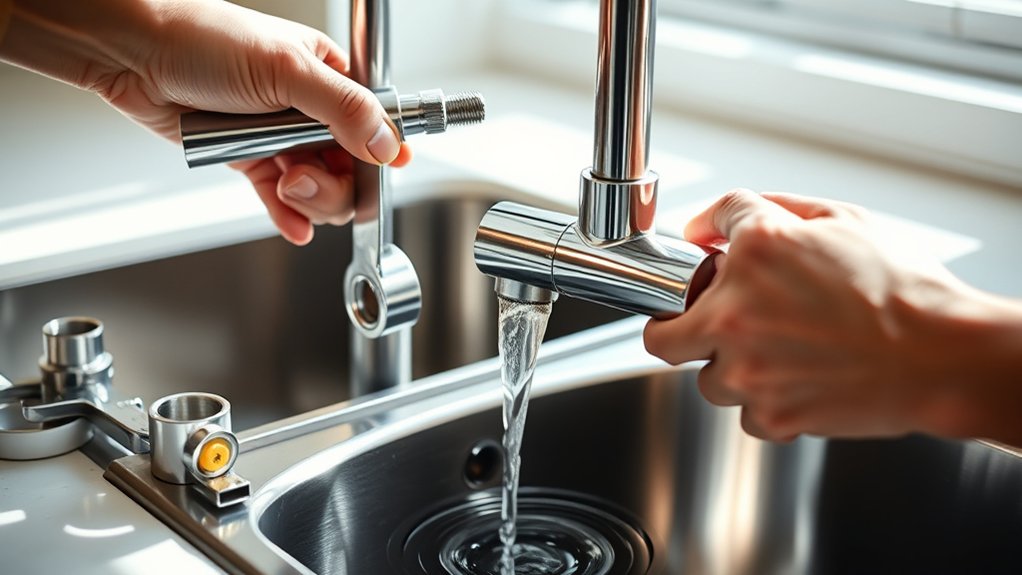
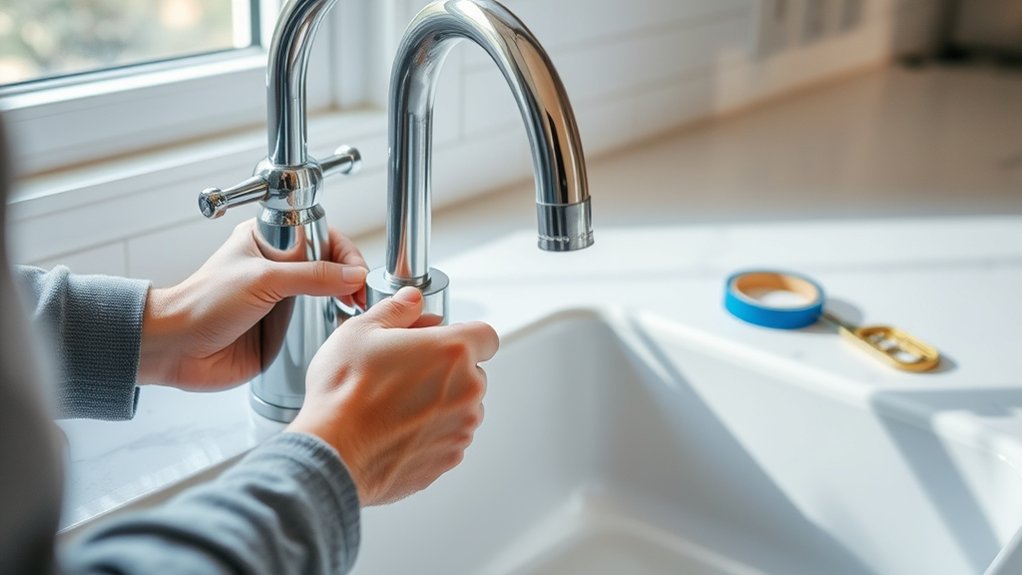
How do you mount the new faucet securely? Start by cleaning the sink’s mounting surface, then guide the faucet’s supply lines and shank through the mounting hole. Under the sink, slide on the gasket, washer, and mounting plate, if included.
Thread the mounting nut onto the shank and tighten it by hand. Center the faucet above the sink, then finish tightening the nut with a basin wrench. Don’t overtighten it, or you could damage the sink or faucet.
Connect the hot and cold supply lines to the matching shutoff valves. Wrap threaded connections with plumber’s tape only when the manufacturer recommends it; compression fittings usually don’t need tape.
Turn on each valve slowly and watch every connection during faucet installation. For leak detection, wipe joints dry, then check for fresh moisture while running both hot and cold water.
If you find a leak, shut off the water, tighten the connection slightly, and test again. Finally, secure the spray hose and verify smooth handle operation.
Frequently Asked Questions
How Often Should a Kitchen Sink Faucet Be Replaced?
You should replace a kitchen sink faucet about every 10–15 years, though your faucet’s lifespan depends on water quality, usage, and maintenance. Don’t wait for a specific date if you notice persistent leaks, rust, low water pressure, loose handles, or recurring repairs.
Quality models may last longer, while inexpensive faucets might need earlier replacement. Your replacement frequency should reflect performance and condition, not age alone. Regular cleaning and timely repairs can extend service life.
Which Faucet Brands Offer the Best Warranties?
You’d think the best warranty would come from a faucet wrapped in gold, but Moen, Delta, Kohler, and Pfister often lead the pack. In a quick brand comparison, Moen and Delta commonly offer limited lifetime warranties covering leaks, finishes, and functional parts, while Kohler and Pfister provide strong coverage with some exclusions.
Review each policy’s terms, registration requirements, and transfer rules before buying. Warranty coverage matters most when repairs arise unexpectedly.
Can I Install a Water Filter Alongside My New Faucet?
Yes, you can install a water filter alongside your new faucet, provided your sink has enough space and the plumbing supports it. Choose an under-sink system or a separate filtered-water dispenser, then connect it to the cold-water supply using the manufacturer’s fittings.
For water filtration, check flow rates, replacement schedules, and compatibility. Helpful installation tips include shutting off the water, testing every connection for leaks, and leaving room to replace cartridges easily.
What Faucet Styles Are Trending for Modern Kitchens?
Modern kitchens are embracing faucets that act like jewelry and tools combined. When my neighbor remodeled, her matte-black faucet became the room’s “little black dress,” instantly sharpening the design.
You’ll see streamlined pull-down models, sculptural high-arc silhouettes, and slim bridge faucets gaining popularity. Vintage finishes, including brushed brass and aged bronze, add warmth, while Touchless controls bring convenience and cleaner handling.
Choose a style that matches your cabinetry, sink, and daily cooking habits without sacrificing functionality.
How Do I Clean and Maintain My Faucet’s Finish?
Use gentle Faucet cleaning to keep your finish looking new. Wipe your faucet daily with a soft, damp microfiber cloth, then dry it to prevent water spots.
For buildup, apply mild dish soap diluted in warm water. Never use abrasive powders, bleach, vinegar, or harsh sprays unless your manufacturer approves them.
Rinse thoroughly and dry completely. Support Finish preservation by avoiding scrub pads, waxing, and prolonged contact with toothpaste, cleaners, or food acids.
Conclusion
Replacing a kitchen sink faucet doesn’t have to feel overwhelming. Once you’ve gathered your tools, shut off the water, and cleared the cabinet, the job usually takes less than an hour.
You might worry that a small leak means you’ve failed, but don’t panic. Tighten connections gently and check the washers before calling a professional.
After testing hot and cold water, clean up, and enjoy a dependable faucet you installed yourself with confidence. That’s how to replace a kitchen sink faucet in three simple steps.