How to Remove a Kitchen Faucet in 10 Steps
Removing a kitchen faucet can feel cramped, messy, and more complicated than expected. You’re not alone—many people struggle with stuck mounting nuts, tight supply lines, and limited cabinet space. The good news is that learning how to remove a kitchen faucet is manageable with the right tools and a clear plan.
To remove a kitchen faucet in 10 steps, gather tools and protect the cabinet with towels and a bucket. Shut off both supply valves, then open the faucet to release pressure. Disconnect the hot and cold lines, followed by the sprayer or pull-down hose.
Loosen stuck mounting hardware with penetrating oil. Remove the nuts, lift out the faucet, and clean the sink surface. Inspect the supply lines and holes, then continue for helpful removal details.
Key Takeaways
- Gather a basin wrench, adjustable wrench, bucket, towels, and flashlight, then clear and protect the area beneath the sink.
- Shut off hot and cold supply valves, open the faucet, and drain residual water into the sink or bucket.
- Disconnect hot and cold supply lines, labeling them and catching remaining water with towels.
- Release the sprayer or pull-down hose, remove retaining clips, and loosen the faucet’s mounting nuts.
- Lift out the faucet, address corroded hardware carefully, and clean and dry the sink surface for installation.
Gather Tools and Protect the Cabinet
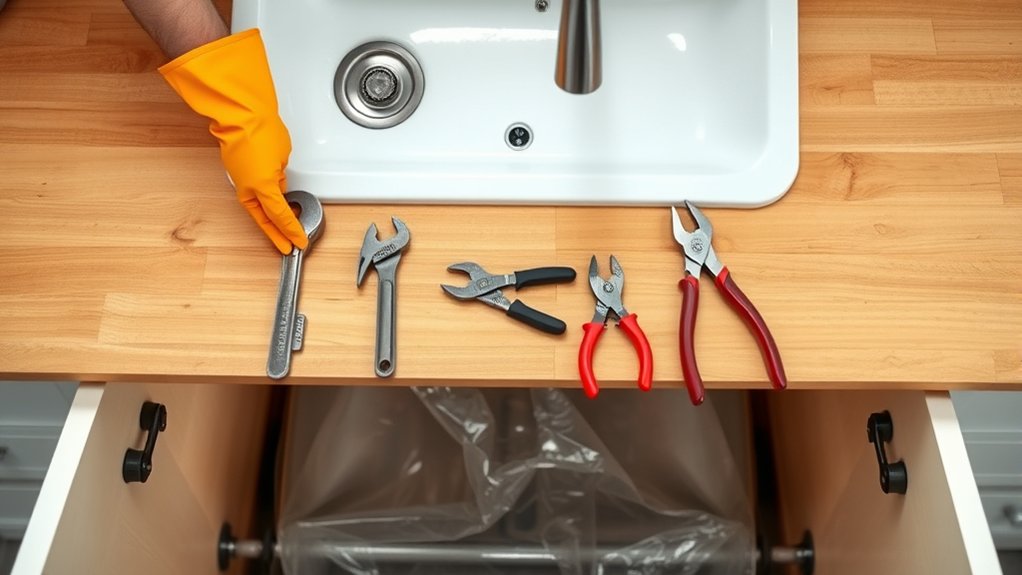
Before you begin, gather an adjustable wrench, basin wrench, bucket, towels, and a flashlight. Add a headlamp if the cabinet’s dark, and keep a small container nearby for loose nuts and washers. Check each tool before use.
Tool safety starts with clean, dry handles, secure jaws, and enough room to turn without slipping. Don’t use a damaged wrench or force a tool at an awkward angle.
Use clean, dry tools with secure jaws, and avoid damaged equipment or awkward angles that could cause slips or injury.
Remove cleaning supplies and stored items from beneath the sink so you can work comfortably and see the connections clearly.
Next, focus on cabinet protection. Spread towels across the cabinet floor and place a bucket beneath the faucet area to catch residual water during removal.
Use an extra towel to cushion your knees and protect the cabinet edge from dropped tools. Cover nearby surfaces with a waterproof mat or plastic sheet if moisture could reach them.
Arrange your tools within easy reach, but keep them away from the cabinet opening so nothing falls onto plumbing or flooring.
Turn Off the Faucet Water Supply
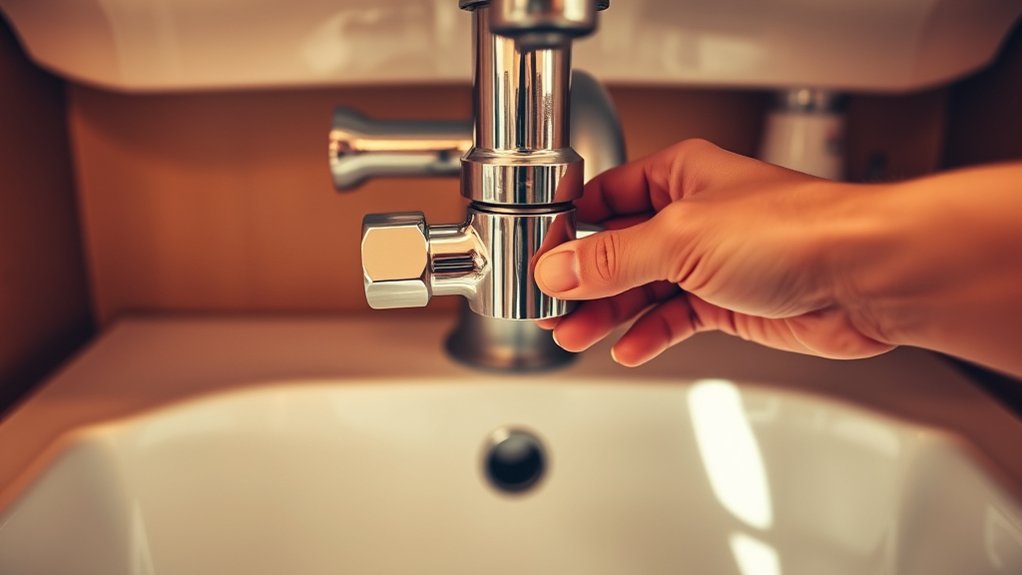
Before you remove the faucet, find the hot- and cold-water supply valves beneath the sink. Turn both valves clockwise until they’re fully closed. Then open the faucet to release any remaining water pressure.
Locate Supply Valves
Find the hot- and cold-water supply valves beneath the sink, usually mounted on the wall or cabinet floor. Look for two small shutoff valves connected to flexible or rigid supply tubes.
One valve serves the hot-water line, while the other serves the cold-water line. Trace each tube from the faucet connections to identify the correct valve, especially if labels have faded or the plumbing looks crowded.
Check the surrounding area for moisture, corrosion, mineral deposits, or a slow faucet leak. A damp valve or damaged connector may need replacement before you remove the faucet.
Use a flashlight to improve visibility, and keep a towel nearby for inspection. These installation tips help you recognize the valve arrangement and prepare for the next step without disturbing any connections prematurely.
Shut Off Water
Turn both supply valves clockwise until they’re snug to shut off the hot- and cold-water lines. Don’t overtighten them, because excessive force can damage the valves or fittings.
Open the faucet handle to release trapped Water pressure and confirm that water stops flowing. If water continues, close the main shutoff valve and check the supply connections for leaks.
Keep a bucket and towel beneath the fittings to catch any remaining water. This step protects your cabinets, floor, and hands while you disconnect the faucet.
You don’t need Faucet calibration yet; you’ll address that when installing or adjusting the replacement fixture.
Leave the faucet open during removal so residual pressure can escape safely. Once the lines drain completely, place a small container beneath each connection before loosening the supply nuts with a wrench.
Open the Faucet to Relieve Pressure
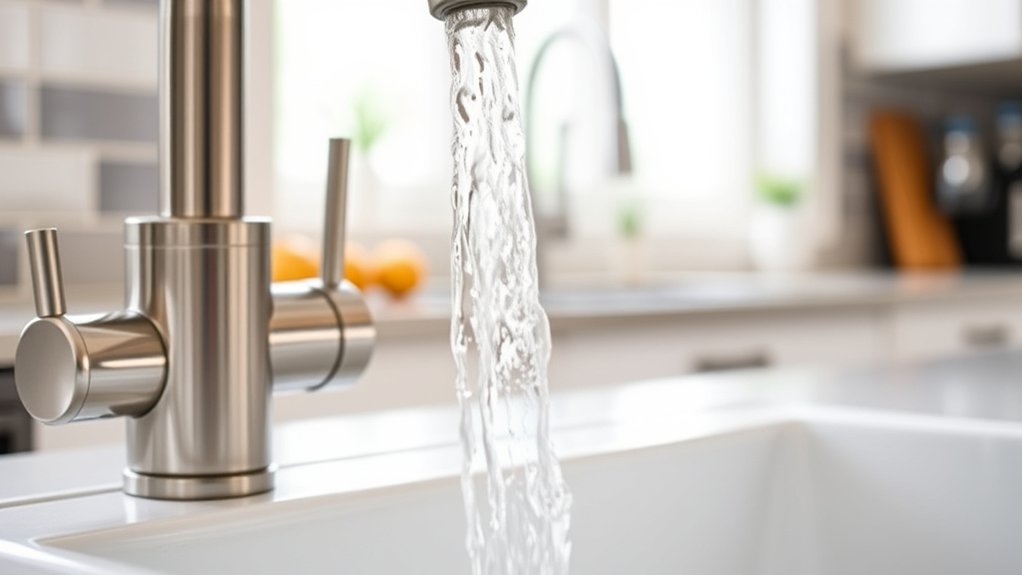
After you turn off the water supply, open both faucet handles and let the remaining water drain into the sink. This relieves pressure before you disconnect the faucet.
Turn Off Water Supply
Start by shutting off both water-supply valves beneath the sink, turning each handle clockwise until snug. This stops incoming hot and cold water before you disconnect the faucet’s supply lines.
Don’t force a stubborn valve; excessive pressure can damage its stem or connection. If a valve won’t close fully, shut off the home’s main water supply instead, then confirm the lines no longer receive water.
Place a bucket or shallow pan beneath the connections to catch residual water when you loosen them later. Keep a towel nearby, too, so you can wipe spills and protect the cabinet base.
These precautions support water conservation by preventing unnecessary waste and make faucet maintenance cleaner and safer. Check both valves carefully, since even a slow leak can create problems during removal.
Open Faucet Handles
With both supply valves closed, open the faucet’s hot and cold handles to release pressure from the lines. Move each faucet handle fully to its open position, then leave both handles open.
If your faucet uses a single lever, center it between hot and cold, or move it through both temperature settings to relieve pressure on each side. Watch the flow from the spout; it should quickly diminish to a drip or stop.
Don’t force a stiff handle, since excessive pressure can damage the valve stem or cartridge. Instead, wiggle the handle gently while keeping the faucet open.
Confirm that no water continues flowing from the spout before you proceed. Keep the handles open during removal so trapped pressure doesn’t push against connections when you loosen them.
Drain Remaining Water
Open the faucet fully to drain any water remaining in the spout and supply lines. Let both hot and cold handles run until the flow stops.
This step releases pressure inside the faucet and connected pipes, making removal safer and less messy. If your faucet has a pull-out spray head, extend it and hold it over the sink so trapped water can escape.
Watch for reduced water drainage before closing the handles. Place a bucket, bowl, or thick towel beneath the supply connections to catch residual water that may remain in the hoses.
You can also loosen each connection slightly, but don’t remove the lines yet. Keep the cabinet area clear and dry as you work.
Once the faucet stops dripping, close both handles and prepare for the next removal step.
Disconnect the Hot and Cold Supply Lines
Turn off the hot and cold shutoff valves, then open the faucet to release any remaining water pressure. Place a bucket and towel beneath the connections to catch water left in the lines.
Shut off both valves, open the faucet, and place a bucket and towel beneath the connections to catch residual water.
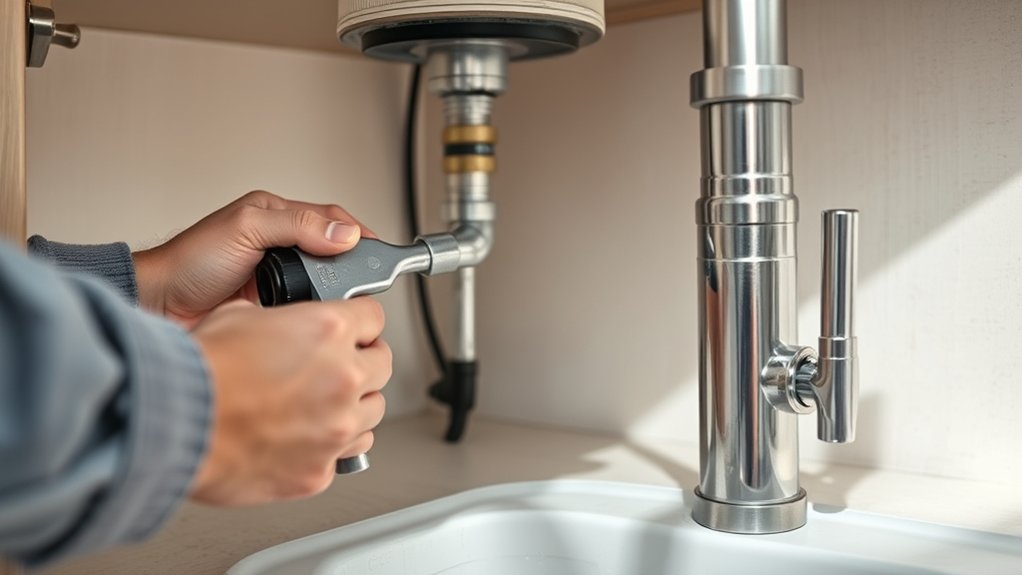
Identify the flexible supply tube carrying hot water and the one carrying cold water. Use an adjustable wrench to loosen each compression nut where the tube meets the shutoff valve.
Turn the nut counterclockwise while holding the valve steady with another wrench, so you don’t twist or damage the plumbing.
After you disconnect each line, let the remaining water drain into the bucket. Cap or plug the open shutoff valves if you’ll leave the plumbing exposed for an extended period.
Inspect the nuts, tubes, and valve threads for corrosion or mineral buildup. If a connection won’t loosen, apply penetrating oil and wait several minutes before trying again.
Don’t force a stubborn valve, because excessive pressure can damage the supply piping beneath the sink. Label each line if needed for reinstallation.
Disconnect the Sprayer or Pull-Down Hose
Turn off the water supply before disconnecting the sprayer or pull-down hose. Then, carefully release the hose connection and remove the retaining clip holding it in place. Keep a towel nearby to catch any water that remains.
Turn Off Water Supply
Before disconnecting the sprayer or pull-down hose, shut off the hot and cold water supply valves beneath the sink. Turn each valve clockwise until it stops, but don’t force it.
If your faucet has separate shutoffs, close both. Some faucet types may use a single handle or an integrated supply system.
Open the faucet briefly to release pressure and confirm that water no longer flows. Keep a shallow pan or towel beneath the connections to catch residual water and protect the cabinet.
If a valve won’t turn, don’t use excessive force, since you could damage the fitting or supply line. Instead, shut off the home’s main water supply.
Once the lines remain dry, leave the faucet open while you prepare to disconnect the hose.
Release Hose Connection
With the water off, trace the sprayer or pull-down hose to its connection beneath the sink. Place a towel below it to catch drips.
Identify the fitting joining the hose to the faucet supply or diverter, then inspect how it releases.
| Connection | Release mechanism | What you do |
|---|---|---|
| Threaded fitting | Nut | Turn it counterclockwise |
| Quick-connect | Collar or tabs | Press, pull, or squeeze |
| Clip-style fitting | Button | Depress while pulling |
Support the hose with one hand while operating the release mechanism with the other.
For a threaded hose connection, loosen the nut by hand. Use pliers only if necessary, protecting the fitting with a cloth.
For a quick-connect model, press its collar or tabs and pull the hose straight down. Keep the hose end lifted after separation to limit dripping.
Don’t remove any retaining clip yet.
Remove Retaining Clip
Once the hose is disconnected, remove the retaining clip securing it to the faucet shank. Look beneath the sink and identify the small metal or plastic clip around the shank or hose fitting.
Hold the hose with one hand so it doesn’t drop into the cabinet. With pliers, squeeze the clip’s tabs or gently pry one edge outward with a flat-head screwdriver.
Use careful clip disengagement techniques to avoid bending the clip, damaging the hose, or scratching the faucet. If the clip resists, rotate it slightly while maintaining steady pressure.
Complete the retaining clip removal, then slide the clip off and set it aside. Keep the clip with the removed hardware if you’ll reinstall the faucet.
Inspect the fitting afterward for cracks, corrosion, or debris before pulling the hose free.
Remove the Faucet Mounting Nuts
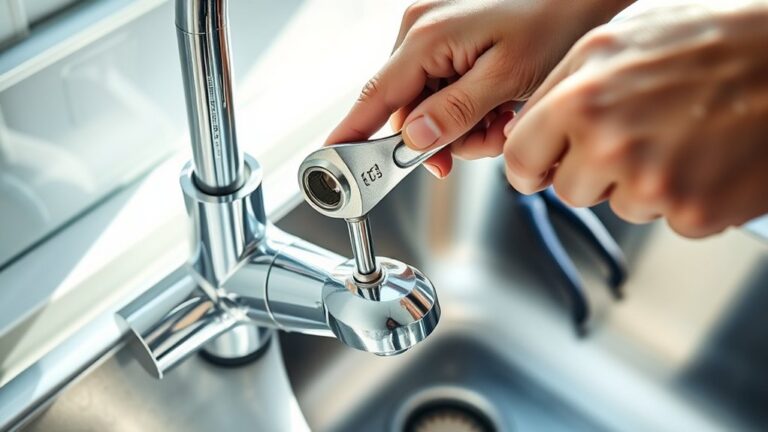
Reach beneath the sink and loosen the faucet mounting nuts with a basin wrench or adjustable wrench. Identify the mounting nut types before choosing your approach.
Most faucets use plastic, brass, or metal nuts secured beneath the sink deck. Support the faucet above the counter with one hand, or ask someone to hold it steady, so it won’t shift as you work.
Use common removal tools that fit the nut securely. Turn each nut counterclockwise, applying steady pressure rather than sudden force.
If the faucet has multiple mounting points, loosen every nut evenly before removing any completely. Keep a container nearby for washers, plates, and nuts you’ll reuse or inspect.
Once the nuts turn freely, remove them by hand and set them aside in order. Lower the mounting hardware carefully, then guide the faucet’s supply lines through the sink opening.
Keep the workspace organized, and check that no clip, washer, or nut remains attached before lifting the faucet out.
Free Stuck or Corroded Mounting Hardware
If a mounting nut won’t budge, spray penetrating oil around its threads and let it soak for several minutes. Protect your eyes, then use a correctly sized basin wrench or deep socket to turn the nut slowly. Apply steady pressure rather than sudden force, which can damage the fastener or supply connections.
If corrosion still holds it, tap the wrench lightly with a hammer to break the bond. Reapply oil and wait longer if necessary.
For severe rust, carefully cut a stubborn nut with a rotary tool or hacksaw, stopping before you reach the faucet shank or sink surface. Wear gloves and eye protection, and shield nearby components from metal filings.
Don’t use an open flame beneath the sink, especially near plastic parts or cleaning products. After removing the hardware, clean exposed threads with a wire brush.
For corrosion prevention, dry the area and use hardware lubrication sparingly during reassembly. Keep tools controlled in the cramped space, and stop if the mounting stud begins turning with the nut.
Lift Out the Old Kitchen Faucet
With the mounting hardware removed, disconnect the faucet’s supply lines and pull out any remaining hoses or clips. Hold the faucet body from above as you lift it through the sink opening.
If it feels stuck, wiggle it gently from side to side instead of forcing it, which could damage the sink or countertop. Ask someone to support the faucet below if the assembly is bulky or awkward.
Keep a bucket or towel underneath to catch water trapped inside the spout, hoses, or valves. Once it clears the opening, set the old faucet on a towel and inspect the surrounding area for loose parts that came free during removal.
Note the faucet material, such as stainless steel, brass, or plastic, before disposal or recycling. You can also record the old installation height and hose arrangement to guide your replacement choice.
Don’t scrape or scrub the sink yet; leave that task for the next step.
Clean the Sink Mounting Surface
Remove any old plumber’s putty, caulk, mineral deposits, or grime from the sink’s faucet opening using a plastic scraper and a damp cloth. Work carefully around the rim so you don’t scratch stainless steel, porcelain, or another sink finish.
For stubborn residue, soften it with warm, soapy water before scraping again. Avoid metal blades, abrasive pads, and harsh chemicals that could damage the surface.
Wipe the area repeatedly until the cloth picks up no dirt or sticky material. Use a soft toothbrush to clean the narrow edge around the opening, then dry everything with a clean towel.
A smooth, dry mounting surface helps the faucet base sit evenly and supports reliable sink sealing during reinstallation. Check the area under the old faucet’s footprint for raised debris or hardened buildup, and remove it without forcing the tool.
Finish by shining a flashlight across the rim to reveal remaining residue. Don’t apply new putty or caulk yet; leave the opening clean and ready for the next step.
Inspect Supply Lines and Sink Holes
Inspect the faucet’s flexible supply lines for cracks, kinks, corrosion, or damp spots, then check each sink hole for damage, obstructions, or old sealant. During your supply line inspection, trace each hose from the shutoff valve to the faucet connection.
Look for crushed sections, mineral buildup, loose fittings, or water stains that could signal a slow leak. If you find damage, plan to replace the line before installing the new faucet.
Examine the sink holes from above and below. Confirm that the openings match your replacement faucet’s mounting plate and that no debris prevents a level fit.
Remove hardened putty, rust, or silicone with a plastic scraper, taking care not to scratch the sink. Check the underside for cracks around each hole, especially on porcelain or composite sinks.
Complete any needed sink hole sealing only after cleaning and drying the surface. If a hole is oversized or damaged, use a compatible escutcheon or consult a plumber before proceeding.
Frequently Asked Questions
How Do I Choose a Compatible Replacement Kitchen Faucet?
Choose a replacement kitchen faucet by matching your sink’s mounting holes, countertop thickness, and water-line connections. Count the holes, measure spacing, and check whether you need a deck-mount or wall-mount model.
Compare faucet styles, such as pull-down, pull-out, single-handle, or two-handle designs, with your sink and daily needs. Verify water flow meets local limits, typically measured in gallons per minute.
Confirm the faucet includes compatible hoses, adapters, and mounting hardware.
Can I Reuse the Old Faucet’s Supply Lines?
Treat old supply lines like a bridge: reuse them only if they’re strong, clean, and fully compatible. Check each hose for cracks, corrosion, stiffness, damaged threads, or worn washers.
Confirm the connectors match your replacement faucet and shutoff valves. Faucet material can affect fitting compatibility, while Water pressure may expose weak hoses.
Because supply lines are inexpensive, replacing them usually offers safer, leak-free service. Don’t reuse lines that have been disturbed or are over five years old.
When Should I Call a Professional Plumber for Faucet Removal?
Call a professional plumber when you can’t shut off the water, find corroded or seized connections, notice leaks inside the cabinet, or lack the tools and confidence to proceed safely. You shouldn’t force fittings, damage supply lines, or risk flooding.
DIY tips can help with simple, accessible removals, but common mistakes often cause costly water damage. Hire a plumber if your faucet connects unusually, the valves won’t work, or the installation involves gas, filtration, or complex plumbing.
How Should I Dispose of an Old Kitchen Faucet?
Recycle your old kitchen faucet whenever possible. Check local faucet recycling programs, scrap-metal centers, or municipal drop-off sites before throwing it away. Remove attached hoses, plastic parts, batteries, or electronic sensors, and separate materials if your facility requires it.
Clean and dry the faucet, then place it in a sturdy box for transport. Don’t leave it beside household trash unless local disposal tips specifically permit bulky plumbing fixtures.
What Safety Precautions Should I Take Around Electrical Outlets?
Protect yourself with smart electrical safety: switch off the circuit breaker before touching an outlet, and verify the power is off with a tester. Keep hands dry, avoid overloaded power strips, and never use frayed cords.
Install outlet protection near sinks, including GFCI outlets, and test them monthly. Don’t insert tools or objects into sockets.
If you notice sparks, heat, buzzing, or damage, stop immediately and call a licensed electrician for help.
Conclusion
With the old faucet out, you’ve cleared the way for a cleaner, more reliable setup. Wipe away any lingering grime, check the sink holes and supply lines, and prepare the new fixture according to its instructions.
A little patience now can prevent small drips from becoming bigger surprises later. Once everything’s connected and snug, turn the water back on slowly, test both temperatures, and enjoy your refreshed kitchen workspace after learning how to remove a kitchen faucet.