How to Remove Grease From Kitchen Cabinets
Greasy kitchen cabinets can make your entire kitchen feel dirty, even when you’ve just cleaned. You’re not alone—many people struggle with sticky buildup and worry about damaging their cabinets. The right products can make cleanup easier and help keep surfaces looking fresh.
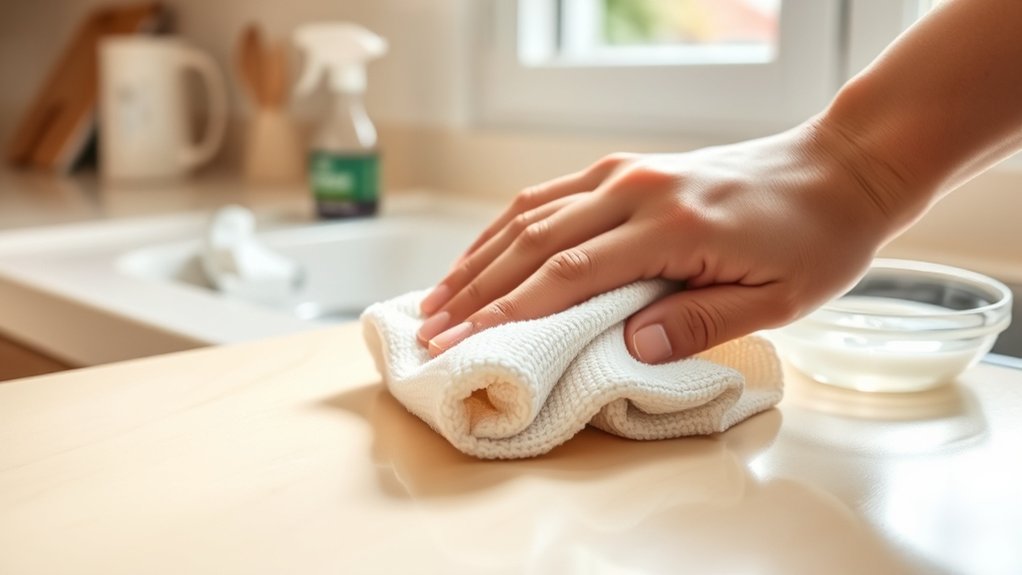
To remove grease from kitchen cabinets, first check the finish and test your cleaner in a hidden spot. Wipe away loose debris, then clean with warm water and a few drops of dish soap on a damp microfiber cloth.
Follow the wood grain, rinse with a clean damp cloth, and dry immediately. For sticky buildup, apply a thin baking soda-and-soap paste, then wipe gently.
Keep cabinets grease-free with regular maintenance, and uncover more helpful cleaning tips below.
Key Takeaways
- Identify the cabinet finish and test your cleaning solution on a hidden area before treating visible surfaces.
- Remove loose debris, then wipe cabinets with warm water and a few drops of dish soap using a microfiber cloth.
- For stubborn grease, apply a thin baking soda and dish soap paste, gently scrub, and repeat if necessary.
- Rinse with a clean, damp cloth, then dry cabinets, edges, and hardware immediately to prevent moisture damage.
- Clean handles daily and perform a thorough cabinet cleaning weekly to prevent grease buildup.
Check Your Cabinet Finish Before Cleaning
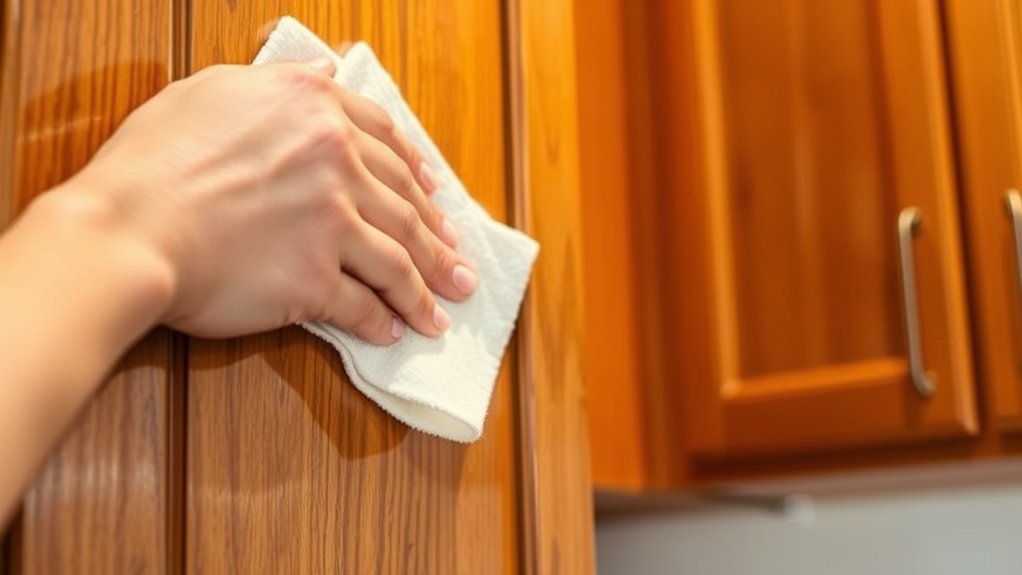
Before removing grease, identify your cabinet’s finish and check its care instructions. Your cabinet finish determines which cleaning methods won’t cause damage.
Knowing your cabinet’s finish helps you choose a grease-removal method that cleans effectively without damaging the surface.
Painted wood, stained wood, laminate, thermofoil, and metal each respond differently to moisture, friction, and cleaning products.
Look for a manufacturer’s label, warranty guide, or care information online. If you can’t identify the material, choose the least aggressive approach and test it in an inconspicuous spot first.
Apply your intended method to a hidden edge, wait several minutes, and inspect for discoloration, cloudiness, swelling, peeling, or changes in sheen. Stop immediately if you notice any reaction.
Pay special attention to older cabinets, because their coating may be brittle or already compromised.
Avoid saturating unfinished wood or damaged seams, where moisture can penetrate and warp the substrate. Protect nearby walls, countertops, and flooring from drips as you work.
Careful identification protects the surface and helps you remove grease without stripping the finish.
Gather Safe Cabinet-Degreasing Supplies
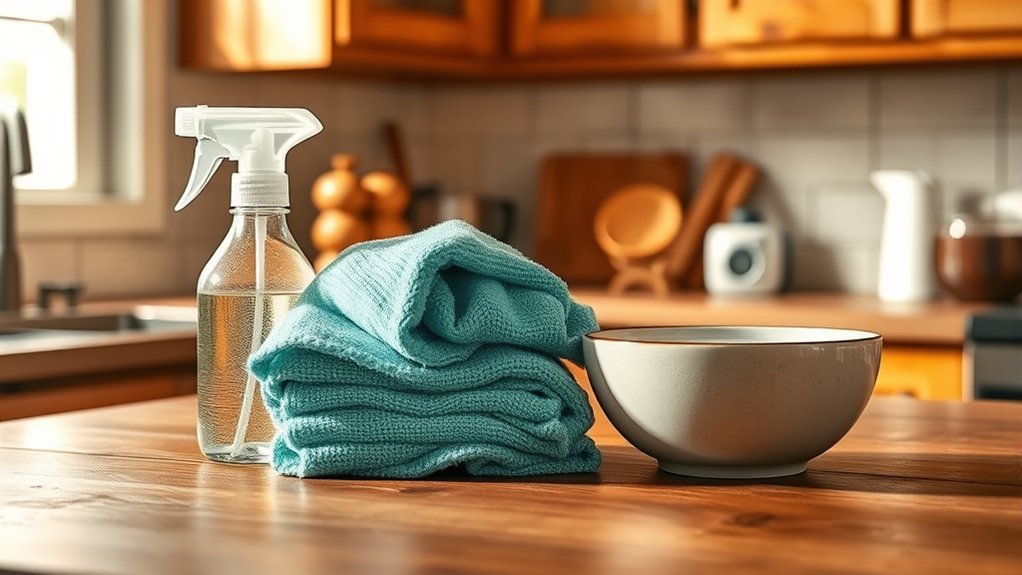
Gather a few mild supplies before you begin: warm water, dish soap, microfiber cloths, a soft toothbrush, and a bucket. Choose fragrance-free, nonabrasive products whenever possible.
Keep a clean measuring cup nearby for mixing small amounts of soapy solution. You’ll also need rubber gloves if your skin reacts to detergents and a dry towel for finishing.
Review your cabinet materials and manufacturer’s care guidance before selecting anything stronger. Wood veneer, painted surfaces, laminate, and thermofoil can respond differently to moisture and cleaners.
Skip bleach, ammonia, abrasive powders, steel wool, and solvent-based degreasers, which may dull finishes or damage edges. Don’t combine cleaning products, either, because dangerous fumes can result.
Make safety precautions part of your setup. Open a window, keep children and pets away, and place supplies where they won’t tip.
Test your chosen diluted soap on an inconspicuous spot, then wait for the surface to dry before proceeding.
Wipe Away Loose Grease First
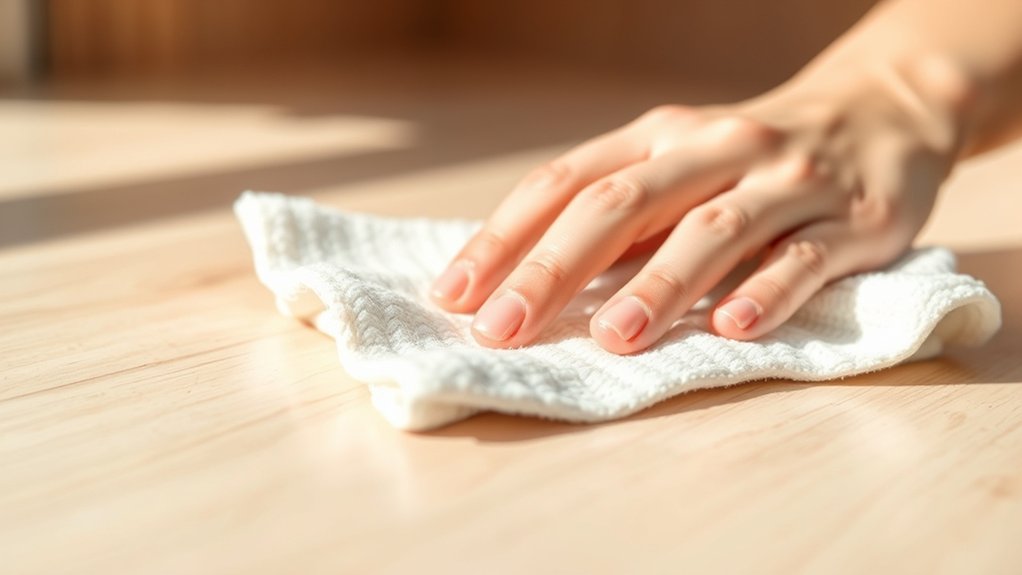
Gather your cleaning supplies, including a clean, dry cloth. Gently wipe the cabinet surfaces to remove loose grease and surface residue. Be sure to clear away the dry grime before adding any moisture.
Gather Cleaning Supplies
Start by assembling a microfiber cloth, warm water, dish soap, a small bucket, and a soft-bristled toothbrush for corners and hardware. Keep supplies together on a tray so cabinet organization stays simple and your cleaning schedule remains easy to follow.
Choose a mild dish soap that cuts grease without harsh fumes, and use lukewarm water to protect finishes. Test the solution on an inconspicuous spot before cleaning visible areas.
| Supply | Purpose | Tip |
|---|---|---|
| Microfiber cloth | Lift residue | Use a clean one |
| Warm water | Dilute soap | Avoid soaking surfaces |
| Dish soap | Break down grease | Add only a few drops |
| Toothbrush | Reach corners | Scrub gently |
Fill the bucket, mix the soap, and place the toothbrush nearby. Wear gloves if your skin reacts to cleaners, and remove nearby items before you begin.
Keep paper towels available for drips, but don’t use abrasive pads or strong chemicals.
Use A Dry Cloth
Before adding moisture, use a clean, dry microfiber cloth to wipe away loose grease and crumbs from the cabinet doors, drawer fronts, and handles. Work from the highest surface downward, using gentle, straight strokes rather than scrubbing in circles.
Fold the Dry cloth into a fresh section as it collects dust and oily particles, so you don’t spread them across another area. Pay attention to edges, corners, seams, and around hardware, where debris often gathers.
Hold handles securely while you wipe around their bases, but don’t force the cloth into gaps. A soft, lint-free material protects the cabinet finish from scratches and prevents fibers from clinging to the surface.
Keep a second cloth nearby if the first becomes visibly dirty. This dry pass removes particles before you begin deeper cleaning.
Remove Surface Residue
Once loose crumbs and surface dirt are gone, wipe the cabinet fronts with a clean, dry microfiber cloth to lift away grease before using any cleaning solution. Work from top to bottom, focusing on handles, edges, and spots near the stove.
Turn the cloth often so you don’t spread residue.
| Area | Wipe with | Check for |
|---|---|---|
| Doors | Dry microfiber cloth | Dull film |
| Handles | Cloth corner | Sticky buildup |
| Edges | Folded cloth | Trapped grease |
| Above stove | Fresh cloth | Heavy residue |
Good kitchen ventilation reduces airborne grease, while regular grease trap maintenance helps prevent new deposits.
If the cloth feels tacky, replace it rather than adding water. Removing this loose layer first lets your cleaner contact the cabinet finish evenly and reduces scrubbing, which can damage paint or wood.
Dispose of greasy cloths properly, then wash them separately.
Make a Gentle Cleaning Solution
For a gentle cleaning solution, mix a few drops of dish soap with warm water in a bowl. Choose a mild, grease-cutting soap without bleach, ammonia, or strong fragrances to protect your cabinet’s finish.
Use warm water, not hot water, which can soften certain coatings or damage delicate wood.
If you prefer natural ingredients, add a small amount of white vinegar to the mixture, but test it first on an inconspicuous area. Vinegar may dull some finishes, so don’t use it automatically.
You can also choose a pH-neutral cleaner labeled safe for painted, laminate, or wood cabinets.
Keep your cleaning solution simple and fresh. Stir it gently rather than creating excessive suds, and prepare only what you’ll use during the task.
Before applying any cleaner, read your cabinet manufacturer’s care instructions. Good cleaning techniques begin with matching the solution to the surface, helping you avoid discoloration, swelling, or a weakened finish while you work.
Remove Grease From Kitchen Cabinets
Start with the cabinet surfaces that have the heaviest grease buildup, using a soft microfiber cloth or nonabrasive sponge dampened with your cleaning solution. Wipe in the wood grain’s direction, turning the cloth often so you don’t spread residue.
Work in small sections, then remove cleaner with a separate cloth dampened with plain water. Dry each area immediately to protect the finish and prevent moisture from reaching seams.
- Test your solution on a hidden spot first.
- Keep your cloth damp, not dripping.
- Clean handles, edges, and nearby trim.
- Replace cloudy rinse water frequently.
For raised panels, follow their contours gently without pressing hard. If grease remains, apply another light pass rather than using stronger chemicals.
Check your cabinet manufacturer’s care instructions before cleaning painted, laminate, or natural wood surfaces. Good Kitchen ventilation helps limit future buildup, while regularly cleaned grease traps reduce airborne oil around cooking areas.
Finish by leaving doors slightly open until every surface feels completely dry. Don’t mix cleaners, and keep your workspace clear while you work.
Scrub Stubborn Grease Carefully
For stubborn spots, use a soft sponge, microfiber cloth, or gentle brush to protect your cabinets. Work on built-up grease gradually with light pressure, repeating the process as needed. Avoid abrasive tools, which can scratch the finish.
Choose Gentle Scrubbing Tools
When grease clings to cabinet doors, use a soft microfiber cloth, nonabrasive sponge, or soft-bristled toothbrush to loosen it without damaging the finish. Choose tools that lift residue gently and protect paint, laminate, or wood.
- Dampen the cloth with warm water and wring it out well.
- Use the sponge’s soft side for broad surfaces and edges.
- Reach grooves, corners, and hardware with a soft-bristled toothbrush.
- Rinse tools frequently so trapped grease doesn’t scratch the cabinet.
Avoid abrasive tools, steel wool, scouring pads, and rough brushes, which can leave scratches or dull the finish. Skip harsh chemicals, too, since strong formulas may discolor surfaces, weaken protective coatings, or damage delicate veneers.
Test your chosen tool and cleaner on an inconspicuous spot first. Work with light pressure, keeping your motions controlled around seams and decorative details.
Clean, gentle tools give you better control and help preserve your cabinets’ appearance.
Tackle Built-Up Grease Gradually
Tackle built-up grease gradually, applying a small amount of cleaner and scrubbing with light pressure to avoid damaging the cabinet’s finish. Work in small sections, allowing the cleaner to loosen residue before wiping it away with a damp microfiber cloth.
Don’t flood the surface, especially around seams, hinges, or unfinished edges, because excess moisture can cause swelling. If grease remains, repeat the process rather than pressing harder.
For stubborn spots, let an appropriate degreaser sit briefly according to its label, then test it first in an inconspicuous area. Rinse away cleaner and dry each section immediately.
Regular cabinet maintenance makes future cleaning easier. Using your range hood and wiping splatters promptly can also help prevent grease from returning. Always follow the cabinet manufacturer’s care instructions.
Degrease Cabinet Doors and Hardware
Start with the cabinet doors, since they collect grease from hands, cooking vapors, and splatters. Remove knobs and pulls first, then label each piece so you’ll reinstall it correctly.
Mix warm water with a few drops of dish soap, and dampen a microfiber cloth. Wipe the doors in small sections, following the wood grain when applicable.
Don’t soak seams, edges, or unfinished surfaces; moisture can cause swelling.
For effective hardware cleaning, place removable metal pieces in soapy water for several minutes. Scrub gently with a soft toothbrush, rinse, and dry completely.
Test your cleaner on a hidden spot before treating painted, laminate, or wood finishes.
- Wipe handles and frequently touched edges carefully.
- Use a second damp cloth to remove soap residue.
- Dry every surface with a clean towel.
- Reattach hardware only after doors and pieces are fully dry.
This gentle routine supports cabinet restoration by protecting finishes while removing everyday grime. Avoid abrasive pads and harsh chemicals, which can dull coatings or strip color.
Tackle Thick, Sticky Grease Buildup
For thick, sticky grease buildup, apply a paste of baking soda and a small amount of dish soap to the affected area. Let the paste sit for several minutes so it can soften the hardened residue.
Then work gently with a soft microfiber cloth or nonabrasive sponge, using small circular motions. Don’t scrub aggressively, because rough friction can dull paint, damage wood finishes, or leave scratches on laminate.
For vertical surfaces, spread the paste in a thin layer to prevent drips and improve control. If the grease remains, repeat the treatment rather than applying excessive pressure.
On unfinished wood, test the paste in a hidden spot first, since baking soda may affect delicate coatings. You can also press a warm, damp cloth against stubborn spots briefly to loosen them before wiping.
Remove loosened grease promptly to limit grease absorption into porous materials and help prevent stains. Keep your tools clean as you work so you don’t redistribute residue across nearby cabinet surfaces.
Rinse and Dry Cabinets Completely
Wipe each cabinet surface with a clean, damp cloth to remove any cleaner residue. Then dry everything thoroughly, including the edges and hardware, to prevent moisture and water damage.
Rinse Away Cleaner Residue
Once the grease is gone, wipe the cabinets with a clean, damp microfiber cloth to remove any cleaner residue. Rinse the cloth often in fresh water, wring it well, and continue until the surface feels clean rather than slippery.
Work in small sections so you don’t spread loosened grime or soap across nearby doors.
- Use plain water for the final pass.
- Check edges, handles, hinges, and cabinet seams.
- Replace cloudy rinse water frequently.
- Keep moisture away from unfinished wood.
Don’t spray water directly onto cabinets, since it can seep into joints and damage finishes.
Pay attention to areas near the stove, where cleaner and grease combine easily. Good kitchen ventilation helps limit buildup, while grease prevention, such as using a splatter guard and wiping spills promptly, reduces future cleaning.
Keep your cloth damp, not dripping, as you rinse every treated surface.
Dry Every Cabinet Surface
After the final rinse, dry every cabinet surface with a clean, absorbent microfiber cloth. Wipe doors, frames, handles, edges, and undersides until no moisture remains.
Use a fresh section of cloth as it becomes damp, and leave doors and drawers open briefly so cabinet ventilation can circulate air. This helps reduce kitchen odors and confirms that cleaner residue has been removed.
| Surface | Drying method | Check |
|---|---|---|
| Doors | Wipe in broad strokes | No dull film |
| Frames | Follow corners | No damp seams |
| Handles | Buff around hardware | No residue |
| Shelves | Use overlapping passes | Fully dry |
Run your fingers lightly over each area to find missed moisture or stickiness. Replace wet cloths rather than spreading moisture around.
Once every surface feels clean and dry, close the doors and drawers gently. Keep the room aired out until the cabinets no longer smell of cleaner.
Prevent Water Damage
To prevent water damage, rinse each cabinet surface with a barely damp microfiber cloth to remove cleaner residue, then dry it immediately with a clean, absorbent towel. Don’t let moisture collect around seams, edges, hinges, or hardware, where swelling and staining can develop.
Use these simple steps:
- Wipe from top to bottom, guiding water away from joints.
- Open doors and drawers so trapped moisture can evaporate.
- Check corners and undersides, then buff them completely dry.
- Replace damp towels immediately to avoid spreading moisture.
For extra protection, inspect the finish after cleaning. Waterproofing measures, such as maintaining intact coatings, help shield wood from splashes.
If you notice worn or cracked areas, consider sealant application after the cabinet dries fully. Choose a product suited to your cabinet material, apply it sparingly, and follow the manufacturer’s drying instructions. Never close damp cabinets.
Prevent Grease From Building Up Again
Keep cabinet grease from returning by running the range hood whenever you cook, wiping splatters promptly, and cleaning cabinet surfaces weekly with a mild degreaser. Use a soft microfiber cloth to avoid scratching the finish, and follow your cabinet manufacturer’s care instructions.
Don’t let cooking oil, butter, or sauces linger on doors, handles, and areas surrounding the range. Wash cloths regularly so they don’t spread residue across clean surfaces.
Choose cookware with lids, cover frying pans when practical, and lower heat to reduce splattering. Empty and clean the range hood filter monthly, since a clogged filter lets airborne grease settle on cabinets.
If you’re repainting, select grease-resistant finishes that tolerate frequent wiping. Apply compatible oil-based primers where needed to seal porous wood and improve the paint’s durability.
Keep handles and knobs clean, too, because touching them transfers grease. A brief daily wipe, paired with weekly cleaning, will prevent stubborn buildup and make future deep cleaning much easier.
Frequently Asked Questions
Can I Remove Grease From Painted Cabinets Without Damaging the Paint?
Yes, you can remove grease from painted cabinets without damaging the paint if you use gentle cleaning techniques. Mix warm water with a few drops of mild dish soap, then test the solution on a hidden spot.
Wipe with a soft microfiber cloth, avoiding abrasive sponges, harsh degreasers, and excessive moisture. Rinse lightly and dry immediately.
For added paint protection, don’t scrub aggressively. Apply cleaner directly to the cloth instead of the cabinet surface.
How Often Should I Deep-Clean Greasy Kitchen Cabinets?
Treat your cabinets like a busy kitchen’s well-worn shoes: deep-clean them every one to three months, or sooner if you notice sticky buildup. Wipe splatters weekly to keep grease stains from becoming stubborn residents.
If you cook frequently, fry often, or have painted doors, clean monthly with a gentle degreaser and soft cloth. Avoid harsh scrubbing, which can damage finishes and complicate future cabinet painting.
Always test cleaners in an inconspicuous spot first.
Are Commercial Degreasers Safe for Laminate or Thermofoil Cabinets?
Commercial degreasers can damage laminate or thermofoil cabinets, especially if they contain solvents, bleach, ammonia, or strong alkalis. Choose a product labeled safe for your cabinet’s finish, and test it on a hidden spot first.
Follow dilution instructions, avoid soaking seams and edges, then wipe with a damp cloth and dry thoroughly. For safer cleaning, try Eco friendly solutions and Natural cleaning methods, such as diluted dish soap or vinegar-free cleaners.
When Should I Replace Cabinets Instead of Cleaning Severe Grease Buildup?
Replace cabinets when severe grease buildup has caused swelling, peeling, delamination, warping, soft spots, or persistent odors that cleaning won’t resolve.
Consider the cabinet material. Laminate or thermofoil surfaces often fail once edges lift, while solid wood may remain salvageable after refinishing.
Your replacement timing should also reflect safety, function, and cost. If doors no longer close, hardware won’t hold, or repair costs approach half the replacement price, choose replacement.
Can Steam Cleaners Damage Kitchen Cabinet Materials or Finishes?
Steam cleaners can damage kitchen cabinets, especially when heat and moisture penetrate seams, veneers, or unsealed wood. Think of moisture: wood can swell by roughly 5% across its grain, illustrating why caution matters.
For Steam cleaner safety, test an inconspicuous spot, use the lowest setting, keep the nozzle moving, and dry surfaces immediately.
Check Cabinet material compatibility first; avoid steam on laminate edges, MDF, particleboard, painted finishes, and waxed wood.
Conclusion
With the right finish-safe cleaner and a soft cloth, you can lift grease without damaging your cabinets. Wipe gently, rinse away residue, and dry every surface completely—especially around edges and hardware.
Don’t let one sticky spot return unnoticed. Inspect the doors under bright light and clean splatters before they harden.
A quick weekly wipe keeps buildup from hiding in the shadows, so your kitchen stays fresh, polished, and ready for whatever comes next. These simple steps make removing grease from kitchen cabinets easier.