How to Pack Kitchen Items Safely
Packing kitchen items can be stressful, especially when you’re worried about broken dishes, scratched cookware, or misplaced essentials. You’re not alone—many people struggle to keep everything organized during a move. The right kitchen packing supplies can make the process safer, simpler, and far less overwhelming.
Gather sturdy boxes, packing paper, bubble wrap, tape, labels, and markers before sorting kitchen items. Set aside essentials in a clearly marked “open first” box. Wrap plates individually and pack them vertically, while wrapping glasses, mugs, cookware, and appliances separately.
Protect knife blades and place sharp tools in labeled rigid containers. Cushion gaps, distribute weight evenly, and test boxes for movement. Label each box with its contents and room, then load heavy boxes below lighter ones.
More helpful packing details follow.
Key Takeaways
- Gather sturdy boxes, packing paper, bubble wrap, tape, labels, and cushioning materials before packing.
- Sort kitchenware by category and set aside essentials in a clearly labeled “open first” box.
- Pack heavier items in small boxes and lighter items in larger boxes. Fill gaps to prevent movement.
- Wrap plates, glasses, cookware, knives, and appliances individually. Use dividers and extra padding for fragile pieces.
- Label boxes with their contents and handling instructions. Load heavy boxes below lighter ones and secure everything during transport.
Gather Supplies for Packing Kitchen Items
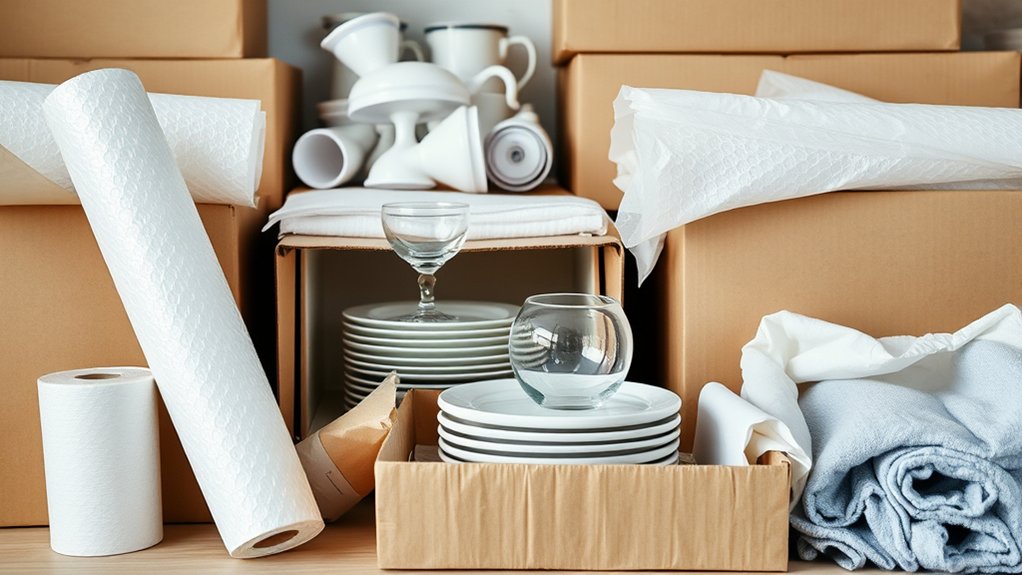
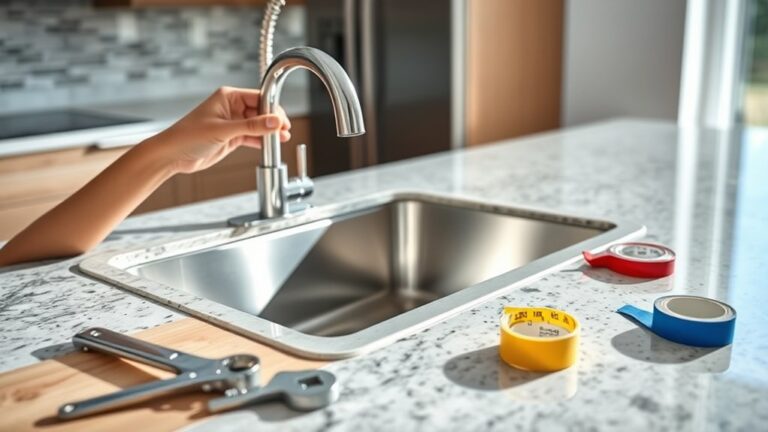
Before you pack, gather sturdy boxes, packing paper, bubble wrap, packing tape, labels, and a marker. Choose small boxes for heavier items and medium boxes for lighter kitchenware.
Gather sturdy boxes and essential packing supplies first, choosing smaller boxes for heavy items and medium boxes for lighter kitchenware.
Collect towels, dishcloths, or clean clothing to cushion gaps and protect delicate surfaces. Keep several sizes of storage containers nearby for loose utensils, lids, measuring tools, and other small pieces you’ll need to contain.
Select strong packing tape that seals securely without splitting under weight. A tape dispenser can help you work faster and create even seals.
Prepare scissors, a box cutter, and a ruler, but handle sharp tools carefully. Use color-coded labels or a permanent marker to identify each box’s contents and destination.
Consider foam sleeves or corner protectors for fragile cookware. Have a sturdy work surface ready so you can wrap and seal items comfortably.
Finally, reserve extra boxes and supplies. Running short mid-task can leave packed packages unprotected and delay your progress.
Sort Kitchen Items and Set Aside Essentials
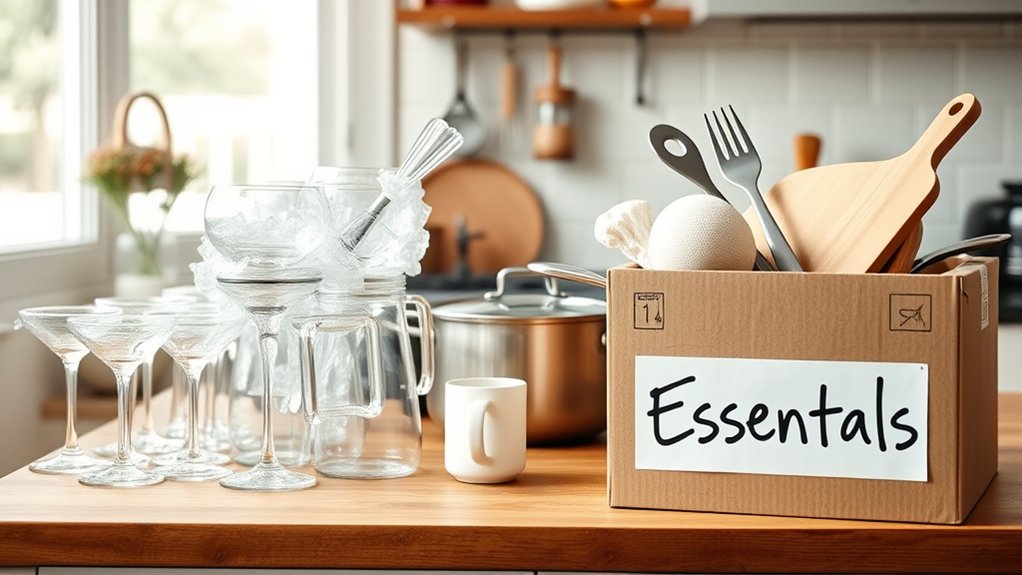
Sort your kitchen items into categories like cookware, dishes, utensils, and appliances. As you go, set aside the essentials you’ll need right after the move, such as basic dishes, a pot, utensils, and your coffee maker. Keep these items together and separate from the rest so they’re easy to find and access.
Categorize Kitchen Items
Start by grouping kitchen items by type and fragility, then set aside the essentials you’ll need until moving day. Create clear categories for cookware, bakeware, dishes, glasses, utensils, appliances, pantry goods, and cleaning supplies.
Within each category, separate sturdy pieces from delicate ones, such as cast-iron pans from glass lids or ceramic plates from plastic containers. Consider how your cooking techniques influence each group: keep baking tools together, organize stovetop equipment separately, and pair accessories with their corresponding appliances.
Use kitchen organization principles to make every category easy to identify and pack efficiently. Check for duplicates, mismatched pieces, and items you no longer use.
Label each group by its contents and fragility level, so you can choose suitable packing materials and handle boxes carefully during the move.
Set Aside Essentials
Once you’ve grouped your kitchen items, set aside the essentials you’ll need through moving day, such as plates, utensils, a pot, a pan, a coffee maker, basic ingredients, and cleaning supplies. Keep these supplies in a clearly labeled “open first” box, and load it last so you can reach it immediately.
- Choose versatile cookware for simple meals and different cooking techniques.
- Pack only enough dishes and utensils for each person in your household.
- Include soap, towels, disinfectant, trash bags, and a first-aid kit.
Store knives in protective sleeves, secure appliance cords, and keep cleaners away from food. For kitchen safety, place the essentials box where it won’t shift during transport.
Add snacks, bottled water, medications, and pet supplies if needed. Before sealing other cartons, confirm that you can prepare meals, clean surfaces, and handle minor spills without unpacking everything.
Choose the Right Boxes for Kitchenware

Choose sturdy boxes that can hold your kitchenware without bending or tearing. Use smaller boxes for heavy items and larger ones for lightweight pieces. Add dividers and padding to keep dishes and glassware from shifting or breaking.
Select Sturdy Boxes
Sturdy boxes give your kitchenware the support it needs during a move. Choose clean, dry cartons with strong seams and intact corners. Test each box by pressing its sides; it shouldn’t bend, sag, or show water damage. Double-walled cardboard works especially well for cast-iron pans, glassware, and small appliances.
- Inspect boxes for tears, crushed edges, stains, or weak bottoms.
- Reinforce seams with quality packing tape before adding any items.
- Select boxes made from thick, rigid cardboard that can withstand handling.
Avoid reused boxes that previously held produce, since moisture and pests may compromise cleanliness. As you sort cookware, group pieces according to cooking techniques and your kitchen organization system.
This approach helps you identify what needs extra protection without discussing box dimensions. Don’t overfill sturdy cartons; even strong cardboard can fail under excessive weight during lifting or transport.
Match Box Size
After selecting strong cartons, match each box to the size and weight of the kitchenware it will hold. Choose small boxes for heavy items, such as cast-iron pans, so you can lift them safely without stressing the carton.
Reserve medium boxes for plates, bowls, and cookware with moderate weight. Use larger boxes only for lightweight items, including plastic containers, utensils, and empty pots.
Leave enough room to close each carton without forcing the flaps, but don’t select a box so large that your kitchenware shifts during handling.
Check the matchbox material before packing. Double-wall cardboard suits dense or fragile kitchen items better than thin single-wall stock.
Also consider matchbox design. Hand holes, secure flaps, and square corners make carrying and stacking easier. Label each box by contents and destination.
Consider Dividers and Padding
Dividers and padding help keep kitchenware from colliding, shifting, or chipping inside the box. When you choose boxes for kitchenware, match the interior space to your items and add cushioning without creating pressure.
Use dividers and padding to separate plates, glasses, bowls, and utensils, especially when packing mixed shapes. For reliable fragile item protection, follow these steps:
- Wrap each piece in paper or bubble wrap, securing the material with tape.
- Place cardboard dividers between wrapped items, then fill gaps with crumpled paper or foam.
- Cushion the bottom and top of the box, keeping heavier pieces below lighter ones.
Test the packed box by gently rocking it. If anything moves, add more padding.
Don’t overfill the carton, since excessive weight can crush contents or split seams. Label fragile boxes clearly and keep them upright during transport.
Pack Plates Vertically
Pack plates vertically rather than stacking them flat to distribute pressure more evenly and reduce the risk of breakage. Line a sturdy box with cushioning, then place each plate on its edge, like records in a crate. This dishware arrangement prevents the lower pieces from bearing the full weight of those above them.
Add padding between plates and along every side, leaving no empty space for movement. Keep similar-sized plates together, but don’t force a tight fit. Fill gaps with crumpled paper or soft packing material, and cushion the top before closing the box.
Mark the package as fragile and keep it level during handling.
| Check | Best practice |
|---|---|
| Plate stacking | Stand plates on edge |
| Box movement | Fill gaps securely |
Test the box gently: if you hear shifting, reopen it and add more padding. Avoid overloading; a lighter box is easier to carry and less likely to drop.
Label the top so you’ll know how to position it when unpacking.
Wrap Glasses and Mugs
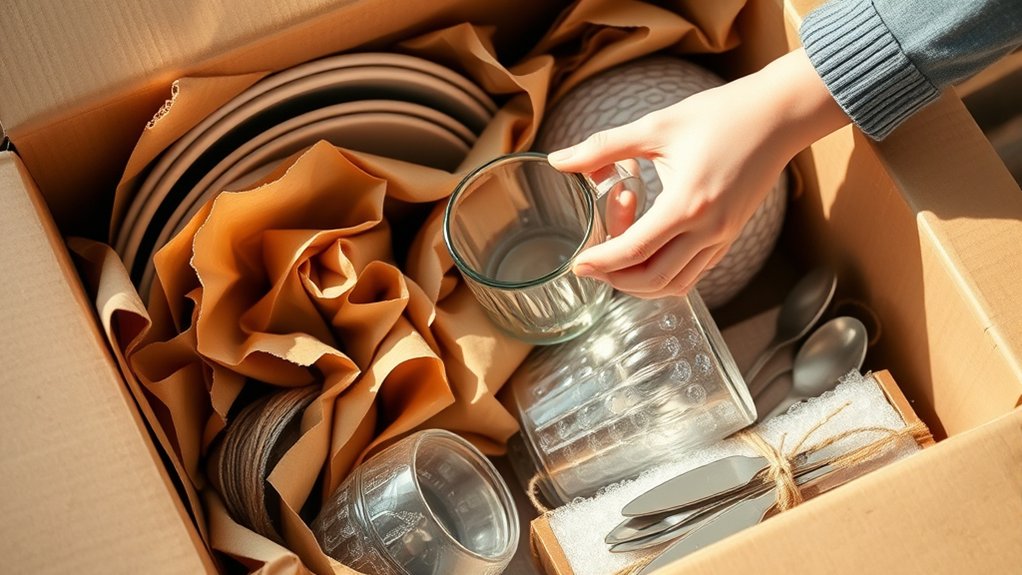
Wrap each glass and mug individually with paper or bubble wrap, covering the rim, handle, and base. This simple step provides reliable glassware protection during lifting, transport, and unpacking.
Stuff each item’s hollow space with crumpled paper, but don’t force material inside delicate stems or handles. Add a second layer around especially thin glass.
- Place wrapped glasses upright in a sturdy box, keeping heavier items below lighter ones.
- Cushion the bottom with towels, packing paper, or foam, then fill gaps so nothing shifts.
- Label the box “Fragile” and “This Side Up” to encourage careful handling.
For effective mug wrapping techniques, pay special attention to handles. Wrap them with extra paper, then surround each mug with cushioning before placing it in the box.
Separate neighboring items with cardboard dividers or folded paper. Leave a little space at the top for more padding, but don’t overfill the carton.
Close and gently test the box. If you hear movement, reopen it and add cushioning.
Protect Knives and Sharp Tools
Before packing, protect knife blades and sharp tools with blade guards, cardboard sleeves, or several layers of sturdy paper secured with tape. Keep the covering snug, but don’t press directly against the edge, where it could tear.
For extra knife safety, wrap each item separately and label the covered handle or container so you can identify it without reaching blindly. Place knives with blades pointing away from openings, then secure them inside a rigid box that won’t bend or collapse.
Don’t pack loose blades with utensils, dishes, or other items that could shift against them. Use dividers, folded cardboard, or a dedicated knife case to prevent contact between tools.
Store peelers, graters, scissors, and skewers in their own sealed pouch or box. For reliable sharp tool storage, close every container firmly and mark it “Sharp” on multiple sides.
Carry the box carefully, and keep it away from children, pets, and anyone sorting unpacked belongings.
Pad Pots, Pans, and Small Appliances
Cushion pots and pans with dish towels, paper, or bubble wrap to prevent scratches and dents during transit. Wrap each item separately, then nest smaller cookware inside larger pieces only when you’ve added a protective layer between them. Secure lids beside, rather than inside, pots to prevent pressure and chipped edges.
Prepare small appliances carefully:
- Remove detachable parts, such as blades, bowls, and trays, and wrap them individually.
- Protect cords by coiling them loosely and securing them with a tie. Don’t bend plugs sharply.
- Wrap each appliance in cushioning material, paying extra attention to switches, handles, and glass components.
Clean and dry everything before packing to support kitchen safety and prevent odors, moisture, or corrosion. If you still have the manufacturer’s box and molded inserts, use them for the best fit.
Otherwise, choose a sturdy carton that accommodates the appliance without forcing its parts. Label fragile packages clearly, and keep appliance manuals or accessories together for easier setup after delivery. Handle wrapped items gently throughout your move.
Fill Gaps and Balance Each Box
Fill empty spaces around cookware and appliances with crumpled packing paper, dish towels, or other soft materials so items don’t shift during transit. Press padding into corners, along walls, and between irregularly shaped pieces.
Don’t leave loose pockets where contents can rattle or collide. Use lightweight materials near delicate surfaces, and avoid overstuffing spaces with dense items that could create pressure.
Build a stable base by placing heavier cookware below lighter utensils, gadgets, and containers. Keep weight distributed across the box rather than concentrated on one side.
If the box tilts when you lift it slightly, rearrange the contents until it feels balanced. Add padding above the top layer, leaving enough room for the flaps to close without force.
As you pack, group related items thoughtfully. This supports kitchen organization and makes pantry management easier later.
Check that nothing moves when you gently shake the closed, taped box. A snug, even pack protects every piece without making the box unnecessarily heavy.
Label and Load Kitchen Boxes Safely
Label each box with its contents, the room it belongs in, and any special handling instructions. When loading, place heavier boxes on the bottom and lighter ones on top. This will help protect your kitchenware and make unpacking easier.
Label Boxes Clearly
Once each kitchen box is packed, mark it clearly with its contents, the room it belongs in, and handling instructions such as “Fragile” or “This Side Up.” Clear labels improve kitchen safety and help you find items without opening several cartons.
Use a large, waterproof marker or printed labels. Write on the top and at least one side, including enough detail to identify the contents without listing every utensil.
- Contents: plates, glassware, appliances, or pantry goods.
- Destination: kitchen, dining area, or storage room.
- Warnings: fragile, sharp, heavy, or keep upright.
Apply color codes if you’re packing multiple rooms, but add written descriptions too. Cover labels with clear tape to protect them from moisture and scuffs.
Avoid vague notes such as “miscellaneous,” which slow unpacking and increase confusion.
Load Boxes Safely
For Kitchen safety, lift with your legs, keep boxes close to your body, and ask for help with awkward loads. Don’t stack boxes higher than you can safely carry, and keep pathways clear.
Apply smart Packing techniques by distributing weight evenly, placing dense items at the bottom, and filling empty spaces with cushioning.
Load the vehicle with heavier boxes on the floor, centered between the axles. Secure everything with straps or netting, then check that nothing can shift, tip, or fall during transport.
Unpack and Inspect Kitchen Items
As you unpack each box, inspect kitchen items for cracks, chips, dents, or other damage before putting them away. Handle every piece carefully, especially glassware, knives, and appliances with cords or moving parts.
Don’t use anything that looks unsafe. Set it aside for repair, replacement, or disposal.
Follow these three steps to protect your kitchen and simplify setup:
- Check plates, bowls, and cookware under bright light. Look for hairline fractures, loose handles, warped bottoms, and sharp edges.
- Test appliances only after confirming that plugs, cords, switches, and housings remain intact. Keep damaged devices unplugged.
- Clean dust and packing debris, then place each item in a dry, accessible location. Use liners or dividers to prevent future scratches.
Prioritize kitchen safety as you inspect and organize. Your careful review helps prevent cuts, electrical hazards, and contamination.
Finally, choose proper storage for each item. Keep heavy cookware low, fragile pieces cushioned, and frequently used tools within easy reach.
Record missing or damaged items promptly.
Frequently Asked Questions
How Far in Advance Should I Start Packing My Kitchen?
Start packing your kitchen two to three weeks before moving day. Begin with rarely used appliances, specialty cookware, and extra dishes, then keep everyday essentials accessible until the final few days.
Use practical Packing tips, such as wrapping fragile items individually and filling empty spaces. Apply clear Labeling strategies by marking each box’s contents and destination.
Reserve one small kit with plates, utensils, mugs, and basic cooking tools for your final meals.
What Kitchen Items Should I Donate Instead of Moving?
Donate duplicate cookware, rarely used appliances, chipped dishes, mismatched containers, and gadgets you haven’t touched in a year. Kitchen donation tips: keep only items that suit your cooking habits, fit your new space, and remain safe to use.
Consider unnecessary utensil removal when you own multiples or specialized tools you rarely need. Check donation centers’ guidelines, clean everything thoroughly, and recycle damaged cookware or electronics instead of giving unusable items away.
Can I Pack Perishable Food With Kitchenware?
No, you shouldn’t pack perishable food with kitchenware for a move. Spoiling sauces, soggy scraps, and shattered storage can create a messy, unsafe mix.
Practice proper food preservation by discarding, donating, or consuming refrigerated and frozen items first. Pack only sealed, shelf-stable foods separately from dishes, utensils, and appliances.
Use sturdy boxes, clean containers, cushioning, and clear labels as effective packaging techniques. Check moving-company rules before transporting any food.
Should I Insure Valuable or Antique Kitchen Items?
Yes, you should insure valuable or antique kitchen items, especially irreplaceable pieces. Start with an expert Antique valuation to document each item’s condition, provenance, and replacement value.
Then review your Insurance coverage carefully, because standard homeowners or renters policies may impose limits on antiques, collectibles, or damage during moving. Ask about scheduled personal property coverage, transit protection, deductibles, exclusions, and required appraisals.
Photograph everything, keep receipts, and use professional packing for added protection.
How Can I Pack Kitchen Items for Long-Term Storage?
For long-term storage, clean and completely dry every kitchen item before wrapping it. Use sturdy boxes, acid-free paper, bubble wrap, and moisture absorbers as your packing materials.
Cushion fragile dishes individually, avoid overfilling boxes, and label each container clearly. Practice smart storage organization by grouping similar items, placing heavier boxes below lighter ones, and keeping everything off the floor.
Choose a cool, dry, stable location, and inspect stored items periodically for pests or moisture.
Conclusion
Your kitchen is packed, but the job isn’t over yet. Label each box clearly, load heavier cartons low, and keep fragile items secure.
When you arrive, unpack essentials first and inspect every piece before tossing the wrapping. A hidden crack or loose handle can turn into an unpleasant surprise.
Open each box carefully, test appliances, and give your kitchenware a clean start. If everything survived the move, you’ve packed your kitchen items safely, and your first meal is almost ready.