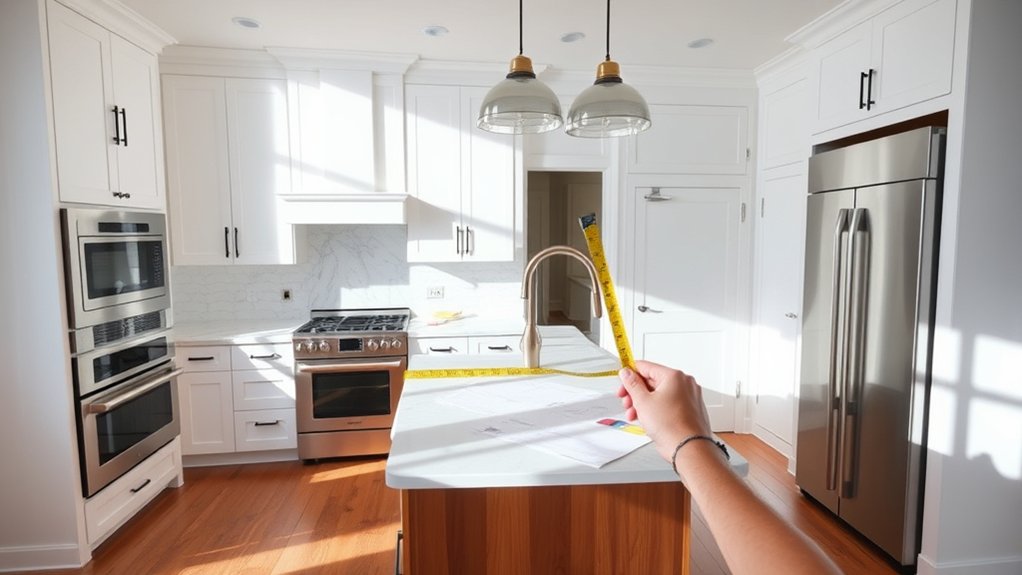
How to Redesign a Kitchen Step by Step
Redesigning a kitchen can feel overwhelming, especially when you’re unsure where to begin or worried about costly mistakes. You’re not alone—many homeowners struggle to balance style, storage, comfort, and budget.
This step-by-step guide to how to redesign a kitchen will help you plan with confidence.
Redesign your kitchen by defining your goals, measuring walls, openings, utilities, and appliances. Then, set a realistic budget with a 10–20% contingency.
Choose a layout that supports clear traffic paths and your cooking routine.
Plan accessible storage, coordinate plumbing, electrical, and ventilation, and select durable cabinets, countertops, and flooring.
Hire qualified contractors and schedule work logically.
Finally, test every fixture, appliance, outlet, and finish before signing off.
The steps below explain each stage in detail.
Key Takeaways
- Define your goals, priorities, style preferences, and budget, then gather inspiration focused on practical features.
- Measure the kitchen precisely, recording walls, openings, appliances, fixtures, utilities, and uneven areas.
- Choose a functional layout that supports workflow, clear traffic paths, natural light, and convenient storage.
- Coordinate cabinets, countertops, flooring, lighting, appliances, plumbing, electrical systems, and ventilation before installation.
- Hire qualified contractors, schedule work logically, reserve 10–20% for contingencies, and inspect completed work for safety and code compliance.
Define Your Kitchen Redesign Goals

Before choosing colors, cabinets, or appliances, define what you want your kitchen redesign to accomplish. Decide whether you need better cooking efficiency, more storage, easier entertaining, or a refreshed appearance.
Rank these priorities so you can make confident decisions when trade-offs arise.
Consider how you use the kitchen each day. Note activities that feel frustrating, such as limited prep space, poor lighting, or awkward workflow, without measuring rooms or documenting existing features yet.
You should also identify preferences for style, maintenance, durability, and budget. These goals will guide every later choice.
Gather design inspiration from kitchens that reflect your priorities, but focus on features rather than copying an entire look. Create a short list of must-haves, nice-to-haves, and elements you’ll avoid.
During material selection, refer to this list to evaluate finishes, surfaces, and fixtures consistently. A clear goal statement keeps your redesign practical, cohesive, and aligned with your lifestyle.
Aim for improvements you’ll value daily, not trends that may quickly lose appeal.
Measure the Space and Map Existing Features
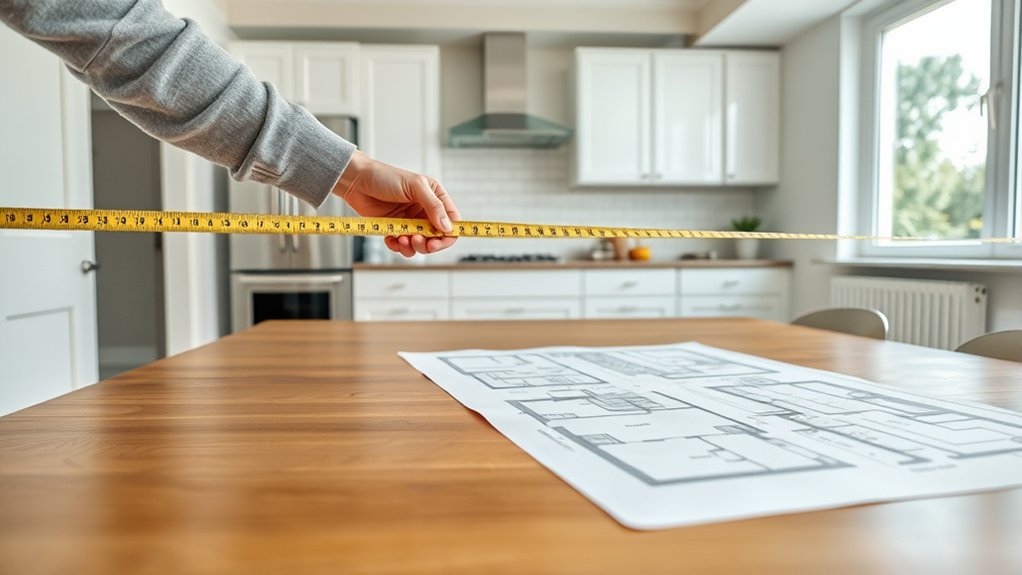
Once you’ve clarified your goals, measure the kitchen carefully and create a map of its existing features. Record wall lengths, ceiling height, door swings, window sizes, and distances between openings.
Measure carefully and map every existing feature before planning your kitchen redesign.
Measure each appliance, cabinet, and fixture, noting how far they project from the walls. Mark plumbing, gas, electrical outlets, vents, radiators, and structural columns, since these details can shape your layout.
Use graph paper or a digital floor-planning tool, and label every measurement clearly. Photograph each wall and compare the images with your drawing to catch overlooked features.
Your map should capture:
- Fixed utilities and structural obstacles
- Existing storage, appliances, and work surfaces
- Natural light, traffic paths, and clearance zones
Check measurements twice, especially around corners and uneven walls. A reliable map helps you test layout ideas before choosing a Design theme or refining Material selection.
It also gives you a practical reference for communicating changes accurately during the redesign process.
Set a Realistic Kitchen Redesign Budget

Set a firm spending limit before you choose materials or appliances. Then, prioritize your needs and give essential upgrades a larger share of the budget.
Define Your Spending Limit
Start by deciding how much you can comfortably spend on the kitchen redesign without straining your finances. Review your income, savings, regular expenses, and existing debts before setting a firm ceiling.
Keep a reserve for unexpected construction issues, delivery changes, or price increases. Effective budget planning helps you choose a limit based on facts rather than wishful thinking.
Use cost estimation to research current prices for cabinets, countertops, appliances, flooring, lighting, labor, permits, and disposal.
To establish a practical spending limit:
- Check your available cash and monthly financial commitments.
- Research local material and contractor prices.
- Add a contingency reserve of 10–20 percent.
Write your maximum amount down and treat it as nonnegotiable. If the projected redesign exceeds that figure, revise the overall scope before contacting contractors.
A clear limit keeps early decisions realistic and protects your finances throughout the project.
Allocate Funds By Priority
After covering essential construction and functional upgrades, rank the remaining features by how much they improve your kitchen and daily routine.
Use Priority setting to separate must-haves from nice-to-have finishes, such as custom storage, premium appliances, or decorative lighting.
Direct your Budget allocation toward changes that solve daily problems first. For example, choose better cabinet organization before upgrading hardware, or invest in durable countertops before selecting designer fixtures.
Reserve part of your funds for permits, delivery, installation, and unexpected repairs. A contingency of 10 to 20 percent can protect your plan when costs shift.
If your budget falls short, phase cosmetic improvements rather than compromising safety or functionality. Review each quote against your priorities, and adjust selections before work begins.
This approach keeps spending controlled while creating a kitchen that truly supports you.
Choose a Layout That Fits Your Space
Choose a layout that supports how you cook, move, and use your kitchen each day. Measure walls, doorways, windows, and fixed utilities before choosing a design.
Plan your kitchen around daily routines, accurate measurements, and a layout that makes cooking and movement feel effortless.
Then compare these options:
- Galley: Place cabinets and appliances along two parallel walls for efficient movement in a narrow room.
- L-shaped: Use adjoining walls to create an open work area that suits small or medium kitchens.
- U-shaped: Wrap cabinetry around three walls when you need generous counter space and a dedicated cooking zone.
Keep traffic paths clear, especially between the entrance, refrigerator, sink, and cooktop. Leave enough room for appliance doors and comfortable passage so your plan feels practical, not cramped.
An island can add prep space, but choose one only if you can maintain adequate clearance around it. Consider how natural light and sightlines affect the room’s feel.
Color schemes and Material choices can reinforce the layout’s strengths, but prioritize proportions and workflow before selecting finishes. Sketch your preferred arrangement or use planning software to test it.
Plan Storage Around Your Daily Routine
Plan storage around the tasks you perform most often, placing frequently used items within easy reach. Keep everyday plates, bowls, and glasses near your main preparation and serving areas, so you won’t cross the kitchen repeatedly.
Store pots and pans in a deep drawer or accessible cabinet, grouping them by size and use. Arrange pantry organization around your shopping habits: place staples at eye level, reserve lower shelves for heavier goods, and use bins to keep small packages visible.
Create practical utensil storage with dividers that separate cooking tools, cutlery, and specialty gadgets. If you make coffee every morning, gather mugs, beans, filters, and supplies in one convenient zone.
Give children a reachable shelf for snacks or dishes if appropriate. Measure shelves and drawers before choosing organizers, and leave enough clearance for comfortable access.
Label containers when helpful, then review your system after a week and adjust anything that slows you down.
Coordinate Appliances, Lighting, and Utilities
Coordinate appliances, lighting, and utilities before finalizing cabinets so each element fits your workflow and the room’s infrastructure. Map appliance placement around preparation, cooking, and cleanup zones, while confirming door swings, ventilation, and required clearances.
Coordinate appliances, lighting, and utilities early to create an efficient kitchen layout with safe clearances and smooth workflow.
Keep the refrigerator accessible without forcing people through the cooking area, and position the range near safe landing space.
Plan connections before installation:
- Mark electrical circuits for major appliances, countertop outlets, and dedicated equipment.
- Confirm water supply, drainage, gas lines, and shutoff access with qualified professionals.
- Create a lighting design that layers ambient, task, and accent fixtures without casting shadows.
Place task lights where you’ll chop, wash, and cook, then check that upper storage or hoods won’t block them. Choose switches and dimmers you can reach easily, and separate controls for work areas and general illumination.
Verify appliance dimensions, outlet locations, and utility routes against your measured plan. Schedule inspections when local codes require them.
This coordination prevents costly revisions and helps your redesigned kitchen operate safely, efficiently, and comfortably every day.
Select Cabinets, Countertops, and Flooring
Start by selecting cabinets, countertops, and flooring as a coordinated set. Their colors, textures, durability, and maintenance needs will shape the kitchen’s appearance and daily performance. Compare cabinet styles such as Shaker, slab, and raised-panel doors.
Choose finishes that suit your preferred mood and cleaning routine. Consider painted, stained, or laminate surfaces, and verify hardware placement, storage capacity, and door clearances before ordering.
Next, evaluate countertop materials, including quartz, granite, solid surface, butcher block, and laminate. Match each option to your budget, cooking habits, stain resistance needs, and willingness to reseal or repair it.
Select a surface color that complements, rather than precisely matches, your cabinets.
Finally, choose flooring that handles moisture, spills, traffic, and dropped cookware. Porcelain tile, luxury vinyl, hardwood, and sealed concrete offer different looks and maintenance demands.
Request samples and view them in your kitchen’s natural light. Check that the combined finishes create a balanced, practical design, and don’t overlook transition strips or cushioning.
Confirm Plumbing, Electrical, and Ventilation
Before installation, check that your plumbing connections fit the new layout. Make sure your electrical system can handle the appliances and lighting, too. Then, plan for proper ventilation to manage heat, moisture, and odors.
Check Plumbing Connections
Check the sink’s water-supply lines, drain, and shutoff valves for secure connections, leaks, and proper alignment. During your plumbing inspection, run cold and hot water separately, then watch every joint beneath the sink.
Open the faucet fully and fill the basin before releasing the drain to test flow and drainage speed. You’ll spot problems early if you check:
- Compression nuts for tight, hand-secure fittings without overtightening.
- Flexible hoses for kinks, bulges, corrosion, or contact with sharp edges.
- The P-trap for correct slope, stable supports, and slow leaks.
Use a dry paper towel around each connection. Even a small damp mark signals trouble.
For connection troubleshooting, shut off the water, reseat the fitting, replace worn washers, and retest. If a leak persists, call a licensed plumber before sealing cabinets or walls.
Keep access panels removable for future maintenance.
Verify Electrical Capacity
Once the plumbing connections hold under testing, verify that the kitchen’s electrical capacity can safely support each appliance.
List every planned device, including refrigerators, dishwashers, ovens, microwaves, and small appliances. Check each unit’s voltage, wattage, and dedicated-circuit requirements against your service panel.
If you’re adding high-demand equipment, ask a licensed electrician to calculate the total load and determine whether you need new circuits, upgraded wiring, or a larger service.
Don’t rely on extension cords or overloaded outlets. Inspect existing receptacles for damage, grounding, and proper placement, then install GFCI protection where local codes require it.
Confirm that breakers match the wiring and appliance demands. Prioritize electrical safety throughout the work, and document your power capacity before ordering equipment.
Obtain required permits and schedule a professional inspection before closing walls or cabinets.
Plan Proper Ventilation
Plan ventilation around the cooktop, oven, and room layout so smoke, grease, heat, and moisture leave the kitchen efficiently.
Choose a range hood sized for your cooking habits and appliance output. Whenever possible, vent outdoors through a short, direct duct instead of recirculating air.
Confirm the duct route won’t conflict with plumbing, wiring, cabinets, or structural members.
Before installation, review these essentials:
- Check local codes for hood clearance, duct size, makeup air, and exterior terminations.
- Select a quiet, powerful fan that matches your kitchen’s dimensions and cooking style.
- Coordinate the hood, ductwork, and controls with your contractor before closing walls.
Proper ventilation systems protect indoor air quality by reducing odors, airborne grease, carbon monoxide, and excess humidity.
Test airflow after installation, and make sure the exterior damper opens freely. Clean filters regularly to maintain performance and safety.
Schedule Contractors and Manage Installation
With your materials and permits ready, schedule contractors in the order their work must happen. Typically, start with demolition, plumbing, and electrical updates before flooring, cabinets, countertops, and finishing touches.
During contractor selection, verify licenses, insurance, references, and availability. Put every agreement, price, responsibility, and payment milestone in writing.
Use one shared calendar for schedule coordination, and confirm each trade several days before arrival. Build a small buffer for delivery delays or unexpected structural issues.
Keep appliances and fixtures accessible so installers can check measurements and connections.
| Phase | Your management task |
|---|---|
| Demolition and rough-ins | Confirm utility shutoffs and inspections |
| Finishes and installation | Protect completed surfaces and verify deliveries |
Visit regularly, but don’t direct specialists beyond the contract. Route questions through the project lead, document changes immediately, and approve substitutions only after checking fit, function, and cost.
Maintain a clean, safe pathway, and notify contractors about household access limits, pets, and working hours. Keep receipts, updated plans, and communications together throughout installation.
Complete the Final Walk-Through and Fix Defects
Before signing off, walk through the finished kitchen in daylight and compare it with your plans, contract, and appliance specifications.
Before final sign-off, inspect the kitchen in daylight and verify every detail against your plans, contract, and appliance specifications.
Open every cabinet, drawer, and door. Check alignment, handles, hinges, seals, and finishes.
Run each appliance, faucet, drain, outlet, light, and ventilation system to confirm safe, proper operation.
During the final inspection, record every issue with photos, locations, and required remedies.
Don’t accept vague promises. Ask the contractor to assign a completion date and provide written confirmation.
Prioritize defect correction in this order:
- Address safety concerns, leaks, electrical faults, and appliance problems immediately.
- Fix functional issues, including sticking drawers, uneven doors, poor drainage, and inadequate ventilation.
- Resolve cosmetic defects, such as scratches, chips, gaps, stains, or mismatched materials.
Keep a signed punch list and retain invoices, warranties, manuals, permits, and inspection records.
After repairs, repeat the walk-through and test the affected areas.
Sign the final completion document only when all agreed work meets your expectations.
Frequently Asked Questions
How Long Does a Complete Kitchen Redesign Typically Take?
A complete kitchen redesign typically takes six to twelve weeks, though complex projects can last three to six months. You’ll spend one to three weeks on planning, including Budget planning and Material selection.
Design approvals and ordering may require two to six weeks, especially for custom cabinets or appliances. Construction usually takes three to eight weeks.
You’ll finish faster when you finalize decisions early, confirm deliveries, and prepare for unexpected structural or permit-related delays.
Do I Need Planning Permission for My Kitchen Redesign?
You usually don’t need planning permission for an internal kitchen redesign unless you’re making major structural changes, extending your home, or altering a listed building.
Imagine turning your kitchen into a construction site overnight: moving walls, changing windows, or affecting neighbours may trigger approval requirements.
Check with your local planning authority before work begins. Protect your design budget by confirming permissions, and make contractor selection conditional on verified compliance, insurance, and proper permits.
How Can I Keep My Kitchen Usable During Renovations?
Keep your kitchen usable by creating a temporary food station in another room with a microwave, kettle, mini-fridge, and essential utensils. Protect remaining appliances from dust, seal work areas with plastic sheeting, and schedule water or power shutdowns ahead of time.
Wash dishes in a utility sink or bathroom basin, and store everyday items within reach. Delay installing the Decorative backsplash and Lighting upgrades until major construction ends to minimize disruption.
What Permits Might a Kitchen Redesign Require?
You might need building permits for structural changes, electrical rewiring, plumbing relocation, gas-line work, or new windows. Check zoning regulations if your project changes the kitchen’s footprint, affects setbacks, or involves an addition.
You may also need separate permits for electrical, plumbing, mechanical, or gas work. Contact your local building department before construction because requirements vary by location.
Your contractor can help identify applications, inspections, fees, and required drawings, but you’re responsible for confirming compliance.
How Should I Dispose of Old Cabinets and Appliances?
Imagine your old kitchen becoming tomorrow’s raw material. First, separate cabinets, wood, metal, glass, and usable hardware. Donate or sell reusable pieces through local nonprofits, reuse centers, or marketplaces.
For appliances, contact retailers, manufacturers, or municipal programs offering pickup and certified recycling. Check local disposal regulations before hauling anything, especially refrigerators, dishwashers, and units containing refrigerants.
Compare recycling options and schedule bulky-item collection. Never dump appliances or burn treated cabinet materials.
Conclusion
Redesigning a kitchen may seem like a recipe for dust, delays, and decisions about drawer handles. Yet, with clear goals, accurate measurements, a realistic budget, and a layout built around your routine, you’ll create order from the chaos.
Plan storage, choose durable finishes, confirm every utility, and coordinate contractors carefully. Then complete a thorough walk-through.
Ironically, the best kitchen redesign ends when you stop redesigning and finally get to cook in your redesigned kitchen.