How to Clean White Kitchen Cabinets in 10 Steps
White kitchen cabinets can lose their bright, clean look quickly, especially when grease, fingerprints, and everyday spills build up. You’re not alone—many homeowners struggle to clean white kitchen cabinets without leaving streaks or damaging the finish. The right products and a gentle routine can make the job much easier.
Gather microfiber cloths, warm water, mild dish soap, a soft brush, and gloves. Check the manufacturer’s instructions, then test your solution on a hidden spot.
Dust cabinets from top to bottom. Mix a few drops of soap into warm water.
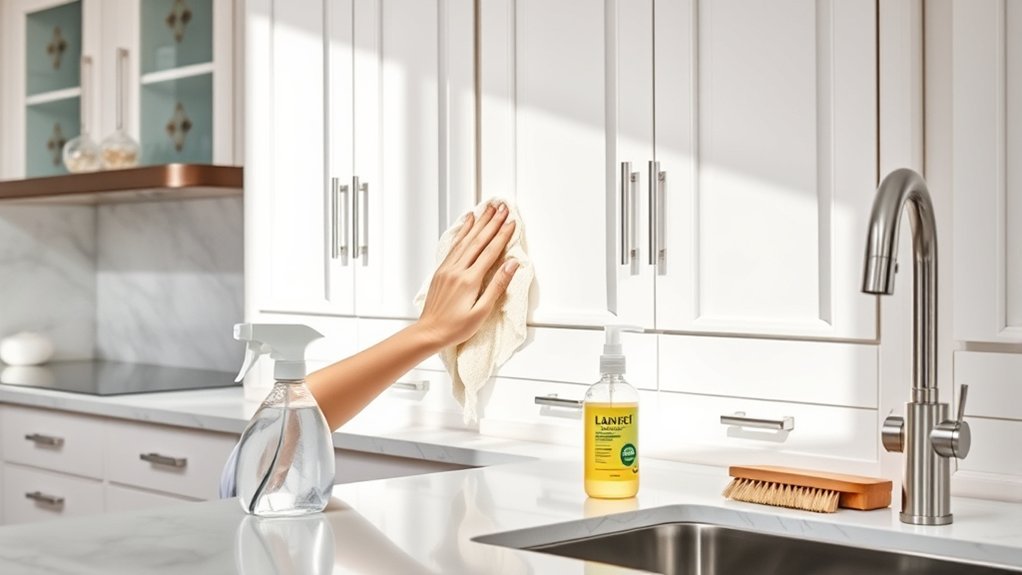
Wipe doors, frames, and handles in the direction of the grain. Clean hardware separately.
Rinse with a wrung-out cloth and dry immediately. Treat stains gently, avoid abrasives, and repeat regular upkeep for lasting brightness. More detailed steps follow.
Key Takeaways
- Check the manufacturer’s instructions and test your cleaner on a hidden area before cleaning the entire cabinet.
- Remove loose dust, then wash cabinets with warm water and a few drops of mild dish soap.
- Wipe gently with a microfiber cloth, following the grain and rinsing the cloth frequently.
- Treat stubborn stains with appropriate gentle solutions, avoiding bleach, abrasives, and vigorous scrubbing.
- Rinse away residue, dry every surface immediately, and clean hardware separately before reinstalling it.
Gather Safe Supplies for White Cabinets
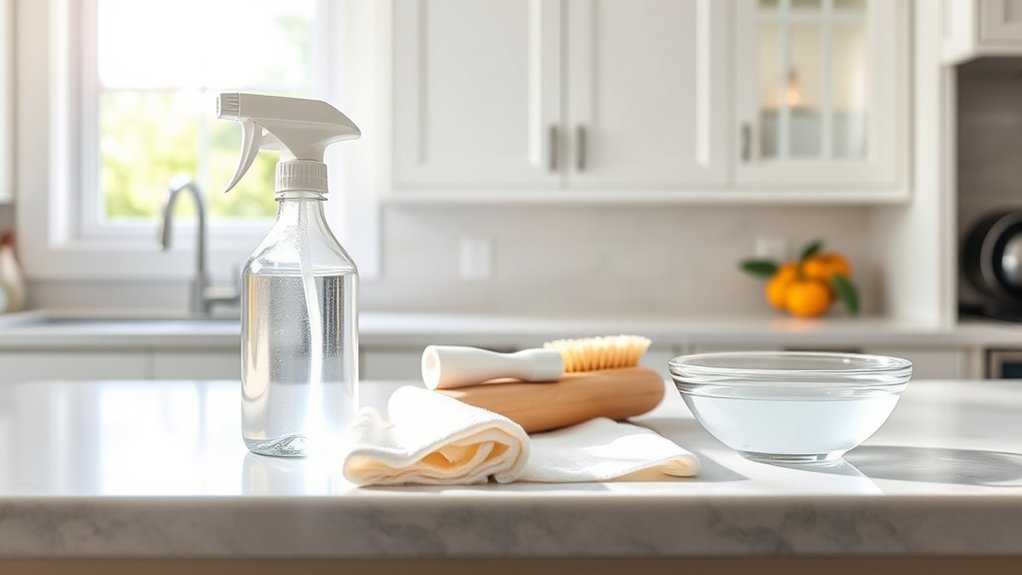
Before you begin, gather a microfiber cloth, a bucket of warm water, mild dish soap, and a soft-bristled brush. These gentle supplies help you remove grease and dust without scratching white cabinet surfaces or dulling their finish.
Use your Supply checklist to confirm that each item is clean and ready. Choose a pH-neutral dish soap without bleach, ammonia, solvents, or gritty additives.
Harsh chemicals can discolor paint, weaken protective coatings, or leave streaks. Keep a second dry microfiber cloth nearby for wiping away moisture after cleaning.
Prioritize Cleaning safety by wearing gloves if your skin reacts to soap, securing loose jewelry, and keeping children and pets away from the work area.
Don’t mix cleaning products, and never use steel wool, scouring pads, abrasive powders, or sharp tools on cabinet doors. Check your bucket and brush for dirt or debris before use.
Trapped particles can transfer onto the finish and cause scratches. Keep ventilation flowing while you work.
Test the Cleaner on a Hidden Spot
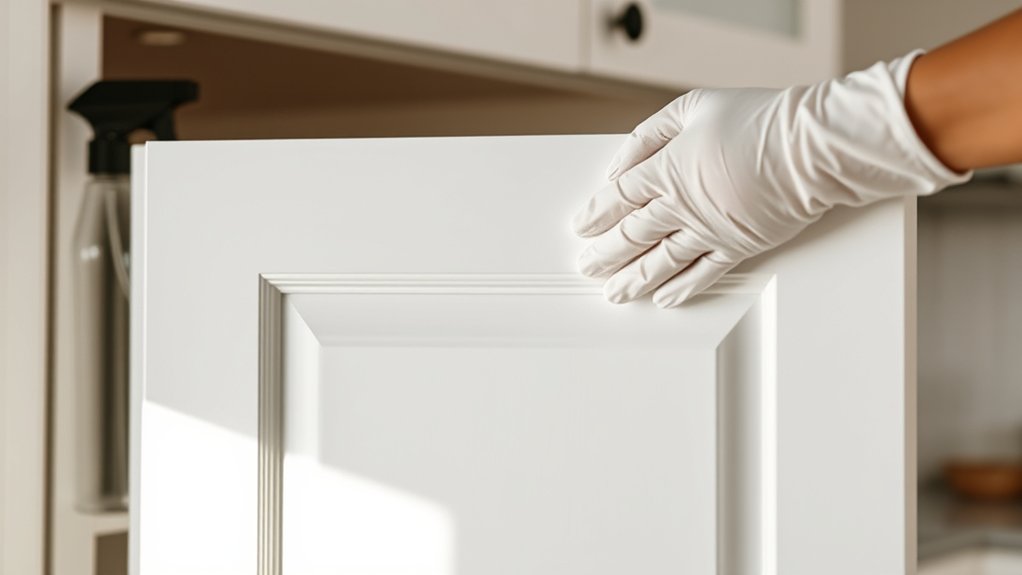
Choose a discreet spot, such as the cabinet’s inside edge, to test your diluted cleaner. Apply a small amount with a soft, clean cloth, then wait several minutes.
Wipe the area gently and inspect it under good light. This hidden spot test helps you catch discoloration, swelling, streaks, or finish damage before cleaning visible surfaces.
| Check | What to look for |
|---|---|
| Color | Yellowing, fading, or darkening |
| Finish | Dullness, bubbling, or peeling |
If the test area looks unchanged after drying completely, you can proceed with confidence. If you notice a problem, stop using that mixture and choose a gentler option recommended for your cabinet’s finish.
Don’t combine cleaners, since chemical reactions can harm the surface or release irritating fumes. For stubborn marks, research suitable stain removal techniques rather than scrubbing harder.
Test any replacement product separately, even if its label claims it’s safe for painted or laminate cabinets. Keep your test cloth and cleaner nearby so you can compare results as you work carefully.
Dust the Cabinets First

Start by removing loose dust from the cabinet doors, drawer fronts, frames, and hardware with a soft microfiber cloth or vacuum brush attachment. Work from the top down so falling particles don’t settle on areas you’ve already cleaned. Use gentle, overlapping strokes, and don’t press hard; excessive pressure can spread grit or scratch glossy finishes.
For detailed dusting techniques, fold the microfiber cloth into quarters and turn to a clean section as it collects debris. Use the vacuum’s soft brush around hinges, handles, corners, and cabinet seams.
Hold small hardware steady while you clean around it, preventing trapped dust from shifting onto the surface. Pay special attention to upper edges, decorative trim, and the gap beneath each door.
Regular cabinet dust prevention helps reduce buildup. Run your range hood while cooking, keep nearby counters tidy, and dust weekly. Remove all visible particles before tackling stains, or moisture may turn loose dust into a gritty film.
Mix a Gentle Cleaning Solution
Once the cabinets are free of dust, mix a mild cleaning solution to loosen grease without damaging the finish. Fill a bucket or bowl with warm water, then add a few drops of gentle dish soap.
Use only enough soap to create light suds; too much can leave a film on white surfaces. For painted, laminate, or sealed wood cabinets, this simple mixture usually provides sufficient cleaning power.
Avoid harsh chemicals, including bleach, ammonia, and concentrated degreasers, because they may discolor paint, weaken protective coatings, or dull the finish. Skip abrasive scrubbers, steel wool, and rough sponges as well.
These materials can create tiny scratches that collect grime and become more visible over time. If your cabinets have a specialty finish, check the manufacturer’s care instructions before choosing a solution.
Prepare fresh water for rinsing and keep a clean, soft microfiber cloth nearby. Don’t combine cleaning products, even if grease seems stubborn, since their fumes or reactions can harm you and your cabinets.
Wipe Cabinet Doors and Frames
Dip a soft microfiber cloth into the cleaning solution, wring it out well, and wipe the cabinet doors and frames from top to bottom. Work in small sections so you can remove residue before it dries.
Follow the cabinet’s grain, if visible, and use gentle, even strokes around edges and corners. Flip or rinse the cloth frequently to avoid spreading dirt across the white finish.
Follow the grain with gentle strokes, rinsing your cloth often to prevent spreading dirt across the cabinet’s white finish.
Wipe both sides of each door, then clean the frame, including the underside of the upper edge where dust collects. Use a clean, lightly damp cloth to remove remaining cleaner, since residue can leave a dull film.
Pay attention to cabinet hinges, wiping around them carefully without soaking the hardware. Clean cabinet handles and the areas surrounding them, where fingerprints often gather.
Finish by drying every surface with a fresh microfiber cloth. Keep doors open briefly so seams and hardware can air-dry completely.
Loosen Grease Without Scratching
To loosen grease, use a gentle degreaser that won’t dull your cabinets’ finish. Apply it with a soft microfiber cloth or a non-scratch sponge, then work lightly. Avoid abrasive pads, which can leave marks.
Choose Gentle Degreasers
Choose a gentle, pH-neutral degreaser to loosen cooking residue without dulling or scratching your white cabinets. Read the label first, and select a formula approved for your cabinet’s finish.
Mild dish soap diluted in warm water often handles everyday grease effectively. For tougher buildup, choose a cabinet-safe degreaser that contains no bleach, ammonia, solvents, or abrasive particles.
Eco-friendly options can reduce harsh fumes while still cutting through oily film. You can also try natural cleaning solutions, such as diluted white vinegar, if your cabinet manufacturer permits them.
Test any product on an inconspicuous area before applying it more broadly. Avoid concentrated formulas, strong alkaline cleaners, and citrus oils unless the care instructions specifically allow them.
After loosening the grease, follow the product’s directions for proper removal and drying.
Use Soft Cleaning Tools
Use a soft microfiber cloth, nonabrasive sponge, or soft-bristled toothbrush to loosen grease without scratching the finish. Choose soft cloths for broad cabinet surfaces, and dampen them with your gentle degreasing solution before wiping.
Don’t scrub aggressively; use light, circular motions that lift residue without dulling the paint. For textured doors, microfiber sponges can reach grooves while remaining gentle on the finish.
Rinse your tool frequently in clean water so you don’t spread loosened grease across the cabinets. When cleaning around handles, use a soft-bristled toothbrush to work carefully into seams and corners.
Avoid steel wool, scouring pads, rough brushes, and abrasive melamine products, which can leave visible marks. Afterward, wipe each surface with a clean, damp cloth, then dry it thoroughly to prevent streaks and moisture damage.
Clean White Cabinet Hardware
Once the cabinet doors are clean, give the hardware the same attention so grime doesn’t transfer back onto the white surfaces. Remove knobs and pulls when possible, then place them on a soft towel.
Mix warm water with a few drops of mild dish soap. Dip a microfiber cloth, wring it well, and wipe each piece, focusing on grooves and screw heads.
Use a soft toothbrush for stubborn buildup, but don’t scrub aggressively.
| Hardware type | Best cleaning approach |
|---|---|
| Stainless steel | Wipe with soapy water, then polish with the grain |
| Brass or bronze | Use mild soap; avoid abrasive polish unless approved |
| Painted or coated | Use a damp cloth and minimal pressure |
For effective hardware maintenance, check the manufacturer’s care instructions before using vinegar, ammonia, or commercial cleaners. These products can discolor certain cabinet finishes or dull protective coatings.
Dry-clean the pieces with a fresh cloth before reinstalling them, and tighten loose screws carefully. Regularly wipe handles to prevent oil and grime from hardening.
Rinse and Dry the Cabinets
After cleaning, wipe the cabinets with a fresh microfiber cloth dampened with clean water to remove soap residue. Rinse the cloth often, and wring it out thoroughly so you don’t spread dirty water or leave excess moisture behind.
Work in small sections, following the cabinet’s grain or finish. Check corners, edges, and areas around hinges where residue can collect.
Dry each section immediately with a clean, soft towel. Don’t let water sit on doors, frames, or seams, because moisture can swell wood, weaken joints, or damage finishes.
Pay special attention to the lower edges and cabinet hardware openings. Choose drying methods that suit your Cabinet materials; laminate, wood, and thermofoil may react differently to prolonged dampness.
Avoid heat from hair dryers, which can affect Kitchen paint or warp surfaces. Leave doors and drawers slightly open for several minutes to improve airflow.
Before closing them, confirm every surface feels dry and looks free of streaks, ensuring a clean, even finish.
Remove Stubborn Stains Safely
Start by identifying the stain—whether it’s grease, food, or ink—before choosing a treatment. Then, use a gentle spot cleaner that’s safe for your cabinet’s finish, and test it on a hidden area first. Avoid harsh scrubbing, since it can damage the paint or leave dull marks.
Identify Stain Types
Before choosing a cleaner, identify the stain on your white kitchen cabinets: grease feels slick, food residue may look sticky or discolored, and hard-water spots often leave a chalky film. Stain types guide your next step, so inspect the area under good lighting.
Dust appears dry and dull, while fingerprints create faint, oily smudges. Tea, coffee, and tomato stains may leave brown or red discoloration.
Ink, crayon, and dye marks usually look sharply defined and may spread beyond the original spot. Check whether the finish feels smooth, raised, sticky, or rough, but don’t scrape it to investigate.
Note the stain’s location, size, color, and texture. These details help you choose appropriate cleaning techniques and avoid treating delicate cabinet finishes as though every mark were the same.
Use Gentle Spot Treatments
Once you’ve identified the stain, treat it with the mildest method that fits the cabinet’s finish. Start with a soft microfiber cloth and warm water, then add one drop of gentle dish soap if needed.
Test every solution on a hidden area first, especially on painted, lacquered, or wood cabinets.
- Grease: Dampen a cloth with diluted dish soap, wipe gently, and dry immediately.
- Food marks: Apply a paste of baking soda and water for a few minutes, then remove it without scrubbing hard.
- Ink or scuffs: Dab carefully with a cotton swab lightly moistened with rubbing alcohol, avoiding surrounding finish.
For safe stain removal, work in small sections and follow the grain when visible. Effective spot cleaning depends on patience, not pressure.
Never use steel wool, harsh bleach, or abrasive powders, which can dull white surfaces and leave permanent scratches.
Keep White Cabinets Cleaner Longer
Keeping white kitchen cabinets cleaner longer starts with a few simple habits: wipe up spills promptly, use the range hood while cooking, and avoid touching doors with greasy hands. These small actions prevent grease, moisture, and stains from settling into the finish.
Build cabinet maintenance into your routine. After cooking, scan doors, handles, and edges for splatters, then wipe them with a soft, damp microfiber cloth. Dry the surfaces immediately to prevent water spots and swelling around seams.
Use clean hands or cabinet pulls whenever possible, and consider installing handles if doors lack them.
Create realistic cleaning schedules so grime never has time to build. Wipe high-touch areas every few days, clean the cabinet exteriors weekly, and deep-clean them monthly.
Empty nearby trash bins before odors and residue spread. Keep abrasive sponges, harsh chemicals, and waxes away from the finish, since they can dull or damage white surfaces.
With consistent care, your cabinets will stay bright, fresh, and easier to clean.
Frequently Asked Questions
Can I Use Bleach to Clean White Kitchen Cabinets?
You can use diluted bleach on some white kitchen cabinets, but you shouldn’t make it your first choice. Bleach may damage finishes, weaken wood, or cause cabinet discoloration, especially with repeated use.
Check your manufacturer’s guidance and test an inconspicuous spot first. For safer cleaning, try bleach alternatives such as warm water with mild dish soap or a manufacturer-approved cleaner.
Never mix bleach with ammonia, vinegar, or other products, and ventilate your kitchen.
How Often Should White Kitchen Cabinets Be Professionally Refinished?
You should professionally refinish white kitchen cabinets every 8–15 years, depending on wear, moisture, sunlight, and material quality. Refinish sooner when you see peeling, deep scratches, fading, or swollen doors; wait longer when surfaces remain sound and cleaning restores their appearance.
Before hiring someone, compare estimates, confirm preparation and ventilation practices, and ask about durable finishes. Discuss Painting tips and Cabinet hardware upgrades to refresh the look while improving function and longevity.
Should I Remove Cabinet Doors Before Deep Cleaning?
Yes, you should remove cabinet doors before deep cleaning whenever possible. Cabinet door removal gives you better access to hinges, edges, and hidden grime, while preventing cleaner from pooling around hardware.
Label each door and hinge, then place screws in a container. Use gentle deep cleaning techniques, such as warm soapy water and a soft cloth.
Avoid soaking wood or spraying directly onto finishes. Let everything dry completely before reattaching doors.
What Causes White Cabinets to Turn Yellow Over Time?
White cabinets turn yellow over time because sunlight, heat, cooking grease, smoke, and aging finishes alter their color. Oil-based paints and polyurethane can amber naturally, while poor ventilation accelerates buildup.
Harsh cleaning products, especially those containing ammonia, bleach, or solvents, may damage the finish and worsen cabinet discoloration. You’ll reduce yellowing by controlling sunlight, running your range hood, wiping spills promptly, and using gentle, manufacturer-approved cleaners regularly.
Can Steam Cleaners Damage White Kitchen Cabinets?
Yes, steam cleaners can damage white kitchen cabinets, especially MDF, particleboard, laminate, painted wood, and cabinets with glued edges. Heat and moisture may soften finishes, lift veneers, swell panels, or loosen adhesive.
For better steam cleaning safety, check your manufacturer’s guidance and confirm cabinet material compatibility first. Don’t hold the nozzle in one spot.
Use a barely damp microfiber cloth instead, then dry every surface immediately to prevent lingering moisture and discoloration.
Conclusion
With these simple steps, you can keep your white kitchen cabinets bright without treating every smudge like a national emergency. Dust first, use a gentle cleaner, test hidden areas, and dry surfaces thoroughly.
Tackle stubborn stains carefully, and don’t forget the hardware—those handles collect more evidence than a detective. Clean regularly, and your cabinets won’t demand a dramatic rescue mission every weekend.
Your kitchen will look fresh, your routine will stay manageable, and your sponge can finally retire with dignity. Follow these tips for cleaning white kitchen cabinets, and keeping them spotless will feel much easier.