How to Install Kitchen Base Cabinets in 5 Steps
Uneven floors, confusing measurements, and heavy cabinets can make a kitchen upgrade feel overwhelming. You’re not alone—many people struggle to get every cabinet level, aligned, and securely fastened. The right tools and a clear plan can make the process much easier.
To install kitchen base cabinets in five steps, clear and inspect the area, gather tools, and confirm parts. Mark studs, cabinet height, floor high points, and utility locations. Position and secure the corner cabinet into studs, then bring adjoining units into place.
Level, shim, clamp, and screw the run together. Finally, make precise plumbing and electrical cutouts, install doors and drawers, and adjust clearances. The following guidance explains each step so your installation stays sturdy and accurate.
Key Takeaways
- Prepare the workspace, inspect cabinets and hardware, gather tools, and confirm floor and doorway conditions.
- Mark wall studs, cabinet-top height, the floor’s highest point, and utility locations before installation.
- Install and secure the corner cabinet to at least two wall studs, maintaining plumbing and electrical access.
- Position adjacent cabinets, shim them level, clamp faces flush, and fasten units together and to studs.
- Cut necessary openings, install doors and drawers, adjust hardware, and verify appliance and countertop clearances.
Prepare for Kitchen Base Cabinet Installation
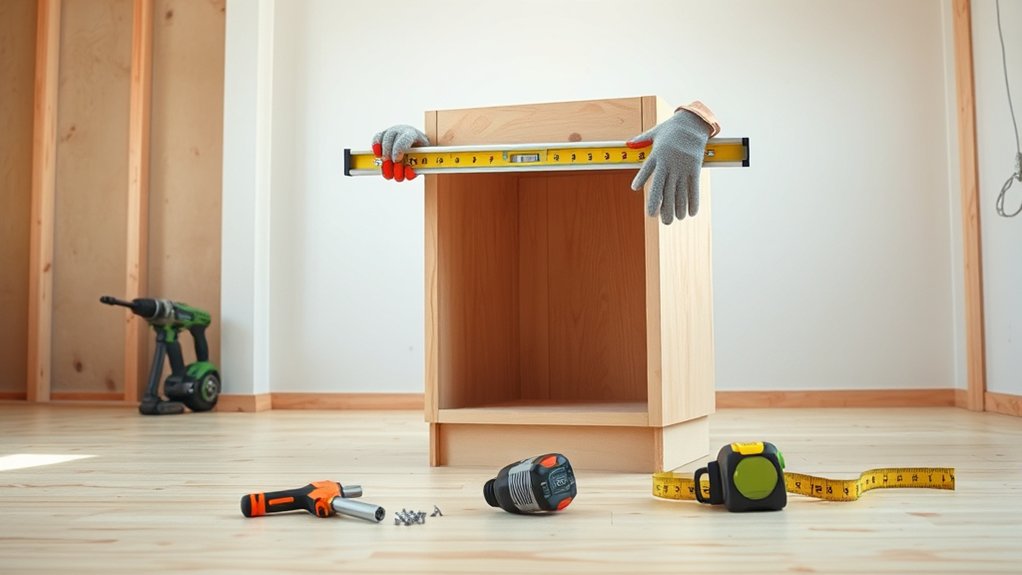
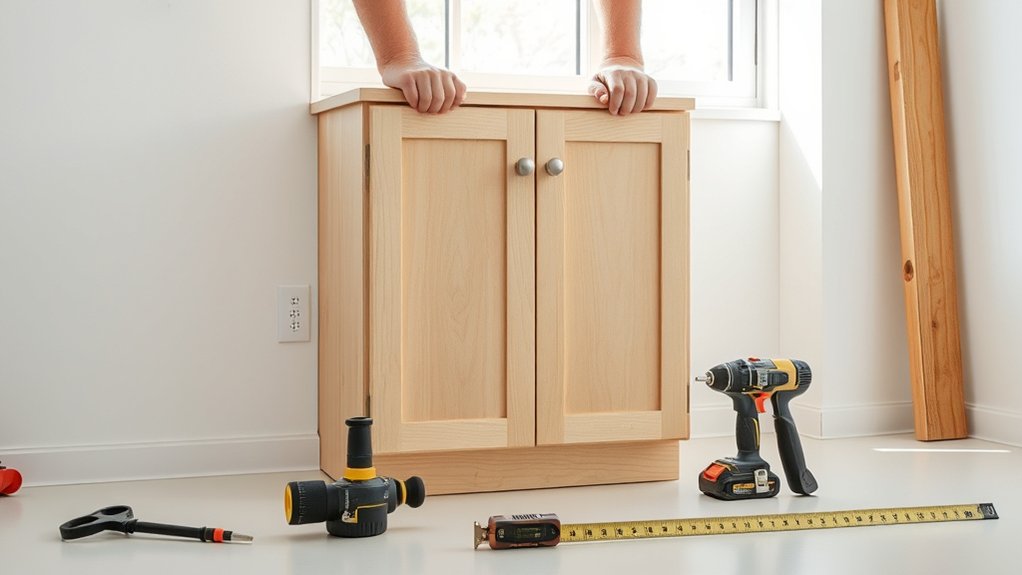
Before installing kitchen base cabinets, clear the work area and confirm the cabinet layout against your plan. Remove appliances, loose tools, packaging, and debris so you have room to work safely.
Clear the workspace, verify the cabinet layout, and remove obstacles before beginning installation.
Inspect each cabinet for shipping damage, then compare its parts, doors, hardware, and instructions with your order. Group cabinets in installation order, but don’t unpack fragile pieces until needed.
Gather a level, tape measure, drill, driver bits, clamps, shims, screws, stud-rated fasteners, and a pencil. Choose fasteners suitable for your wall and cabinet materials, and keep replacements available.
Check that your floor is clean and dry, and verify that the cabinets can enter and fit through doorways.
Wear eye protection, closed-toe shoes, and work gloves when handling heavy boxes. Follow basic safety precautions by lifting with help, securing tools, and keeping children and pets away.
Read the manufacturer’s instructions before assembly, and preserve labels so you can identify every cabinet quickly during installation.
Mark Studs, Cabinet Height, and Plumbing
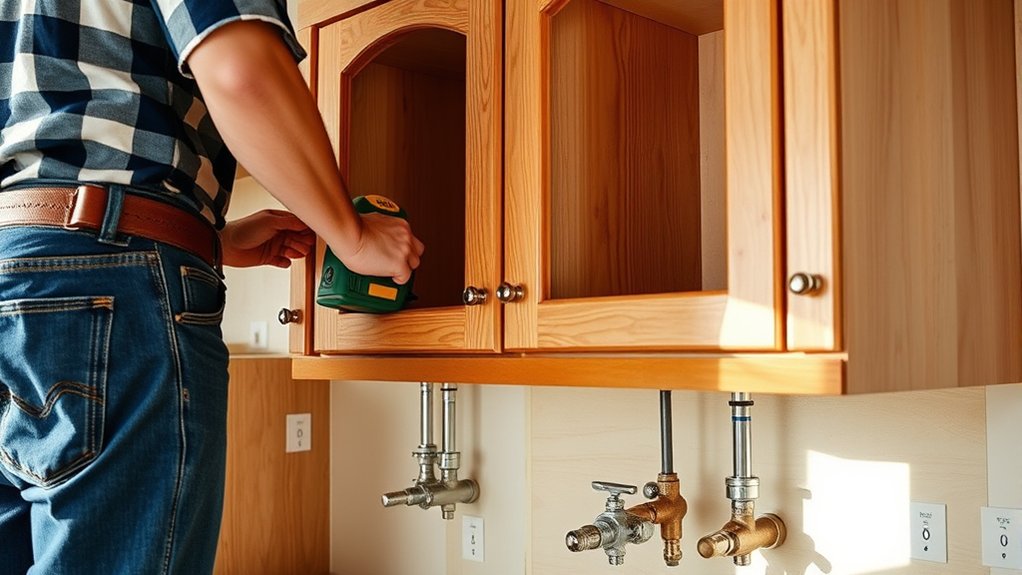
Start by locating and marking the wall studs, then draw a level line showing the finished height of the cabinet tops. Use a stud finder, confirm each location with a small probe, and extend every mark vertically so you can see it during installation.
Measure from the highest point on the floor, not from an uneven corner, and account for the countertop thickness if your plan specifies a finished elevation. Check the manufacturer’s cabinet dimensions against your line, then mark the bottom edge and any required reference points.
Next, identify water supply lines, drainpipes, gas lines, and electrical wiring behind the wall. Note their locations on your layout and measure their heights from the floor.
Plan Plumbing adjustments before cutting or modifying anything. Shut off utilities and follow local codes. If pipes interfere with cabinet backs or shelves, consult a licensed professional.
Mark clearances for valves, outlets, and appliance connections, leaving enough room for future service. Keep these measurements visible as you prepare for installation.
Position and Secure the Corner Cabinet
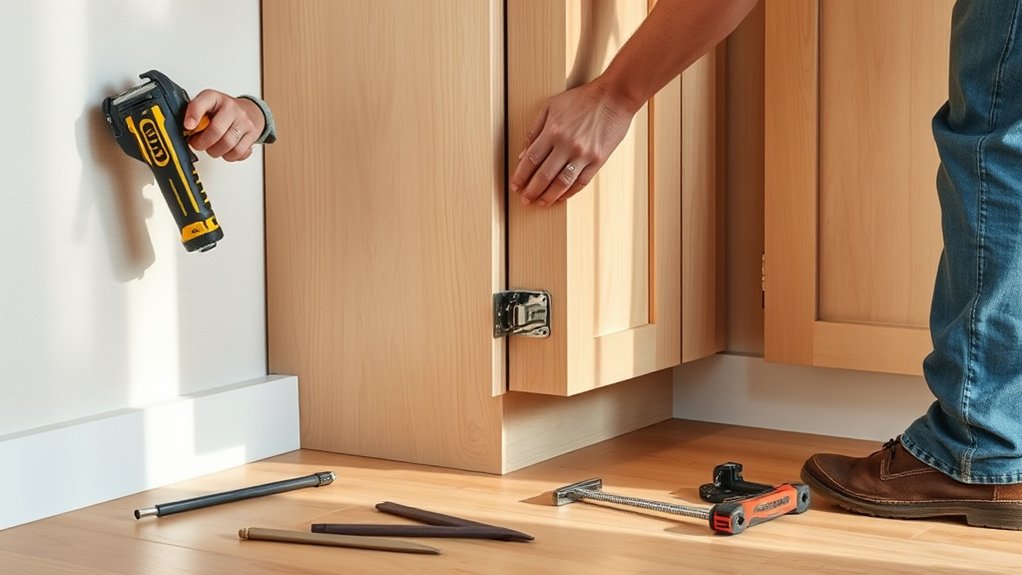
Set the corner cabinet in place with its back against the wall and its front aligned with your layout marks. Leave enough room for doors, drawers, and adjacent cabinets to open without interference.
Locate the marked studs through the cabinet’s mounting rail, then drive screws through the rail into at least two studs. Use washers under the screw heads to prevent the wood from splitting or pulling through.
If your corner cabinet has a separate filler or face frame, attach it according to the manufacturer’s instructions before connecting neighboring units.
Keep the cabinet supported while you fasten it, and don’t rely on drywall anchors for this structural connection.
Check that plumbing cutouts and electrical access remain unobstructed, but save detailed leveling and alignment for the next step.
Protect finished surfaces with a drop cloth. Cabinet painting and decorative hardware come later, after installation and finishing work are complete.
Avoid overtightening, which can distort the cabinet box or damage its finish.
Level and Align the Cabinet Run
With the corner cabinet secured, bring the adjacent cabinets into the run and align their tops, fronts, and sides. Set each cabinet on shims, then check the front-to-back and side-to-side level with a spirit level.
Add or trim shims until the cabinet sits firmly without rocking. Keep the cabinet faces flush, and clamp neighboring units together at the stiles before driving screws through the cabinet sides.
Use screws sized for your cabinet materials, and avoid overtightening, which can distort the boxes. Recheck level and alignment after fastening each unit, because one adjustment can shift the entire run.
Follow safety precautions by wearing eye protection, supporting cabinets securely, and keeping your hands clear while positioning them. Continue across the wall, maintaining the planned spacing and a straight, even front.
Once every base cabinet aligns with the corner unit, verify the full run with a long level or straightedge. Don’t proceed until the cabinets feel rigid and remain level.
Make Cutouts and Adjust Doors and Drawers
Once the cabinet run is level, mark and cut openings for plumbing, electrical connections, and appliances, using the manufacturer’s measurements and allowing enough clearance for installation. Remove the cabinet before cutting, then use a jigsaw or hole saw with the correct blade.
Protect finished surfaces with painter’s tape, and smooth every edge to prevent splinters. Dry-fit pipes, outlets, and appliance connections before securing the cabinet permanently. Keep cutouts as small as practical so the cabinet remains strong.
Next, install doors and drawers, checking that each one opens freely without hitting adjacent units. Tighten hinges, then use their adjustment screws to align gaps and level door faces.
Slide drawers in and out several times, adjusting runners until they operate smoothly and sit evenly. Install handles and knobs only after confirming alignment; accurate cabinet hardware placement improves daily use.
Finally, check clearances for countertop fitting, plumbing access, and appliances. Make any minor adjustments before installing the countertop.
Frequently Asked Questions
Can I Install Kitchen Base Cabinets Without Removing Existing Countertops?
Yes, you can install kitchen base cabinets without removing existing countertops, but only in limited situations. You’ll need enough clearance to slide the new cabinets into place, and the countertop must remain properly supported throughout the work.
Most projects require countertop removal because cabinets support the surface and connect to plumbing or appliances. For a safe cabinet replacement, consult a professional before skipping countertop removal, especially with stone or custom countertops.
What Tools Are Essential for Installing Kitchen Base Cabinets?
You’ll need a tape measure, level, stud finder, drill, driver bits, screws, shims, clamps, utility knife, pry bar, hammer, and a circular saw. Use a jigsaw for sink cutouts and a laser level for faster alignment.
Your cabinet material may require specialty bits or blades, so check manufacturer guidance. Keep safety glasses and hearing protection handy.
Plan your installation timeline around measuring, leveling, securing, and adjusting each cabinet carefully before reconnecting plumbing or appliances.
How Much Does Professional Kitchen Base Cabinet Installation Typically Cost?
You’ll typically pay $2,000–$6,000 for professional kitchen base cabinet installation, though rates vary by location, cabinet design, kitchen size, and job complexity.
Think of it as paying for a smoother road: labor commonly runs $50–$150 per cabinet or $70–$200 per hour. Your quote may also include removal, leveling, trim, delivery, and plumbing adjustments.
Ask for a written estimate and installation timeline before work begins, so surprises don’t sneak in.
Should I Install Flooring Before or After Installing Kitchen Base Cabinets?
Install flooring before kitchen base cabinets when possible. You’ll create a continuous, finished surface, simplify future cabinet replacement, and avoid awkward cuts around cabinet edges.
However, if you’re using expensive hardwood or tile, installing flooring after cabinets can reduce material costs and prevent hidden damage. Plan carefully around appliances and toe-kicks.
If you’re replacing existing cabinets, schedule cabinet removal first, then complete flooring installation before setting the new bases.
How Can I Dispose of Old Kitchen Cabinets Responsibly?
You can give old kitchen cabinets a second life—or send them safely onward—by donating usable units to a reuse center, Habitat for Humanity ReStore, or local charity. Remove hardware and separate wood, metal, and glass before hauling anything away.
Check municipal Recycling options for accepted materials, and follow local Disposal regulations for treated wood, paint, and adhesives. If reuse isn’t possible, hire a licensed hauler and request proof of proper processing or disposal.
Conclusion
With your kitchen base cabinets installed, you’ve built a sturdy foundation for the room’s transformation. Each marked stud, level shim, and carefully planned cutout fits together like pieces of a puzzle, while aligned doors and drawers create a smooth, flowing finish.
Step back and admire your work: the cabinet run now forms the kitchen’s backbone, ready to support countertops, appliances, and daily life. With patience and precision, you’ve turned a bare wall into the heart of your home.
Installing kitchen base cabinets takes care and attention, but the result is a strong, functional foundation for the rest of your kitchen project.