How to Replace Kitchen Cabinets in 7 Steps
Replacing kitchen cabinets can feel overwhelming, especially when you’re unsure where to start or worried about costly mistakes. You’re not alone—many homeowners struggle with planning, measuring, and choosing the right materials.
This guide to how to replace kitchen cabinets breaks the process into seven manageable steps.
To replace kitchen cabinets in seven steps, plan your layout, budget, tools, and cabinet style. Measure walls, floors, openings, utilities, and clearances, then order materials.
Shut off water and electricity before removing the old cabinets. Repair walls, inspect plumbing, and prepare clean surfaces.
Install upper and base cabinets level and securely. Add doors, drawers, and hardware, then adjust hinges and glides.
Finish by checking alignment, leaks, movement, and safety; the details below will help you complete each step confidently.
Key Takeaways
- Plan the layout, budget, materials, tools, permits, and accurate measurements before ordering replacement cabinets.
- Shut off utilities, empty and remove old cabinets carefully, then inspect plumbing and repair walls or damaged surfaces.
- Prepare cabinet surfaces, mark studs, establish level reference lines, and install temporary supports for accurate positioning.
- Install upper and base cabinets, securing them to studs, shimming uneven areas, and checking level, plumb, and alignment.
- Attach doors, drawers, and hardware, adjust gaps, test operation, reconnect plumbing, and complete a thorough cleanup and inspection.
Plan the Layout, Budget, and Tools
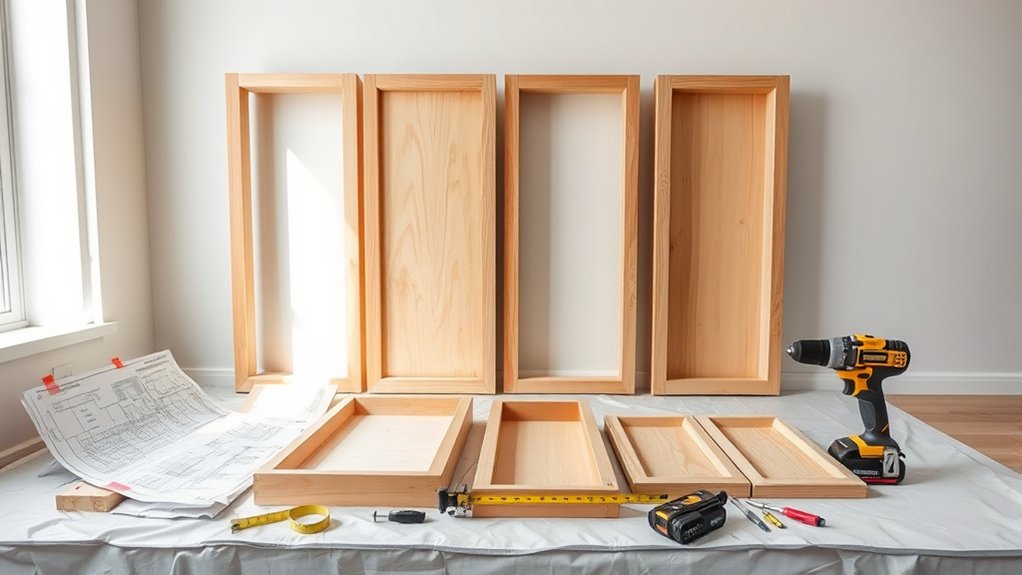
Before removing any cabinets, plan your layout, set a realistic budget, and gather the tools you’ll need. Decide how you want the kitchen to function, including storage zones, work areas, and traffic paths.
Review cabinet styles, such as shaker, flat-panel, or raised-panel designs, and choose an appearance that complements your home. Consider material choices carefully. Solid wood, plywood, laminate, and medium-density fiberboard offer different costs, durability, and maintenance needs.
Create a written budget that includes cabinets, hardware, trim, fasteners, tools, delivery, and waste disposal. Add a contingency fund for repairs or unexpected adjustments.
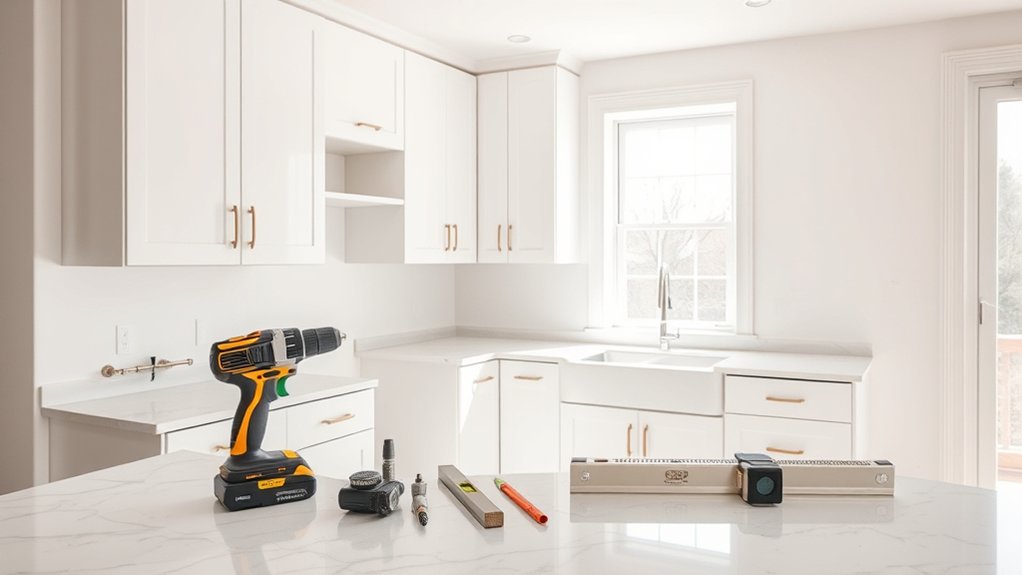
List every tool before work begins, including a drill, driver bits, level, stud finder, tape measure, pry bar, utility knife, clamps, and safety glasses. Arrange a clean staging area for parts and debris.
Confirm whether you’ll reuse appliances, lighting, or plumbing, and identify any permits or professional help you may need. This preparation keeps your replacement organized, safe, and financially controlled.
Measure and Order Your Kitchen Cabinets
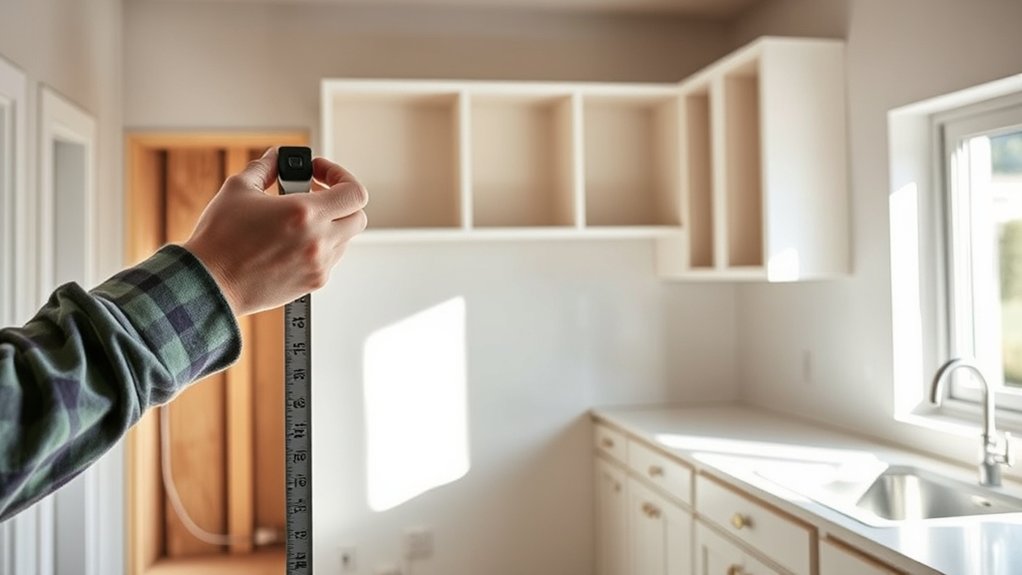
Measure your wall and floor space carefully, and note the locations of doors, windows, plumbing, and appliances. Then, map out your cabinet layout and order the cabinets, hardware, and accessories you need. Before submitting your order, double-check every measurement.
Measure Wall And Floor Space
Accurate measurements are the foundation of a successful cabinet order. Start by measuring each wall from corner to corner at the floor, countertop, and ceiling levels.
Record the smallest measurement if walls aren’t perfectly straight. Note ceiling height, soffits, trim, windows, doors, and any pipes or vents that could affect cabinet dimensions.
Measure floor space by checking the room’s length and width in several places, since floors and walls may vary. Mark the locations of electrical outlets, plumbing connections, appliances, and heating registers on your notes.
Use graph paper or a digital tool to create a scaled floor plan, labeling every measurement clearly. Double-check your figures, including corner-to-corner distances, before ordering.
Don’t rely on builder plans. Verify every wall dimension yourself for an accurate cabinet fit.
Map Cabinet Layout
Now map your cabinet layout by placing base, wall, and tall cabinets on your scaled floor plan. Leave room for appliances, doors, and walkways.
Mark plumbing, electrical outlets, windows, and trim so cabinet placement won’t create conflicts. Group frequently used items near your primary work zones to improve organization and daily efficiency.
| Cabinet type | Best placement |
|---|---|
| Base | Under counters, near prep areas |
| Wall | Above counters, away from windows |
| Tall | Pantry or refrigerator zone |
Check clearances for opening doors and drawers, especially where cabinets meet corners. Maintain a practical work triangle between the sink, cooktop, and refrigerator.
Test alternatives on paper before committing. This layout optimization can improve storage and movement without changing the room’s footprint.
Label each cabinet location clearly, then verify measurements against your original notes.
Order Cabinets And Accessories
Once your layout is labeled and verified, order cabinets and accessories using your final measurements. Recheck each wall, opening, appliance, and corner before submitting your order.
Confirm cabinet widths, heights, depths, door swings, fillers, toe kicks, and crown molding against your plan.
During cabinet material selection, compare durability, finish, maintenance needs, and warranty rather than choosing by appearance alone.
Order extra panels, trim, hardware, and matching touch-up materials to handle cuts or future repairs.
Create an accessory organization list that matches every item to its cabinet location, including drawer dividers, pullouts, lazy Susans, and trash bins.
Ask the supplier to review your measurements and provide a detailed quote. Verify delivery timing, shipping charges, assembly requirements, and return policies.
Inspect every package immediately for damage, missing parts, or incorrect finishes.
Shut Off Utilities and Remove Old Cabinets
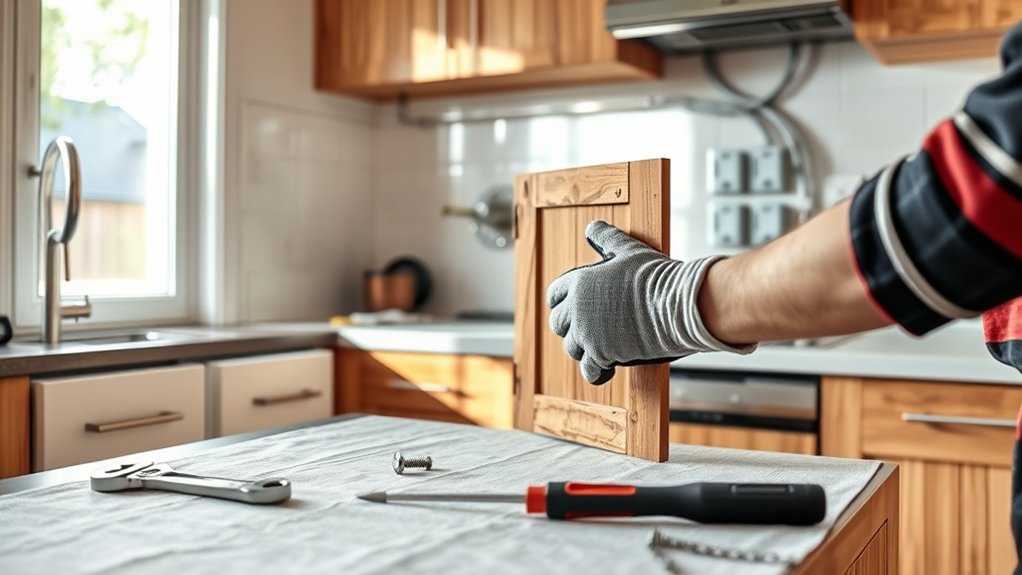
Before removing anything, shut off the water and electricity serving the cabinet area, then verify that the lines are inactive. Close the water valves beneath the sink, and switch off the correct circuit breaker. Use a noncontact voltage tester for added Electrical safety, and don’t rely on a wall switch alone.
Clear countertops and empty every cabinet. Disconnect the sink supply lines, drain, and disposal carefully, keeping a bucket nearby for residual water.
Remove doors, drawers, shelves, and hardware first to reduce weight. Support upper cabinets while you take out their mounting screws, and have a helper hold each unit as you lower it.
For base cabinets, remove screws securing them to the wall, neighboring cabinets, or countertop, then lift them out without forcing attached plumbing.
Follow safe cabinet removal techniques: wear gloves and eye protection, use a pry bar gently, and avoid cutting hidden wires or pipes.
Label reusable hardware and dispose of damaged materials responsibly. Keep the workspace clear as you work.
Repair Surfaces and Check Plumbing
Patch any wall damage and smooth out uneven cabinet surfaces before installing the replacements. Then, inspect the plumbing connections for leaks, corrosion, or damage. Fix any problems now so your new cabinets sit securely and remain protected.
Patch Wall Damage
With the cabinets removed, inspect the exposed wall for dents, holes, and loose drywall, then check nearby plumbing for leaks or damage. Shut off the water supply and repair leaking pipes or fittings before continuing.
For minor wall patching, cut away loose paper, remove crumbling drywall, and fill shallow dents with setting compound. Cover larger holes with a drywall patch secured to backing, then apply joint compound over the repair.
Let each layer dry according to the manufacturer’s directions, and add material until the damaged area sits slightly proud of the surrounding wall.
If you find mold, extensive water damage, or a persistent leak, call a professional instead of concealing the problem. This surface repair creates a stable foundation for cabinet installation and helps prevent future damage behind your new cabinets.
Smooth Cabinet Surfaces
Once the wall repairs have cured, inspect each cabinet surface for dents, scratches, loose veneer, or swollen areas. Remove dust and grease with a suitable cleaner, then let every panel dry completely.
Fill small dents and holes with wood filler, allow it to harden, and sand it flush. Secure loose veneer with adhesive, trim lifted edges, and replace severely swollen or damaged sections.
Sand glossy areas lightly so primer adheres, but don’t over-sand veneer or expose the substrate. Wipe away sanding dust with a tack cloth.
For effective cabinet finishing, apply a compatible primer before painting or staining. If you’re keeping the existing finish, use surface refinishing products designed for your cabinet material.
Check doors, drawer fronts, shelves, and face frames, and correct imperfections before reinstalling hardware. Confirm each surface feels smooth and looks uniform.
Inspect Plumbing Connections
Before installing or refinishing the cabinets, inspect the sink’s supply lines, drainpipes, shutoff valves, and disposal connections for leaks, corrosion, or damage. Run water through each fixture and watch every joint while checking underneath with a dry paper towel.
Tighten loose plumbing fittings, but don’t overtighten plastic nuts or threaded connections. Replace cracked hoses, brittle washers, corroded valves, and damaged drain traps before you install the new cabinets.
If a shutoff valve won’t close completely, have a plumber replace it. Clear moisture, mold, or standing water from the cabinet area, then let surfaces dry thoroughly.
These steps support leak prevention and protect your new cabinetry from hidden water damage. Test the disposal separately, confirm its discharge hose slopes correctly, and verify that the drain doesn’t back up.
Photograph connections before disconnecting anything for easier reassembly.
Install the New Kitchen Cabinets
Start by installing the upper cabinets, working from the corner outward and following your layout plan. Mark the studs, then use a level to draw a reference line for the cabinet tops.
Support each unit with a temporary ledger board while you drive screws through the mounting rails into studs. Check every cabinet for level, plumb, and flush faces before tightening fasteners.
Clamp adjoining boxes together, align their edges, and secure them with cabinet screws. If your layout includes fillers, install them as you progress so the final spacing stays accurate.
Next, position the base cabinets, beginning at the corner. Shim them on uneven floors, keep their fronts aligned, and fasten them to wall studs and neighboring boxes.
Confirm clearances for appliances, plumbing, and countertops before securing everything. Wipe away dust and inspect your cabinet finishing for scratches or gaps.
Complete hardware selection after installation, but don’t attach handles or hinges until the next step.
Install Doors, Drawers, and Hardware
With the cabinet boxes secured and aligned, install the doors, drawers, and hardware. Start with the door hinges, attaching each hinge to its marked recess and the cabinet frame.
Support the door while you fasten the screws to prevent strain on the hardware. Next, slide each drawer onto its runners, following the manufacturer’s directions for the glides.
Install drawer pulls after measuring and marking consistent hole locations across the doors and drawer fronts. Use a template to keep spacing uniform, and drill carefully from the finished side.
- Match each door and drawer to its opening before fastening the hardware.
- Place screws in a cup so you won’t lose them during installation.
- Choose a screwdriver or drill bit that fits each screw head securely.
Work methodically from one cabinet section to the next. Tighten the hardware firmly, but don’t overtighten it and damage the finish or threads.
Keep the protective film on finished surfaces until drilling is complete. Then remove it carefully to reveal your newly outfitted cabinets.
Adjust Cabinets and Inspect the Installation
Once the doors and drawers are in place, adjust the hinges and drawer glides so everything opens smoothly and sits evenly. Use the hinge screws to correct gaps, level faces, and align adjoining doors.
Tighten each screw without stripping it, then test the doors several times. For drawers, adjust the glides until they travel quietly, close fully, and remain flush with the cabinet fronts.
Next, complete a careful installation inspection. Run your hand along cabinet edges and countertops to find sharp spots, loose fasteners, or unfinished surfaces.
Check that every cabinet remains level, plumb, and securely attached to the wall. Confirm that filler strips, end panels, toe kicks, and trim sit tightly without visible gaps.
Open nearby doors and drawers together to ensure they don’t collide.
Finish your cabinet adjustment by retightening accessible screws and cleaning away dust or adhesive. If you find movement, uneven spacing, or damaged hardware, correct it before loading the cabinets or reinstalling appliances.
Frequently Asked Questions
Can I Replace Kitchen Cabinets Without Removing the Countertops?
Yes, you can sometimes replace kitchen cabinets without removing the countertops, but it depends on their weight, attachment, and condition. You’ll need to support the countertop carefully while loosening the cabinet frames beneath it.
Avoid damaging plumbing, backsplashes, and seams. Countertop removal may still prove necessary if the cabinets won’t separate safely or the surface flexes.
Plan cabinet removal cautiously, and consider hiring a professional for stone or solid-surface countertops to prevent costly cracks.
How Long Should Newly Installed Kitchen Cabinets Last?
Newly installed kitchen cabinets should last 15–30 years, with quality hardwood cabinets often reaching 50 years. Think of them as the backbone of your kitchen: their lifespan depends on cabinet durability and several longevity factors.
You’ll extend their life by choosing sturdy materials, professional installation, moisture-resistant finishes, and reliable hardware. Keep doors aligned, repair damage promptly, and avoid excessive weight.
With proper care, your cabinets can remain attractive and functional for decades.
Can I Replace Only Some Kitchen Cabinets Instead of the Entire Kitchen?
Yes, you can replace only some kitchen cabinets instead of the entire kitchen. Match the new units to your existing cabinets’ style, dimensions, wood species, and finish.
You can also refresh surrounding cabinets through cabinet painting, new doors, or hardware replacement, creating a cohesive appearance. Check for differences in color or wear, especially if your current cabinets have aged.
A professional can help you measure accurately and coordinate finishes for a seamless result.
What Cabinet Materials Are Easiest to Clean and Maintain?
For easiest cleaning and upkeep, choose laminate, thermofoil, or painted plywood cabinets with smooth, sealed surfaces. You’ll wipe away grease and spills without dealing with deep pores or complicated grain.
Stainless steel also cleans easily but can show fingerprints. Use gentle cleaning techniques: a soft cloth, warm water, and mild dish soap.
Follow these maintenance tips: dry surfaces promptly, avoid abrasive cleaners, tighten loose hardware, and repair chips quickly to prevent moisture damage and staining.
When Should I Hire a Professional Cabinet Installer?
Hire a professional cabinet installer when walls or floors aren’t level, plumbing or electrical lines need relocation, or your cabinets require precise custom fitting. You’ll also benefit from expert help if you lack tools, experience, or time.
While DIY tips can guide simple projects, don’t skip safety precautions around heavy materials and power tools. If mistakes could damage your kitchen or compromise structural support, professional installation gives you a safer, cleaner, more polished result.
Conclusion
Replacing kitchen cabinets can transform your space, but careful preparation makes the difference between a smooth upgrade and costly rework. Plan your layout, verify every measurement, and inspect plumbing before installation.
Remember, cabinets typically account for about 40% of a kitchen remodel’s budget, so protect your investment by installing them accurately and adjusting doors and drawers patiently. Once you’ve checked alignment, utilities, and hardware, you can enjoy a functional, refreshed kitchen built to last.