How to Paint Kitchen Cabinets Without Sanding in 3 Steps
Tired of outdated cabinets but dreading the mess, dust, and long hours of sanding? You’re not alone—many homeowners want a fresh kitchen without the hassle. The good news is that learning how to paint kitchen cabinets without sanding can make your makeover faster and easier.
To paint kitchen cabinets without sanding, first degrease every surface, rinse, and let it dry. Fill dents, tighten loose hardware, then apply a liquid deglosser to remove shine.
Next, brush or roll on a high-adhesion bonding primer compatible with your cabinet material and paint. Let it dry completely, correcting thin spots or drips.
Finally, apply thin, even paint coats, starting with doors and drawer fronts, and allow each coat to dry. Keep going for helpful finishing tips and product guidance.
Key Takeaways
- Clean cabinets thoroughly with a suitable degreaser, rinse, and let them dry completely.
- Apply liquid deglosser to dull the existing finish without sanding, following the product’s dwell-time instructions.
- Use a high-adhesion bonding primer compatible with your cabinet material and chosen paint.
- Paint doors, drawer fronts, and cabinet frames in thin, even coats, allowing complete drying between coats.
- Apply a durable satin or semi-gloss finish, inspect coverage, and let cabinets cure before reinstalling hardware.
Degrease, Repair, and De-Gloss the Cabinets
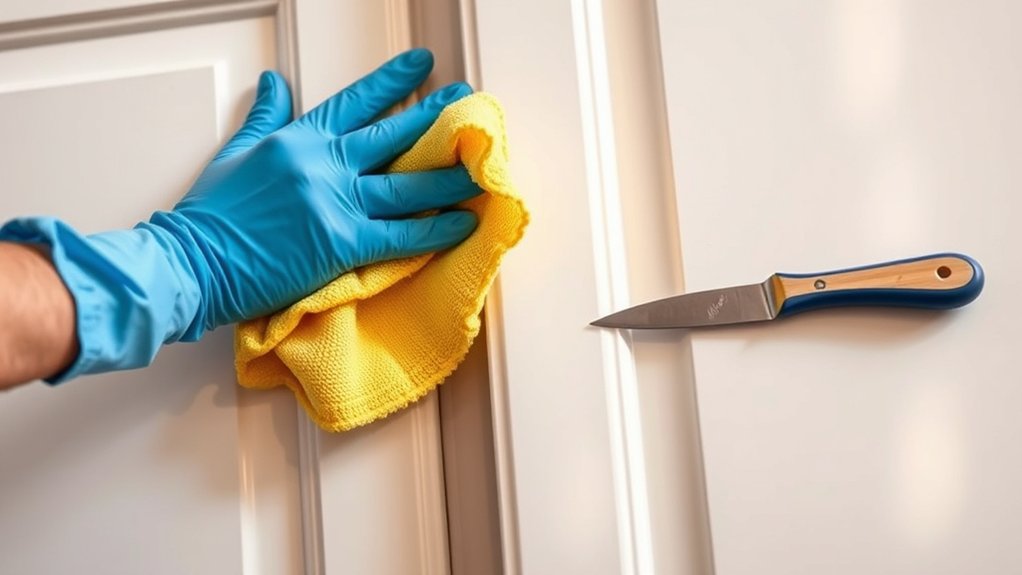
Before you paint, remove every trace of grease, grime, and wax from the cabinet surfaces. Remove the cabinet hardware, then label each piece and store its screws safely. Wash doors, drawer fronts, and frames with a suitable degreaser, working in small sections.
Rinse away residue with a clean, damp cloth, and let every surface dry completely.
Inspect the cabinets for dents, chips, cracks, and loose joints. Fill minor damage with wood filler, allow it to cure, and smooth the repair according to the product directions.
Tighten loose hardware mounts and replace damaged hinges if necessary. Don’t skip this step, because flaws become more noticeable after painting.
Next, de-gloss the existing finish with a liquid deglosser. Apply it with a lint-free cloth, follow the label’s dwell time, and wipe away the softened residue.
Open windows and wear gloves while you work. Once the finish looks uniformly dull and clean, you’re ready to contemplate paint color options.
Use Bonding Primer for Better Paint Adhesion

Once the cabinets are clean, dry, and uniformly dull, apply a high-adhesion bonding primer designed for glossy or previously finished surfaces. This essential layer helps your new finish grip without sanding, especially on laminate, varnish, or factory-coated doors.
Choose primer types according to the cabinet material and your paint’s requirements. A water-based bonding primer offers easy cleanup and low odor, while an oil-based formula can seal stubborn stains and wood tannins.
Read the label to confirm compatibility, drying time, and required ventilation.
- Stir the primer thoroughly, but avoid creating bubbles.
- Use a quality brush or small foam roller for controlled coverage.
- Work in a well-ventilated area and protect nearby surfaces.
- Let the primer dry fully before evaluating coverage.
Check for thin spots, drips, or missed edges, then correct them with a light touch. Don’t rush this step; proper adhesion matters more than speed.
Consider Color selection now, since a tinted primer can improve coverage beneath your chosen cabinet color and help you achieve a more uniform final result.
Paint Kitchen Cabinets in Thin, Even Coats
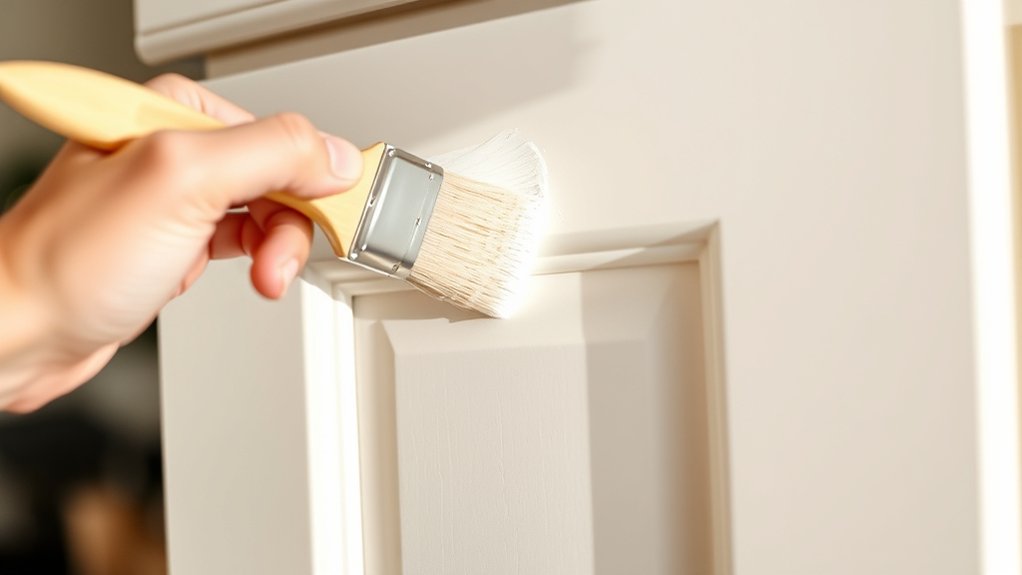
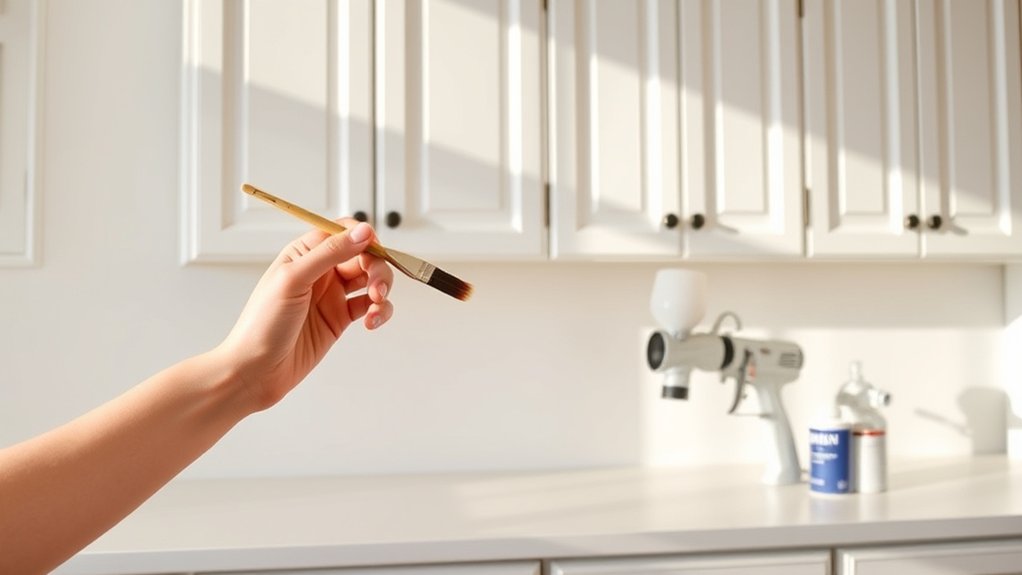
With the primer fully dry, apply your cabinet paint in thin, even coats using a quality brush, foam roller, or sprayer. Start with doors and drawer fronts laid flat, then coat the cabinet frames. Keep your strokes consistent, and don’t overload your tool; excess paint can drip, pool, or create visible ridges.
A foam roller smooths broad surfaces, while a brush reaches corners and detailed edges. If you use a sprayer, maintain steady movement and overlap each pass slightly.
Let the first coat dry completely according to the manufacturer’s instructions before applying another. Lightly inspect the surface between coats, and smooth any raised fibers or specks with fine-grit sanding material if needed.
Your Color choice affects how many coats you’ll need, especially when covering a dark finish with a pale shade. Consider Finish options, such as satin or semi-gloss, based on your preferred sheen and cleaning needs. Avoid rushing; patience produces a durable, professional-looking result.
Frequently Asked Questions
How Long Does Painted Cabinet Paint Typically Last?
Painted cabinet paint typically lasts 5–10 years before you need a significant refresh. You’ll maximize paint durability by cleaning surfaces, applying a quality primer, choosing cabinet-specific paint, and allowing proper curing time.
High-traffic kitchens may show wear sooner, especially around handles and edges, while gentle cleaning helps preserve the finish. You can extend cabinet longevity with touch-ups and protective hardware.
Expect repainting sooner if moisture, heat, or heavy daily use challenges the coating.
Can I Paint Laminate Cabinets Without Sanding?
Yes, you can paint laminate cabinets without sanding, but you’ll need thorough laminate surface preparation. Clean every door with a degreaser, remove hardware, and repair chips or peeling edges.
Apply a high-adhesion bonding primer designed for slick surfaces, then use durable cabinet paint in thin, even coats. Follow these paint adhesion tips: let each coat cure fully, avoid heavy handling, and seal high-use areas if needed. Proper preparation helps your finish last.
What Type of Paint Finish Works Best for Kitchen Cabinets?
Choose a satin or semi-gloss finish for kitchen cabinets. Satin gives you a softer look while hiding minor imperfections, whereas semi-gloss reflects more light and cleans easily.
Consider your preferred paint sheen, lighting, and cabinet style before deciding. For busy kitchens, semi-gloss usually offers the best finish durability because it resists moisture, grease, and frequent wiping.
Use a high-quality cabinet enamel, apply thin coats, and let each coat cure completely for lasting results.
How Should I Clean and Maintain Newly Painted Cabinets?
For cabinet cleaning, wipe your newly painted doors with a soft, damp microfiber cloth and mild dish soap. Don’t use abrasive sponges, harsh chemicals, or excessive water, which can dull or damage the finish.
Dry every surface promptly, especially around hinges and edges. Follow these maintenance tips: clean spills immediately, use cabinet hardware gently, avoid hanging wet towels on doors, and allow the paint to cure fully before heavy use.
Can I Change Cabinet Hardware After Painting?
Yes, you can change cabinet hardware after painting. Your cabinets can get a fresh new outfit. Wait until the paint has fully cured, usually several days to a few weeks, before installing anything.
Remove the old pulls or knobs carefully, then measure hole spacing to choose compatible Cabinet hardware. If new pieces require different holes, use a template and drill gently.
Clean away debris, and use minimal Paint removal only where necessary to prevent damage.
Conclusion
You don’t need a messy, time-consuming renovation to refresh your kitchen. By degreasing, repairing, and de-glossing your cabinets, you’ll create a clean surface without sanding.
Apply a bonding primer, then add thin, even paint coats for a smooth, durable finish. The process may feel simple, but the transformation can look striking.
So trade dust and disruption for patience and precision. With these steps for how to paint kitchen cabinets without sanding, you can turn tired cabinets into a kitchen feature you’ll be proud to show off.