How to Decorate a Kitchen Island
A kitchen island can quickly become a cluttered catchall instead of the stylish centerpiece you envisioned. You’re not alone—many people struggle to balance everyday function with a polished look. These kitchen island decorating ideas will help you create a display that feels inviting, practical, and easy to maintain.
Decorate your kitchen island by first clearing the surface and leaving room for food preparation. Choose accents that match your island’s colors, materials, and overall style. Group essentials on a tray, then add a fruit bowl, wooden boards, woven basket, or small plant for texture and height.
Keep seating comfortable and lighting proportional to the island. Refresh accents seasonally, avoid clutter, and keep outlets and work areas accessible. The following tips will help you create a polished, practical display.
Key Takeaways
- Clear and clean the island, reserving open space for meal preparation, dining, and everyday essentials.
- Choose décor that complements the island’s colors, materials, finishes, and proportions without creating visual clutter.
- Create a balanced centerpiece using trays, bowls, vases, books, or plants at varied heights.
- Keep decorative items away from outlets, appliances, drawers, busy work zones, and fragile areas.
- Improve functionality with proportional lighting and comfortable, durable seating that matches the island’s height and style.
Match Décor to Your Island’s Style
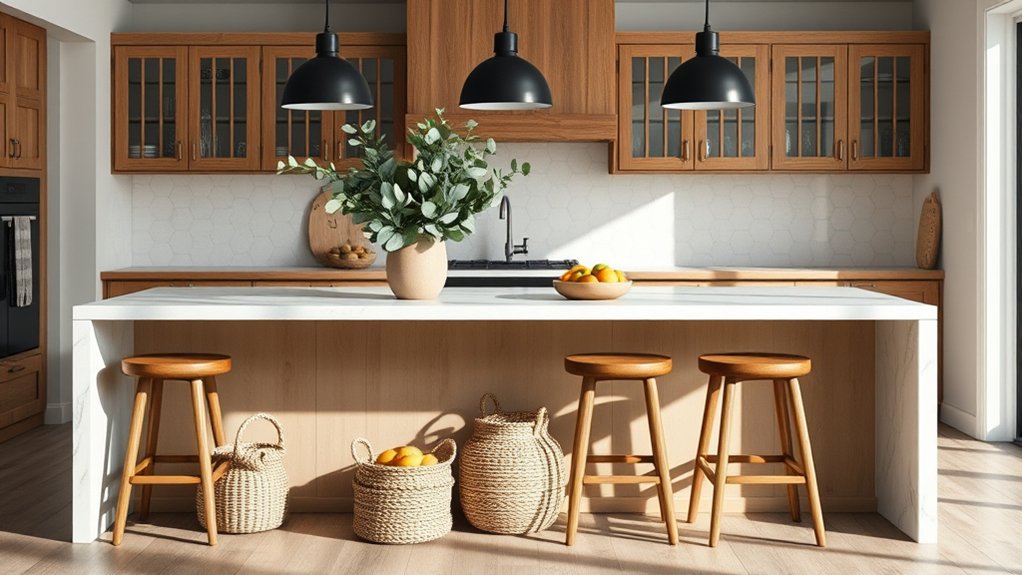
Choose décor that complements your kitchen island’s style rather than competing with it. If your island features clean lines and a modern finish, select streamlined accessories, geometric shapes, and polished metal accents. For a farmhouse island, choose warm wood, woven details, and thoughtfully styled ceramic pieces. A traditional island pairs well with classic forms, glassware, and refined finishes.
Choose décor that complements your kitchen island’s style, using coordinated forms, materials, and finishes to create a balanced, intentional look.
Build harmony through matching color schemes. Pull one or two tones from the island’s countertop, cabinetry, or hardware, then repeat them in nearby décor. You don’t need exact matches; related shades create a more natural, layered look. Use contrast sparingly so your island remains the visual anchor.
Add interest with coordinating textures. Combine smooth stone with wood, brushed metal with linen, or glossy ceramic with woven fibers. Keep the materials consistent with the island’s character and the kitchen’s overall design. When each choice supports that style, your accessories will feel intentional, balanced, and connected rather than random or distracting.
Consider scale, too. Choose pieces that suit the island’s proportions and preserve its strong presence.
Clear the Island Before Decorating
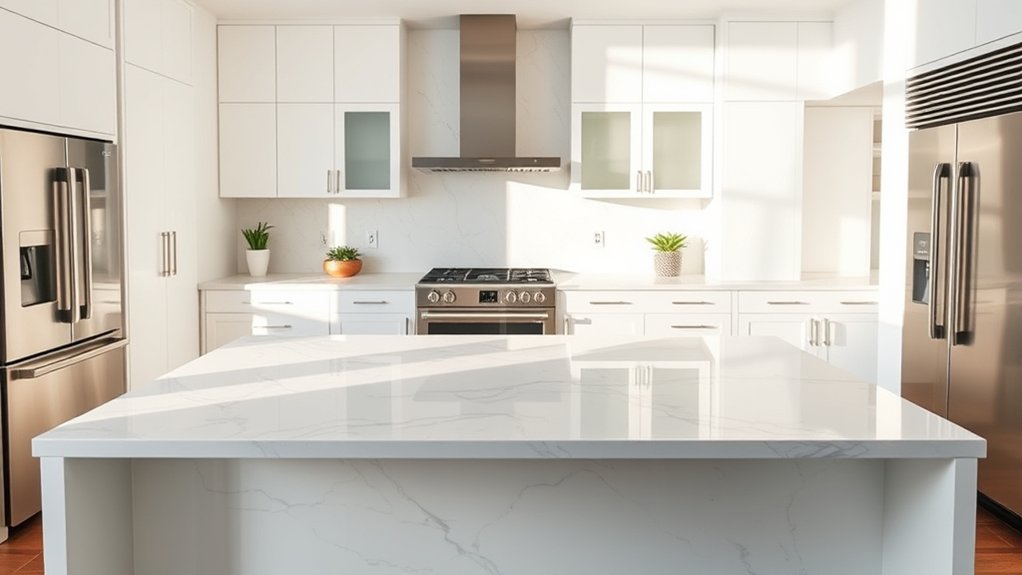
Once you’ve matched your décor to the island’s style, clear the surface completely before arranging anything. Remove appliances, mail, dishes, and stray groceries, then wipe the countertop so you can assess its usable space and condition.
Sorting items now prevents clutter from competing with your decorative choices.
Use this quick guide to decide what stays nearby:
| Item | Best action |
|---|---|
| Daily essentials | Keep only convenient pieces |
| Rarely used tools | Move them to storage solutions |
| Expired food | Discard it promptly |
Group remaining items by purpose, such as serving, cooking, or display. Check that each piece supports your color coordination instead of introducing a distracting shade or pattern.
If the island doubles as a work zone, reserve a clear section for meal prep and eating. Store backups, paperwork, and bulky equipment elsewhere.
Don’t decorate around clutter. Create a clean foundation first. You’ll arrange fewer, more intentional accents and make the island feel spacious, functional, and easy to maintain.
This reset also reveals which surfaces need protection from heat, spills, or scratches.
Choose Kitchen Island Lighting

Good lighting turns a kitchen island into a practical workspace and an inviting focal point. Start with ambient lighting to create a comfortable, even glow throughout the kitchen.
Then add focused task lighting above the island so you can chop, serve, and clean without casting shadows. Pendant lights work especially well because they provide direct illumination while defining the island’s footprint.
Choose statement fixtures if you want the island to anchor your decorating scheme, but keep their size and finish proportional to the room.
For a long island, use multiple pendants or one linear fixture, spacing each light evenly. Hang fixtures high enough to preserve sightlines, yet low enough to illuminate the countertop effectively.
Warm bulbs can make the kitchen feel welcoming, while dimmable controls let you adjust brightness for cooking, dining, or entertaining.
Coordinate the lighting’s metal, shape, or color with nearby hardware for a cohesive look. Check that your selection complements, rather than overwhelms, the island’s surface and surrounding cabinetry.
Select Comfortable Island Seating
Comfortable seating makes your kitchen island more inviting for meals, conversation, and quick breaks. Begin your bar stool selection by measuring the counter’s height. Choose seats that leave roughly 9 to 12 inches between the cushion and countertop, giving your knees room to move.
For a standard counter, counter-height stools usually fit best. Reserve bar-height stools for taller surfaces.
Consider a supportive backrest if you’ll linger, while backless stools can slide neatly beneath the island when you need more floor space. Test each seat before buying, if possible.
Check whether the footrest supports your legs and whether the seat feels stable as you shift positions. Pay attention to cushion comfort, especially if your family regularly eats at the island.
Upholstered seats add softness, while molded or wood seats may offer easier cleanup. Select a durable, stain-resistant material that suits your household, and keep the stool width narrow enough to provide comfortable elbowroom for everyone.
Build a Functional Countertop Vignette
Create a functional countertop vignette by layering decorative trays to keep everything neatly grouped. Add everyday essentials—like oils, utensils, or salt and pepper—so your island looks polished while making daily tasks easier.
Layer Decorative Trays
Layer decorative trays on your kitchen island to group everyday essentials into a tidy, functional vignette. Choose a tray that suits your island’s size and shape, leaving enough counter space around it for comfortable movement.
Use a larger tray as your foundation, then place a smaller tray, shallow bowl, or compact riser inside it to create height and visual interest. This decorative layering keeps related pieces contained while giving the arrangement a polished, intentional appearance.
Mix textures, such as wood, metal, ceramic, or woven fibers, but repeat one finish elsewhere in the kitchen for cohesion. Keep your tray arrangement balanced by varying heights and shapes without overcrowding the surface.
Select trays with handles if you’ll move the vignette often, and leave open edges so cleaning remains quick and easy.
Add Useful Essentials
Once your trays are in place, add useful essentials that support daily kitchen tasks without making the island look cluttered. Set out a small bowl for fresh fruit, a crock for frequently used utensils, or a lidded container for sugar and tea.
Choose items you’ll reach easily, then group them by purpose so the countertop stays orderly. Use color coordination to connect these essentials with your cabinets, stools, or nearby accents.
Introduce material mixing for visual interest: pair a wooden cutting board with a ceramic crock, glass canister, or metal utensil holder. Keep the arrangement balanced by varying heights without blocking sightlines across the island.
Leave enough open space for chopping, serving, or homework. Edit anything you rarely use, and refresh the vignette as your routines change.
Layer Trays and Stands for Height
Give your kitchen island added dimension by using trays at different heights. Stack stands thoughtfully to elevate smaller items without overcrowding the surface. Balance each decorative layer to create an arrangement that feels polished and purposeful.
Choose Varied Tray Heights
Varying tray heights keeps your kitchen island display from looking flat, so place a shallow tray beside a raised stand or pedestal. This contrast creates clear decorative heights and gives each piece room to stand out.
Use a low tray for everyday items, such as salt, pepper, or cooking oils, then add a medium-height platform for a bowl of fruit or a small plant. Keep the tallest element slightly off-center to create a relaxed, balanced look.
As you plan tray arrangements, consider how each level guides the eye across the island. Choose materials that complement your kitchen, such as wood, marble, or metal, but vary their profiles for added interest.
Leave enough open counter space around the display, so your island remains practical and inviting while the layered presentation feels intentional.
Stack Stands Thoughtfully
Layer trays and stands to create height without making your kitchen island feel crowded. Choose a sturdy riser for a bowl, candle, or small plant, then place useful items beneath it.
This approach turns vertical space into practical storage solutions while keeping the surface easy to use. Select stands with slim profiles so they lift displays without claiming too much room.
You can also use a two-tier tray for fruit, napkins, or seasonings, reserving each level for a clear purpose. Keep materials compatible with your island’s finish, such as wood with butcher block or metal with stone.
Use color coordination to connect the stand and trays with nearby accents, but let each piece remain visually distinct. Check that stacks stay stable, accessible, and clear of prep space.
Balance Decorative Layers
Once your trays and stands add height, balance their decorative layers so the island feels composed rather than crowded. Keep the tallest piece slightly off-center, then step down toward the edges.
Pair a high vase with a low bowl or a stack of books, leaving enough countertop visible for prep. Repeat one or two colors to create cohesive Color schemes, but vary finishes for appealing Material textures.
Use this guide:
| Layer | Best choice | Purpose |
|---|---|---|
| Tall | Vase or pitcher | Draws the eye upward |
| Middle | Canister or candle | Bridges the height |
| Low | Bowl or board | Grounds the arrangement |
Check the display from every side. If one end looks heavy, shift an item or remove a layer.
Keep everyday tools accessible, and reserve fragile accents for quieter corners. Your island should feel useful, balanced, and inviting.
Use Bowls, Boards, and Baskets
Bring warmth and texture to your kitchen island with a mix of bowls, boards, and baskets. Choose pieces that complement your counters while giving everyday items an intentional home. Keep the arrangement useful, not crowded:
- Fill Fruit bowls with seasonal produce, then place them where everyone can reach them.
- Lean wooden boards against the backsplash or a raised tray for inviting, layered height.
- Tuck napkins, bread, or utensils into a woven basket to control visual clutter.
- Add a small ceramic bowl for salt, keys, or other frequently used essentials.
Vary shapes and finishes to create contrast, but repeat one material or color so the display feels cohesive. Use a large bowl as your anchor, then arrange smaller containers nearby.
Leave open counter space around the grouping so you can prep comfortably. Select durable, easy-to-clean pieces, especially if your island sees heavy daily use.
Rotate contents and rearrange the containers occasionally to keep the vignette fresh without buying more décor.
Add Greenery to Your Kitchen Island
Add greenery to your kitchen island to soften hard surfaces and introduce a natural focal point. Choose indoor plants that suit your kitchen’s light, temperature, and available space.
A compact pothos, snake plant, or rubber plant can add height without overwhelming your prep area. Place it in a simple ceramic or woven planter that complements your island’s colors and finishes.
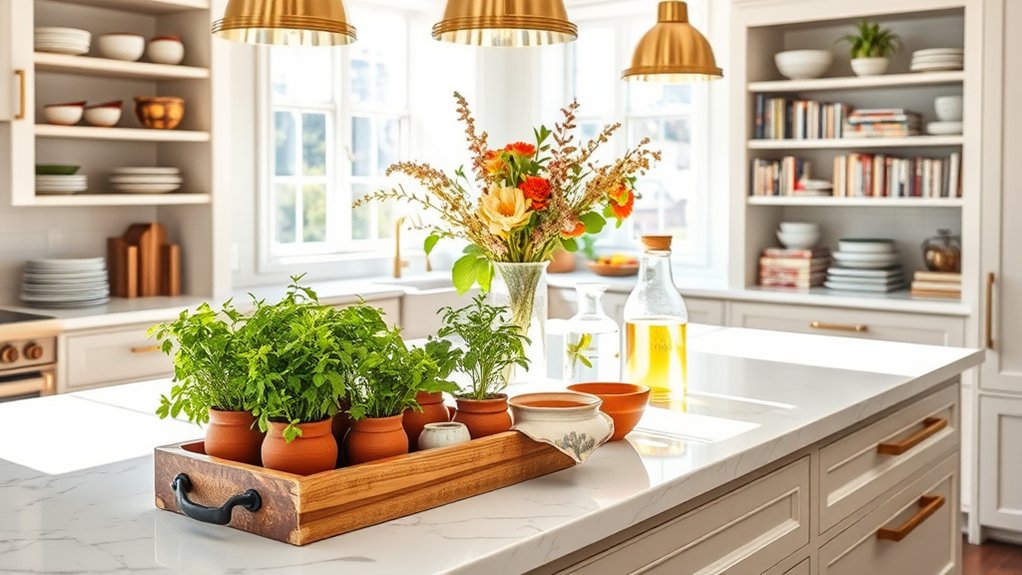
For a practical display, arrange potted herbs in a narrow tray near the cooking side. Basil, rosemary, mint, and thyme keep fresh ingredients within reach while adding texture and fragrance.
Make sure the plants won’t block sightlines, crowd workspaces, or sit beside a hot cooktop. Use leakproof saucers to protect the countertop, and wipe leaves regularly so they stay healthy and attractive.
You’ll create a lively centerpiece without sacrificing function. Keep the arrangement balanced by combining one taller plant with smaller pots, leaving enough open surface for serving, chopping, and everyday kitchen tasks.
Refresh Your Island for Each Season
Refresh your kitchen island with spring floral accents for a fresh, cheerful look. When summer arrives, display colorful produce in attractive bowls or baskets. In autumn, add harvest-inspired decor, such as pumpkins, gourds, and warm-toned textiles.
Spring Floral Accents
Welcome spring to your kitchen island with fresh flowers, soft colors, and natural accents that brighten the room. Choose spring blooms that complement your cabinets and keep the display inviting, not crowded.
- Fill a low ceramic vase with tulips, daffodils, or ranunculus.
- Add eucalyptus or slender branches for height and texture.
- Place a folded linen runner beneath the vase for gentle contrast.
- Include a small bowl of painted eggs or pastel stones for seasonal charm.
Create balanced floral arrangements by varying flower heights while leaving plenty of workspace around them. Choose a vessel with a narrow footprint so you can prep and serve comfortably.
Refresh the water every few days, trim stems at an angle, and remove fading petals promptly. If your island lacks sunlight, use high-quality faux flowers or rotate fresh stems from a brighter room.
Finish with a soft green or blush accent.
Summer Produce Displays
Brighten your kitchen island with a colorful summer produce display featuring peaches, lemons, tomatoes, or fresh herbs. Choose a shallow bowl or woven tray so the arrangement feels inviting without blocking conversation.
Group items by color, then add a small pitcher of water or a simple linen napkin for texture. Your Fruit display can make breakfast feel cheerful, while a Vegetable arrangement keeps dinner ingredients within reach.
| Produce | Container | Feeling |
|---|---|---|
| Peaches | Ceramic bowl | Sunny |
| Lemons | Glass vase | Fresh |
| Tomatoes | Wooden tray | Lively |
Refresh the display every few days, removing anything soft or bruised. Tuck basil, mint, or rosemary into a small jar to release a garden-fresh scent.
Keep the centerpiece near the island’s edge for easy access, but leave workspace open for chopping, serving, and gathering. This simple update makes your kitchen feel bright, generous, and ready for relaxed summer meals.
Autumn Harvest Decor
As the seasons change, bring autumn warmth to your kitchen island with pumpkins, gourds, apples, and dried leaves arranged in a low bowl or wooden tray. This autumn harvest display adds color without blocking your workspace or sightlines.
Choose varied textures and warm tones to create inviting harvest decor.
- Layer miniature pumpkins around a ceramic vase.
- Add cinnamon sticks, wheat stalks, or eucalyptus for fragrance and height.
- Pair natural elements with copper, amber, or cream accents.
- Replace soft summer linens with a plaid runner or rust-colored napkins.
Keep edible items fresh, and remove fallen leaves before they scatter. For a polished finish, repeat one accent color across nearby stools, artwork, or open shelving.
You’ll create a seasonal centerpiece that feels welcoming, practical, and easy to refresh throughout the autumn months. Use a small candle only when you can monitor it safely.
Skip Common Kitchen Island Decorating Mistakes
Avoid overcrowding the island with too many decorative pieces, since it needs to remain practical for food prep and everyday use. Choose a few useful accents, such as a bowl of fruit, a cutting board, or a small vase, and leave enough open space for chopping and serving.
Keep island decor minimal and practical, using a few useful accents while preserving open space for food preparation and serving.
Pay attention to scale. Oversized objects can dominate the room, while tiny accessories may look lost on a large countertop. Keep sightlines clear, especially around seating, so guests can talk comfortably and move safely.
Use color coordination to connect your island decor with nearby cabinets, walls, and textiles, but don’t match every shade exactly. Add contrast for interest without creating visual noise.
Maintain material consistency by pairing complementary finishes, such as wood with woven fibers or stone with ceramic. Avoid placing fragile items near busy work zones, and don’t block drawers, outlets, or appliances.
Finally, clean displays regularly. Crumbs, clutter, and neglected decor can quickly make your island look untidy.
Frequently Asked Questions
How Much Does It Cost to Decorate a Kitchen Island?
You’ll typically spend $50–$500 to decorate a kitchen island, depending on your choices. Simple additions, such as a fruit bowl, tray, or flowers, may cost $50–$150.
Larger items, including pendant lights, barstools, or custom accessories, can raise costs to $300–$1,000 or more. For effective budget planning, set a limit before shopping.
Follow current decor trends selectively, choosing versatile pieces that match your kitchen and won’t require frequent replacement.
What Materials Are Best for Kitchen Island Countertops?
Quartz often gives you the best balance of style, countertop durability, and easy care. It resists stains, scratches, and heat better than many alternatives, though you should still use trivets.
Granite offers natural beauty and excellent durability, while butcher block adds warmth but needs regular sealing. Marble looks luxurious, yet it stains and scratches more easily.
Consider material maintenance, cooking habits, budget, and design before choosing your countertop material for lasting satisfaction.
How Do You Protect a Kitchen Island From Stains and Scratches?
Protecting your kitchen island sounds simple until one tomato, pan, or knife declares war on its surface. Use cutting boards and trivets instead of slicing or setting hot cookware directly on the countertop.
Add protective pads beneath appliances, bowls, and decorative items to prevent scratches. Wipe spills quickly, especially oils, wine, and acidic foods.
Apply manufacturer-approved stain-resistant finishes regularly, and avoid abrasive cleaners that can dull or damage the surface.
Can a Kitchen Island Be Decorated in a Small Kitchen?
Yes, you can decorate a kitchen island in a small kitchen. Choose slim, functional pieces that won’t crowd your workspace, such as a compact fruit bowl, narrow vase, or small tray.
Use decorative accessories sparingly, and prioritize items you can move easily when preparing meals. Maintain color coordination with your cabinets, walls, and stools to create a cohesive look.
Hang pendant lights above the island, but select streamlined designs to preserve visual openness and maximize available space.
How Often Should Kitchen Island Décor Be Cleaned?
Like clockwork, you should clean kitchen island décor weekly or immediately after spills and food preparation. Dust decorative items every few days, then wipe them with a suitable cleaner to prevent buildup.
You’ll need more frequent cleaning schedules if your island sits near the stove, where grease collects quickly. Inspect fragile pieces monthly, and refresh or rotate them as needed.
Consistent decor maintenance keeps your display attractive, hygienic, and ready for everyday use.
Conclusion
Your kitchen island can feel polished without feeling precious. Clear the clutter, then layer in practical beauty: warm lighting, comfortable stools, a useful vignette, and bowls, boards, or baskets that earn their space.
Add greenery for softness, then switch accents with the seasons. Just as a sleek countertop can welcome everyday mess, thoughtful styling can balance order with personality.
Avoid overcrowding, match your island’s character, and you’ll create a centerpiece that works as beautifully as it looks. With these kitchen island decorating ideas, your space can feel both functional and inviting.