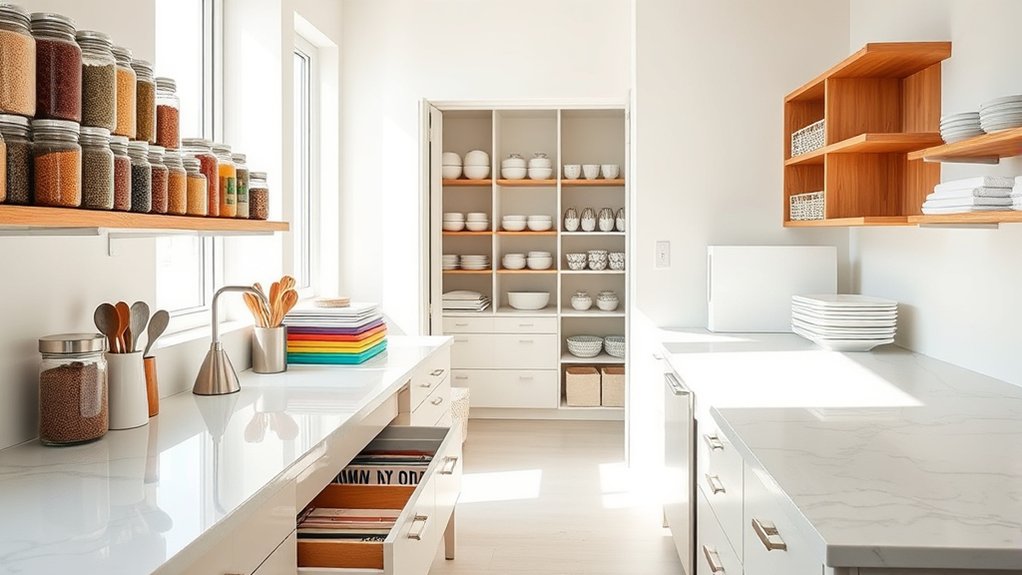
10 Simple Steps to Organize a Kitchen
A cluttered kitchen can make cooking feel harder than it needs to be. If you’re constantly searching for tools, managing crowded cabinets, or clearing overloaded countertops, you’re not alone. These simple kitchen organization tips can help you create a more functional, enjoyable space.
Declutter expired, broken, and duplicate items first. Sort kitchen supplies by how often you use them, then group similar tools, dishes, and ingredients.
Assign every item a specific home and organize cabinets by accessibility, keeping heavy cookware low. Create a labeled pantry system and tidy your refrigerator and freezer.
Clear countertops, store daily essentials nearby, and arrange pots, pans, and lids efficiently. Use dividers, bins, and labels to maintain order, and find more helpful organization tips below.
Key Takeaways
- Declutter expired, broken, duplicate, and unused kitchen items before organizing.
- Group similar tools, dishes, ingredients, and pantry goods into clearly defined categories.
- Assign every item a specific, labeled storage location based on purpose and usage frequency.
- Keep daily essentials accessible, while storing heavy items low and occasional items on higher shelves.
- Organize refrigerators, freezers, drawers, cabinets, and countertops regularly to maintain a clutter-free kitchen.
Declutter Before You Organize the Kitchen
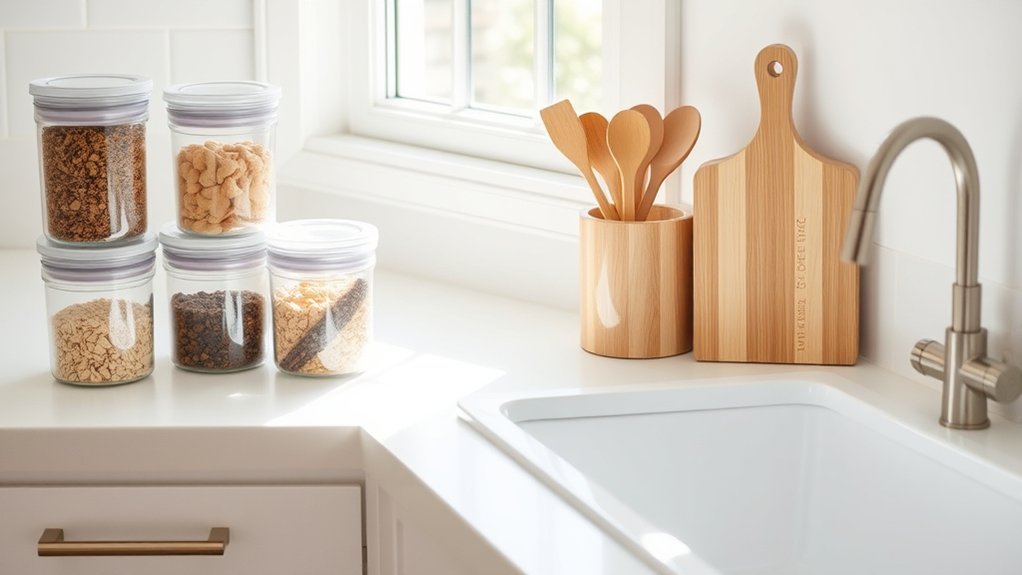
Start by removing everything you no longer use, need, or enjoy from your kitchen. Empty drawers, cabinets, and countertops so you can see what occupies your space.
Remove unused kitchen items from drawers, cabinets, and countertops to create a clearer, more functional space.
Toss expired food, chipped dishes, broken tools, and duplicate gadgets. Donate usable items you’ve outgrown, and recycle packaging or materials whenever possible.
Next, inspect appliances and accessories. Keep only equipment that supports your cooking habits, such as tools you use for meal prep or everyday cooking.
If an appliance hasn’t worked in months, repair it promptly or let it go. Check lids, cords, attachments, and replacement parts before keeping anything.
Clear visual clutter too. Remove stray papers, unused containers, and decorative items that interfere with cleaning or food preparation.
Group uncertain belongings in a box, label it with a date, and revisit it later. Once you’ve removed excess, wipe empty surfaces and shelves.
A clean foundation makes appliance storage easier and gives every remaining item room.
Sort Items by How Often You Use Them
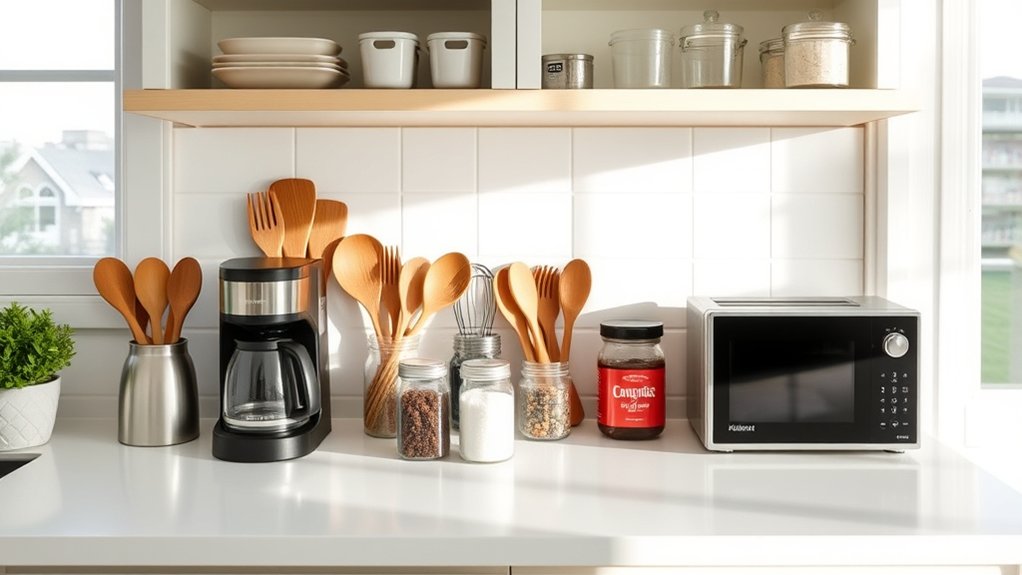
Group kitchen items by how often you use them. Keep daily essentials within easy reach, and store occasional-use tools in less accessible spots. This setup saves time and keeps your counters clear.
Group By Frequency
Arrange kitchen items by how often you use them: keep daily essentials within easy reach, store weekly-use tools nearby, and move occasional items to higher shelves or less accessible cabinets.
For meal prep, identify the tools, appliances, and containers you reach for most often. Group them by frequency rather than by type alone, so your routine guides the layout.
Place weekly-use items in a cabinet or drawer that’s convenient but not prime real estate. Reserve upper shelves, deep cupboards, or storage areas for specialty pans, seasonal gadgets, and entertaining pieces.
Review your arrangement after a few weeks and adjust anything that feels awkward. Your cleaning schedules can also reveal patterns; keep rarely used cleaning tools out of the way while noting which supplies you regularly need.
This system reduces searching and makes kitchen tasks more efficient.
Store Daily Essentials Nearby
Keep the tools and ingredients you use every day in the easiest-to-reach spots, such as the top drawer, counter, or front of a cabinet. Place your coffee maker, favorite mug, cooking oil, salt, and frequently used utensils where you can grab them without searching.
Reserve lower drawers and back shelves for items you use weekly or seasonally. Group similar essentials together so you’ll finish tasks faster and return everything easily.
Organizational tools, such as drawer dividers, turntables, and small bins, can keep these high-use areas orderly. Choose storage solutions that match your kitchen’s layout, then label containers if family members share the space.
Review your setup every few months. If you rarely reach for something, move it farther back and give prime space to what supports your daily routine.
Group Similar Tools, Dishes, and Ingredients
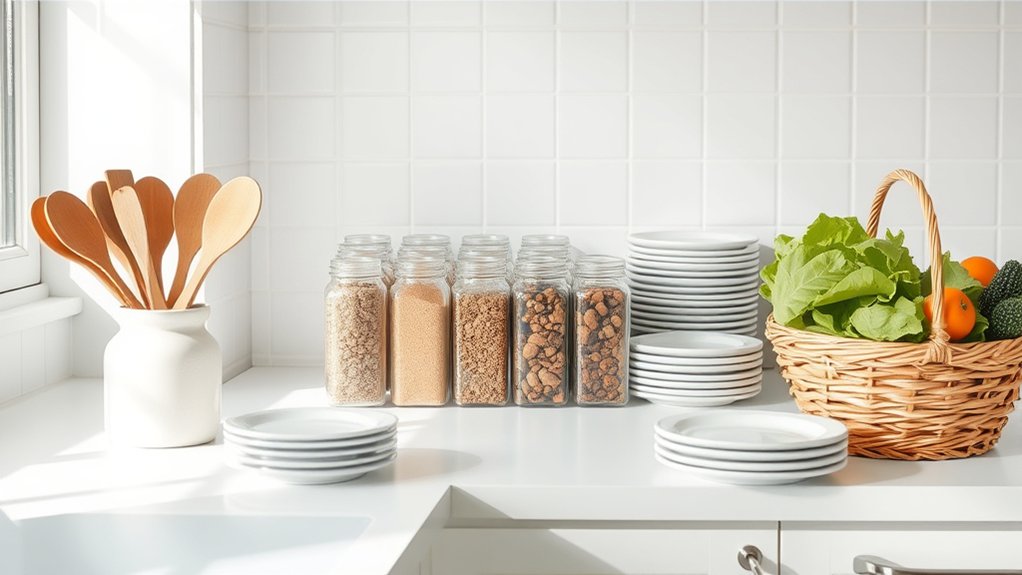
Once you’ve cleared the counters, sort similar items together so you can find what you need quickly. Place spatulas, whisks, tongs, and measuring tools in one category. Keep plates, bowls, mugs, and glasses grouped by type, then arrange ingredients such as grains, canned goods, spices, and baking supplies separately.
Use creating zones to make each category easy to recognize. For example, keep cooking tools near the stove, dishes near the dishwasher, and frequently used ingredients together in a pantry section.
Don’t mix duplicates into random drawers. Grouping them lets you spot excess supplies and simplify meal preparation.
Labeling containers can help you identify loose ingredients at a glance, especially when you transfer items from bulky packages. Use clear labels and consistent categories, but avoid overcomplicating the system.
Group items according to how you use them, and adjust categories when your cooking habits change. A logical grouping system reduces searching, prevents forgotten supplies, and keeps your kitchen easier to maintain.
Assign Every Kitchen Item a Home
Give every kitchen item a designated home based on how often and where you use it. Keep frequently used tools near your main preparation area, while occasional items can stay in less prominent storage.
Choose homes that make cleanup quick and support Kitchen aesthetics. Use utensil labeling for drawers, containers, and bins so you’ll return each item consistently.
| Item | Designated home | Label |
|---|---|---|
| Spatulas | Cooking-tool container | Spatulas |
| Measuring cups | Baking drawer | Measuring |
| Cutting boards | Prep-area divider | Boards |
| Spices | Seasoning container | Spices |
Match each item’s home to its purpose, not its shape alone. Store mixing bowls with baking supplies, place serving pieces near the dining area, and keep food-storage lids with their containers.
Add drawer dividers, hooks, or small bins when items need defined boundaries. If something repeatedly lands elsewhere, reconsider its assigned home instead of blaming yourself.
Your system should feel natural, look orderly, and make every item easy to return after use. Review these homes monthly as your routines change, and adjust labels or containers accordingly.
Organize Cabinets by Accessibility
Organize your cabinets by accessibility so you can quickly grab the items you use every day. Group things based on how often you use them, and keep everyday essentials within easy reach. Store heavy items in lower cabinets to make lifting safer and easier.
Store Daily Essentials Nearby
Keep the items you use every day—such as plates, glasses, mugs, and cooking utensils—in cabinets and drawers within easy reach. Place dishes near the dishwasher or dining area so you can unload and set the table efficiently.
Store mugs beside your coffee maker, and keep cooking tools near your primary prep space. For easier Meal prep, position mixing bowls, measuring cups, cutting boards, and frequently used pans in the front of convenient lower cabinets.
Your spice organization should place everyday seasonings in a small rack or shallow drawer near the stove, where you can see labels quickly. Reserve awkward corners and high shelves for bulky equipment you rarely need.
You’ll save steps, reduce clutter on countertops, and make daily cooking feel smoother without rearranging your entire kitchen.
Group Items by Frequency
Once you’ve placed daily essentials within reach, sort the rest of your kitchen items by how often you use them. Keep weekly tools, such as mixing bowls, measuring cups, and baking supplies, in cabinets you can access easily.
Reserve higher or less convenient shelves for seasonal gadgets, specialty serving pieces, and items you rarely need. Create a dedicated zone for Meal prep by grouping cutting boards, storage containers, and portioning tools together.
You’ll save time when ingredients and supplies share one location. Keep appliance accessories near the appliances you use most, while storing manuals, spare parts, and cleaning tools together to support appliance maintenance.
Label bins or shelves if categories blur, and review your arrangement every few months. As your routines change, relocate items so cabinet access continues matching your habits.
Place Heavy Items Lower
Place heavy cookware, cast-iron pans, and countertop appliances on lower shelves or in base cabinets to reduce lifting strain and prevent accidents. You’ll improve storage safety by keeping weight near the floor, where it’s easier to retrieve.
Reserve upper shelves for lightweight dishes, linens, and empty containers.
| Heavy items | Best location |
|---|---|
| Dutch ovens | Base cabinets |
| Stand mixer | Countertop or low shelf |
| Stockpots | Lower pullout |
| Blender | Low shelf |
Keep frequently used pieces at waist-to-knee height so you won’t bend deeply or reach overhead. Use sturdy shelves, check hardware, and avoid overloading drawers.
If a cabinet feels crowded, remove rarely used equipment or relocate it to a pantry. Leave clear space in front of lower storage, and lift with both hands.
Grouping heavy items by task also helps you work efficiently while protecting your back and maintaining an orderly kitchen.
Organize Kitchen Drawers by Function
Organize each kitchen drawer by function so you can find what you need quickly. Give each drawer one clear purpose, such as utensils, cooking tools, food storage supplies, or towels.
Group similar items together, and remove anything that doesn’t belong in that category. Use drawer dividers to separate spatulas, tongs, measuring tools, and serving utensils, preventing them from shifting or piling up.
Group similar items together and use dividers to keep utensils organized, accessible, and free from clutter.
Keep frequently used tools in the top drawers, while reserving lower drawers for occasional items. Arrange everything with handles facing the same direction, so you can scan contents at a glance.
Place small items, such as clips, peelers, or replacement parts, in shallow trays to prevent clutter. If you use bins inside deeper drawers, label containers clearly before returning them.
Leave a little open space in every drawer, making it easier to put things away. Review each drawer monthly, and adjust its contents when your cooking habits change.
You’ll save time and keep your kitchen easier to maintain.
Set Up a Pantry System That Works
With your drawers sorted, give dry goods a clear system by grouping pantry items by type and use. Keep baking supplies together, place grains near canned goods, and reserve a section for snacks.
Store everyday staples at eye level so you can grab them quickly. Move occasional ingredients to higher shelves, and keep heavy containers low for safety.
Choose clear, airtight containers for flour, rice, pasta, and cereal. They’ll protect food from moisture and let you see when supplies run low.
Add Pantry labels with the item name and expiration date, especially when containers look alike. Use Shelf dividers to keep cans, boxes, and packets upright instead of letting them topple forward.
Leave a little space between categories so you can return items easily. Arrange products by size, with short containers in front of tall ones.
Check your inventory before shopping, and remove expired goods during a quick weekly reset. This routine keeps your pantry useful, visible, and easy to maintain.
Tidy the Refrigerator and Freezer
Once your pantry is in order, turn to the refrigerator and freezer. Clear out expired food and group similar items together. Wipe shelves, drawers, and door bins with warm, soapy water, then dry every surface before returning food.
Organize your refrigerator and freezer by clearing expired food, grouping similar items, and cleaning every surface thoroughly.
Use clear containers so you can spot leftovers quickly, and label them with dates to prevent waste.
- Check your Refrigerator temperature with an appliance thermometer. Keep it at or below 40°F (4°C). Store milk and meat on lower shelves, where temperatures stay steadier, and keep produce in crisper drawers.
- Arrange frozen foods by type, placing newer packages behind older ones. Seal opened bags tightly to prevent freezer burn.
- Schedule Freezer defrosting when ice buildup reaches about a quarter inch. Move food to a cooler, switch off the appliance, and let the ice melt naturally. Never chip ice with a sharp tool.
After cleaning, return only useful items. Leave space for cold air to circulate.
Clear Countertops and Store Daily Essentials
Clear your countertops of unused appliances, papers, and other clutter. Store daily essentials, like coffee supplies and cooking utensils, in easy-to-reach spots. This keeps your kitchen tidy and makes meal prep easier.
Clear Countertop Clutter
Start by removing everything from your countertops and sorting each item by how often you use it. Wipe the empty surfaces, then examine what remains. Keep only items that support cooking or cleaning, and relocate everything else to its proper cabinet, drawer, or recycling bin. Group similar tools so you can find them quickly without creating visual noise.
- Discard broken gadgets, expired products, and duplicates you never use.
- Limit decorative pieces to one or two purposeful accents.
- Leave open space around work areas for easier preparation.
Create clutter-free zones near the stove, sink, and cutting area. This arrangement improves visibility and makes countertop maintenance faster. After cooking, return stray items immediately and wipe spills before they harden. A two-minute reset each evening keeps clutter from rebuilding and preserves your kitchen’s calm, functional appearance.
Store Daily Essentials
Store the items you use every day where you can reach them without crossing the kitchen. Keep your coffee maker, toaster, cutting board, and favorite utensils near your main work area. A small tray can group frequently used tools while containing clutter.
During meal prep, place mixing bowls, measuring cups, and knives in an easy-to-access drawer or cabinet. You’ll save time and keep counters clear when each item has a convenient home.
For spice organization, arrange everyday seasonings in a rack, drawer insert, or shallow cabinet shelf near your cooking zone. Group them alphabetically or by frequency, and label the tops if you store jars in a drawer.
Return essentials immediately after use so they don’t collect beside the sink. Store occasional gadgets elsewhere, leaving prime storage space for what you reach for daily.
Store Pots, Pans, and Lids Efficiently
Efficiently arranging pots, pans, and lids keeps your cabinets accessible and your cookware in good condition. Start by removing everything, wiping shelves, and grouping pieces by size and frequency of use.
Keep everyday cookware within easy reach, while storing specialty items higher or farther back.
- Use vertical dividers to stand baking sheets, cutting boards, and frying pans on their edges. Pan stacking techniques work best when you place protective felt or paper towels between surfaces to prevent scratches.
- Nest compatible pots and pans, but avoid forcing handles together. Store the largest pieces at the bottom, and leave enough room to lift each item without disturbing the stack.
- Install Pot lid organizers inside a cabinet door or along a side wall. Arrange lids upright, with handles facing upward, so you can identify the right one quickly.
If cabinets feel crowded, move rarely used cookware to a pantry shelf or rolling cart. Label containers, and return every piece immediately after washing.
Frequently Asked Questions
How Often Should I Reorganize My Kitchen?
Reorganize your kitchen every three to six months, or sooner when clutter slows you down. Review your kitchen layout whenever your cooking habits, household size, or appliance collection changes.
You’ll benefit from quick weekly resets, monthly decluttering, and seasonal deeper reviews. Test your storage solutions by keeping frequently used items accessible and removing duplicates.
If cabinets overflow, counters stay crowded, or you can’t find essentials, reorganize immediately rather than waiting for your regular schedule.
What Products Help Maintain an Organized Kitchen?
You can maintain an organized kitchen with drawer dividers, shelf risers, clear storage bins, turntables, and stackable containers. Choose products that maximize Kitchen storage while keeping frequently used items accessible.
Use airtight containers for dry goods, magnetic strips for knives, and hooks for utensils or mugs. Apply simple Labeling techniques with waterproof labels and a consistent system.
You’ll quickly identify supplies, reduce clutter, and keep every cabinet orderly between reorganizing sessions.
How Can I Organize a Small Kitchen?
Start with a quick inventory, then group similar items and remove duplicates. Use vertical shelves, wall-mounted racks, and cabinet-door organizers as practical storage solutions.
Optimize space by choosing stackable containers, nesting cookware, and using slim rolling carts. Keep frequently used tools within easy reach, while storing seasonal appliances higher up.
Label containers so you’ll find ingredients quickly. Maintain clear counters by returning everything to its designated spot after use.
How Do I Involve Children in Kitchen Organization?
You can involve children by giving them simple, safe jobs and clear choices. Start by asking them to group utensils, snacks, or containers.
Use child-friendly labels with pictures and words so they’ll know where everything belongs. Let them choose labels or decorate storage bins.
Keep frequently used items within reach, demonstrate each task, and turn cleanup into a quick game. Praise their effort, and rotate responsibilities to keep participation enjoyable.
What Should I Do With Expired Kitchen Items?
Discard expired items promptly. Check dates, inspect packaging, and separate anything spoiled, leaking, moldy, or suspicious. Don’t taste questionable food.
Use safe disposal methods: compost suitable produce, recycle clean containers, and place contaminated packaging in the trash. Follow local guidelines for medications, chemicals, oils, and batteries instead of pouring or tossing them casually.
Wipe shelves, wash reusable containers, and update your pantry list so you won’t overlook aging supplies again.
Conclusion
An organized kitchen doesn’t happen overnight, but these simple steps can make a big difference. Once you’ve decluttered, grouped items, and given everything a home, cooking and cleaning will feel easier.
Keep frequently used essentials within reach, maintain your pantry and refrigerator, and return items after each use. Think of your system as a well-oiled machine: a little regular care keeps it running smoothly.
By following these 10 simple steps to organize a kitchen, you’ll save time, reduce stress, and enjoy your kitchen more every day.