How to Clean Kitchen Appliances in 7 Easy Steps
Kitchen appliances can quickly become greasy, stained, and full of lingering odors, making routine cleaning feel like a never-ending chore. You’re not alone—many people struggle to keep every appliance fresh and hygienic. These simple kitchen appliance cleaning steps can help you get better results with less effort.
Clean kitchen appliances in seven easy steps: gather mild soap, microfiber cloths, and soft brushes, then unplug appliances and let them cool. Wipe exteriors and disinfect handles. Empty and wash the refrigerator, shelves, drawers, and seals.
Steam the microwave with a bowl of water, then wipe it clean. Degrease the oven, racks, and stovetop. Clear the dishwasher filter and spray arms.
Finally, neutralize odors with baking soda and prevent buildup with regular care. More helpful details follow.
Key Takeaways
- Unplug appliances, let heated surfaces cool, and check manuals before using cleaners or removing parts.
- Wipe exteriors with a damp microfiber cloth, using appliance-safe disinfectant on handles, knobs, and frequently touched areas.
- Clean refrigerator interiors, shelves, and gaskets with warm soapy water, then rinse and dry everything thoroughly.
- Steam-clean microwaves with heated water while cleaning turntables, seals, control panels, and interiors.
- Scrub ovens, stovetops, racks, and dishwasher filters regularly to remove spills, grease, food debris, and mineral buildup.
Start Safely: Gather Supplies and Unplug
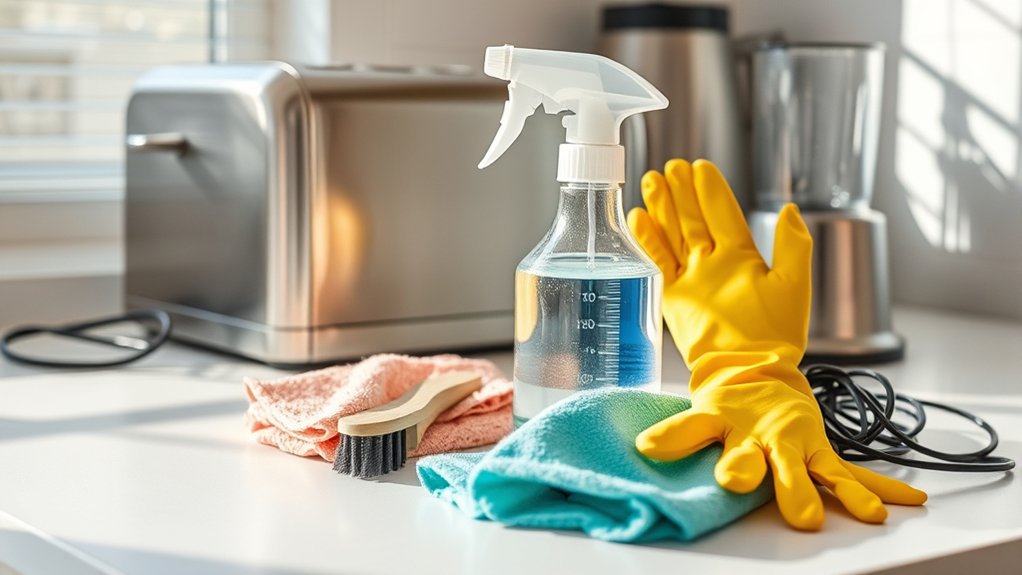
Before cleaning any kitchen appliance, gather microfiber cloths, a soft brush, warm water, mild dish soap, and any manufacturer-recommended supplies. Check your appliance’s manual before using a cleaner, brush, or tool, because certain materials require special care.
Gather gentle cleaning supplies and consult the manual first to protect delicate materials and follow appliance-specific care instructions.
For electrical safety, switch off the appliance, unplug it from the outlet, and keep the cord away from water. Don’t rely on the control panel’s off setting alone.
If you can’t reach the plug safely, turn off the appropriate circuit breaker first. Let heated appliances cool completely before you begin, and remove batteries when the manual permits it.
Inspect the cord and plug for fraying, cracks, or scorch marks. Don’t use damaged equipment until a qualified professional repairs it.
Organize your supplies within reach, but keep liquids in a stable container. These precautions support appliance maintenance by reducing electrical risks, preventing accidental operation, and helping you follow the manufacturer’s cleaning instructions correctly.
Never immerse a motor, plug, or electrical base.
Clean Appliance Exteriors and Handles
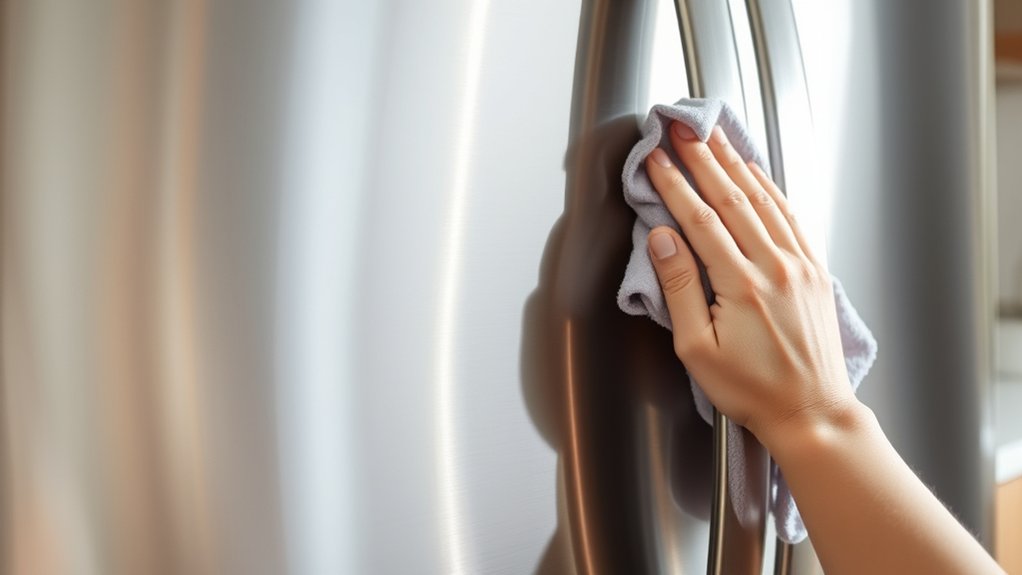
Gather a soft cloth, mild cleaner, and disinfectant before you begin. Wipe the appliance’s exterior surfaces to remove dust, spills, and grime. Then, disinfect the handles and knobs, since they’re touched frequently.
Gather Cleaning Supplies
Start with a soft microfiber cloth, warm water, mild dish soap, and a nonabrasive sponge to clean appliance exteriors and handles safely. Gather these supplies before you begin, so you won’t interrupt your cleaning routine to search for essentials.
Keep a small bucket or bowl nearby for mixing diluted soap, plus a dry towel for finishing later. Check each appliance’s care manual for approved products, especially if surfaces include stainless steel, glass, painted finishes, or specialty coatings.
Avoid abrasive powders, steel wool, harsh chemicals, and rough scrubbers that may scratch or dull surfaces. For efficient Kitchen organization, store your cleaning tools together in a labeled container.
Add appliance care to your cleaning schedule, and restock soap, cloths, and sponges whenever supplies run low. Don’t use bleach unless the manufacturer specifically permits it.
Wipe Exterior Surfaces
Once the appliances are unplugged or switched off, wipe their exteriors and handles with a microfiber cloth dampened with warm, soapy water. Start at the top and work downward, rinsing the cloth often so you don’t spread grease or crumbs.
Match your method to the appliance material: use a soft cloth on stainless steel, plastic, and painted surfaces, and follow the grain on brushed metal to prevent streaks. Don’t let water seep into buttons, seams, vents, or electrical openings.
For stuck-on food, hold the damp cloth over the spot briefly, then wipe gently instead of scrubbing with abrasive pads. Dry each surface with a clean towel to prevent water marks.
Protect your kitchen countertop by placing removable parts on a towel while you clean the appliance exterior.
Disinfect Handles and Knobs
After wiping away visible grime, disinfect handles and knobs with an appliance-safe disinfectant or a cloth dampened with the product according to its label. Keep the surface visibly wet for the stated contact time, then let it air-dry unless the label requires rinsing.
Use these careful habits:
- Sanitize handles daily, especially on refrigerators, ovens, dishwashers, and microwaves.
- Disinfect knobs by turning them gently so you reach edges and undersides.
- Use a fresh cloth for each appliance to prevent spreading bacteria.
Don’t spray liquid directly into seams, buttons, vents, or electrical openings. Instead, spray the cloth lightly and wipe surrounding areas.
Check your appliance manual before using bleach, alcohol, or abrasive products, since they may damage finishes or labels. Wash your hands after cleaning, and replace reusable cloths in the laundry rather than leaving them on the counter.
Clean the Refrigerator, Shelves, and Seals

Before cleaning, unplug the refrigerator and remove all food, shelves, and drawers. Discard expired items, then place perishables in a cooler.
Unplug the refrigerator, remove its contents and shelving, discard expired food, and keep perishables chilled in a cooler.
Wipe the interior walls and ceiling with warm water and a small amount of mild dish soap. Avoid abrasive cleaners, which can damage surfaces and leave odors.
Clean spills immediately, especially sticky sauces and raw-meat juices.
Wash glass shelves and bins separately in warm, soapy water. Let cold glass warm slightly before washing to prevent cracking.
Rinse every piece, dry it thoroughly, and reinstall it. This simple shelving maintenance prevents residue and odors from building up.
Use refrigerator organization to group similar foods, keep older items in front, and leave space for air circulation.
Clean door gaskets with a soft toothbrush and soapy water, working into each fold. Rinse with a damp cloth and dry completely.
Check the seals for cracks or looseness. Replace damaged gaskets to keep cold air inside.
Plug the refrigerator back in, then return food promptly.
Steam-Clean the Microwave Interior
To steam-clean the microwave interior, place a microwave-safe bowl filled with one cup of water inside and heat it for three to five minutes. Let it stand for another five minutes so steam loosens splatters and odors.
Carefully remove the hot bowl with oven mitts, then wipe every surface with a clean microfiber cloth.
For effective steam cleaning, pay attention to these areas:
- Wipe the ceiling, walls, floor, and inside of the door.
- Remove the turntable and wash it separately with warm, soapy water.
- Clean the rotating ring and beneath it before drying both parts.
Use a soft sponge for stubborn residue, but avoid abrasive pads that could scratch the microwave interior.
Dip a cotton swab into diluted dish soap to clean around the door seal and control-panel edges. Don’t let liquid enter vents or openings.
Leave the door open briefly to air-dry the cavity. Reassemble the turntable only after all components are completely dry, and never operate the appliance while it’s empty.
Degrease the Oven, Racks, and Stovetop
Once the microwave is clean, tackle grease and baked-on residue across the oven, racks, and stovetop. For safer oven cleaning, turn off the appliance and let it cool completely.
After cleaning the microwave, tackle oven and stovetop grease safely by switching off appliances and letting them cool completely.
Remove the racks, then spread newspaper or towels beneath them. Apply a degreasing paste made from baking soda and a little dish soap to the oven’s interior, avoiding heating elements and the door gasket.
Let it sit for several hours or overnight, then wipe away loosened grime with a damp cloth. Soak the racks in hot, soapy water, scrub them with a nonabrasive pad, and rinse thoroughly.
This rack scrubbing method helps lift stuck-on residue without scratching the finish. On the stovetop, remove grates, burner caps, and knobs if the manufacturer allows it.
Soak removable parts, wipe spills with degreaser, and use a soft brush around burners. Dry every component completely before reassembling and using the appliance.
Ventilate the room, and wear gloves to protect your hands.
Clear the Dishwasher Filter and Spray Arms
Clear the dishwasher filter and spray arms regularly to prevent trapped food and mineral buildup from affecting cleaning performance. Before you begin, turn off the appliance and pull out the lower rack. Check your manual if the filter design differs.
- Remove the filter: Twist or lift it out, then rinse away loose debris under warm water. Use a soft brush for stuck-on particles, avoiding abrasive tools that could damage the mesh.
- Wash the spray arms: Detach each arm if possible and flush water through its openings. Clear blocked jets gently with a toothpick or soft brush, then rinse thoroughly.
- Reassemble carefully: Wipe the filter housing, seat the filter firmly, and return the spray arms. Spin them by hand to confirm they move freely.
This simple filter maintenance routine helps protect the pump and supports even water distribution. Consistent spray arm cleaning also reduces weak jets and incomplete washing.
Inspect both parts monthly, or more often if you notice cloudy dishes or restricted flow. Don’t run the dishwasher with a loose filter or arm.
Remove Odors and Prevent New Buildup
Neutralize lingering odors by placing a bowl of baking soda or a dishwasher-safe cup of white vinegar inside the appliance. To prevent future buildup, wipe up spills promptly and leave the door slightly open so it can dry. Regular cleaning will help keep fresh smells and residue from returning.
Neutralize Lingering Odors
Lingering odors often come from food residue trapped in seals, filters, and crevices, so remove the source before deodorizing the appliance. Wipe interior surfaces with warm, soapy water, then dry them completely.
For stubborn smells, place an open bowl inside the unplugged appliance and leave it overnight. Choose one option:
- Baking soda for gentle odor absorption
- Activated charcoal for strong, persistent smells
- Fresh lemon peels for light air freshening
Use a cloth lightly dampened with diluted white vinegar on removable shelves and bins, but don’t mix vinegar with bleach or other cleaners.
Rinse surfaces that contact food, and let the appliance air out before reconnecting or using it. Check the gasket, drip tray, and filter for hidden residue, cleaning each according to the manufacturer’s instructions.
If an odor remains, repeat the treatment instead of masking it with fragrance.
Prevent Future Buildup
Prevent new buildup by wiping spills as soon as they occur and cleaning food-contact surfaces regularly. Use a damp cloth and mild dish soap to remove grease, crumbs, and residue before they harden.
Empty crumb trays, rinse removable parts, and dry every surface completely to discourage mold and odors. After cooking, leave appliance doors or lids open briefly so moisture can escape.
Don’t overload refrigerators, dishwashers, or ovens, since crowded spaces trap spills and limit airflow. Check filters, seals, vents, and drip pans during routine appliance maintenance, replacing or washing them as the manufacturer recommends.
Keep cleaning supplies nearby so quick touch-ups become a habit. These small steps reduce future buildup, protect your appliances, and help them work efficiently.
Always unplug an appliance before cleaning parts near electrical components or moving it.
Frequently Asked Questions
How Often Should Kitchen Appliances Receive a Thorough Deep Cleaning?
You should give kitchen appliances a thorough deep cleaning every three months, though heavy-use items may need monthly attention. Include ovens, refrigerators, dishwashers, microwaves, coffee makers, and blenders in your schedule.
Between deep cleans, wipe surfaces, remove crumbs, and rinse removable parts weekly. Consistent appliance maintenance keeps equipment efficient, hygienic, and odor-free.
Adjust your cleaning routines when spills, grease, mold, unusual smells, or performance changes appear, rather than waiting.
Which Cleaning Products Are Unsafe to Mix Around Kitchen Appliances?
You should never mix bleach with ammonia, vinegar, rubbing alcohol, or acidic cleaners around kitchen appliances. Chemical reactions can release toxic gases or create flammable compounds; one unsafe combination can irritate your eyes and lungs within minutes.
Don’t combine drain cleaners, either, because their ingredients may react violently. Use one labeled product at a time, ventilate the area, wear gloves, and rinse surfaces thoroughly.
You’ll protect yourself and your appliances from dangerous residue.
Can Professional Appliance Cleaning Extend the Lifespan of Older Machines?
Yes, professional appliance cleaning can extend an older machine’s lifespan. Skilled technicians remove hidden grease, mineral buildup, dust, and debris that strain motors, seals, vents, and heating elements.
Their appliance maintenance checks can also uncover worn parts before failures become expensive. Because they use appropriate cleaning techniques and products, you’ll avoid damage caused by harsh chemicals or improper scrubbing.
Schedule service periodically, and you’ll improve efficiency, reliability, safety, and performance.
How Should Stainless-Steel Appliances Be Protected From Scratches and Fingerprints?
Treat your stainless-steel appliances like delicate silver armor: protect them from scratches and fingerprints with gentle habits. For effective Stainless steel maintenance, use microfiber cloths, soft sponges, and nonabrasive cleaners.
Wipe with the grain, never against it, and avoid steel wool, scouring powders, and rough scrubbers. For Fingerprint removal, dampen a microfiber cloth with warm water or diluted dish soap, then dry immediately.
Don’t use waxes or harsh chemicals that leave residue.
What Should You Do if an Appliance Stops Working After Cleaning?
If an appliance stops working after cleaning, unplug it immediately and let it dry completely. Check that you haven’t disturbed the power cord, outlet, controls, or safety latch.
Never switch it on while moisture remains inside. Use these Appliance troubleshooting steps before consulting the manual.
If the appliance still won’t operate, stop testing it and contact a qualified technician. Follow these Maintenance tips: avoid spraying directly into openings and disconnect power before cleaning.
Conclusion
With these simple steps, you’ll keep your kitchen appliances cleaner, fresher, and ready for everyday use. Always unplug before cleaning, choose the right product for each surface, and dry everything thoroughly to prevent damage.
Wipe spills promptly, empty filters regularly, and leave doors open briefly to discourage odors and moisture. A few minutes of maintenance can save you hours of scrubbing later and make your kitchen sparkle like a million bucks.
Keep this routine handy, and enjoy a healthier, more welcoming space with these kitchen appliance cleaning tips.