How to Deep Clean Your Kitchen in 5 Steps
A spotless kitchen can feel impossible when grease, crumbs, clutter, and hidden grime keep piling up. You’re not alone—many people struggle to find the time and right products for a thorough clean. This guide to how to deep clean your kitchen in 5 steps makes the process simpler and more manageable.
To deep clean your kitchen in five steps, first clear clutter, empty bins, sweep, and gather supplies. Next, clean appliances, sinks, and fixtures, following manufacturer instructions.
Scrub counters, cabinet doors, handles, backsplashes, and grout, then disinfect as directed. Sweep hidden corners and mop floors without soaking wood or laminate.
Finally, discard expired food, organize supplies, restock essentials, and return items to their places. These practical steps will help you create a cleaner kitchen and maintain it with ease.
Key Takeaways
- Clear counters, sort dishes, empty trash, sweep crumbs, and gather appropriate cleaning supplies with proper ventilation.
- Clean appliances, sinks, and fixtures, removing crumbs, washing interiors, scrubbing drains, and drying surfaces thoroughly.
- Wash countertops, cabinets, handles, backsplashes, and grout, then disinfect surfaces according to product contact-time instructions.
- Sweep or vacuum hidden corners and beneath appliances, then mop floors carefully without oversaturating wood or laminate.
- Declutter and organize pantry items, restock essentials, return belongings, and establish regular maintenance routines.
Prepare for a Deep Kitchen Clean
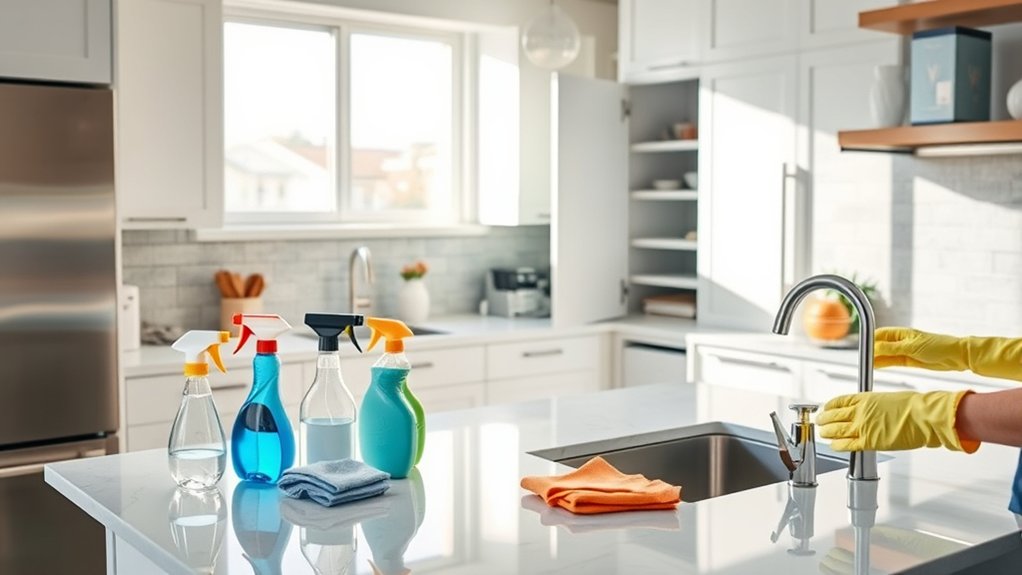
Before you start, clear the counters and remove everything from the sink, stovetop, and other surfaces. Put food, dishes, appliances, and utensils in their proper places, or group them neatly if you’ll return them later. This first step improves Kitchen organization and gives you room to work.
> Clear and organize kitchen surfaces first to create a clean, spacious starting point for deeper cleaning.
Next, empty the trash and recycling bins. Sweep loose crumbs from the floor so they won’t spread as you move around. Gather your cleaning supplies, including microfiber cloths, sponges, a scrub brush, an all-purpose cleaner, degreaser, baking soda, gloves, and fresh trash bags.
Read product labels, and don’t mix chemicals, especially bleach and ammonia. Open a window or turn on ventilation to improve airflow. Wear gloves if your skin is sensitive, and choose comfortable clothing that you won’t mind getting dirty.
Make a practical plan: work from high areas to low ones, and complete one section before moving to the next. Keep a bucket nearby for used cloths and waste.
Clean Appliances, Sinks, and Fixtures
With the kitchen cleared and your supplies ready, start by cleaning the appliances, sink, and fixtures. Unplug small appliances, then wipe their exteriors with a damp, soapy cloth. Remove crumbs from the toaster, clean the microwave’s interior with steam, and wash its turntable separately.
Follow each manufacturer’s instructions for safe appliance maintenance, especially around vents, controls, and stainless steel surfaces. Empty the refrigerator, discard expired food, and wipe shelves and drawers with a mild cleaner.
Clean the oven according to its manual, avoiding harsh products on protected surfaces. Don’t mix cleaning chemicals, and keep moisture away from electrical openings.
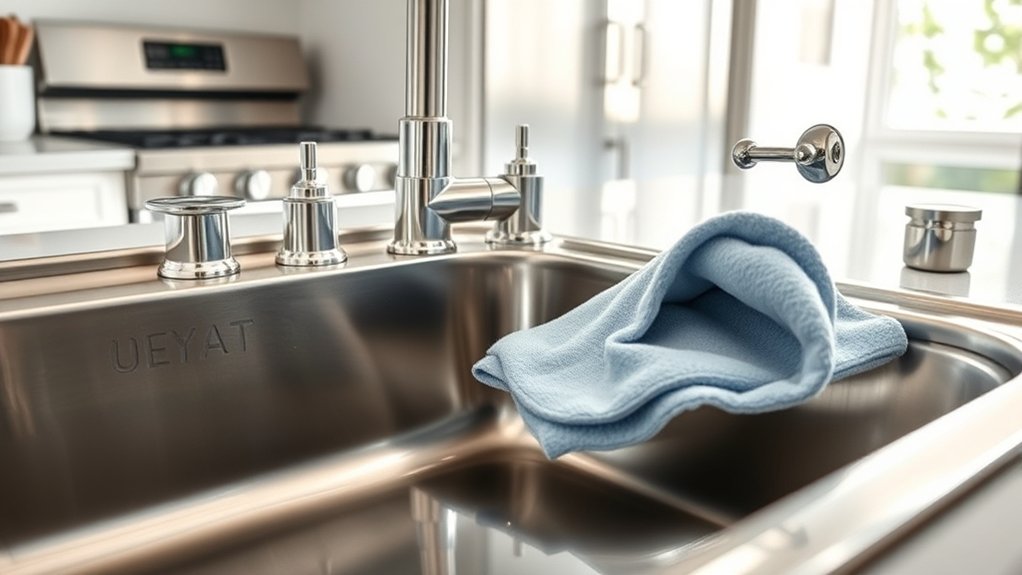
Next, rinse the sink, sprinkle baking soda over its basin, and scrub gently with a nonabrasive sponge. Flush the drain with hot water, then wash the faucet and handles.
Dry everything to prevent water spots. Finish with suitable fixture polishing, using a microfiber cloth to buff chrome or stainless steel without scratching. Restore clean items only after surfaces have fully dried.
Scrub Counters, Cabinets, and Backsplashes

Once the appliances and fixtures are clean, scrub counters, cabinets, and backsplashes from top to bottom. Clear each surface, then wipe away crumbs and loose debris with a dry microfiber cloth.
Mix warm water with a few drops of dish soap, and wash countertops using smooth, overlapping strokes. Follow the manufacturer’s care instructions for stone, wood, or laminate to prevent damage.
For countertop disinfecting, apply a compatible product after cleaning. Keep the surface visibly wet for its labeled contact time, and wipe it as directed. Don’t mix disinfectants with other cleaners.
Wipe cabinet doors, handles, and edges with a lightly damp cloth. Use a soft brush to lift grime from grooves, then dry everything promptly.
For cabinet polishing, apply a suitable wood or laminate polish sparingly, and buff with a clean cloth. Clean the backsplash with your soapy solution, paying extra attention to grout lines and areas behind cooking surfaces.
Rinse residue away and dry surfaces thoroughly.
Wash Floors and Reach Hidden Corners
After clearing the floor, sweep or vacuum from the walls toward the center, reaching beneath movable appliances and along baseboards. Lift removable mats and clean underneath them, where crumbs and grease often hide.
Use corner cleaning tools, such as a narrow brush, crevice attachment, or old toothbrush, to loosen debris around cabinet edges, toe kicks, and appliance gaps.
Fill a bucket with warm water and a suitable floor cleaner, then wring your mop until it’s damp, not dripping. Apply these mopping techniques:
- Work in small sections so dirty water doesn’t spread.
- Follow the floor’s grain or tile lines for an even clean.
- Rinse the mop often, especially near cooking areas.
- Dry the surface promptly to prevent streaks and slips.
For stubborn spots, let cleaner sit briefly before scrubbing gently. Don’t soak wood, laminate, or seams, as excess moisture can cause damage.
Finish by wiping edges and corners with a clean, damp cloth, then allow the floor to air-dry completely.
Restock, Declutter, and Maintain Your Kitchen
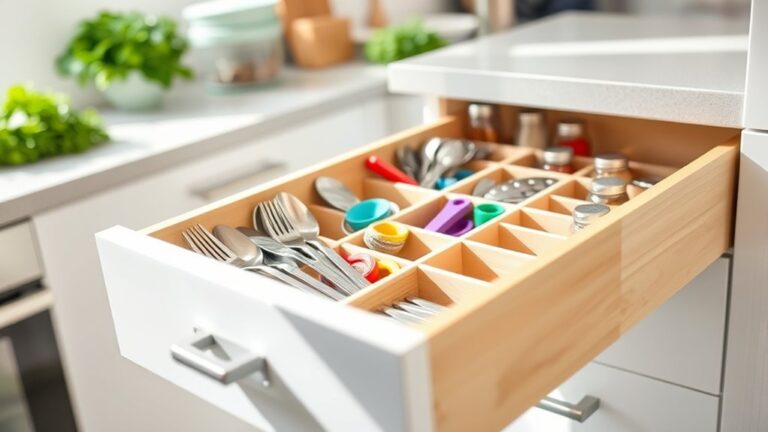
A clean kitchen is easier to maintain when everything has a designated place and supplies are replenished before they run out. Organize pantry shelves by category, placing frequently used staples at eye level.
Check dates as you work, and discard expired items, damaged packaging, and ingredients you’ll never use. Group spices, baking supplies, canned goods, and snacks in clearly labeled containers or bins.
Keep a running shopping list so you can restock essentials without overbuying. Return each tool, dish, and appliance to its designated spot after use, and limit countertop items to those you use daily.
Wipe shelves and drawers before replacing their contents, especially after spills. Once a week, inspect the refrigerator, freezer, and pantry for clutter or waste.
Clean handles, switches, and high-touch surfaces regularly. Finally, involve everyone in your household: assign simple tasks and make tidying up part of the cooking routine.
These habits will keep your kitchen orderly, sanitary, and easier to deep-clean.
Frequently Asked Questions
How Often Should You Deep Clean Your Kitchen?
You should deep clean your kitchen every one to three months, depending on how often you cook, household size, and messes. Follow a kitchen cleaning schedule that includes monthly attention to appliances, cabinets, floors, and overlooked surfaces.
Use a deep cleaning checklist so you don’t miss grease buildup, expired food, grout, or ventilation filters. Clean sooner after illness, spills, pests, or heavy cooking. Regular daily and weekly upkeep keeps deep cleaning manageable and effective.
Which Cleaning Products Are Safe for Food Preparation Areas?
Choose food-safe products before you wipe the first counter, because an invisible residue could linger where you prepare dinner. Look for labeled, unscented cleaners designed for food-contact surfaces, and follow their dilution and rinsing directions.
Eco friendly cleaners can work well when they carry appropriate safety certifications. Natural disinfectants, such as diluted vinegar, don’t kill every pathogen, so don’t rely on them alone.
Never mix bleach with ammonia or acids, and wash surfaces after disinfecting.
How Can You Remove Stubborn Grease Buildup Safely?
For stubborn grease buildup, apply warm water and dish soap, then let the solution sit for several minutes. Scrub with a nonabrasive sponge, adding baking soda for extra power.
For effective Grease removal, wipe repeatedly rather than using harsh chemicals. Practice Safe cleaning by wearing gloves, ventilating the area, and rinsing surfaces thoroughly.
Never mix cleaners, especially bleach and ammonia. Dry countertops completely before preparing food to prevent residue or contamination.
Should You Hire Professional Kitchen Cleaning Services?
Yes, you should hire professional kitchen cleaning services when grime feels overwhelming, time is scarce, or stubborn buildup needs specialized care. Professionals can refresh neglected areas, protect delicate surfaces, and help restore your peace of mind.
They’ll also support Kitchen organization by clearing clutter and creating efficient zones. Ask whether their team handles Appliance maintenance, degreasing, and sanitizing, then compare insurance, reviews, pricing, and cleaning products before you schedule service.
How Do You Eliminate Persistent Kitchen Odors?
You can eliminate persistent kitchen odors by finding the source first. Empty your trash, clean grease from surfaces, scrub drains, and wash reusable sponges and towels.
Simmer lemon peels, vinegar, or cinnamon as natural remedies, but ventilate the room while you work. Place baking soda, activated charcoal, or coffee grounds near problem areas as odor absorbers.
Clean your refrigerator regularly, and check hidden spills beneath appliances. If smells persist, inspect plumbing or call a professional.
Conclusion
Once you’ve completed these five steps, your kitchen won’t just look clean—it’ll shine like a culinary palace. You’ve tackled grimy appliances, stubborn counters, dusty corners, and every crumb hiding underfoot.
Now, restock only what you use, clear away clutter, and keep surfaces fresh with quick daily habits. A few minutes of maintenance can prevent tomorrow’s mess from becoming a full-scale cleaning catastrophe.
Step back, admire your sparkling space, and enjoy cooking in a kitchen that feels brand-new. With these deep cleaning kitchen tips, maintaining a fresh, inviting space becomes much easier.