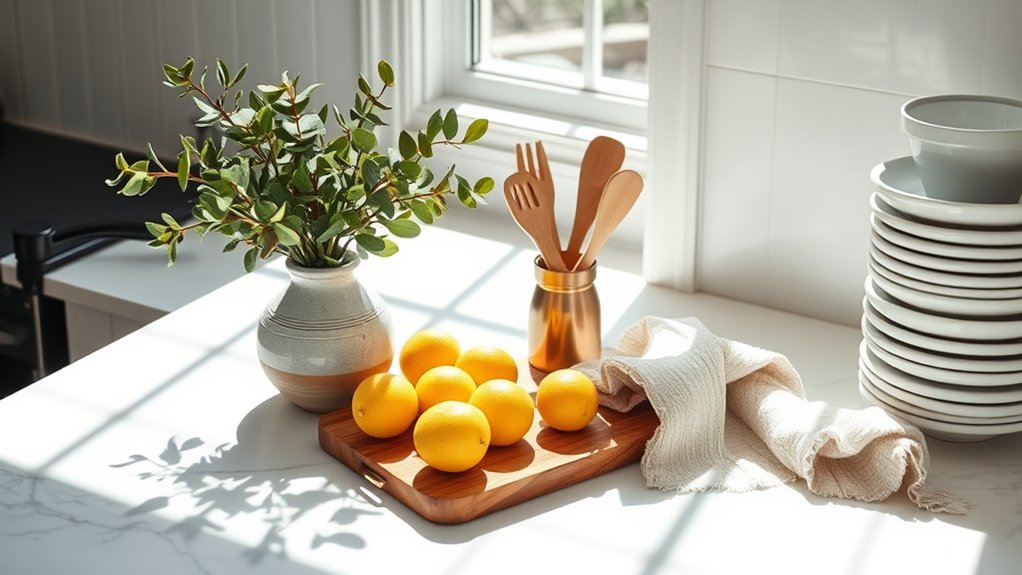
How to Accessorize a Kitchen Counter
Kitchen counters can quickly become cluttered, leaving you with little room to prep meals or enjoy a polished look. You’re not alone—many people struggle to balance everyday convenience with stylish organization.
These kitchen counter accessory ideas can help you create a space that feels both functional and inviting.
Accessorize a kitchen counter by first clearing and cleaning the surface, then choosing a cohesive style and color palette. Keep frequently used items, such as a coffee maker or utensil crock, within easy reach.
Group related accessories on trays, and add height with plants, leaning cutting boards, or canisters.
Balance color, texture, and shape while preserving open workspace.
Edit rarely used pieces regularly to prevent clutter and maintain a spacious, functional counter.
More styling ideas can help you refine the look.
Key Takeaways
- Choose a cohesive style, color palette, and materials that complement your cabinets, backsplash, and countertops.
- Clear and clean the counter, keeping only frequently used appliances, tools, and decorative items within reach.
- Create functional zones with trays, grouping related items such as coffee supplies, cooking tools, or cleaning essentials.
- Add visual interest with varied heights, textures, and shapes using plants, cutting boards, bowls, jars, and canisters.
- Preserve open workspace by placing appliances near outlets, using wall storage, and avoiding overcrowded arrangements.
Choose Your Kitchen Counter Style and Palette
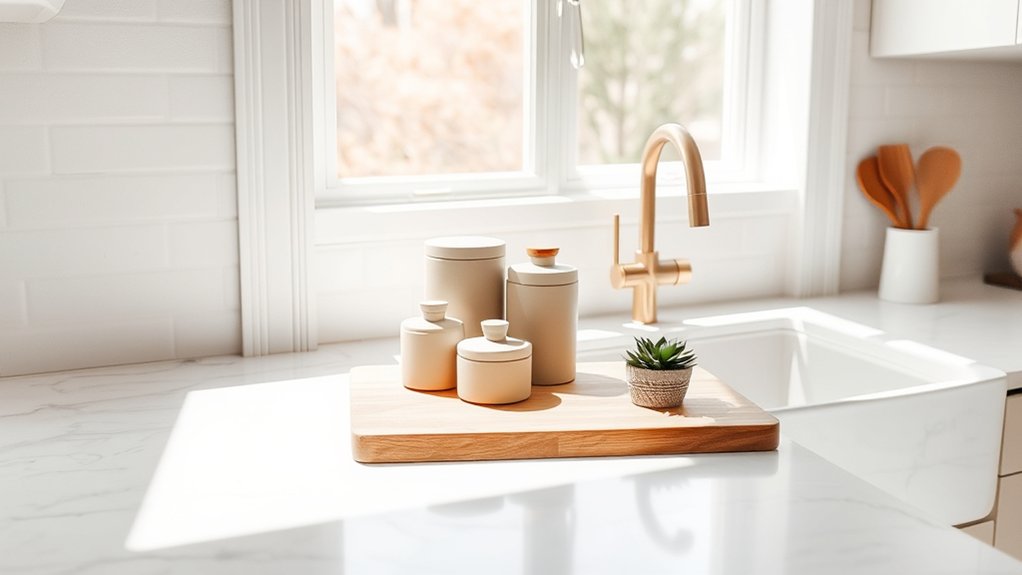
Before choosing accessories, decide how you want your kitchen counter to look and feel. Define a style that suits your home and daily habits, whether you prefer modern simplicity, warm farmhouse character, classic elegance, or colorful eclectic energy.
Then consider your countertop materials. Smooth quartz may complement sleek metal and glass, while butcher block can support woven textures, ceramic pieces, and natural wood. Granite, marble, and concrete each create distinct visual foundations, so let their patterns and finishes guide your choices.
Next, establish color schemes that balance the counter with nearby cabinets, walls, and appliances. Choose one dominant hue, one supporting shade, and a restrained accent color to keep the arrangement cohesive.
If your surface features dramatic veining, select quieter accessories. For a plain counter, introduce interest through thoughtfully chosen tones or textures.
You don’t need to match everything. Repeat a color or finish often enough to create connection without making the design feel predictable or overly coordinated.
Clear the Counter Before You Begin
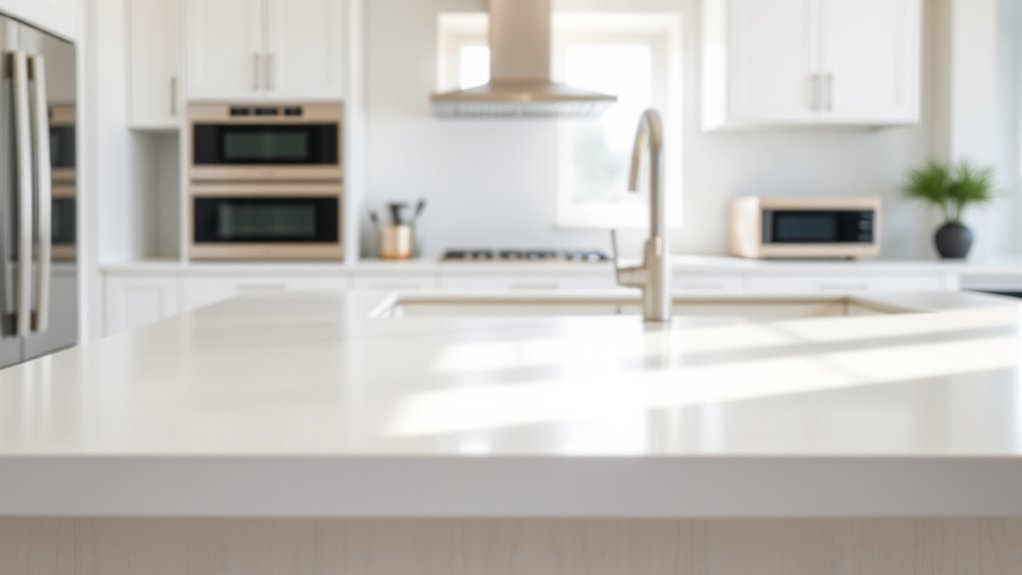
Once you’ve chosen your counter’s style and palette, give yourself a clean starting point. Remove every item from the surface, including appliances, containers, mail, and decorative pieces. Place everything on a nearby table so you can sort it without crowding your workspace.
Clear the counter completely, then sort removed items nearby to create an uncluttered workspace for thoughtful organization.
Wipe the empty counter with a cleaner suited to its material, then dry it thoroughly. This simple step supports countertop maintenance by removing crumbs, spills, grease, and dust before you return anything.
Check corners, seams, and the area behind small appliances, where buildup often hides. If you notice stains, chips, or moisture damage, address those issues before continuing.
Next, group the removed items by purpose: daily necessities, occasional tools, paperwork, and items that belong elsewhere. Discard trash, relocate misplaced belongings, and set aside anything you rarely use.
A completely cleared surface lets you evaluate its size and condition honestly. You’ll also create room for thoughtful accessory placement later, without letting clutter dictate your choices.
Choose a Functional Countertop Focal Point
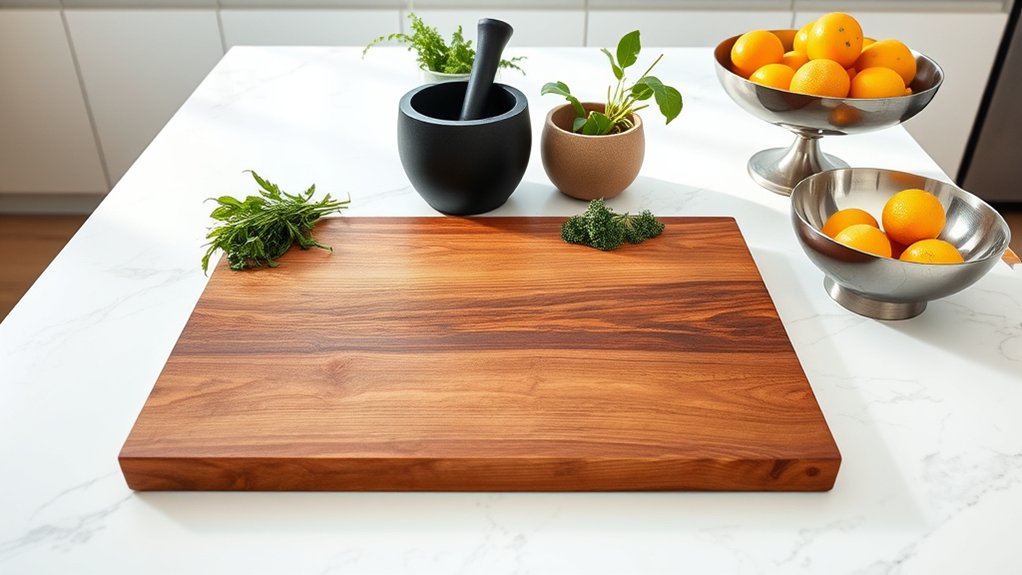
Choose a focal point that supports how you use your counter each day. Start by defining its purpose—is it for meal prep, making coffee, or serving? Then, keep everyday essentials within easy reach and tuck away items you use less often.
Define the Counter’s Purpose
Start by deciding what you want your counter to do, whether that means supporting meal prep, organizing daily essentials, or displaying a few decorative pieces. Your answer will guide every accessory choice and keep the surface purposeful rather than crowded.
For a prep-focused counter, reserve clear workspace and choose tools that support efficient cooking. If you want a serving area, consider how much room you’ll need for plating and passing dishes.
A display-focused surface can accommodate a carefully chosen bowl, tray, or artwork without sacrificing function. Let countertop durability influence placement, and protect vulnerable finishes from heat, moisture, and sharp edges.
Your material selection also matters, since stone, wood, laminate, and tile each handle accessories differently. Define one primary role, then add only pieces that reinforce it and preserve usable space.
Highlight Everyday Essentials
With the counter’s main purpose in mind, feature one everyday item that makes the space more useful and visually grounded. Choose a handsome coffee maker, bread box, knife block, or fruit bowl as your functional focal point.
Position it where you can reach it easily, leaving enough clearance for preparation and cleanup. Let the item’s color, shape, or finish complement your cabinets and Countertop materials rather than compete with them.
For example, a wooden cutting board can soften sleek stone, while a streamlined stainless-steel appliance suits a modern kitchen. Group only a few supporting pieces nearby, such as a mug, towel, or small plant.
These Decorative accents should reinforce the focal point, not create clutter. Keep frequently used essentials visible, organized, and ready for daily routines without sacrificing valuable workspace.
Group Kitchen Counter Accessories With Trays
Group your kitchen counter accessories on trays to create functional zones for coffee, cooking, or serving. Choose trays that complement your décor and keep each area organized. This makes everyday items easier to use while giving your counters a polished, cohesive look.
Create Functional Zones
Create functional zones by placing related kitchen counter accessories on small trays. You’ll give each activity a clear home while keeping everyday items contained and easy to move.
Start by considering your countertop materials, since delicate surfaces may need protection from spills, heat, or scratches. Then assess appliance placement so your zones support efficient movement rather than crowding work areas.
- Coffee zone: Keep mugs, sweeteners, filters, and a scoop together near the coffee maker.
- Cooking zone: Group oils, seasonings, utensils, and a timer beside your primary preparation area.
- Cleaning zone: Place hand soap, a brush, and a sponge near the sink for quick access.
Leave enough open counter space to chop, serve, and set down hot dishes. You’ll create order without making the kitchen feel overly styled or difficult to use.
Choose Coordinating Trays
Choose trays that complement your kitchen’s finishes and are large enough to hold each accessory without crowding. Match wood trays with warm cabinets, metal trays with modern hardware, or stone trays with quartz countertops.
Consider tray materials carefully, since each creates a different mood and maintenance need. Wood adds warmth but requires occasional oiling, while metal and stone offer durability and easy cleanup.
Use one tray to group oils, salt, and cooking utensils near the range, or arrange coffee supplies together beside your machine. Thoughtful tray placement keeps related items accessible without spreading clutter across the counter.
Add a tray to an island for a contained centerpiece, such as a vase and small bowl. Leave enough surrounding space for comfortable food preparation and quick cleaning.
Your counter will look organized and intentional.
Add Height With Plants and Cutting Boards
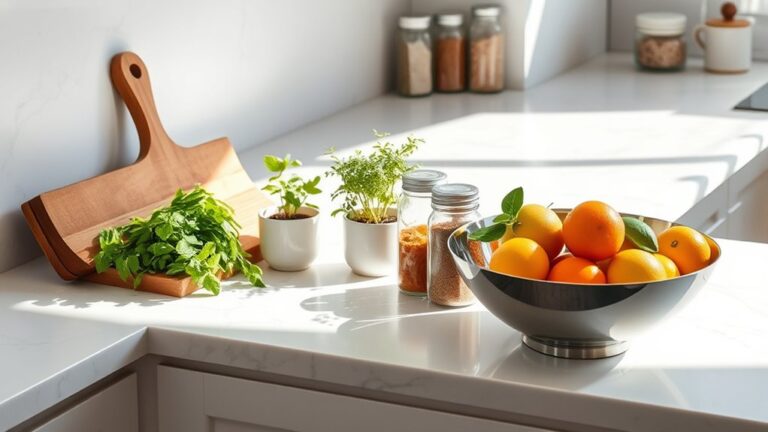
Add height to your kitchen counter with a potted plant or a leaning cutting board. You’ll create a layered display that makes the space feel intentional without crowding it.
Choose a compact herb, trailing pothos, or sculptural succulent. Place it in a pot that complements your tray and countertop.
For a balanced arrangement, combine:
- A tall plant for lively color and texture
- One or two wooden cutting boards for warmth
- A small decorative object to connect the elements
Lean the boards against the backsplash, placing the tallest behind smaller pieces. Vary their shapes and finishes, but keep the palette consistent so the display looks curated.
Botanical arrangements work especially well in kitchens because they soften hard surfaces and add a fresh, natural accent.
Rotate plants toward the light, wipe leaves regularly, and use a saucer to protect your counter from moisture. If you prefer low maintenance, choose faux greenery with realistic foliage.
Keep the composition airy by leaving open space around each piece. This will give the display a polished finish.
Keep Everyday Kitchen Tools Within Reach
Keep frequently used utensils in a container near your prep area, so they’re easy to grab when you need them. You can also place everyday essentials like oil, salt, and pepper on a neat tray. This saves time and keeps your counter organized.
Organize Frequently Used Utensils
When you use certain utensils every day, place them in a countertop crock, a narrow drawer, or a wall-mounted holder near your main prep area. This simple approach makes utensil storage practical while supporting smooth countertop organization.
Group tools by task so you can grab what you need without searching.
- Keep spatulas and wooden spoons together near the stove.
- Store measuring tools beside your mixing bowls.
- Place tongs and peelers near your cutting board.
Choose a container that fits your counter without blocking workspace. A divided drawer keeps handles visible and prevents tools from tangling.
For a holder, select a washable design and leave enough room between pieces for easy removal. Rotate tools occasionally, moving rarely used items elsewhere.
Wipe the crock, drawer, or holder regularly to prevent crumbs, grease, and moisture from accumulating. You’ll save time and maintain a cleaner prep zone.
Display Daily Cooking Essentials
Place everyday tools such as a chef’s knife, cutting board, and wooden spoon where you can reach them quickly during meal prep. Use a slim countertop rack or attractive crock to keep essentials visible without creating clutter.
Choose a location near your main work area, but leave enough space for chopping, mixing, and serving. Group similar tools together so you won’t waste time searching through drawers.
A small tray can contain oils, salt, and pepper while protecting the counter from drips. Add Vintage accents, such as a worn wooden utensil holder or ceramic bowl, for warmth and personality.
If you prefer Modern minimalism, select matching containers with clean lines and neutral colors. Rotate seasonal or rarely used pieces elsewhere, keeping only the tools you’ll actually use each day within easy reach.
Style Counters With Decorative Containers
Decorative containers can turn everyday countertop storage into an intentional design feature. Choose pieces that make frequently used items easy to reach while keeping loose supplies contained.
Use decorative containers to keep everyday countertop essentials accessible, organized, and beautifully integrated into your kitchen design.
Vintage jars work well for coffee, tea, sugar, or wooden utensils, and their lids help protect contents from dust. Label them clearly if you store similar ingredients.
Use decorative bowls to gather small essentials, such as fruit, wrapped snacks, or cooking clips. Place one near your prep area so you can grab what you need without searching through drawers.
A lidded canister can hold baking staples, while a compact crock keeps spatulas and whisks upright.
- Group matching ingredients in labeled jars.
- Reserve bowls for items you use often.
- Choose containers that fit your counter space.
Before you buy anything, measure the available area and consider how often you’ll access each item. Keep containers easy to open, clean, and refill.
When every piece serves a practical purpose, your counter stays useful without looking cluttered or temporary.
Balance Color, Texture, and Shape
A balanced counter combines color, texture, and shape without letting any one element dominate. Start with a simple palette that relates to your cabinets, backsplash, or nearby furnishings. For effective Color harmony, repeat one accent shade in small doses, such as a bowl, utensil crock, or artwork.
Next, layer materials to create Texture contrast. Pair a smooth ceramic container with a woven basket, wooden board, or brushed metal canister. Keep the mix intentional by choosing two or three finishes rather than displaying every material you own.
Vary shapes to keep the arrangement visually engaging. Place a round bowl beside a rectangular tray, then add a tall, slender container to introduce height. Balance larger pieces with smaller companions, and avoid clustering objects with identical outlines.
Step back and assess the grouping from different angles. If one color, finish, or silhouette draws too much attention, remove or reposition an item. Your counter should feel coordinated, useful, and naturally composed.
Make a Small Kitchen Counter Feel Spacious
To make a small kitchen counter feel spacious, keep only the items you use regularly within reach. Arrange accessories to create clear sightlines and preserve room for food preparation. Choose slim, vertical pieces, such as a narrow utensil holder or a compact vase, to use height without consuming valuable surface area.
- Use Countertop lighting that mounts beneath cabinets or sits in a corner.
- Group daily essentials near their point of use.
- Select accessories with simple shapes and light, reflective finishes.
Thoughtful Appliance placement also makes a noticeable difference. Keep frequently used appliances together near available outlets, and position them toward the back edge so you retain an open working zone.
Choose one multifunctional appliance instead of several single-purpose tools when possible. Wall-mounted rails, magnetic strips, and an over-counter shelf can shift useful items upward while keeping your workspace visually open.
Coordinate accessory colors with your cabinets or backsplash to create continuity, which makes the counter appear wider. Leave breathing room around each piece so your eye can move easily across the surface.
Edit Your Countertop to Prevent Clutter
Edit your countertop by removing anything you don’t use regularly. Keep daily tools accessible, but store duplicates, rarely used appliances, and paperwork elsewhere.
Your surface will look calmer, and you’ll gain room for meal preparation. Consider your Countertop materials, too: porous stone may need fewer items to simplify cleaning, while durable quartz can support a carefully chosen display.
Use this quick edit guide:
| Keep out | Store away | Remove entirely |
|---|---|---|
| Coffee maker | Stand mixer | Empty boxes |
| Fruit bowl | Serving platters | Broken tools |
| Soap dispenser | Seasonal gadgets | Expired products |
Limit Decorative accents to one or two pieces that complement your kitchen without competing with functional items.
Group similar objects on a tray so you can move them easily when you clean. After editing, walk through your routine and notice what you reach for.
If an item stays untouched for a week, relocate it. Reassess your countertop monthly, especially after holidays or cooking projects.
A simple reset keeps clutter from returning and helps every accessory earn its space.
Frequently Asked Questions
How Often Should Kitchen Counter Accessories Be Cleaned and Sanitized?
Clean and sanitize kitchen counter accessories daily, especially items that touch food, such as cutting boards, utensil holders, and spice containers. Wipe frequently handled pieces after cooking, and wash removable accessories weekly or whenever spills occur.
Follow a simple cleaning schedule: clear clutter, wash surfaces with soap, then use a food-safe sanitizer as directed. Good countertop organization helps you spot grime quickly, protect food, and maintain a hygienic, inviting kitchen.
Which Materials Withstand Heat Best for Kitchen Counter Decorations?
For heat resistant materials, choose stone, stainless steel, ceramic, cast iron, or tempered glass for kitchen counter decorations. Granite, soapstone, and quartz tolerate warmth well, though sudden temperature changes can damage some surfaces.
Use trivets beneath hot cookware, even on durable materials, to prevent marks. Avoid ordinary plastic, acrylic, and thin wood near heat sources.
You’ll improve decorative durability by selecting sturdy finishes, keeping decorations away from burners, and cleaning spills promptly.
How Can Renters Accessorize Counters Without Permanently Altering the Kitchen?
Think of your counter as a blank canvas: you can add color without leaving a permanent brushstroke. Choose freestanding trays, cutting boards, canisters, and potted herbs that you can move anytime.
Use removable hooks or adhesive strips for lightweight items, and avoid drilling or gluing. Decorating tips include layering varied heights and keeping essentials accessible.
For flexible Style ideas, coordinate textiles, containers, and accents with your kitchen’s existing palette.
Are There Safety Concerns When Placing Accessories Near Stovetops?
Yes, accessories near stovetops can create a fire hazard if you place them too close to flames, burners, or hot surfaces. Keep towels, paper, wooden utensils, and appliances several inches away, and never block ventilation.
Choose heat resistant materials, such as tempered glass, silicone, or metal, for nearby organizers and trivets. Don’t leave cooking unattended, and remove decorative items before frying, broiling, or using high heat.
What Budget-Friendly Accessories Can Refresh a Kitchen Counter’s Appearance?
Refresh your kitchen counter cheaply with decorative trays, stylish storage containers, and a few practical accents. Group oils, seasonings, or utensils on a thrifted tray to create order and visual interest.
Replace mismatched packages with inexpensive jars or canisters for a cleaner look. Add a small potted herb, colorful dish towel, or seasonal bowl to introduce personality.
You’ll get a polished update without replacing countertops or buying expensive décor.
Conclusion
Accessorizing your kitchen counter is all about balancing beauty with everyday function. Start with a clear surface, then add a focal point, group essentials on a tray, and layer height with plants or cutting boards.
Decorative containers can hide clutter while adding personality. Keep colors, textures, and shapes coordinated, especially in a small kitchen.
Before you finish, edit ruthlessly. Your counter should feel like a refreshing change, not a crowded catchall. With these tips for how to accessorize a kitchen counter, you can create a space that feels stylish and practical.