How to Fix a Dripping Kitchen Faucet in 3 Steps
A dripping kitchen faucet can quickly become an annoying part of your daily routine, wasting water and making your sink area messy. You’re not alone—many people struggle to find the right fix without calling a plumber. The good news is that you can often solve the problem with a few simple steps.
Fix a dripping kitchen faucet in three steps. First, dry the faucet and check the spout, handle, hose, supply lines, and shutoff valves to locate the leak. Turn off the water before removing the handle, then replace the worn cartridge, washer, or O-ring with a matching part and apply plumber’s grease to its seals.
Finally, reopen the valves slowly, operate the faucet, and inspect every connection. If the drip continues, the steps below can help you troubleshoot it.
Key Takeaways
- Identify the leak by drying connections, then running hot and cold handles separately.
- Shut off supply valves before removing the handle, retaining hardware, cartridge, washer, or O-ring.
- Clean or replace the faulty cartridge, washer, or O-ring, matching the original part and orientation.
- Apply plumber’s grease to seals, reinstall components, and tighten connections gently without overtightening.
- Restore water slowly, test the faucet, and monitor dry joints for several minutes to confirm the repair.
Fix a Dripping Kitchen Faucet and Find the Leak
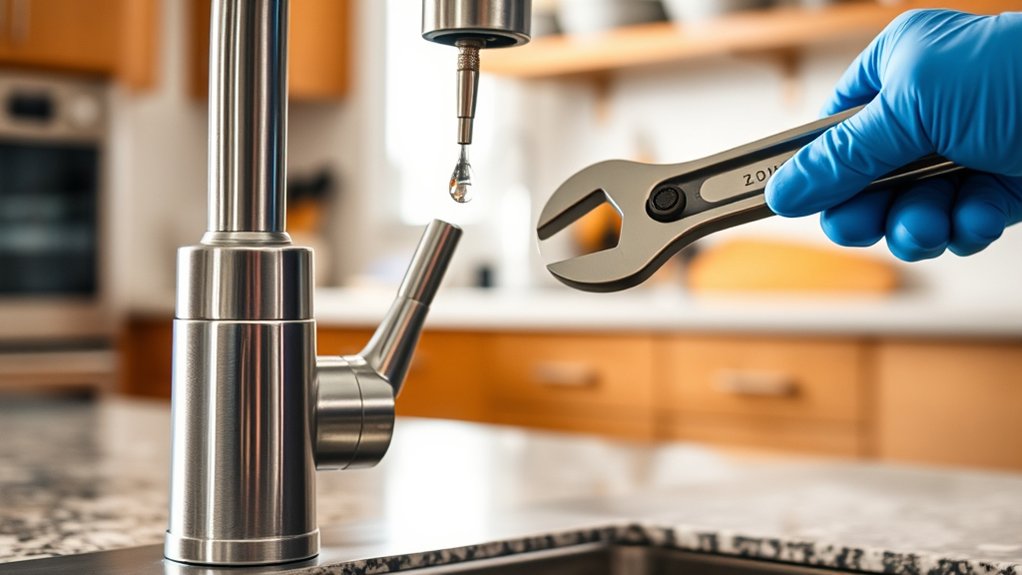
Before you replace any parts, find where the water is coming from. Wipe the faucet dry, then watch each connection while the water runs. Check the spout, handle base, spray hose, supply lines, and shutoff valves. A leak at the spout usually appears only when you turn on the faucet; a leak beneath the sink may continue after you close it.
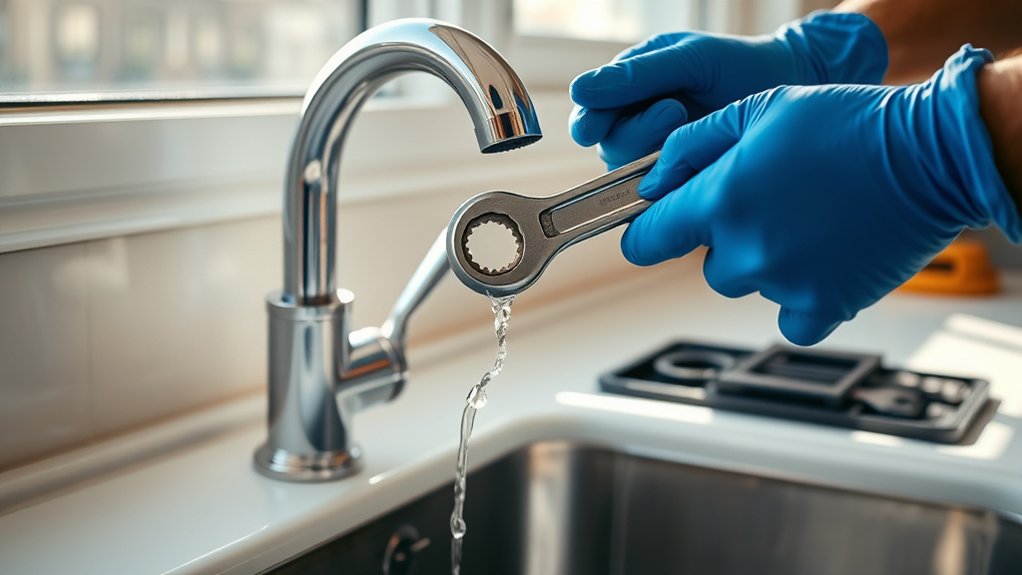
Turn on both hot and cold handles separately. This test helps you identify whether one side causes the drip. Observe the water pressure, because excessive pressure can force water past worn seals and create persistent dripping. Don’t ignore a loose connection, either. Tighten it gently with a wrench while holding the opposing fitting steady.
Remove the faucet aerator and inspect it for sediment or mineral buildup. A clogged aerator can disrupt flow and make splashing look like a leak. Clean it, reinstall it, and retest the faucet. Once you locate the source, shut off the supply valves before continuing.
Replace the Damaged Cartridge, Washer, or O-Ring
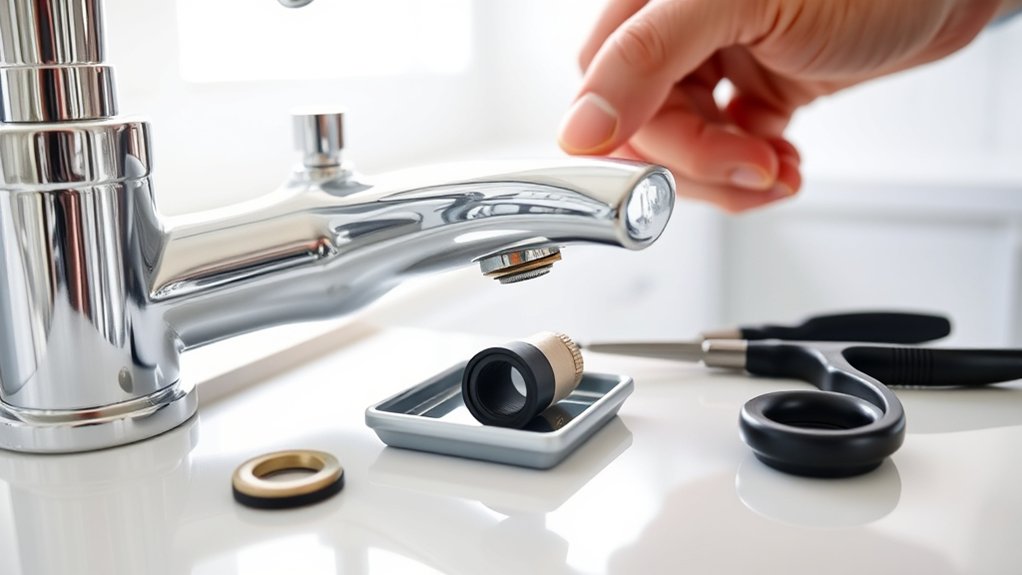
With the water supply off, remove the faucet handle and identify the cartridge, washer, or O-ring inside the valve. Take a photo before disassembly so you’ll remember each part’s position.
Turn off the water, photograph the assembly, then remove the handle to identify the cartridge, washer, or O-ring.
Use a screwdriver or wrench to remove the retaining clip, nut, or screw securing the component. Pull the cartridge straight out with pliers or a cartridge-pulling tool, protecting the valve body from scratches.
For cartridge replacement, match the new cartridge to the old one by brand, model, and stem orientation. Apply a thin coat of plumber’s grease to its seals, then press it fully into the valve.
For Washer inspection, remove the screw holding the washer and examine it for cracks, flattening, brittleness, or mineral buildup. Replace damaged washers with identical sizes and materials.
Remove worn O-rings with a pick, clean their grooves, and install matching replacements coated lightly with plumber’s grease. Reassemble the retaining hardware and handle carefully, tightening screws snugly without stripping them.
Test for Leaks and Troubleshoot Persistent Drips
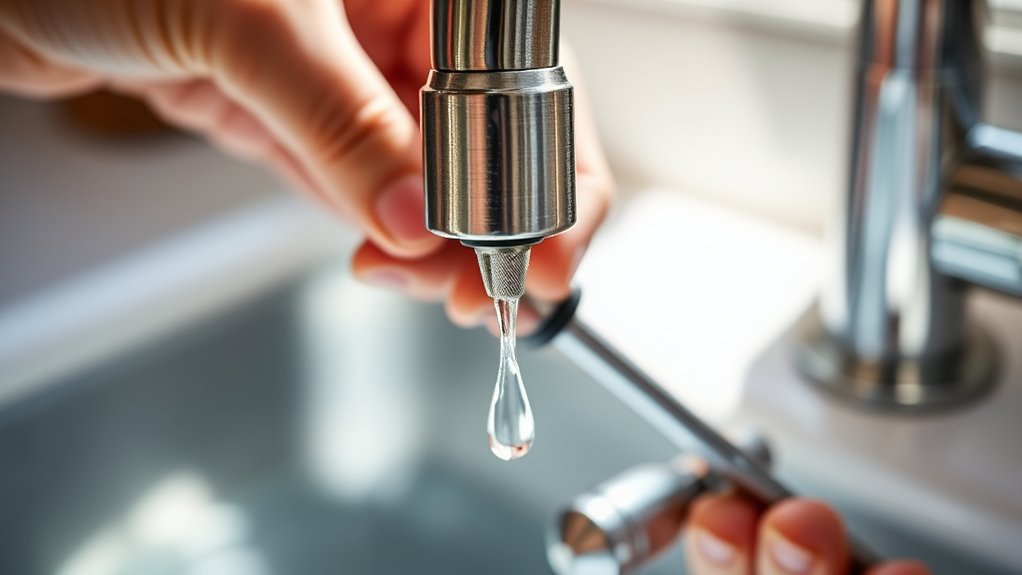
Once you’ve reassembled the faucet, turn the water supply back on slowly and check every connection for leaks. Dry each joint first, then watch for fresh moisture while opening and closing the handle.
If water appears, shut off the supply, tighten the fitting slightly, and retest. Don’t overtighten, or you may damage the seal.
| Symptom | Likely cause | Action |
|---|---|---|
| Leak at base | Loose O-ring | Reseat or replace it |
| Drip from spout | Worn cartridge | Install a matching cartridge |
If the faucet still drips, confirm the replacement part matches your model and that you installed it in the correct orientation. Check water pressure, too, since excessive pressure can force water past new seals.
Remove and clean the faucet aerator if the flow sputters or debris may have entered the valve. Persistent leaking around the handle often indicates a damaged stem seal or improperly seated cartridge.
Recheck alignment, inspect every washer, and replace questionable parts. Finally, dry the faucet completely and monitor it for several minutes to verify the repair holds.
Frequently Asked Questions
How Much Does a Plumber Typically Charge to Repair a Dripping Kitchen Faucet?
You’ll typically pay a plumber $100–$300 to repair a dripping kitchen faucet, including labor and basic parts. Simple cartridge, washer, or O-ring replacements may cost less, while difficult access, premium fixtures, or leak detection can raise the bill.
Ask for an upfront estimate and confirm whether the service call includes diagnosis. If the plumber finds related drain issues or hidden leaks, expect additional charges for parts and labor.
Can Hard Water Cause Kitchen Faucet Components to Deteriorate Faster?
Can hard water shorten your faucet’s life? Yes—high water hardness can accelerate deterioration by leaving mineral deposits inside aerators, cartridges, valves, and seals. These deposits restrict flow, cause stiffness, and prevent parts from sealing properly, which may lead to leaks.
You can protect faucet longevity by cleaning buildup regularly, installing a water softener or filter, and replacing worn components promptly. Don’t ignore persistent dripping, because mineral damage often worsens over time and increases repair costs.
Should I Replace the Entire Faucet Instead of Repairing an Old One?
You should replace the entire faucet if repairs cost nearly as much as a new model, corrosion affects the body, parts are unavailable, or hard-water damage keeps causing leaks. Choose repair when the faucet has a durable design and replacement parts remain affordable.
Consider the faucet’s appearance, water efficiency, warranty coverage, and installation effort. A quality replacement may reduce future maintenance and environmental impact, especially if it prevents wasted water and lasts longer.
Which Kitchen Faucet Brands Offer the Best Long-Term Reliability?
You’ll find the best long-term reliability from Moen, Delta, Kohler, and Grohe. These brands offer durable finishes, strong warranties, readily available parts, and dependable Faucet Cartridge designs.
Moen and Delta typically make repairs straightforward, while Kohler and Grohe offer excellent build quality and refined performance. For better Leak Prevention, choose a ceramic cartridge, solid brass components, and a model with readily replaceable seals.
Always verify warranty coverage and local parts availability before buying.
Are Touchless or Motion-Sensor Faucets More Prone to Dripping?
Touchless and motion-sensor faucets aren’t inherently more prone to dripping, but they add components that can cause leaks or incomplete shutoff. You’ll want to take into account sensor sensitivity and power source reliability, since false activations, weak batteries, or electrical faults may trigger inconsistent operation.
Mineral buildup, worn cartridges, and faulty solenoid valves also matter. Choose a reputable brand, replace batteries promptly, clean the sensor, and service the valve when needed.
Conclusion
With the damaged cartridge, washer, or O-ring replaced, you’re nearly done, but don’t put away your tools yet. Turn the water supply back on slowly and watch the faucet, connections, and cabinet below.
A single hidden droplet can signal a loose fitting or incorrect replacement. Run both handles, then shut them off and wait.
If the drip returns, retrace each step or call a plumber before a small leak becomes costly water damage. Following these steps can help you fix a dripping kitchen faucet safely and effectively.