How to Measure a Kitchen Sink in 3 Steps
Choosing a kitchen sink can be frustrating when you’re unsure whether it will fit your cabinet, countertop, or plumbing setup. You’re not alone—many people struggle with confusing dimensions and costly installation surprises.
How to Measure a Kitchen Sink in 3 Steps
To measure a kitchen sink in three steps, first measure the cabinet opening and countertop cutout from side to side and front to back.
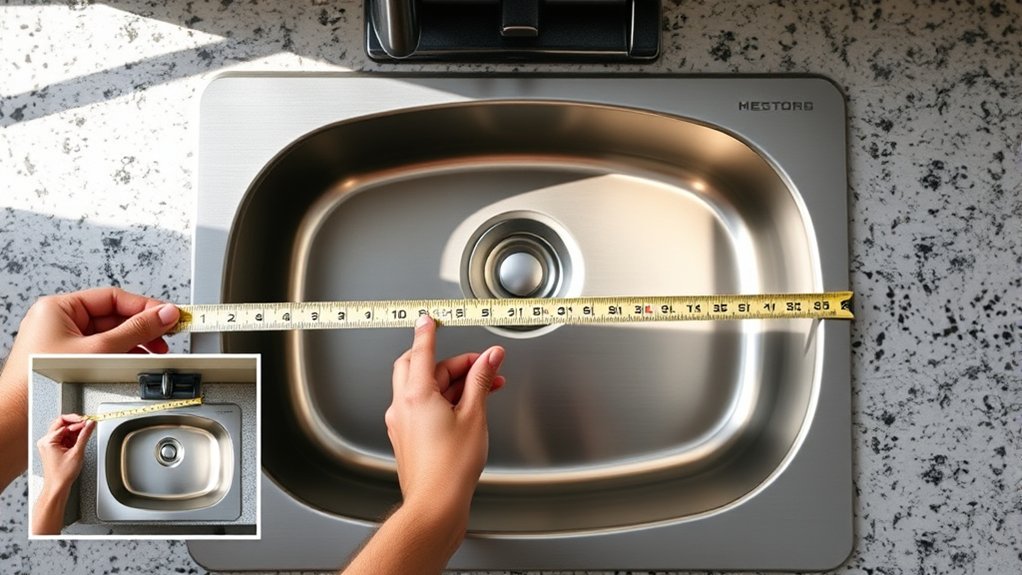
Next, record the sink’s overall length and width, measuring its outer edges, including the rim.
Finally, measure basin depth from the bottom to the top edge, then check room for plumbing, disposal, drawers, doors, and mounting hardware.
Confirm your measurements against the manufacturer’s template, and you’ll uncover helpful compatibility tips next.
Key Takeaways
- Measure the existing sink’s overall length, front-to-back width, and basin depth using a straight tape measure.
- Measure the cabinet opening, including side-to-side and front-to-back clearance beneath the countertop.
- Identify the installation style: top-mount, undermount, or farmhouse. Each requires different measurements and support.
- Check clearance for plumbing, disposal, drawers, doors, cabinet rails, braces, and mounting hardware.
- Compare all measurements with the replacement sink’s specifications and manufacturer’s installation template before ordering.
Measure the Sink Cutout and Cabinet Space
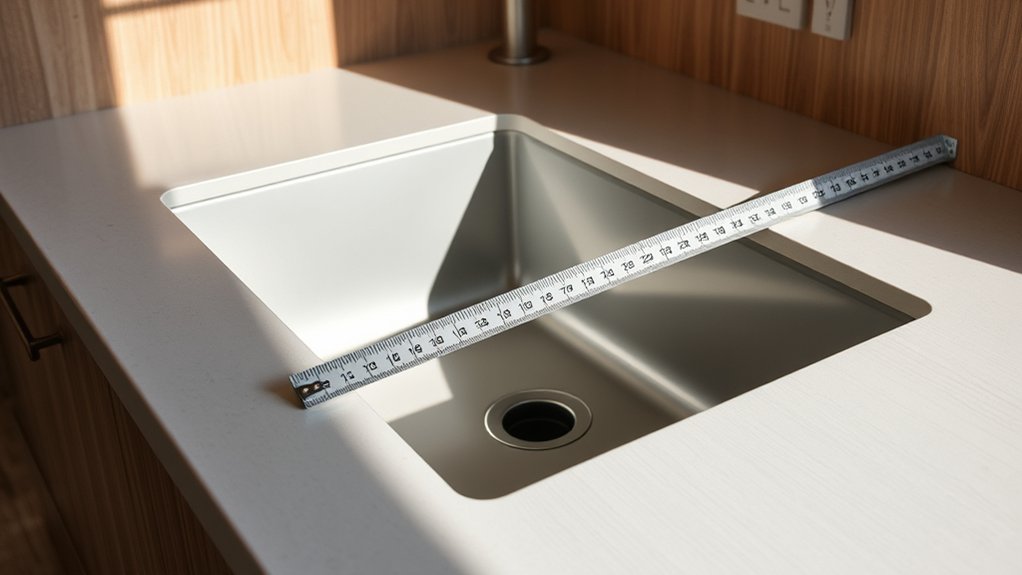
Start by measuring the existing sink cutout and the cabinet space beneath it. Check the opening’s front-to-back clearance and side-to-side fit without recording the sink’s overall length or width.
Measure the sink opening and cabinet clearance, focusing on fit without documenting the sink’s overall dimensions.
Note whether the countertop uses a top-mount, undermount, or farmhouse installation, because each style requires different support and edge conditions. Inspect the cabinet for rails, drawers, doors, plumbing, and structural braces that could interfere with the basin or drain assembly.
Measure the available depth below the countertop, including room for the drain, disposal, water lines, and shutoff valves. If the cabinet opening is too small, plan Cabinet modifications before ordering the sink, and confirm that the cabinet can support its weight.
Examine the countertop thickness and edge material, then verify Faucet compatibility with the sink’s hole pattern, mounting location, and backsplash clearance. Keep your notes organized, and compare every measurement with the manufacturer’s installation template before cutting, drilling, or removing existing supports.
Record Your Kitchen Sink’s Length and Width
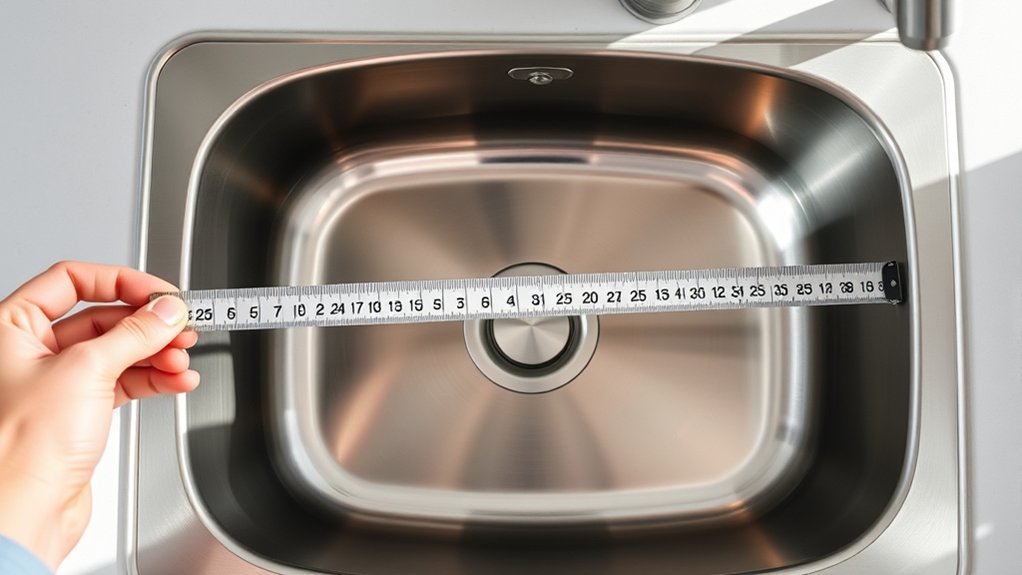
Measure the sink’s overall length from the farthest left edge to the farthest right edge, then measure its width from front to back. Use a tape measure and keep it straight for an accurate reading. Record both dimensions in inches, noting whether you measured the sink body or the outer rim.
If the sink has rounded corners, measure the maximum length and width rather than following the curve.
Write these figures in your project notes, and label them clearly so you won’t confuse them with the cutout measurements. Accurate dimensions help you compare replacement models and confirm that a sink’s rim will cover the opening.
They also support Faucet compatibility, since the sink’s size and configuration can affect available mounting space. Keep Material selection in mind as you compare models; stainless steel, porcelain, and composite sinks may have different rim designs.
Save the measurements with product links or photos for easy reference when shopping.
Measure Sink Depth and Check Clearances
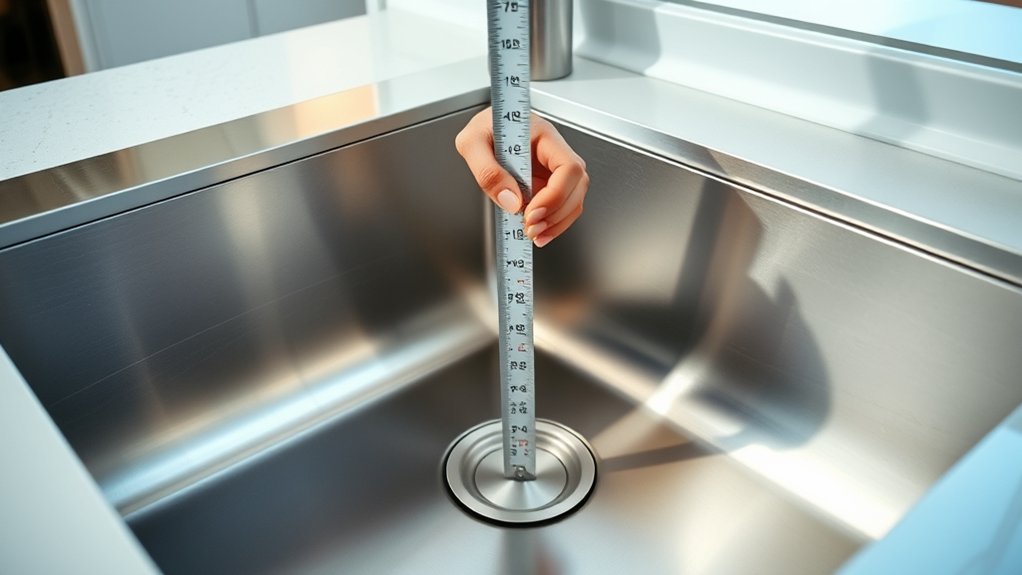
Check the sink’s depth from the inside bottom basin to the top edge or rim, depending on the measurement you need. For an undermount sink, measure from the basin floor to the countertop’s underside.
For a drop-in model, measure to the rim. Record the depth at several points because sloped or uneven basins can affect your results.
Next, check the cabinet and countertop clearances. Confirm that the sink’s depth leaves enough room for plumbing, garbage disposal components, and cleaning supplies beneath the basin.
Measure from the cabinet front to the wall, then compare that space with the sink’s front-to-back dimension. Leave room for doors, drawers, clips, and mounting hardware to operate properly.
Finally, measure the faucet holes and note their spacing. This information helps ensure faucet compatibility with your replacement sink or existing fixture.
Measure the drain opening as well, recording its diameter and location. Accurate drain dimensions help you select compatible strainers, baskets, and plumbing connections.
Frequently Asked Questions
How Do I Measure a Farmhouse Sink’s Apron Front?
Measure the apron front from the sink’s top edge to its bottom edge, keeping your tape straight across the exposed panel. Record the apron front depth, measuring from the cabinet face to the apron’s outermost point.
Check the opening’s width and height, then compare those measurements with your sink’s Farmhouse dimensions. Include any countertop overhang, cabinet support, and clearance beneath the apron.
Don’t rely solely on manufacturer labels; verify every measurement before cutting.
What Tools Are Needed to Measure a Kitchen Sink Accurately?
You’ll need a tape measure, straightedge, pencil, paper, and a level to measure a kitchen sink accurately. Use a flashlight to inspect tight spaces and a square to check cabinet corners.
Your measuring tools should include both inches and centimeters for clear records. Apply calibration techniques by checking your tape against a known ruler and zeroing digital devices.
Measure length, width, depth, and openings twice, because small details often deserve a closer look.
Should I Remove the Sink Before Taking Measurements?
Usually, you shouldn’t remove the sink before taking measurements. Measure it in place to capture the actual opening, countertop fit, and surrounding space.
First, record the sink’s length, width, depth, and corner radius. Check installation considerations, including cabinet access and mounting clips.
Also verify plumbing clearance beneath the basin, especially around drains, traps, and garbage disposals.
Remove the sink only if you can’t access critical edges or need highly precise replacement measurements.
How Do I Measure an Undermount Sink for Replacement?
Measure the existing undermount sink from below, if possible, without removing it. Record the bowl’s length, width, depth, corner radius, and the cabinet opening’s dimensions.
Measure the cutout from underneath, not the visible rim, and note the mounting-clip locations. Check countertop compatibility by confirming that the replacement’s cutout requirements match your stone or solid-surface counter.
Also, verify plumbing clearance beneath the basin, including the drain position, garbage-disposal space, and available cabinet height before ordering your replacement.
Can Sink Measurements Help Determine the Correct Faucet Size?
Sink measurements can act like a blueprint for choosing the right faucet size. Check the sink’s mounting holes, spacing, rim width, and Sink depth before shopping. These details help you determine whether the faucet base will fit securely and whether its spout will reach the basin without splashing.
Also measure backsplash clearance and countertop thickness. For reliable Faucet compatibility, compare those measurements with the manufacturer’s specifications and installation requirements.
Conclusion
With these three measurements, you’ll know whether your replacement sink will fit before you buy it. Start with the cutout and cabinet space, record the sink’s length and width, then confirm its depth and clearances.
For example, if your 30-inch cabinet has a 28-inch cutout, a 27-inch sink may fit comfortably, while a deeper model could interfere with plumbing. Double-check every number, and you’ll avoid costly returns and enjoy a smoother installation when measuring a kitchen sink.