How to Pack a Kitchen for Moving in 3 Steps
Packing a kitchen for moving can feel overwhelming, especially when fragile dishes, bulky cookware, and countless small items all need careful handling. You’re not alone—many people struggle to keep everything organized while protecting their essentials. The right packing approach can make the process much easier.
Pack your kitchen in three steps. First, gather sturdy boxes, packing paper, bubble wrap, tape, labels, and a marker. Then, sort food and supplies, discarding expired items and donating usable extras.
Next, wrap dishes individually, cushion glassware, nest cookware, and secure appliance parts and cords.
Finally, reinforce box bottoms, seal flaps tightly, and label each box with its room, contents, and “Fragile” instructions. Keep essentials separate so you’ll know exactly what to unpack first.
Key Takeaways
- Sort and declutter: Discard expired or damaged items, donate usable goods, and group remaining kitchenware by category.
- Gather packing supplies: Prepare sturdy boxes, packing paper, bubble wrap, tape, labels, and a marker.
- Wrap fragile items: Individually wrap dishes and glasses, cushion them thoroughly, and place heavier pieces below lighter ones.
- Pack efficiently: Nest cookware, secure appliance cords and detachable parts, and avoid overloading boxes.
- Seal and label boxes: Reinforce seams, mark contents and destinations, and add “Fragile” or “This Side Up” instructions.
Choose Supplies and Sort What You’ll Move
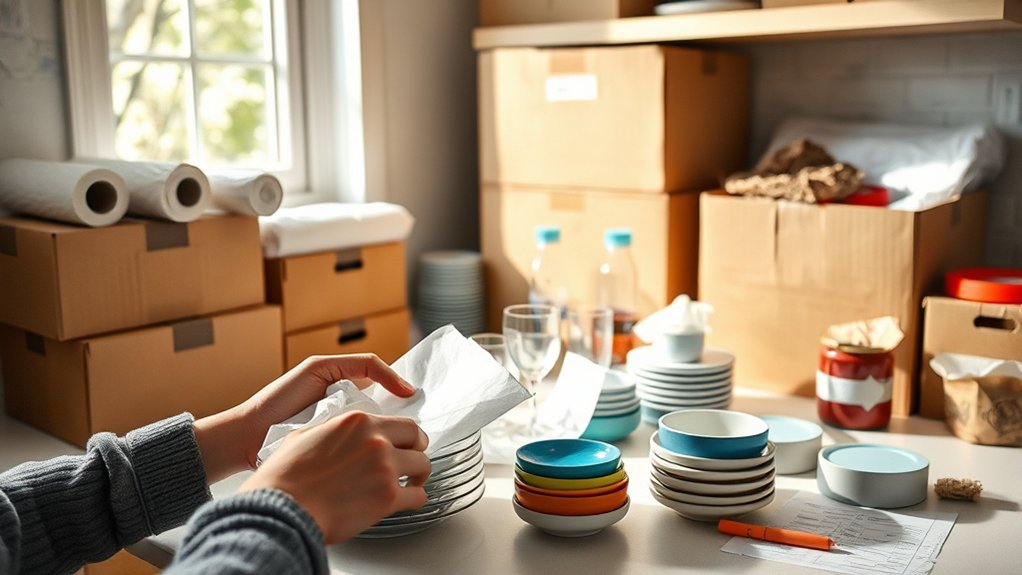
Before you pack, gather sturdy small and medium boxes, packing paper, bubble wrap, tape, labels, and a marker. Choose supplies that can handle cans, bottles, utensils, and other kitchen essentials without becoming too heavy.
Keep a few extra boxes available for last-minute items, and set aside a clearly marked box for things you’ll need immediately after arrival.
Keep extra boxes on hand for unexpected items, and pack an essentials box for convenient access immediately after moving in.
Next, sort everything by category and decide what deserves space in your new kitchen. Organizing pantry items helps you see duplicates, unopened foods, and ingredients you rarely use.
Check dates carefully before packing, and prioritize products you’ll consume soon. Discarding expired products reduces clutter and prevents you from transporting unsafe food.
Also remove damaged containers, unwanted gadgets, and items you haven’t used in the past year. Donate unopened, usable foods and kitchen goods when possible.
Label each box with its contents and destination, then create a simple inventory so you can track what you’re moving.
Wrap Dishes, Cookware, and Small Appliances
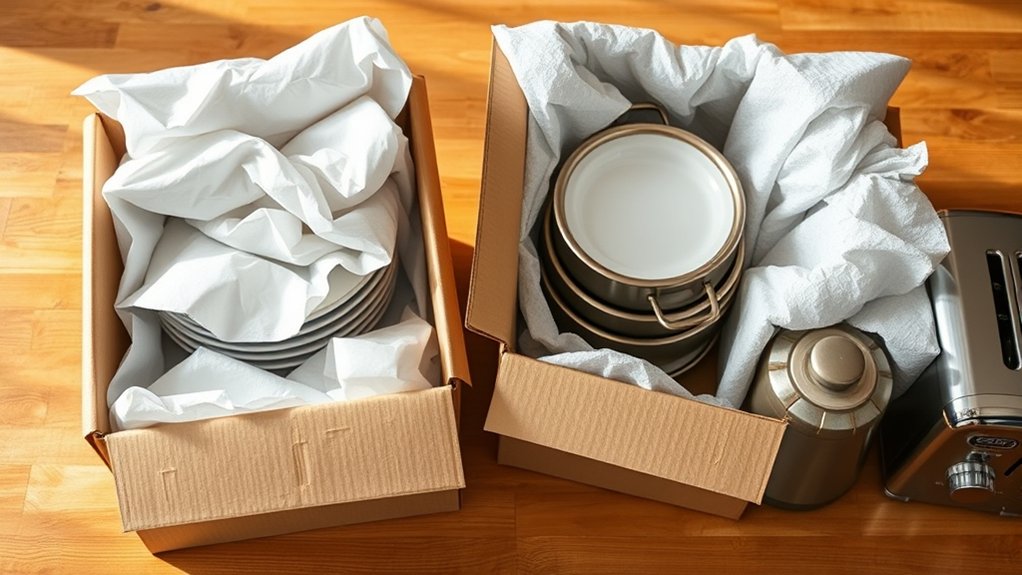
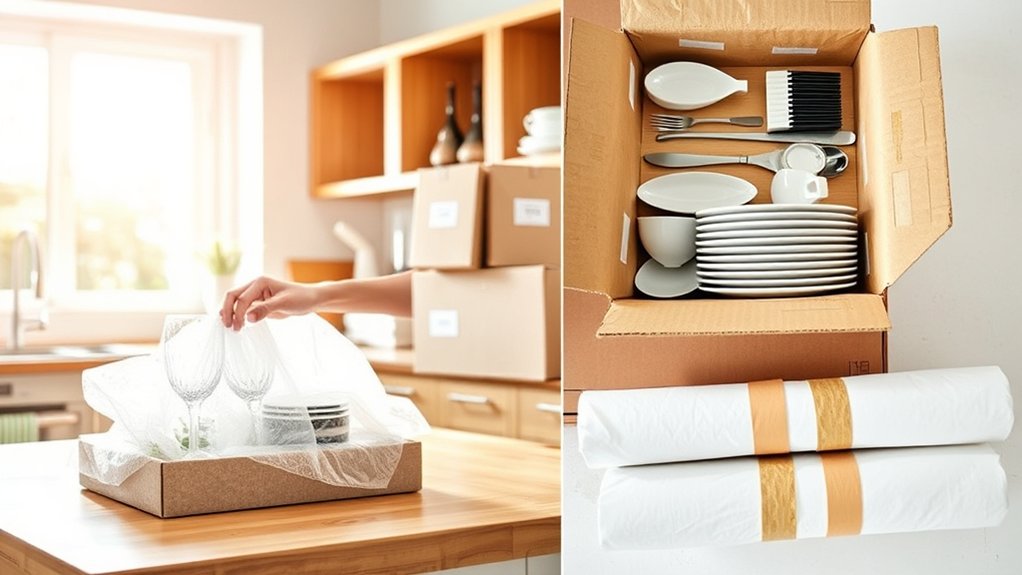
Start with dishes and glassware, wrapping each piece in packing paper and placing heavier items at the bottom of sturdy boxes. Add Dish padding between plates, bowls, and cups to prevent chips and cracks.
Wrap glasses individually, stuff their interiors with paper, and position them upright rather than flat. Fill empty spaces with towels or crumpled paper so nothing shifts during transit.
For cookware, protect each pot and pan with paper or clean dish towels. Nest smaller pieces inside larger ones, placing padding between surfaces and wrapping handles separately.
Keep cast iron well cushioned because its weight can damage other items.
Before boxing small appliances, remove detachable parts, secure cords, and wrap each unit in bubble wrap or a thick towel. Focus on Appliance protection around buttons, glass components, and sharp edges.
Place appliances in snug boxes with cushioning on every side. Don’t overload boxes; lift them comfortably and keep fragile items away from heavy cookware.
Make certain every item remains clean and completely dry before wrapping.
Label and Seal Boxes for Easy Unpacking
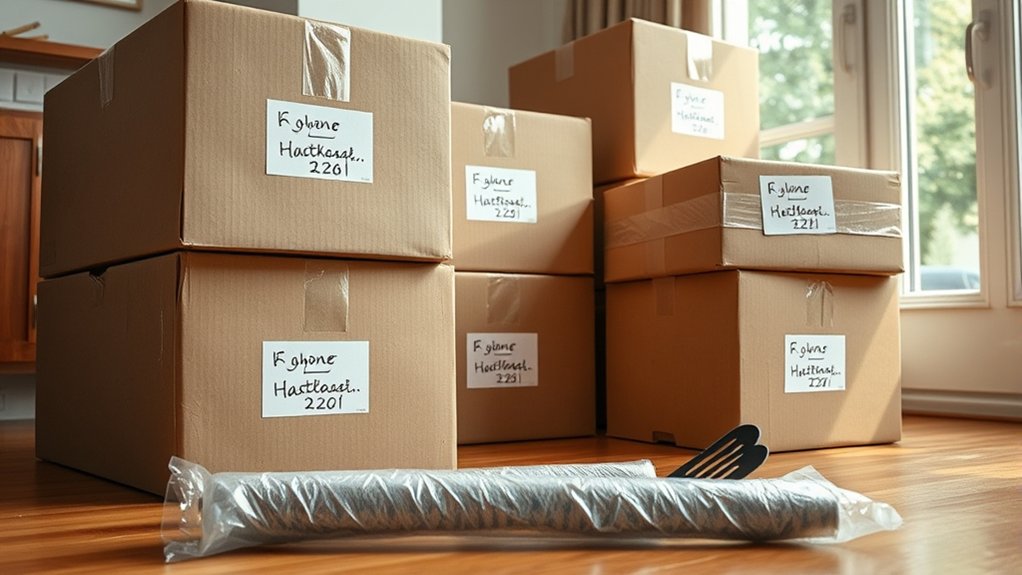
Once each box is packed, label it on the top and at least one side with its room, contents, and handling instructions such as “Fragile” or “This Side Up.” Clear labels help movers place boxes correctly and help you find essentials quickly.
Use specific descriptions, such as “everyday plates and bowls,” instead of vague notes like “kitchen.” Add a number to each box, then keep a simple inventory on your phone. These labeling strategies make it easier to check that nothing gets lost.
Choose sturdy packing tape for your sealing techniques, and reinforce every box’s bottom seam with two strips running across it. Fold the top flaps tightly, seal the center seam, and add tape across both ends.
Don’t overfill boxes, since bulging flaps can split during transport. Test each sealed box by lifting it gently. If it shifts or strains, reopen it and redistribute the contents.
Mark boxes needing careful placement clearly, and keep knives or cleaning supplies separate from food and dishes.
Frequently Asked Questions
Can I Pack Perishable Food Before Moving Day?
Yes, you can pack some perishable food before moving day, but you’ll need careful food preservation. Pack refrigerated items in an insulated cooler with plenty of ice or frozen gel packs, and keep temperatures below 40°F.
Freeze meat, bread, and prepared meals beforehand when possible. Use packing tips such as sealing leaks, labeling contents, and placing coolers last in your vehicle.
Don’t transport anything that smells spoiled, looks questionable, or has warmed considerably.
How Should I Transport Kitchen Knives Safely?
Secure knives, don’t simply toss them into a box: careful preparation protects you, while careless packing invites injury. For effective knife safety, wash and dry each blade, then cover its edge with cardboard, a blade guard, or folded paper secured with tape.
Wrap knives individually in a thick towel or bubble wrap. Place them point-down in a sturdy box, label it clearly, and keep it separate from loose items. These packing tips make handling safer.
What Kitchen Items Should Movers Never Handle?
You shouldn’t ask movers to handle hazardous materials, including gas canisters, propane tanks, ammunition, explosives, paint, chemicals, bleach, pesticides, or flammable fuels. Keep valuable jewelry, cash, important documents, medications, and irreplaceable heirlooms with you.
You should also personally transport fragile items such as fine china, glassware, crystal, and sentimental antiques if possible. Check your moving company’s prohibited-items list, label everything clearly, and arrange safe disposal or specialized transport when necessary before moving day.
How Can I Move a Refrigerator Without Damaging It?
You can move a refrigerator safely by emptying and defrosting it 24 hours beforehand. Remove shelves, drawers, and loose parts, then secure the doors with straps, not tape.
Keep the appliance upright on an appliance dolly, protecting its exterior with moving blankets. Avoid tilting it beyond 45 degrees, because refrigerator insulation and compressors can suffer damage.
During appliance transportation, secure it inside the vehicle and wait several hours before plugging it in.
Should I Clean Kitchen Appliances Before or After Moving?
Clean kitchen appliances before moving, then give them a final wipe after they arrive. Think of it as closing a well-kept chapter before opening the next.
Before loading, remove crumbs, grease, and food residue, and let everything dry completely to prevent odors or mold. After unpacking, wipe surfaces again to remove dust from transport.
This two-step approach supports appliance maintenance and keeps your cleaning schedules on track from day one.
Conclusion
With three steps, you’ll turn kitchen chaos into moving-day calm. Gather sturdy boxes and supplies, then sort what deserves a place in your new home.
Wrap each dish, pan, and appliance securely, as if porcelain were royalty and your toaster were priceless—which, after one dropped box, it may seem to be.
Finally, label and seal everything clearly. Your future self will thank you when dinner appears before the can opener disappears. These simple steps make packing a kitchen for moving easier and more organized.