Simple Steps to Organize Your Kitchen
A cluttered kitchen can make everyday cooking feel stressful, especially when counters fill up and essential tools disappear into overstuffed cabinets. You’re not alone—many people struggle to keep their kitchens organized. The right products can make it easier to create a functional space that stays tidy.
Clear every kitchen surface, put dishes away, and wipe counters clean.
Sort cabinets and drawers by frequency, keeping daily essentials within easy reach and moving seasonal items elsewhere.
Group similar tools, such as knives, measuring cups, and pans.
Organize pantry foods by type, using labeled airtight containers for opened packages.
Add shelf risers, dividers, bins, hooks, or a lazy Susan to maximize space.
Reset your kitchen regularly, and you’ll uncover more ways to keep it efficiently organized.
Key Takeaways
- Clear and clean countertops, cabinets, and drawers before organizing anything.
- Declutter duplicates and group kitchen items by type and frequency of use.
- Create dedicated zones for preparation, cooking, baking, serving, and cleanup.
- Maximize storage with shelf risers, drawer dividers, bins, hooks, and vertical organizers.
- Arrange pantry foods and everyday tools in labeled containers near their primary work areas.
Clear Every Kitchen Surface First
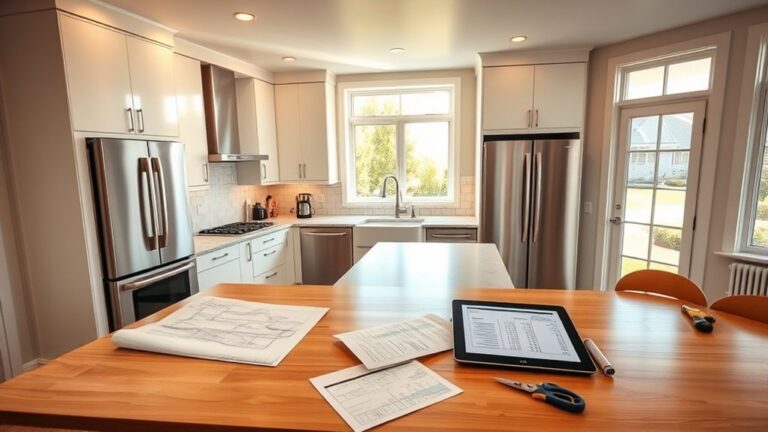
Before organizing anything, clear every kitchen surface so you can see what you’re working with. Remove dishes, appliances, mail, food packages, and miscellaneous objects from counters, the island, stovetops, and the table.
Place dirty dishes in the sink or dishwasher, and put trash in the bin. Set items that belong elsewhere in a temporary basket, but don’t decide where frequently used belongings should live yet.
Next, wipe each exposed surface with an appropriate cleaner and a clean cloth. Pay attention to crumbs, grease, spills, corners, handles, and areas beneath small appliances.
For kitchen cleaning, follow product directions and use separate cloths for counters and potentially contaminated areas. Dry surfaces thoroughly to prevent streaks and moisture damage.
As you work, inspect counters for stains, cracks, or loose caulk. Addressing small problems now supports long-term surface maintenance.
Finish by sweeping or vacuuming the floor around work areas. A completely clear, clean kitchen gives you the space and visibility you need for the next organizing step.
Sort Items by How Often You Use Them
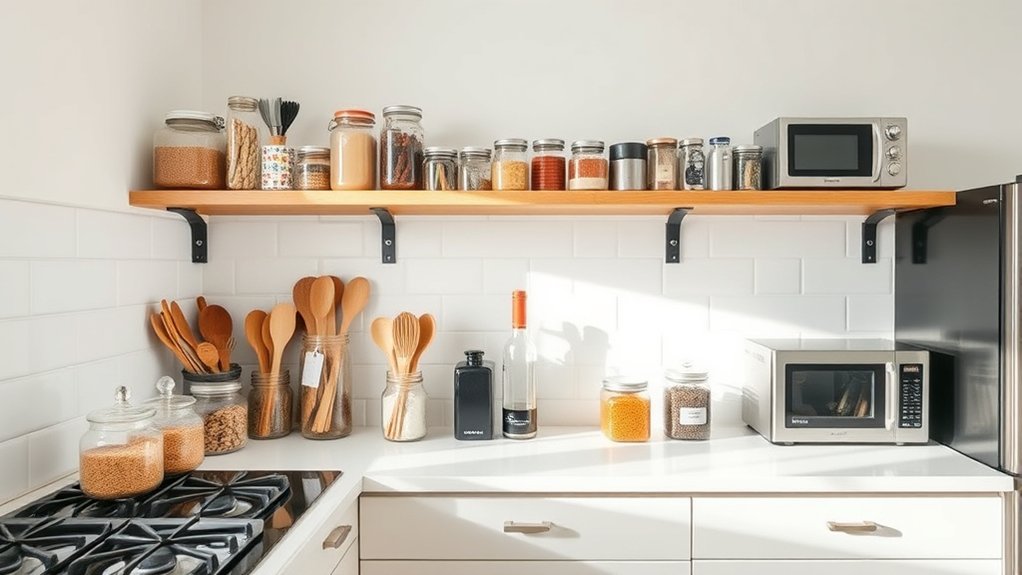
Once the surfaces are clear, sort kitchen items by how often you use them. Keep daily essentials within easy reach, while occasional tools can stay less accessible. Let your Cooking habits guide each decision, not assumptions about what you might use someday.
- Place frequently used pans near your main work area.
- Keep everyday plates, glasses, and utensils convenient.
- Group weekly baking or cooking tools together.
- Set seasonal equipment aside in a designated spot.
- Move rarely used serving pieces away from prime space.
Notice which items slow you down and adjust their positions. You’ll create a smoother workflow when the tools you grab most often remain visible and handy.
Consider your Cleaning routines, too. Store items where you can wipe around them easily, and avoid crowding active work zones.
Reassess after a week of normal use. If something stays untouched, move it farther from your everyday reach.
This simple sorting method helps your kitchen support your routines without forcing you to search or rearrange constantly. Keep categories clear, and return each item to its assigned place after use.
Declutter Kitchen Cabinets and Drawers
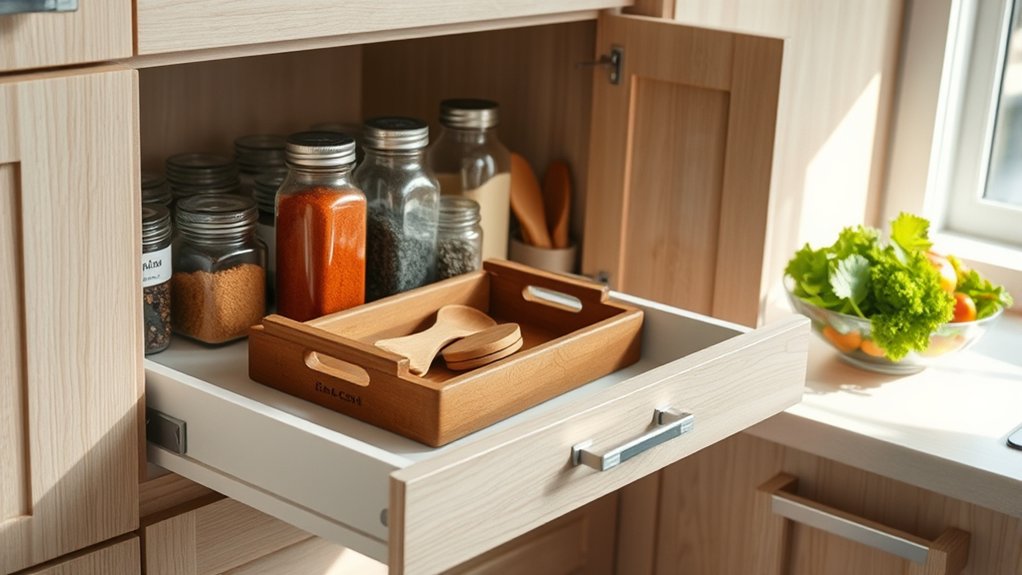
Declutter your cabinets and drawers by grouping items based on how often you use them. Get rid of duplicates to free up valuable space, and keep only what you actually need. Then, arrange your essentials so they’re easy to reach and put away.
Sort Items by Use
Group kitchen items by how often and where you use them, keeping everyday essentials in the easiest-to-reach cabinets and drawers. Match each zone to your routines so cooking feels faster and more natural.
- Keep plates, bowls, and glasses near the dishwasher or serving area.
- Store pots, pans, and utensils beside the stove.
- Place knives and cutting boards near your prep counter.
- Arrange baking tools together near your oven.
- Move seasonal gear to high or less accessible shelves.
Use drawer dividers and shelf risers to keep categories visible and easy to grab. Place heavier cookware on lower shelves, and keep frequently used spices at eye level.
Group tools by cooking techniques, such as sautéing, baking, or grilling, so you’ll find the right piece quickly. For kitchen safety, store sharp tools securely and keep heat-resistant items within reach of the stove.
Reassess placement after a week.
Remove Duplicates
After sorting items by use, remove duplicate tools, dishes, and gadgets that take up valuable cabinet and drawer space. Keep the best-quality version and donate, recycle, or discard the rest.
Check measuring cups, spatulas, mugs, storage containers, and small appliances carefully. You may own several without realizing it. Use this quick guide:
| Keep | Release |
|---|---|
| Frequently used tools | Extras you never reach for |
| Durable, reliable dishes | Chipped or mismatched pieces |
| One useful gadget | Duplicate specialty gadgets |
For Kitchen appliance organization, count appliances serving the same purpose and retain the one you use most. Group donation items in a box, then remove them promptly so they don’t return.
Wipe newly cleared drawers and shelves before replacing essentials. During Cleaning schedule planning, add a brief duplicate check every few months to prevent clutter from building again.
Don’t buy replacements until you’ve checked what you already own.
Maximize Storage Space
With duplicates removed, you can make the remaining cabinets and drawers work harder. Group items by task, then assign each category a specific home. Keep frequently used tools within easy reach and move seasonal or occasional items higher up. Smart Kitchen design uses every available inch without making cooking inconvenient.
- Add shelf risers to create a second level.
- Install drawer dividers for utensils and gadgets.
- Use a lazy Susan for sauces, spices, or oils.
- Mount hooks inside doors for measuring cups.
- Choose stackable bins for snacks and pantry packets.
Pull everything forward so you can see what you own. Label containers when categories get crowded, and leave a little breathing room for easy access.
These storage solutions help you find items quickly and prevent clutter from returning. Review each space monthly, adjusting it as your routines change.
Organize the Pantry by Food Type
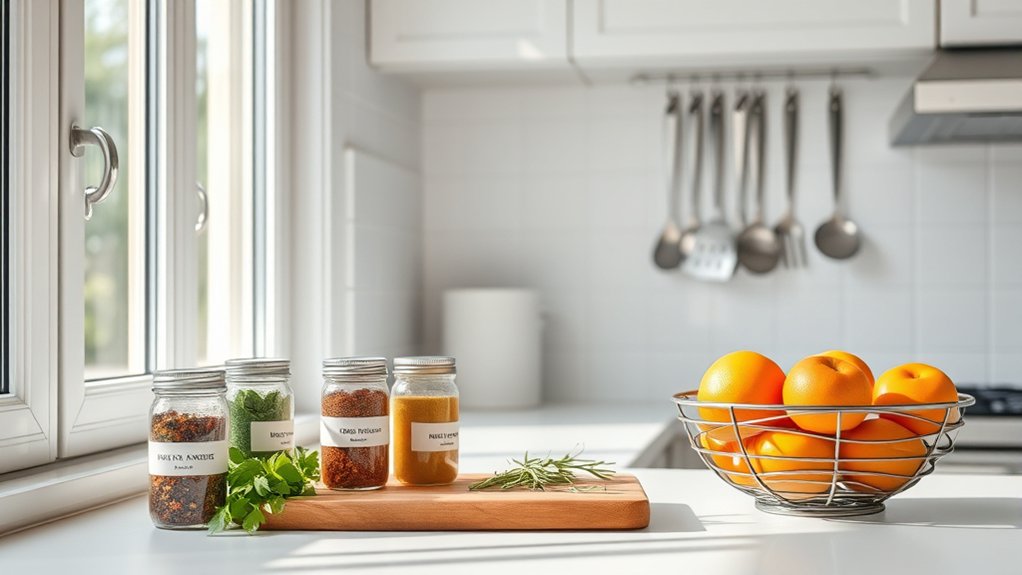
Organizing your pantry by food type makes everything easier to find and restock. Start by removing every item, checking expiration dates, and wiping the shelves. Create clear zones for breakfast foods, baking supplies, canned goods, grains, snacks, sauces, and beverages.
Keep frequently used items at eye level, while placing occasional-use products on higher shelves. Store open packages in airtight containers to preserve freshness and prevent spills.
Use baskets for small packets, pouches, and individually wrapped snacks, so you can pull out an entire category at once. Arrange cans and jars with labels facing forward, and place newer items behind older ones to support first-in, first-out use.
For effective pantry labeling, mark containers and shelves with simple, readable names. Consider your family’s routines when choosing each zone’s location.
Grouping food by purpose simplifies meal planning, reduces duplicate purchases, and makes Food storage more efficient. Leave a little space in every section, so restocking won’t create clutter.
Group Similar Kitchen Tools Together
Group similar kitchen tools together so you can find what you need quickly and return each item easily. Start by emptying one drawer or cabinet, then sort every piece by purpose and size. Keep duplicates only when you use them regularly, and donate tools that stay untouched.
- Place knives together in a block or drawer insert.
- Store measuring cups and spoons in one container.
- Keep spatulas, tongs, and ladles in a utensil holder.
- Gather peelers, graters, and zesters in a small bin.
- Collect each Kitchen gadget with similar accessories.
Arrange frequently used items at the front and occasional tools behind them. Nest matching bowls, colanders, and storage containers to save space.
Use dividers to prevent Cooking utensil handles from tangling, and label opaque bins so you won’t need to search. After cooking, return each tool to its designated group immediately.
Review these categories every few months and adjust them when your habits change. You’ll reduce clutter, protect delicate pieces, and make cleanup faster without creating extra storage.
Assign Items to Kitchen Work Zones
Identify the main work zones in your kitchen, such as prep, cooking, cleaning, and storage. Then, place each item in the zone where you’ll use it most. This saves time and keeps your kitchen running efficiently.
Identify Key Work Zones
Once you’ve identified your kitchen’s main work zones, assign each item to the area where you use it most. Match tools and supplies to their primary tasks, so preparation, cooking, baking, serving, and cleanup each have clear boundaries.
Consider these zones:
- Prep: knives, cutting boards, mixing bowls, and measuring tools
- Cooking: pots, pans, cooking utensils, oils, and seasonings
- Baking: flour, sugar, baking sheets, and mixer attachments
- Serving: plates, bowls, glasses, and serving spoons
- Cleanup: dish soap, sponges, towels, and trash bags
Keep countertop appliances near the zone that uses them most, such as a toaster by breakfast supplies or a blender near smoothie ingredients.
Place cooking utensils near the stove, where you’ll reach for them often. As you assign items, notice overlapping tasks and choose the zone that supports your routine best.
This approach creates logical homes without forcing you to reorganize yet.
Store Items Strategically
Store items in the zones where you’ll use them most often, keeping frequently reached-for tools within easy reach. Place knives, cutting boards, and mixing bowls near your prep area.
Keep pots, pans, and cooking utensils beside the stove, while storing plates, glasses, and napkins near the dishwasher or dining space. Arrange baking supplies together in a cabinet close to your oven.
Reserve a drawer or shelf near the refrigerator for food-storage containers and wraps. Use vertical dividers to prevent lids, trays, and pans from becoming tangled.
Color coded storage can help you identify categories quickly, especially when several people share the kitchen. Add clear Labeling systems to bins and shelves so everyone knows where items belong.
Return each tool to its assigned zone after use, and adjust placements when your routines change.
Keep Daily Essentials Near Their Zones
Keep the items you use every day near the area where you need them most. This simple habit cuts down on searching, keeps your routine moving, and makes cleanup easier.
Group essentials by task instead of storing them wherever space happens to be available. For example, place frequently used tools and ingredients close to your main preparation area, while keeping table-setting supplies near the dining zone.
- Store knives and cutting boards beside your primary prep area.
- Keep oils, spices, and measuring tools near your cooking station.
- Place mugs, coffee, and filters together for quick mornings.
- Organize plates, bowls, and utensils near the dishwasher.
- Set everyday cleaning supplies within easy reach of the sink.
Arrange items so handles face outward and labels remain visible. You’ll reinforce efficient Cooking techniques by reaching naturally for what you need.
You’ll also support Kitchen safety by keeping sharp tools secure and avoiding unnecessary movement across the room. Return each item to its zone after use, so your kitchen stays orderly without extra effort.
Use Vertical Space to Free Counters
Walls and cabinet interiors give you valuable storage without taking up counter space. Install floating shelves to hold plates, mugs, or frequently used spices while keeping your work surfaces clear. Place them where you can reach items comfortably, and leave enough space between shelves for taller cookware.
You can also mount a narrow rack inside a cabinet door for cutting boards, pot lids, or baking sheets. Use vertical stacking for items that already have stable, flat shapes, such as pans, trays, and serving platters.
Position the tallest pieces at the back or bottom, then arrange smaller ones in front or above them so you can see everything quickly. Extend storage upward with a wall-mounted rail for utensils or lightweight tools.
Before drilling, check the wall structure and choose hardware that can support the load. Keep heavy items low, and reserve higher areas for occasional-use pieces. This approach opens counters without making essentials difficult to find.
Add Bins, Dividers, and Shelf Risers
Bins, dividers, and shelf risers turn crowded cabinets and drawers into organized, easy-to-use spaces. Choose tools that match your kitchen’s needs, then group similar items so you can find what you need quickly. Use clear storage containers for snacks, baking supplies, or small packets, and label them when contents aren’t obvious.
- Add shelf risers to double vertical cabinet space.
- Place organizational dividers in drawers for utensils.
- Use narrow bins to corral bottles and packets.
- Store lids upright with adjustable racks.
- Select stackable containers for compact, stable storage.
Measure shelves and drawers before buying organizers, ensuring each piece fits without wasted gaps. Put frequently used items at eye level or near the front, while reserving higher areas for occasional tools.
Keep heavier containers on lower shelves, where they’re easier and safer to lift. Choose washable materials for areas exposed to spills, and use nonslip liners to keep risers and bins steady.
With the right arrangement, every item gains a practical, accessible home.
Maintain Your Clutter-Free Kitchen
A clutter-free kitchen stays that way when you reset it after each meal. Return every item to its assigned spot, wipe counters, and sweep crumbs before they spread. Don’t let dishes pile up; load the dishwasher or wash them immediately. Keep a small basket nearby for items that belong elsewhere, then empty it daily.
Schedule weekly Kitchen cleaning to tackle cabinet fronts, the refrigerator, and neglected corners. Check your bins, dividers, and shelf risers for spills, and clean them before grime builds. Limit countertop items to what you use regularly, and remove duplicates during a monthly review.
Include appliance maintenance in your routine. Clean the toaster’s crumb tray, descale the coffee maker, and inspect refrigerator seals. Follow each manufacturer’s care instructions to prevent buildup and extend appliance life.
When you finish cooking, pause for a two-minute reset. This simple habit keeps your kitchen inviting, efficient, and ready for the next meal without requiring an overwhelming cleanup session.
Frequently Asked Questions
How Can I Organize a Small Kitchen With Limited Storage Space?
You can organize a small kitchen by decluttering first and keeping only items you use regularly. Focus on maximizing vertical storage with stackable shelves, wall rails, hooks, and magnetic strips.
Use cabinet-door organizers for lids, cutting boards, and spices. Try utilizing under-sink space with adjustable bins, tension rods, and pullout drawers.
Store appliances strategically, placing occasional-use items higher or elsewhere. Label containers, group similar tools, and leave counters clear for daily tasks.
What Kitchen Organization Products Are Worth Buying?
Buy products that solve a specific problem, not trendy gadgets. Start with adjustable shelf risers, stackable bins, a slim rolling cart, drawer dividers, and clear airtight containers.
Use door-mounted racks to create extra storage without consuming counter space. Before purchasing, read Kitchen gadget reviews and compare durability, dimensions, and cleaning requirements.
Look for Budget storage solutions at discount stores, but prioritize sturdy materials. Measure your cabinets first, and avoid items you can’t easily access or maintain.
How Should I Organize Kitchen Appliances and Cords?
Start with appliance grouping: Keep daily-use machines on the counter, occasional ones in a cabinet, and heavy appliances on lower shelves.
Curiously, kitchens can contain dozens of electrical devices, so clutter builds quickly.
Use cord management by wrapping each cable with reusable ties, labeling both ends, and storing appliances with their cords secured.
Route frequently used cords behind organizers, never across walkways. You’ll save space, protect cables, and find everything faster.
Where Should I Store Cleaning Supplies Safely?
Store cleaning supplies in a locked cabinet, preferably high enough to keep children and pets away. Keep products in their original, labeled containers, and never place them near food, medicines, or heat sources.
Use separate bins for sprays, powders, and tools to prevent leaks and clutter. For cleaning safety, don’t mix chemicals, especially bleach and ammonia.
These storage solutions help you find supplies quickly while reducing accidental exposure and spills.
How Often Should I Reorganize My Kitchen?
Reorganize your kitchen every three to six months, or whenever clutter slows you down. Think of it like pruning a garden: after one season, overgrown corners hide what you need.
Start with pantry sorting, checking expiration dates and grouping similar foods. Then refresh your utensil arrangement so daily tools stay within reach.
You’ll also want to reorganize after moving, changing routines, or adding appliances. A quick monthly reset keeps bigger projects manageable.
Conclusion
With these simple steps, you’ll turn your kitchen into a calmer, more efficient space. Clear surfaces, group similar items, and keep everyday essentials within easy reach.
Use vertical storage, bins, and dividers to make every cabinet and drawer work harder. Once everything has a home, tidying up won’t feel like a chore.
Keep clutter from piling up, and you’ll stay ahead of the game while enjoying a kitchen that’s ready for whatever you cook next. These simple steps to organize your kitchen make daily cooking easier.