How to Install Kitchen Sink Plumbing in 7 Steps
A leaky or confusing sink setup can quickly turn a simple kitchen project into a frustrating mess. You’re not alone—many homeowners struggle with choosing the right parts and connecting everything correctly. This guide makes it easier to learn how to install kitchen sink plumbing with clear steps and practical tips.
To install kitchen sink plumbing, gather a wrench, pliers, bucket, towels, sealant, and matching fittings.
Shut off the hot and cold valves, open the faucet, and clear the cabinet.
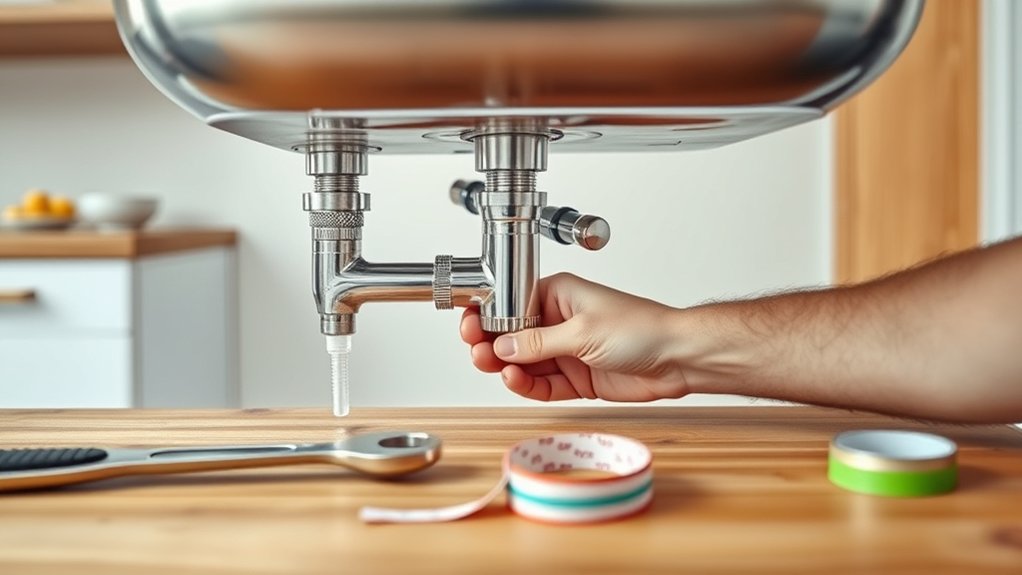
Install and seal the drain strainer, then attach the tailpiece and P-trap.
Connect the faucet’s supply lines to the correct valves.
Route the dishwasher hose in a high loop and clamp it securely.
Turn on the water, run the faucet, and inspect every joint for leaks.
The steps below cover final checks and helpful details.
Key Takeaways
- Gather tools, drain components, sealant, plumber’s tape, a bucket, towels, and correctly sized supply lines.
- Shut off the water, open the faucet, disconnect the existing plumbing, and inspect valves and fittings for damage.
- Install the sink strainer with plumber’s putty, a gasket, a friction ring, and a mounting nut. Then check for leaks.
- Connect the tailpiece, P-trap, and dishwasher hose. Ensure proper alignment, a high loop, and secure clamps.
- Attach the hot and cold supply lines, restore water slowly, and test every connection for leaks under pressure.
Gather Kitchen Sink Plumbing Tools and Supplies
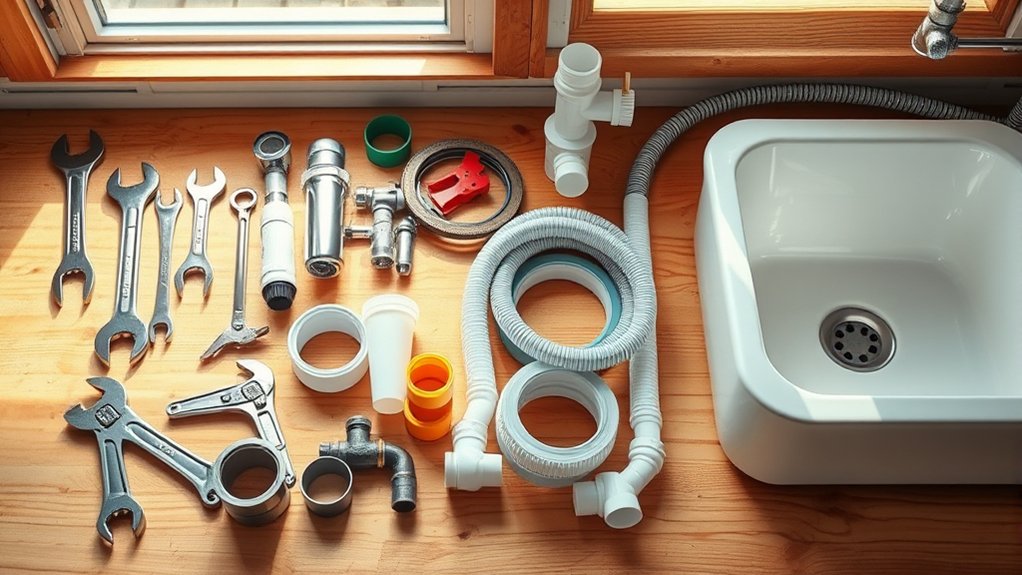
Before you begin installing the sink plumbing, gather the tools and supplies you’ll need to keep the job efficient. Set out adjustable wrenches, tongue-and-groove pliers, a basin wrench, a hacksaw, a utility knife, and a tape measure.
Keep a bucket and towels nearby to catch drips during installation. You’ll also need a drain assembly, sink strainer, tailpiece, P-trap, slip-joint nuts, washers, and replacement supply lines sized for your faucet.
Keep towels and a bucket handy, and gather the drain components, washers, slip-joint nuts, P-trap, and properly sized supply lines.
Choose plumber’s putty or silicone sealant according to your drain manufacturer’s instructions. Stock plumber’s tape for threaded connections, but don’t use it on compression fittings.
Add pipe insulation if exposed lines need protection from condensation or cold temperatures. Check that every fitting matches your pipe diameter and material.
If you’re adding a filter or disposer, gather its mounting hardware and manufacturer-specified connectors. Finally, use a flashlight to inspect cramped spaces and a level to confirm the sink and drain alignment once installation begins.
Shut Off Water and Prepare the Sink
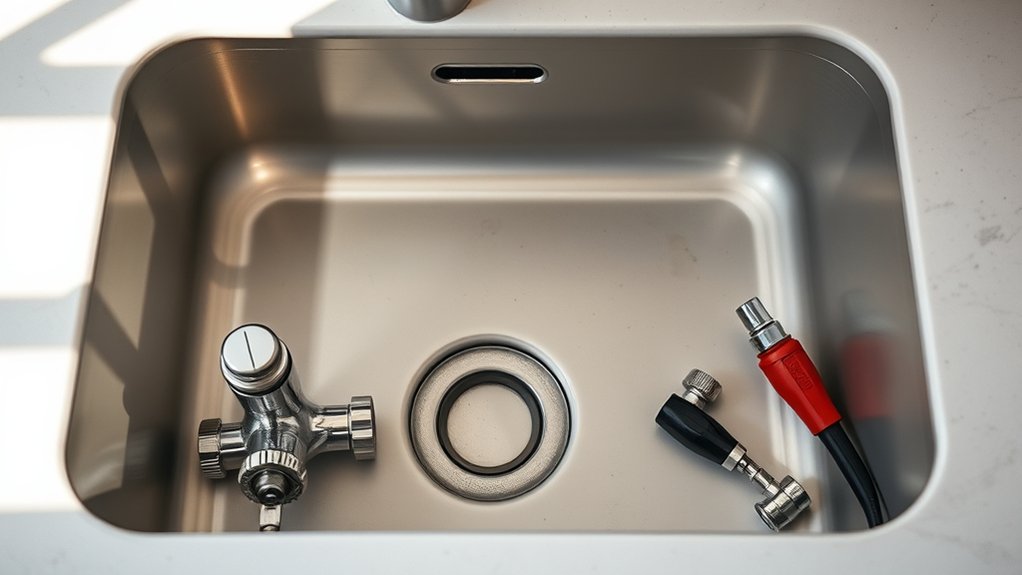
With your tools and supplies ready, shut off the faucet’s hot and cold supply valves, then open the faucet to release pressure from the lines. If water continues flowing, close the home’s main shutoff valve. Confirm that no water runs before disconnecting any existing connections.
Place a bucket beneath the sink to catch residual water, and keep towels nearby for spills. Remove items from the cabinet so you have a clear, dry workspace.
Protect the cabinet floor with a plastic sheet or shallow pan. Use a flashlight to inspect the supply lines, shutoff valves, and existing fittings.
Note the pipe materials, such as copper, PEX, or braided stainless steel, because connection methods and replacement parts may differ. Check for corrosion, leaks, or damaged threads, and replace questionable components before proceeding.
Maintain control of water pressure throughout the preparation, and don’t force stuck valves or fittings. Keep the work area ventilated and well lit.
Install the Drain Strainer and Gasket
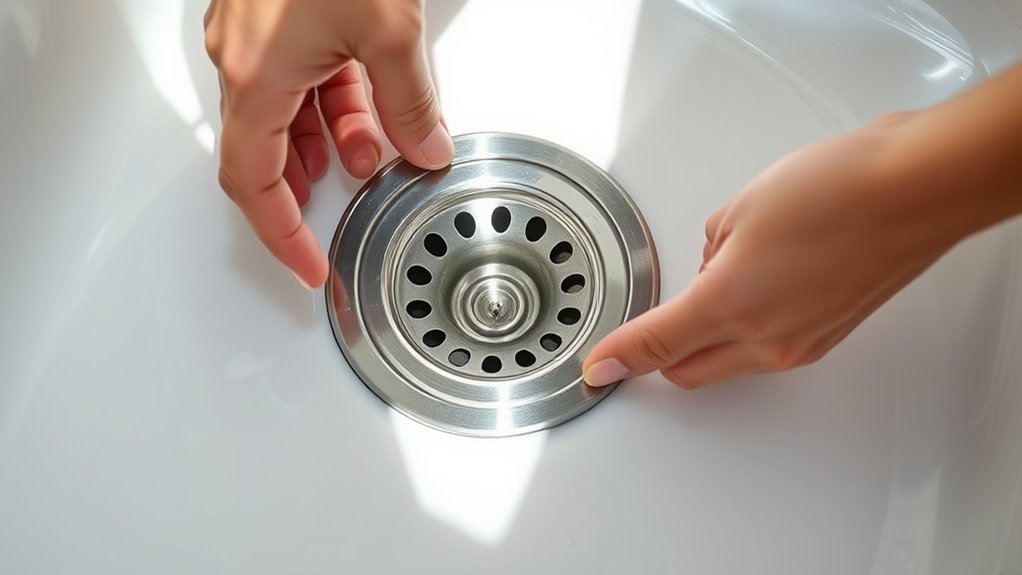
Apply a continuous bead of plumber’s putty beneath the drain strainer’s flange, then insert the strainer through the sink opening from above. From underneath, slide the rubber gasket over the strainer threads, followed by the friction ring and mounting nut.
Keep the strainer centered while you hand-tighten the nut. Then use slip-joint pliers to tighten it slightly more, but don’t overtighten, or you could distort the gasket or damage the sink.
Wipe away squeezed-out putty around the flange with a damp cloth. Check that the gasket sits flat and forms an even seal against the sink’s underside.
If the gasket looks cracked, compressed, or brittle, complete a gasket replacement before tightening the nut. A sound seal prevents leaks and helps simplify future drain cleaning.
Pour a small amount of water into the sink, then inspect beneath the opening for moisture. If you spot a leak, loosen the nut, reposition the gasket, and retighten it evenly.
Keep the drain opening clear for the next connection.
Connect the Tailpiece and P-Trap
Next, attach the tailpiece beneath the drain strainer. Then, align the P-trap with the tailpiece and wall drain. Finally, tighten the slip nuts to secure both connections.
Attach the Tailpiece
Attach the tailpiece to the sink’s strainer before connecting the P-trap. Place the tailpiece’s beveled washer against the strainer outlet, then slide on the slip nut and washer.
Hand-tighten the nut until the joint feels secure, keeping the tailpiece vertical beneath the sink.
If the standard length doesn’t suit your setup, use tailpiece customization by cutting the tube with a fine-tooth hacksaw or choosing an extension. Remove burrs and clean the cut edge so the washer seals evenly.
Confirm that the tailpiece diameter matches the P-trap and local plumbing requirements.
Consider drain pipe materials when selecting replacement parts. Plastic, chrome-plated brass, and stainless steel require compatible washers and fittings.
Don’t use thread sealant on slip-joint washers. Tighten the nut gently with pliers, avoiding damage to the connection.
Align the P-Trap
Align the P-trap’s inlet with the tailpiece, keeping both pieces straight and level beneath the sink. Slide the trap’s opening onto the tailpiece, then rotate the trap until its outlet points toward the wall drain.
Keep the bend low enough to preserve room for the horizontal connector, but don’t force either fitting into position. If the trap sits too high, lower it slightly; if it sits too low, raise the tailpiece as needed.
This P trap adjustment helps create a smooth drainage path and prevents stress on the joints. Check your Pipe alignment from the front and side, ensuring the trap remains level and the tailpiece stays vertical.
Mark any needed cut or repositioning points. Leave each slip nut and washer in place for the next step.
Tighten Slip Nuts
With the P-trap and tailpiece aligned, hand-tighten the slip nut connecting them. Keep the washer centered inside the nut, with its beveled edge facing the joint.
Then use adjustable pliers to turn the nut about one-quarter turn more. Don’t overtighten it, or you could crush the washer and create a leak.
Repeat the process at the trap’s other connection.
| Check | What to do | Why it matters |
|---|---|---|
| Washer | Center and seat it | Prevents leaks |
| Nut | Tighten gently | Protects threads |
| Joint | Inspect after testing | Catches drips |
Run water through the sink and watch every connection for several minutes. If water appears, loosen the nut, reseat the washer, and tighten it slightly.
Replace damaged washers or corroded hardware. Severe pipe corrosion may require slip nut replacement.
Wipe the joints dry, then recheck them later to confirm they remain secure.
Connect the Faucet Supply Lines
Connect the faucet’s hot- and cold-water supply lines to the matching shutoff valves under the sink. Verify that the hot line reaches the hot valve and the cold line reaches the cold valve.
If the lines don’t reach comfortably, replace them with properly sized flexible connectors rather than stretching or sharply bending them.
Shut both valves, then remove their protective caps if necessary. Slide each connector’s compression nut and ferrule onto the valve fitting, or use the included threaded connection as directed by the faucet manufacturer.
Hand-tighten the nut, then tighten it another quarter-turn with an adjustable wrench. Don’t overtighten, which can damage the seal.
Consider the Pipe materials when choosing connectors. Compatible brass or braided stainless-steel lines usually provide reliable service.
Turn on each valve slowly and inspect every joint for leaks. Check Water pressure by running the faucet, allowing air to escape, and confirming a steady flow.
If a connection drips, close the valve and tighten it slightly.
Hook Up the Dishwasher Drain Hose
Route the dishwasher drain hose from the appliance to the sink’s drain connection, keeping it smooth and free of kinks. Plan the Drain hose routing so the line reaches the disposal inlet or sink tailpiece without stretching.
Create a high loop beneath the countertop, securing the hose to the cabinet wall or underside of the counter. This elevation helps prevent wastewater from flowing back into the dishwasher.
A secured high loop beneath the counter helps prevent wastewater from flowing back into your dishwasher.
If you’re connecting to a garbage disposal, remove its dishwasher knockout plug first. Slide the hose fully over the inlet, then tighten a stainless-steel hose clamp.
For a sink tailpiece, attach the hose to the dishwasher branch fitting and secure it the same way. Keep the Dishwasher connection accessible, supported, and free from sharp bends.
- You’ll protect clean dishes from dirty water.
- You’ll prevent frustrating drain odors.
- You’ll gain confidence in your installation.
- You’ll enjoy a neater, safer cabinet.
Check that the hose won’t rub against moving disposal parts or rest on the cabinet floor. Tuck away excess length without crushing the line.
Test Every Kitchen Sink Connection for Leaks
Once the dishwasher hose is secured, test every kitchen sink connection for leaks. Place a dry towel beneath the sink, then open the faucet and let water run through the drain.
Check the supply valves, flexible lines, faucet connections, strainer, P-trap, and dishwasher hose. Watch for drips, dampness, or water trails, and feel each joint with a dry finger.
Effective leak detection requires patience because small leaks may appear slowly. For pressure testing, close the drain stopper and fill the basin halfway.
Release the water while inspecting the strainer and trap. If you find a leak, turn off the water, tighten the connection gently with a wrench, and retest.
Don’t overtighten plastic fittings, because you could crack them. Run hot and cold water separately, checking the supply lines under pressure.
Finally, wipe every connection dry and inspect again after several minutes. Leave the cabinet open briefly so you’ll notice any delayed leak before installing stored items.
Frequently Asked Questions
How Often Should Kitchen Sink Plumbing Be Professionally Inspected?
You should have your kitchen sink plumbing professionally inspected every one to two years, even if you haven’t noticed problems. Schedule an earlier visit if you see leaks, slow drainage, unpleasant odors, water stains, or unusual noises.
Regular pipe maintenance helps identify corrosion, loose connections, and hidden damage before repairs become expensive. A professional inspection supports leak prevention, protects your cabinets and floors, and ensures your drain, supply lines, shutoff valves, and garbage disposal operate safely.
What Causes Persistent Odors Coming From the Kitchen Sink Drain?
Persistent kitchen sink odors usually come from trapped food, grease, bacterial buildup, a dry P-trap, or sewer gases escaping through faulty seals. Think of your drain as a small, hidden cave: when debris feeds unwanted “creatures,” smells emerge.
Start with consistent Cleaning routines: flush hot water, scrub the strainer, and clean the garbage disposal. Check Odor sources, including the overflow opening and dishwasher hose. If odors continue, inspect the trap and call a plumber.
Can I Install a Garbage Disposal With Any Kitchen Sink?
You can install a garbage disposal on most standard kitchen sinks, but sink compatibility matters. Check that your sink has a standard 3½- or 3¾-inch drain opening and enough clearance beneath the basin.
Some specialty, farmhouse, ceramic, or extra-thick sinks may require an adapter or different mounting ring. You’ll also need a grounded electrical connection, a compatible dishwasher inlet, and sufficient cabinet space for the unit and plumbing.
How Do I Prevent Kitchen Sink Pipes From Freezing?
You can prevent kitchen sink pipes from freezing by keeping them warm and maintaining airflow. Wrap exposed lines with Pipe insulation, especially near exterior walls, and seal drafts around cabinets and plumbing openings.
Open cabinet doors during freezing weather so warm air reaches the pipes. Let cold water drip slightly overnight when temperatures drop sharply.
Insulate Drain traps, too, and keep your home heated. Never use an open flame to thaw frozen pipes.
When Should I Replace Old Kitchen Sink Plumbing?
Replace old kitchen sink plumbing when you notice persistent leaks, pipe corrosion, recurring drain clogs, foul odors, or reduced water flow. Don’t wait if cabinets stay damp, connections loosen, or water stains appear, because hidden damage can spread quickly.
You’ll usually benefit from replacement when pipes exceed 20–30 years, especially galvanized or steel lines. Choose durable materials, and have a plumber inspect questionable joints before a small problem becomes an expensive repair.
Conclusion
With these seven steps, you’ve transformed a collection of pipes into a leak-free kitchen-sink masterpiece. Turn the water back on slowly, inspect every connection, and run the faucet, drain, and dishwasher.
If a drop appears, don’t panic. Tighten the fitting and test again. Your careful work can save you from a flood of frustration, costly damage, and emergency repairs.
Once everything stays dry, clean up your tools and enjoy your newly conquered kitchen sink plumbing project with confidence.