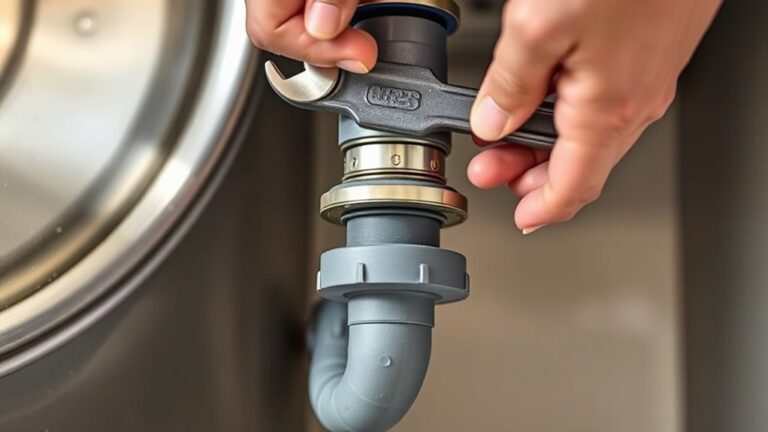
How to Replace a Kitchen Sink Drain in 10 Steps
A leaking or clogged kitchen sink drain can turn a simple chore into a frustrating mess. You’re not alone—many homeowners struggle with choosing the right replacement and getting a watertight fit.
This guide to replacing a kitchen sink drain walks you through the process and highlights helpful products to make the job easier.
To replace a kitchen sink drain in 10 steps, gather tools and a compatible drain, then clear and protect the cabinet.
Place a bucket underneath, disconnect the trap, and remove the old drain.
Clean and inspect the opening.
Apply plumber’s putty beneath the new flange, set it in place, and tighten the basket from below.
Reconnect the pipes without overtightening.
Run water, check every joint for leaks, and keep going for helpful troubleshooting details.
Key Takeaways
- Gather compatible replacement parts, essential tools, a bucket, towels, gloves, and plumber’s putty before starting.
- Clear the cabinet, place a bucket beneath the trap, and disconnect the drain pipes and old basket.
- Clean the sink opening, apply plumber’s putty beneath the new flange, and center it in the drain hole.
- Secure the basket with its gasket and locknut, then reconnect the tailpiece, trap, and wall drain.
- Run water, fill and drain the basin, and tighten or replace seals if any connection leaks.
Gather Tools and Choose the Right Kitchen Sink Drain
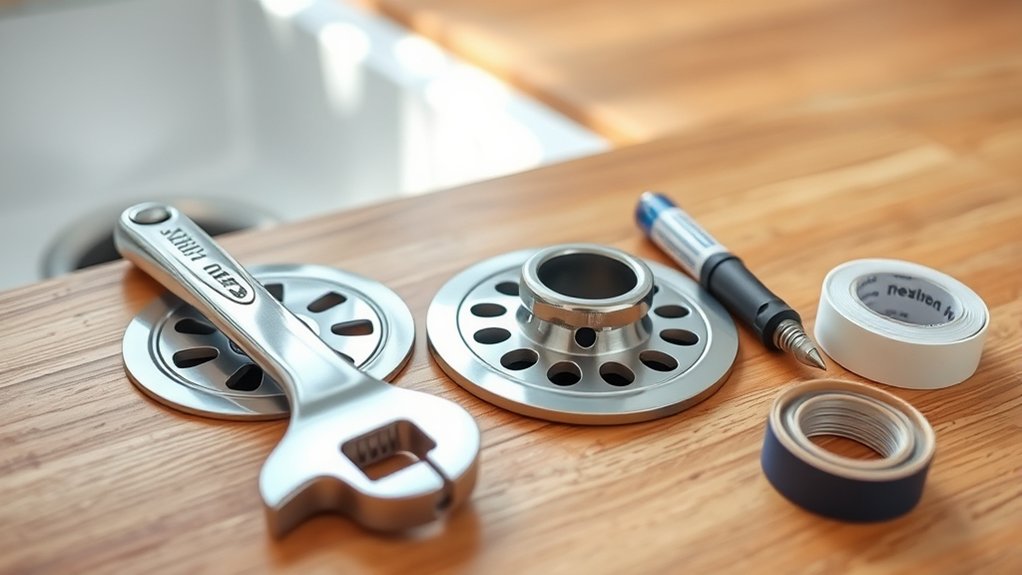
Before you remove the old drain, gather a basin wrench, adjustable pliers, a putty knife, plumber’s putty or silicone sealant, a bucket, and a replacement drain assembly. Check each tool for damage, and practice Tool safety by wearing gloves and keeping sharp edges away from your hands.
Choose tools that fit the existing fittings so you won’t round nuts or strain the sink.
Measure the drain opening and compare it with the replacement assembly’s diameter, threads, and tailpiece length. Confirm that the flange, gasket, basket, and locknut match your sink configuration.
Consider Drain materials, too. Stainless steel offers durability and corrosion resistance, while brass provides strength and may suit heavier installations.
Plastic components cost less and resist rust, but they can crack if overtightened. Select plumber’s putty for compatible sink surfaces; use silicone when the manufacturer recommends it.
Read the assembly instructions before removal, and verify that every required washer and connector comes in the package.
Clear the Cabinet and Protect Your Workspace
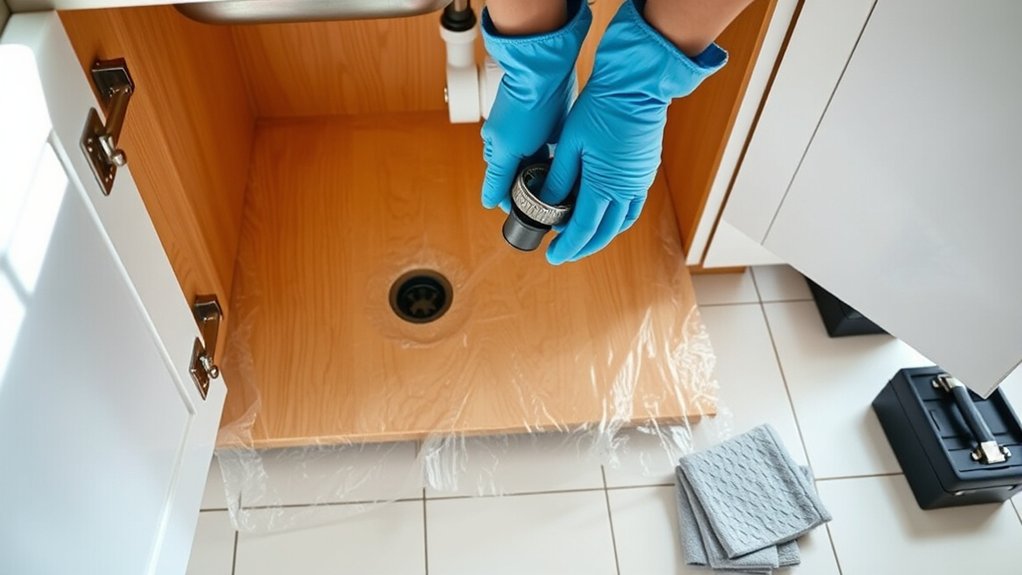
Once you’ve selected the replacement drain and gathered your tools, empty the cabinet completely to create room beneath the sink. Remove cleaners, trash bins, stored dishes, and anything else that could block access or get damaged.
Check the cabinet floor and walls for leaks, then wipe away dust and residue so your supplies stay clean.
Good Cabinet organization makes the job easier: group your tools in a small tray, keep replacement parts together, and place frequently used items within reach.
For Workspace protection, spread an absorbent towel or shallow pan across the cabinet floor to catch drips during the project.
Add a flashlight or headlamp so you can see fittings clearly without holding a light. Protect the cabinet’s edges with a folded towel, especially if you’ll kneel or lean against them.
Keep a bucket, rags, and gloves nearby, and leave the surrounding counter clear for parts and instructions.
Don’t start until your workspace feels open, dry, and stable.
Disconnect the Existing Drain Pipes
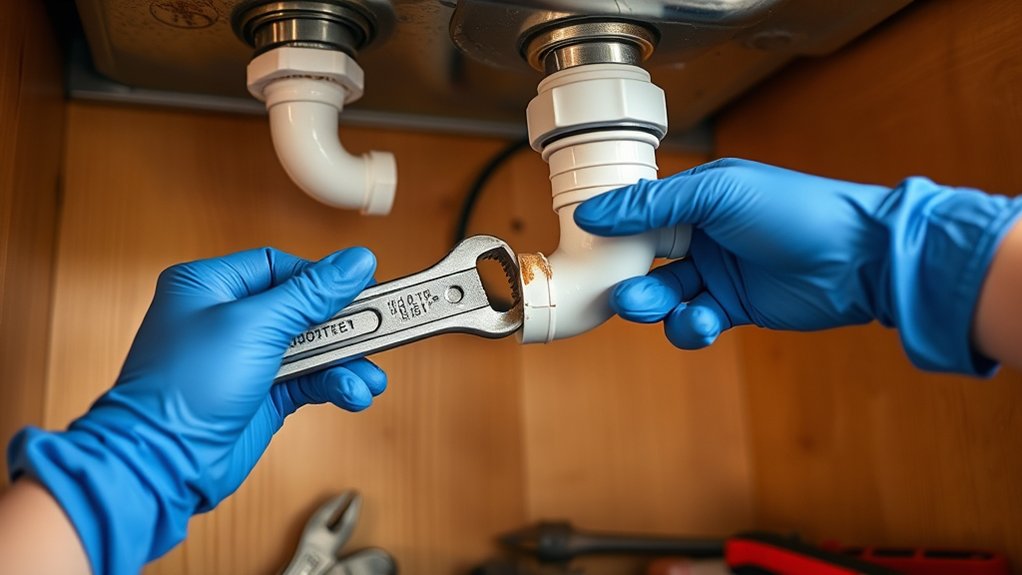
Turn off the faucet and place a bucket beneath the drain trap to catch standing water. Open the cabinet doors so you can see every connection clearly. You’ll disconnect the trap and adjoining drain sections without disturbing the sink’s drain assembly.
- Loosen each slip nut by turning it counterclockwise. Use channel-lock pliers if your grip isn’t enough, but protect plastic fittings from crushing.
- Let trapped water drain into the bucket, then remove the washers and set them aside in order.
- Check for water pressure by briefly opening the faucet, then shut it again. Unexpected flow means another supply or valve remains open.
- Pull the pipe sections apart gently. If corrosion holds them together, twist carefully rather than forcing the sink connection.
Keep a rag nearby for spills. If pipe insulation blocks access, move it aside without tearing it, and note its original position.
Cap or cover any open wall pipe temporarily to prevent odors and debris from entering. Don’t remove the old drain assembly yet; that’s the next step.
Remove the Old Sink Drain Assembly
With the drainpipes disconnected, remove the old sink drain assembly from above the basin. Place a bucket beneath the opening to catch trapped water, then put on gloves and eye protection as basic Safety precautions. Use tongue-and-groove pliers to loosen the large retaining nut beneath the sink.
Disconnect the drainpipes, protect yourself, catch trapped water, and loosen the retaining nut beneath the sink.
If the nut won’t turn, apply penetrating oil and wait several minutes. Don’t force the basin or twist attached fittings.
Hold the drain flange above the sink with a drain wrench, adjustable pliers, or a second pair of pliers while you turn the retaining nut below. Remove the nut, friction ring, and gasket, keeping the parts organized in case you need to identify replacements.
Push the flange upward through the sink opening. If old plumber’s putty or sealant holds it in place, cut around the edge carefully with a plastic scraper or utility knife.
Consider Material compatibility when selecting tools and replacement parts, especially for stainless steel, brass, or plastic components.
Clean and Inspect the Drain Opening
After removing the old flange, clean the sink’s drain opening before installing the replacement. You’ll need a putty knife, a nonabrasive scrub pad, vinegar, and a clean cloth.
Careful drain cleaning removes old plumber’s putty, mineral deposits, grease, and food residue that could prevent a watertight seal.
- Scrape gently: Hold your putty knife nearly flat and lift away hardened material without scratching the sink surface.
- Soften buildup: Dampen a cloth with vinegar and press it over stubborn deposits for several minutes.
- Scrub carefully: Use a nonabrasive pad to loosen remaining grime, then wipe the area completely dry.
- Inspect thoroughly: Apply these inspection techniques to check for chips, cracks, corrosion, or deep scratches around the opening.
Run your fingertip around the rim. It should feel smooth and even.
If you find damage, address it before continuing. An uneven or compromised surface can cause leaks.
Don’t use harsh chemicals or abrasive tools that might damage the sink’s finish.
Check the New Drain for Size and Fit
Measure the drain opening to confirm that the new drain has the correct diameter. Then, place the drain in the opening to test the fit. If it doesn’t sit snugly, double-check the size before continuing.
Measure Drain Opening
Before buying a replacement, measure the sink’s drain opening across its center, from one inside edge to the other. Use a ruler or tape measure and record the result in inches or millimeters. For reliable Measurement accuracy, keep the tool straight and measure the widest point, not the surrounding flange.
- Clean debris from the opening so buildup won’t affect your reading.
- Measure the opening in two directions to confirm the same diameter.
- Note the sink’s material, such as stainless steel, porcelain, or composite.
- Compare your measurements with the drain’s listed opening size and specifications.
Check the drain body, flange, and included gasket dimensions before purchase. Material compatibility matters because some finishes or components can stain, corrode, or fail to seal against certain sinks.
Write down every measurement and bring it when shopping or ordering online.
Test the New Fit
Set the new drain into the sink opening without applying sealant to confirm the fit. Check that its rim sits evenly on the sink surface and that no gaps appear around the edge.
From beneath the sink, verify that the threaded body extends far enough to attach the gasket, washer, and locknut securely. Make sure the drain matches your sink’s measured opening and connects properly with the existing tailpiece or trap.
Consider material compatibility, especially if you’re pairing stainless steel, brass, plastic, or another metal, because incompatible materials can corrode over time. Also review aesthetic considerations: the drain’s finish and shape should complement your faucet and sink.
If the fit feels loose, tight, uneven, or misaligned, don’t force it. Return it and choose a correctly sized replacement before applying plumber’s putty or sealant.
Apply Putty and Set the Drain Flange
Roll a rope of plumber’s putty between your hands and press it evenly around the underside of the drain flange. Keep the ring continuous, without gaps or thick spots.
Clean and dry the sink opening first so the putty seals against bare, smooth metal or porcelain.
- Center the drain flange over the sink opening.
- Lower it straight down, avoiding twists that could disturb the putty.
- Press gently around the rim to seat the flange evenly.
- Wipe away any putty that squeezes into the basin.
Check the flange from above. Its rim should sit flat against the sink, with no visible gaps.
If it rocks, lift it carefully, reshape the putty, and try again. Don’t use silicone unless your drain instructions specifically require it. Plumber’s putty remains easier to remove during future repairs.
Keep the opening and flange aligned while you prepare for the next installation step. Work slowly, because a neat seal now helps prevent leaks and keeps the finished drain looking clean.
Avoid overtightening anything from above. Doing so could distort the flange or damage the sink surface.
Secure the Drain Basket From Below
From beneath the sink, line up the drain basket with the drain opening. Thread on the locknut and tighten it by hand first. Then use pliers to secure it, making sure the basket stays centered.
Tighten the Locknut
With the drain basket held firmly in place above the sink, thread the rubber gasket, friction ring, and locknut onto the drain body underneath. Keep each piece seated evenly as you begin tightening the locknut by hand.
Then follow these steps:
- Turn the locknut clockwise until it contacts the friction ring.
- Hold the basket steady from above so it doesn’t rotate.
- Use a basin wrench or adjustable wrench for the final turns.
- Stop when the gasket compresses firmly without bulging.
Apply steady pressure rather than forcing the nut. Excessive tightening can distort the gasket, damage the threads, or crack a plastic drain body.
Check underneath for an even gasket edge and a snug connection. Wipe away any displaced sealant, but don’t shift the basket while the locknut remains loose.
Make a careful wrench adjustment for control.
Align the Drain Basket
Once the locknut is snug, secure the drain basket from below and check its alignment. Look into the sink to confirm the drain basket sits centered in the opening, with its flange lying flat against the sink surface.
If it’s crooked, loosen the locknut slightly, reposition the basket, and hold it steady from above.
Use these Alignment tips: keep the basket’s outlet facing straight down, make sure the rubber gasket stays evenly seated, and remove any excess plumber’s putty that squeezes into the basin.
From below, slide on the friction ring and locknut, then hand-tighten while you keep the basket aligned. Tighten the nut with channel-lock pliers, but don’t overtighten it.
Wipe away remaining putty, then check the flange for gaps or movement before connecting the drainpipe.
Reconnect the Drain Pipes
Reconnect the drain pipes by aligning the trap with the sink’s tailpiece and the wall drain. Support each section loosely while you determine where the connections meet naturally.
Choose compatible drain pipe materials, such as PVC, ABS, or chrome-plated brass, based on your existing plumbing and local requirements.
- Slide a slip nut and compression washer onto the tailpiece.
- Push the trap onto the tailpiece, keeping its bend oriented downward.
- Connect the trap’s outlet to the wall tube, trimming the tube squarely if necessary.
- Hand-tighten every slip nut, then snug each joint with adjustable pliers.
Use proper pipe fitting techniques: keep washers centered, avoid cross-threading, and don’t force misaligned parts together.
If the trap sits too high or low, adjust the wall tube or add an approved extension rather than bending the pipe. Keep the assembly accessible and ensure the trap’s curves remain unobstructed.
Once all pieces align comfortably, tighten the connections evenly without over-compressing the washers.
Test for Leaks and Fix Common Problems
Run water through the sink and check each connection for drips. If you spot a leak, tighten the slip nuts or reseat the washer. Then test the drain again to make sure the problem is fixed.
Check for Leaks
Turn on the faucet and let water flow through the new drain while you inspect every connection beneath the sink. Use a flashlight and dry paper towel to improve leak detection; even a small damp spot signals trouble.
Watch the strainer flange, gasket, slip-joint connections, and tailpiece as water runs. Then fill the basin, release the stopper, and check again while draining a full load.
- Feel each joint for moisture without tightening anything.
- Look for drops forming beneath the flange or nuts.
- Wipe every connection completely dry.
- Recheck after several minutes to confirm conditions remain dry.
If you see water, note its exact location and stop testing. Don’t apply sealant yet or disturb the fittings during this inspection.
Accurate observations will guide the next repair step and help ensure your replacement drain performs reliably.
Fix Common Problems
Fix the problem based on exactly where you found moisture. If water appears at the drain flange, loosen the slip nuts, center the drain, and tighten the flange gently.
Replace the plumber’s putty or gasket if it’s cracked, flattened, or missing. If a slip-joint connection leaks, remove it, inspect the washer, and install a new beveled washer with its thick edge facing the nut.
Hand-tighten the nut, then add only a small turn with pliers. For leaks from the trap, replace damaged washers or the trap itself.
Dry every connection, run water, and check again with a paper towel. Don’t overtighten, because you can crack plastic threads or distort seals.
Wear gloves and keep the cabinet dry to support Plumbing safety. Regular Kitchen maintenance helps prevent recurring leaks and water damage.
Frequently Asked Questions
How Often Should a Kitchen Sink Drain Be Replaced?
You typically won’t need to replace your kitchen sink drain on a fixed schedule. Inspect it yearly and replace it when you notice persistent leaks, corrosion, cracks, unpleasant odors, or slow drainage that Drain cleaning doesn’t resolve.
With proper care, a quality drain can last 10–20 years or longer. Check connections occasionally, tighten loose parts, and use Sealant application when needed.
Replace worn washers promptly to prevent cabinet damage and costly repairs.
Can I Replace a Sink Drain Without Removing the Sink?
Can you replace a sink drain without removing the sink? Yes, you usually can, especially with an undermount or easily accessible sink. You’ll need to loosen the drain’s locknut from below, disconnect the plumbing, remove the old drain, and install the replacement with fresh plumber’s putty.
DIY plumbing works best when you have enough clearance beneath the basin. If cabinet space feels cramped, sink removal might make the job safer and easier.
What Causes Recurring Odors After Replacing a Kitchen Sink Drain?
Recurring odors usually indicate trapped food, bacterial growth, or a drainage problem rather than a faulty new drain. You’ll get odor buildup if debris remains beneath the strainer, inside the tailpiece, or along the trap.
Check that the P-trap holds water and that its connections don’t leak or allow air around the washers. Proper trap sealing blocks sewer gases.
Clean the drain, flush it with hot water, and inspect the vent if smells persist.
Are Kitchen Sink Drains Compatible With Garbage Disposal Units?
Yes, many kitchen sink drains work with garbage disposal units, but you’ll need to confirm drain compatibility first. A standard sink drain typically gets replaced by the disposal’s special mounting flange, which connects directly to the unit.
Check your sink’s opening size, material, and thickness against the manufacturer’s specifications. You shouldn’t install a separate drain basket beneath the disposal.
If the sink has multiple bowls, verify every connection fits properly.
When Should I Hire a Professional Plumber for Drain Replacement?
Hire a professional plumber when your drain replacement involves damaged pipes, corroded fittings, leaks inside walls, or a garbage disposal connection you can’t safely disconnect.
You should also call one if DIY plumbing leaves you unsure, the drain remains blocked, or water damage appears beneath the sink.
Consider cost considerations carefully: professional service costs more upfront, but it can prevent expensive repairs from incorrect installation, hidden leaks, or damaged cabinets and flooring.
Conclusion
With the new kitchen sink drain in place, your sink can carry water away through a dependable connection. Run the faucet, watch for leaks, and tighten any fitting that drips.
Then restore your cabinet and workspace. This small repair completes one loop in your kitchen’s daily rhythm, giving you confidence each time water swirls down and disappears.