How to Replace a Kitchen Sink Faucet in 3 Steps
Replacing a kitchen sink faucet can feel like a frustrating chore, especially when corroded connections or tight cabinet spaces get in the way. You’re not alone—many homeowners struggle with this project, but the right tools and a clear plan can make it much easier.
To replace a kitchen sink faucet in three steps, gather your wrench, basin wrench, screwdriver, plumber’s tape, bucket, and towel.
First, shut off both supply valves and clear the cabinet.
Next, disconnect the supply lines, remove the retaining hardware, lift out the old faucet, and clean the mounting area.
Finally, install the new faucet, reconnect hot and cold lines, open the valves slowly, and check for leaks.
The steps below cover helpful details for a smooth installation.
Key Takeaways
- Gather tools, clear the cabinet, place a bucket beneath connections, and shut off both water supply valves.
- Disconnect hot and cold supply lines, remove retaining hardware, detach accessories, and lift out the old faucet.
- Clean and dry the sink opening, removing old putty, mineral deposits, and debris before installing the replacement.
- Position the new faucet, secure its mounting hardware, and reconnect hot and cold supply lines without overtightening.
- Open shutoff valves gradually, run the faucet, and inspect every connection for leaks, kinks, or loose fittings.
Gather Tools and Prepare the Sink
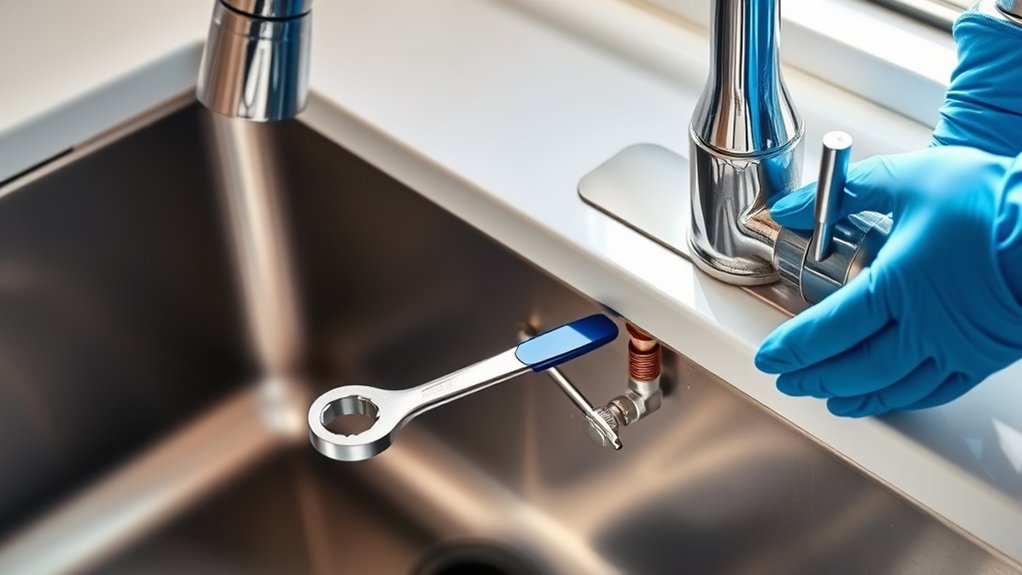
Before you begin, gather an adjustable wrench, basin wrench, screwdriver, plumber’s tape, a bucket, and a towel. Add a flashlight, gloves, a small container for hardware, and a cleaning cloth. Keep replacement supply lines and any manufacturer-provided parts nearby, but don’t open fittings until you’re ready to install them.
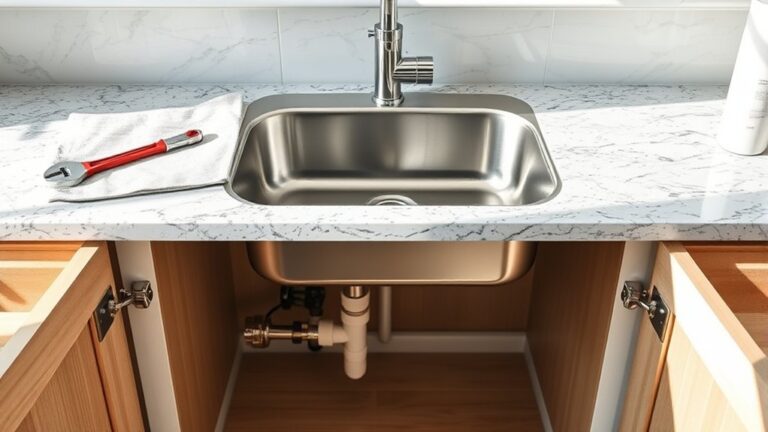
Clear everything from the cabinet beneath the sink. Place the bucket under the connections, then spread the towel around it to catch drips and protect the cabinet floor. Remove stored items so you can work comfortably and see the shutoff valves, supply lines, and drain assembly.
Inspect the sink deck and note the faucet mounting arrangement, such as a single-hole, centerset, or widespread configuration. Check the new faucet’s instructions for required tools, hole spacing, and components.
Turn on the sink briefly to confirm normal operation, then shut off both supply valves. Keep the cabinet lighted and ventilated before you proceed. Avoid disconnecting or loosening plumbing during preparation.
Remove and Secure the Kitchen Sink Faucet
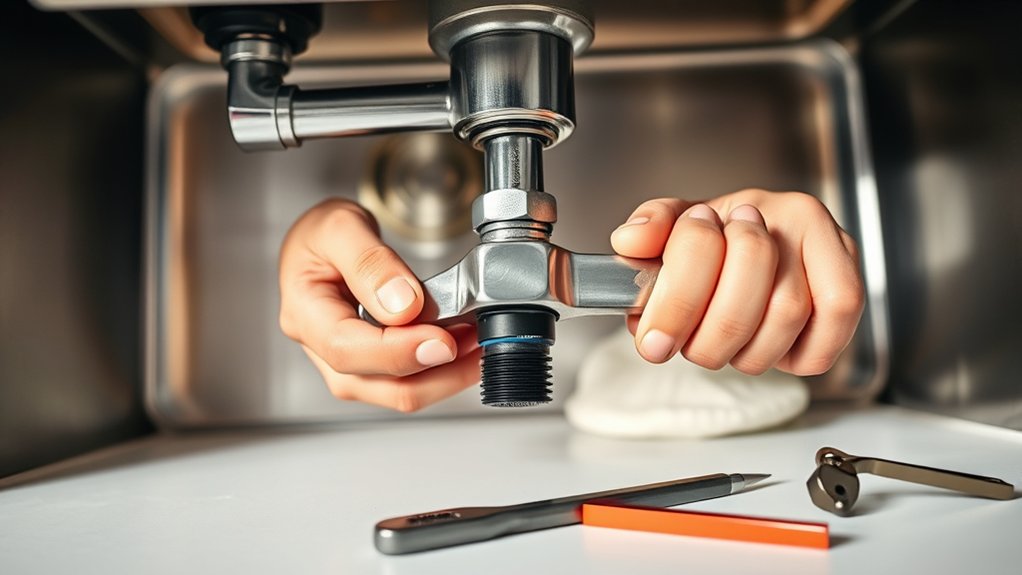
Once the supply valves are closed, open the faucet to release any remaining pressure. Place a towel beneath the sink to catch drips, then remove the cabinet contents for working room. Follow these steps:
Prepare the workspace by shutting off water, relieving pressure, protecting the cabinet, and keeping towels nearby for drips.
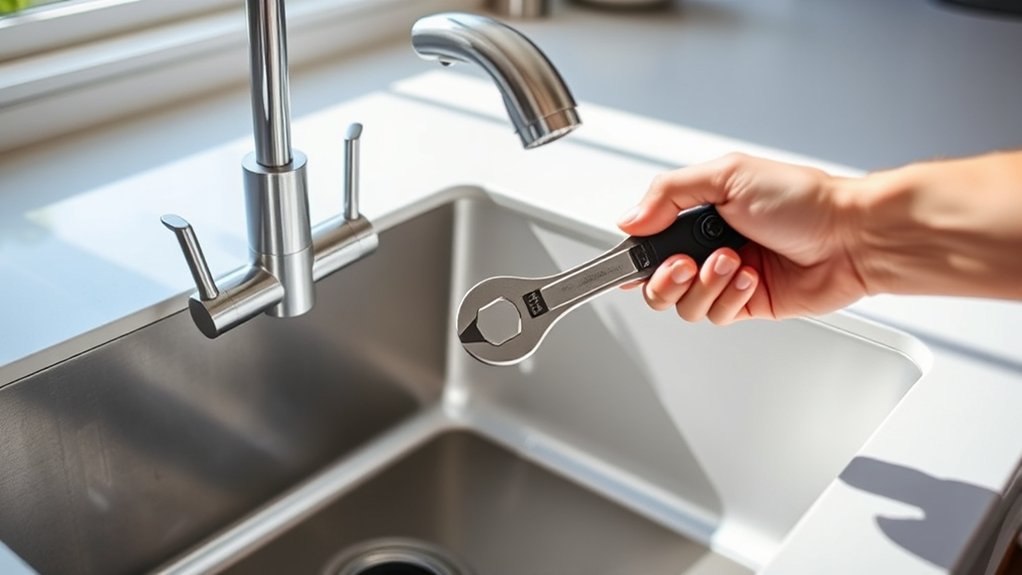
- Disconnect the supply tubes from the faucet’s threaded inlets with an adjustable wrench. Keep a bowl underneath to collect residual water.
- Remove the faucet’s retaining nuts, plates, or brackets from below the countertop. If corrosion resists, apply penetrating oil and wait briefly.
- Lift the old faucet through the sink opening. For models with a sprayer, pull its hose upward and detach any guide weight or clip.
- Clean mineral deposits and old plumber’s putty around the opening with a scraper and rag.
For two-handle models, complete Handle removal carefully, then set each part aside if you’re identifying the replacement. Inspect the Faucet mounting area for damage or warped surfaces.
Cap exposed openings temporarily to keep debris out, and wipe the underside dry. Don’t force stuck hardware. Support the faucet above while loosening fasteners to prevent sink damage.
Reconnect Water Lines and Check for Leaks
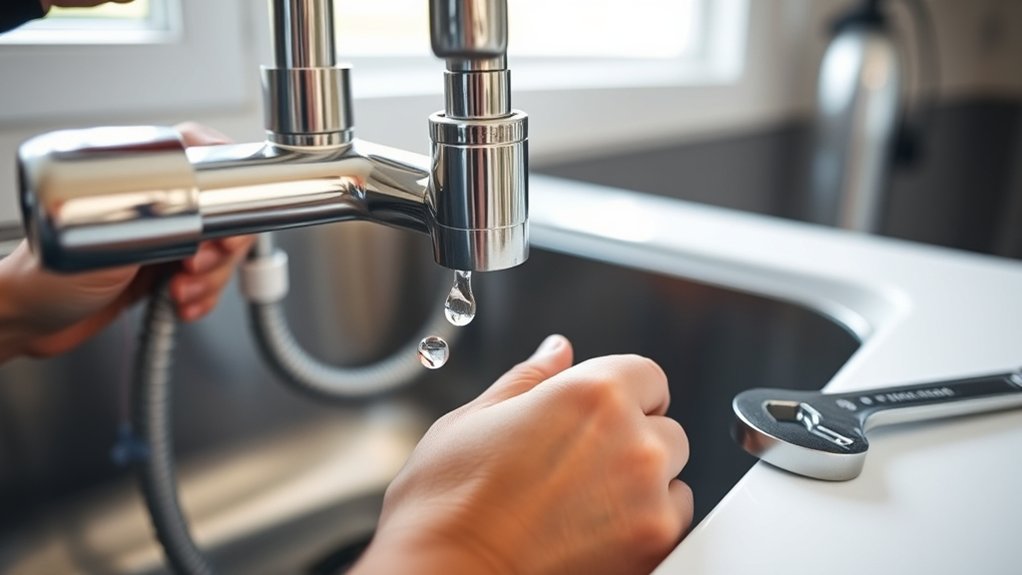
With the new faucet secured, reconnect the hot and cold supply lines to their matching inlets and tighten each connection with a wrench without overtightening. Keep the lines straight so you don’t stress the fittings or create kinks. Wrap damaged threaded connections with fresh plumber’s tape only when the manufacturer permits it.
Open both shutoff valves slowly, then turn on the faucet to release trapped air. Restore water pressure gradually, and watch every connection beneath the sink. Run the faucet for a minute, switching between hot and cold, while checking for drips around the supply lines, valve stems, and faucet base.
If you spot a leak, shut the valve, relieve pressure, and tighten the connection slightly. Don’t force it; replace a worn washer or connector if necessary.
Dry the fittings, wait several minutes, and inspect them again. Good valve maintenance includes checking these shutoff valves periodically for corrosion, stiffness, or seepage. Once everything stays dry, clean up and confirm steady flow.
Frequently Asked Questions
How Often Should a Kitchen Sink Faucet Be Replaced?
You should replace a kitchen sink faucet about every 10 to 15 years, but its lifespan depends on water quality, materials, usage, and maintenance.
Replace it sooner if you notice persistent leaks, corrosion, low water pressure, broken handles, or unavailable replacement parts.
Your replacement frequency may increase in busy households or areas with hard water. Inspect your faucet regularly, repair minor problems promptly, and upgrade when repairs cost more than a new, efficient model.
Which Faucet Styles Work Best With Different Sink Configurations?
Choose a faucet style that matches your sink’s configuration. For single-hole sinks, select a streamlined single-handle faucet.
Three-hole sinks accommodate widespread, centerset, or bridge faucets, depending on spacing. If you need flexibility, choose a pull-down or pull-out spray faucet.
For wall-mounted sinks, verify faucet mounting requirements before purchasing. Consider handle styles too: lever handles offer easy operation, while cross handles suit traditional designs.
You’ll also need enough clearance for backsplash access and window operation.
Can I Install a Water Filter or Soap Dispenser Alongside My Faucet?
Yes, you can install a water filter or soap dispenser alongside your faucet, but you’ll need an available sink or countertop hole. A cluttered sink can become a more convenient workspace when you add the right accessory.
Check your sink’s configuration, measure spacing, and confirm the mounting hardware fits. Water filtration systems may require a separate cold-water connection, while soap dispensers need refill access beneath or above the counter.
Avoid interference with handles, backsplash, or cabinet storage.
How Do I Choose the Right Faucet Finish for My Kitchen?
Choose a faucet finish by matching your kitchen’s style, hardware, and maintenance needs. Compare chrome, stainless steel, brushed nickel, matte black, and bronze for color, durability, and water-spot visibility; this Finishes comparison helps you decide confidently.
Consider your sink and cabinet tones, then confirm the finish coordinates with nearby accessories. During Faucet installation, follow the manufacturer’s care instructions, since abrasive cleaners can damage some coatings. You’ll create a cohesive, practical look.
What Warranty Coverage Should I Expect From a New Kitchen Faucet?
Like a good-faith promise, your new kitchen faucet’s warranty should protect you from defects, not normal wear. Expect manufacturer coverage lasting five to limited lifetime years for the faucet body, cartridge, and finish, while hoses, sprays, and electronic parts may receive shorter terms.
Warranty policies typically exclude improper installation, misuse, corrosion, and commercial use. Keep your receipt, register the faucet, and check manufacturer coverage details before buying, because requirements vary.
Conclusion
With the right tools and a little patience, you can replace your kitchen sink faucet in three straightforward steps. You’ve prepared the sink, removed the old fixture, secured the new one, and reconnected the water lines.
Now, check every connection for leaks and enjoy your upgraded workspace. Like a small home improvement journey worthy of “The Odyssey,” this project may test you, but you’ll finish with confidence, a dependable faucet, and one more household victory to celebrate. With your new kitchen sink faucet in place, your workspace is ready for whatever comes next.