How to Decorate the Top of Kitchen Cabinets
Empty space above kitchen cabinets can be surprisingly difficult to decorate. You’re not alone—many people struggle to make this area look intentional instead of cluttered or forgotten.
If you’re wondering how to decorate the top of kitchen cabinets, these ideas can help you create a polished display with ease.
Decorate the top of your kitchen cabinets by first measuring the clearance and checking vents, lights, and ceiling slopes.
Match your display to the room’s style and repeat colors from the backsplash or hardware.
Layer a tall focal piece with shorter baskets, trays, art, or cutting boards, mixing wood, ceramic, glass, and metal.
Leave breathing room, secure unstable items, and choose plants that tolerate kitchen conditions.
Seasonal updates can keep the arrangement fresh, with more ideas below.
Key Takeaways
- Measure cabinet-top height, depth, and surrounding clearances before choosing décor.
- Coordinate colors, textures, and finishes with your kitchen’s existing style and materials.
- Layer objects in varied heights, using a statement piece to create a balanced focal point.
- Mix baskets, boards, ceramics, artwork, and suitable greenery while preserving breathing room.
- Secure displays, protect surfaces, and refresh seasonal arrangements without creating clutter.
Measure the Space Above Your Kitchen Cabinets
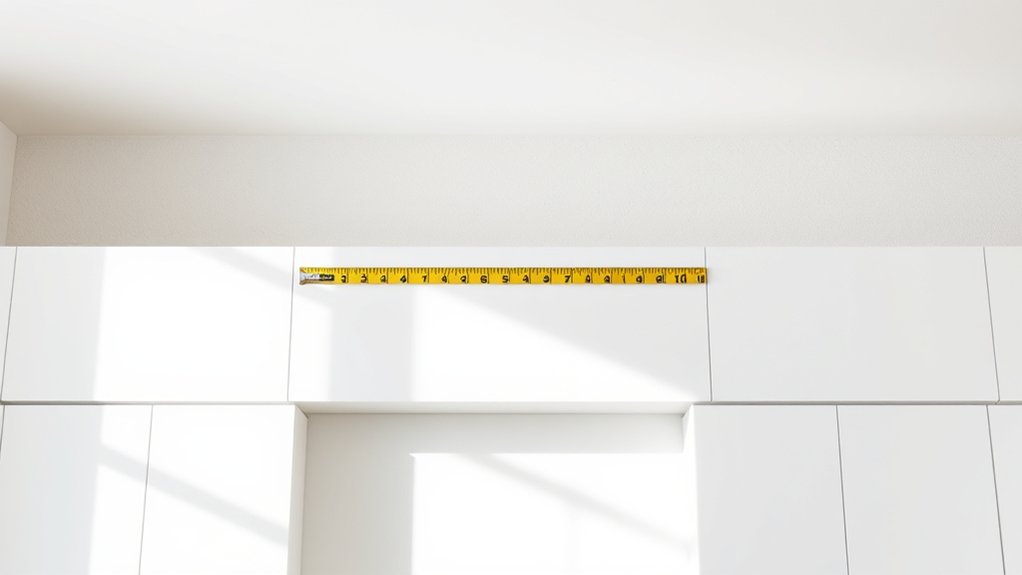
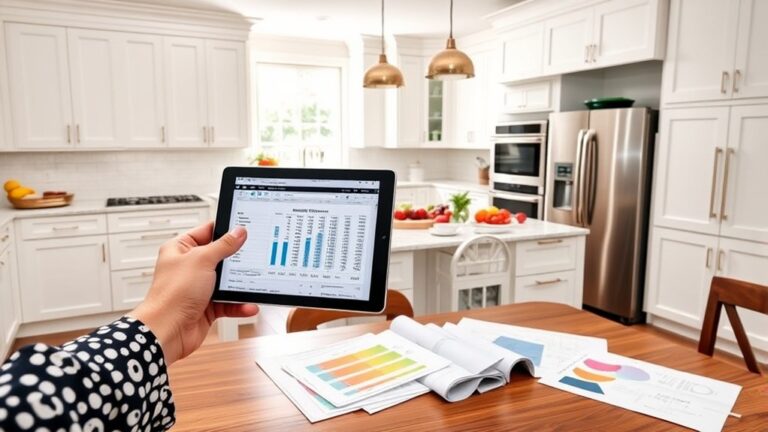
Before choosing décor, measure the space above your kitchen cabinets to determine what will fit. Use a sturdy step stool and a tape measure to check the vertical distance from the cabinet top to the ceiling. Record the smallest measurement if the ceiling slopes or contains soffits.
Measure cabinet-to-ceiling height carefully, noting slopes and soffits, to choose décor that fits comfortably without looking cramped.
Measuring height helps you choose objects that won’t look cramped or disappear into unused space. Next, measure the cabinet length and depth, including any trim or molding that extends beyond the surface.
Gauging clearance around nearby walls, lighting, vents, and doors prevents decorations from blocking function or creating awkward gaps. Note outlets and sprinkler heads, too, since they may limit placement.
Sketch the area or photograph it from several angles, then keep your measurements handy while shopping. Leave enough room to lift, dust, and remove each item safely.
If you rent or live in an older home, confirm that the cabinet tops can support the intended weight before placing anything there.
Match Cabinet Decor to Your Kitchen Style
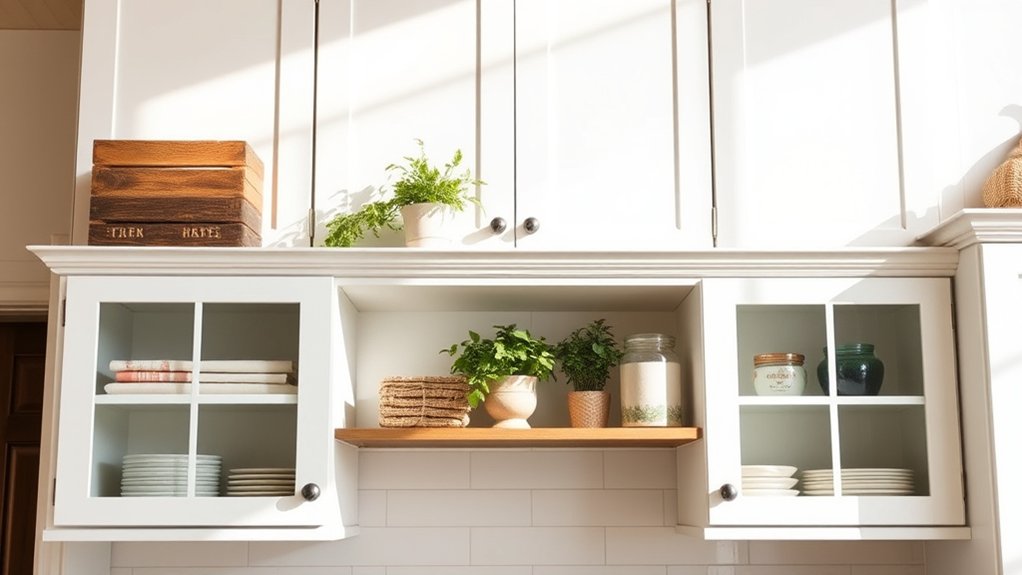
Choose décor that reinforces your kitchen’s existing style rather than competing with it. For a traditional kitchen, choose matching cabinet decor such as antique pitchers, framed botanical prints, or classic ceramic pieces. These accents can echo your cabinetry’s timeless character without making the space feel staged.
If your kitchen has a farmhouse look, try woven baskets, wooden cutting boards, stoneware crocks, or simple galvanized containers. For a modern kitchen, keep accessories streamlined with sculptural vases, monochromatic pottery, or understated metal objects.
Glass jars, blue-and-white ceramics, and collected travel finds can complement a coastal kitchen, while terracotta vessels and hand-painted pieces suit Mediterranean spaces.
Let your kitchen style guide the finishes and materials you select. Repeat colors already present in your backsplash, countertops, or hardware so the display feels connected.
You don’t need identical items. Instead, choose pieces with related textures, patterns, or finishes. When each accent supports the room’s personality, the cabinet tops look intentional and cohesive.
Balance Height, Scale, and Visual Weight
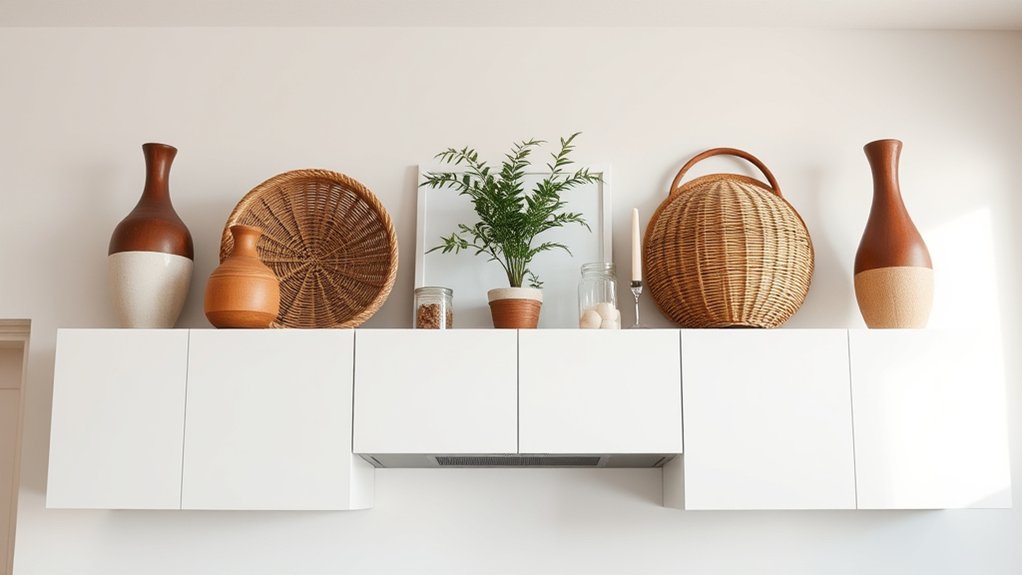
Vary the heights of the objects on your cabinet tops to create a layered, intentional look. Balance larger pieces with smaller accents to distribute visual weight throughout the space. This keeps the display cohesive without making any one area feel crowded.
Vary Object Heights
Create a balanced display by mixing tall, medium, and low-profile pieces across your cabinet tops. Varying object height keeps your arrangement lively and prevents a flat, repetitive look.
Choose decorative variety by combining silhouettes, such as a slim vase, a medium bowl, and a short stack of books.
- Place a tall vase or framed print behind shorter pieces.
- Add a medium-sized basket, pitcher, or sculptural vessel.
- Finish with low accents, such as bowls, trays, or small plants.
- Repeat this height pattern in another cabinet section.
Leave enough breathing room between levels so each item remains visible. Use risers beneath shorter objects when needed, but avoid making every piece equally prominent.
Step back occasionally to check the overall rhythm, then adjust individual heights until the display feels intentional and easy to read.
Distribute Visual Weight
Once you’ve varied the heights, balance the display by spreading visual weight across the cabinet tops. Place larger or darker pieces near lighter, smaller accents so one side doesn’t overpower the other.
If you group several items together, counterbalance that cluster with a substantial object on the opposite side. You don’t need identical arrangements; aim for symmetry through similar visual impact, not perfect matching.
Repeat colors, materials, or shapes to connect separate groupings and create visual harmony. Step back from the room’s entrance and check how the display reads from below.
Move anything that feels crowded, isolated, or too heavy. Leave breathing room around focal pieces, and use open space to keep the arrangement from looking cluttered.
Your goal is an even, intentional rhythm that complements the kitchen without competing with it.
Create a Focal Point With Large Decor
A large piece of decor can give the open space above your kitchen cabinets a strong focal point. Choose one statement piece that suits your kitchen’s style and scale, then let it anchor the arrangement without making the room feel crowded.
You’ll create a polished look when the item has enough height and visual presence to command attention from across the room.
- Oversized art: Lean a framed print or canvas against the wall for color and personality.
- Large clock: Add practical function while introducing a bold shape and easy-to-read contrast.
- Sculptural object: Select a ceramic vessel, carved form, or architectural accent for texture.
- Decorative sign: Use a simple word or phrase that complements your kitchen’s mood.
Keep your focal point centered or slightly off-center, depending on nearby features. Repeat one color from the piece elsewhere in the kitchen to connect the display.
Leave breathing room around it so the decor looks intentional, not squeezed into the gap.
Layer Baskets, Trays, and Cutting Boards
Mix different basket textures to add warmth and visual interest above your cabinets. Lean a few cutting boards against the wall, then place decorative trays in front of them to create depth. This layered arrangement will feel collected, practical, and polished.
Mix Basket Textures
Create a layered display by pairing woven baskets with a shallow tray and a few wooden cutting boards. Choose basket textures that contrast without clashing, such as smooth seagrass beside chunky rattan or wire.
Vary shape and scale to give the cabinet top dimension while keeping the arrangement balanced. Add decor variety with these practical combinations:
- Place a round basket behind a rectangular tray for curved and straight lines.
- Nest a small lidded basket inside a larger open basket.
- Use a dark basket with pale wood for warm visual contrast.
- Add a metal tray between natural-fiber baskets to introduce a crisp accent.
Keep colors within your kitchen’s palette, and leave breathing room between pieces. Group items in odd numbers, then step back to check the display from across the room.
Rotate textures seasonally for a fresh look.
Lean Cutting Boards
Lean cutting boards against the backsplash or wall to add height and a warm, practical layer behind baskets and trays. Choose two or three boards in different sizes, but keep their colors coordinated so the arrangement looks intentional rather than crowded.
Place the tallest board toward the back, then overlap smaller boards slightly in front. Consider cutting board materials when you build the display: wood adds warmth, marble brings contrast, and thick bamboo creates a natural texture.
Check each board for secure footing, and use discreet shelf grips or a narrow support rail if the cabinet top feels slippery. Kitchen safety matters, even in a decorative arrangement, so avoid unstable stacks above busy work areas.
Keep handles, grooves, and attractive grain visible. Leave enough open space to dust easily and remove each board whenever you need it.
Layer Decorative Trays
Layer decorative trays in front of baskets and cutting boards to give the cabinet-top display depth and structure. Choose trays with raised edges, woven textures, or subtle patterns to add dimension without making the arrangement feel crowded.
Keep larger pieces behind smaller ones, and angle a board slightly so each item remains visible. Use these decorative tray arrangements as practical displays for cookbooks, faux greenery, or small pitchers.
- Place a wide wooden tray behind a shallow metal tray for contrast.
- Stack two trays, then top them with a small bowl or vase.
- Center a round tray between baskets to soften straight cabinet lines.
- Repeat one accent shade for easy tray color coordination.
Leave breathing room around the grouping, and check its balance from across the kitchen. If the display looks busy, remove one piece before adding another.
Add Greenery That Handles Kitchen Conditions
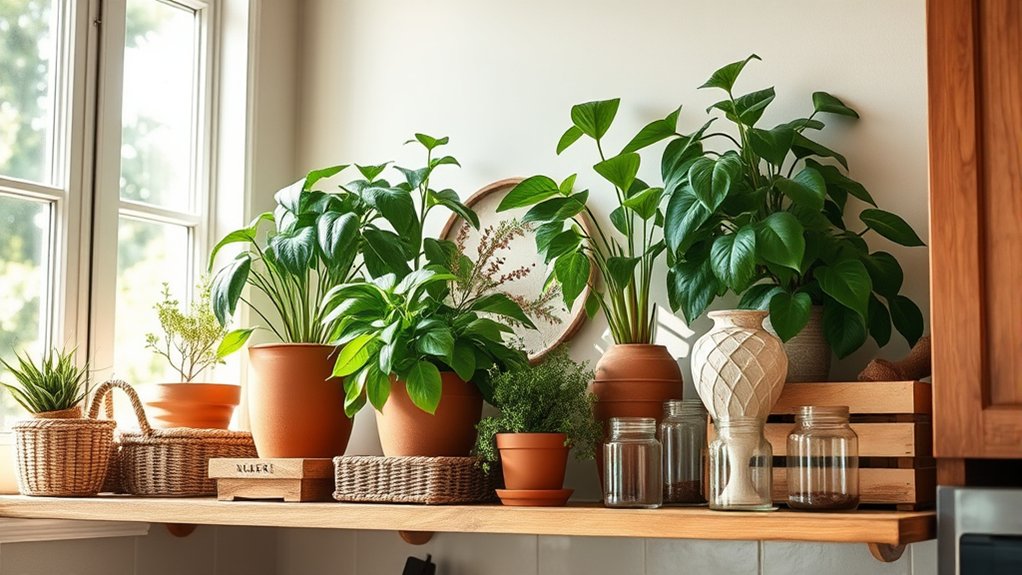
Choose greenery that tolerates warmth, humidity, and occasional cooking residue, such as pothos, spider plants, or herbs in sturdy pots. Indoor plants with strong humidity tolerance usually thrive above cabinets, especially when you place them near indirect light.
Select compact varieties that won’t crowd the ceiling or interfere with cabinet doors. Use matching or complementary pots to create a tidy, intentional arrangement, and choose lightweight containers if you’ll need to move them for cleaning.
Set each pot on a saucer or waterproof mat to protect the cabinet finish from leaks and condensation. Leave enough space between plants for airflow, which helps prevent mildew in a warm kitchen.
Rotate your plants occasionally so they grow evenly toward the light. Dust leaves with a damp cloth, and check the soil before watering.
You’ll keep the display healthy by avoiding overwatering and cleaning away greasy residue promptly. Choose artificial greenery only when natural light or maintenance proves impractical.
Display Art, Signs, and Collected Pieces
Art, signs, and collected pieces can turn the space above your cabinets into a personal focal point. Choose items that reflect your travels, hobbies, or kitchen’s personality, then arrange them with enough breathing room to keep the area from looking crowded.
You can create an art gallery by leaning framed prints against the wall, layering smaller pieces in front, and varying their heights. For a sign display, select one clear message or several coordinated phrases rather than mixing unrelated statements.
- Anchor the arrangement with one larger artwork or sign.
- Group smaller collectibles in odd-numbered clusters for balance.
- Repeat a color from your backsplash, walls, or accessories.
- Leave open space between groupings so each piece remains visible.
Use sturdy stands, museum putty, or discreet brackets to prevent shifting when cabinet doors close. Keep treasured pieces away from heat, grease, and steam, and choose easy-to-dust surfaces.
Step back from several angles before finalizing your arrangement. The display should complement the kitchen without competing with everyday work areas.
Mix Wood, Glass, Ceramic, and Metal
Mixing wood, glass, ceramic, and metal adds texture and contrast above your kitchen cabinets without making the display feel one-dimensional. Start with a dominant material, then layer complementary accents at varied heights.
A wooden bowl can warm sleek metal candleholders, while glass vases lighten substantial ceramic pieces. This material pairing keeps your arrangement collected rather than chaotic.
| Material | Best companion | Visual effect |
|---|---|---|
| Wood | Glass | Warm, airy contrast |
| Ceramic | Metal | Softness with shine |
| Glass | Ceramic | Delicate, grounded balance |
Choose finishes that echo your kitchen’s hardware, flooring, or backsplash, but don’t match everything exactly.
For design inspiration, repeat one color across two or three materials. A black ceramic vase, iron frame, and dark wood object will look intentional.
Leave breathing room between groupings so each texture remains visible. Arrange heavier pieces toward the ends or center for stability, and use smaller objects to bridge gaps.
Step back as you work, then remove anything that competes with the display’s focal point.
Refresh the Space Above Cabinets Seasonally
Once your mix of materials feels balanced, refresh the display above your cabinets with the seasons. Swap a few accents instead of clearing everything, so your arrangement stays cohesive while gaining timely character.
Use these simple updates:
- Spring: Add potted herbs, faux branches, or soft green ceramics for a fresh, natural lift.
- Summer: Bring in woven baskets, blue glass, or coastal artwork to create an airy look.
- Autumn: Introduce amber bottles, copper pieces, and pumpkins in restrained amounts for warm seasonal color.
- Winter: Layer evergreen garlands, white pottery, and subtle decorative lighting for a welcoming glow.
Store off-season pieces in labeled bins, and rotate them when the weather changes. Choose lightweight items you can safely reach, and keep taller accents toward the back so they frame smaller objects.
You can also change a framed print or textile to echo the season without overcrowding the display. Let your kitchen’s existing finishes guide each update, ensuring every seasonal swap complements the cabinets, counters, and surrounding décor.
Reassess the arrangement in natural daylight before finalizing it.
Avoid Common Kitchen Cabinet Decor Mistakes
Avoiding common decorating mistakes will keep the space above your cabinets polished instead of cluttered. Start by measuring the area, then choose pieces that fit without touching the ceiling or competing with nearby fixtures.
Don’t fill every inch. Leaving negative space helps each item stand out and makes cleaning easier.
Avoid using too many colors, materials, or themes. Practice Color coordination by repeating one or two shades already present in your kitchen, such as cabinet hardware, backsplash, or textiles.
Vary heights and shapes, but avoid creating a distracting line of identical objects. Skip fragile items if grease, heat, or frequent cooking could damage them.
Use Creative lighting thoughtfully, positioning fixtures to highlight displays without producing glare. Avoid hiding cords or blocking ventilation.
Finally, secure lightweight pieces against movement, especially near doors or appliances. Step back from several angles before finishing, and remove anything that looks random, oversized, or difficult to maintain.
Your goal is balance, not a crowded shelf.
Frequently Asked Questions
How Do I Safely Access and Clean Decorations Placed Above Kitchen Cabinets?
Use a sturdy step ladder, not a chair, and place it on level, dry flooring. Ask someone to steady it while you climb, keeping three points of contact.
Remove decorations carefully, then dust them outdoors or wipe them with a damp cloth. For effective Shelf styling, choose lightweight decorative accents and avoid overcrowding.
Don’t reach too far, and never climb onto cabinets. Store cleaned items securely before replacing them.
What Items Should I Avoid Displaying Above Cabinets Because of Heat or Grease?
Avoid displaying heat-sensitive items, such as candles, wax décor, plastics, photographs, artwork, or electronics, above cabinets near your stove. Rising heat can warp, melt, fade, or damage them.
Skip grease-attracting decorations, including fabric baskets, unfinished wood, woven materials, and heavily textured objects. Airborne cooking residue clings to them and makes cleaning difficult.
You shouldn’t display flammable materials or anything you can’t safely remove and wash regularly.
How Can I Secure Cabinet-Top Decorations in Earthquake-Prone Areas?
Use secure mounting techniques to keep cabinet-top decorations stable during earthquakes. Choose lightweight decorative accents, then attach each item to a sturdy board or directly to the cabinet with museum putty, earthquake gel, or removable adhesive strips.
For taller pieces, add discreet brackets, wire, or anti-tip straps anchored to wall studs. Keep heavy objects low, leave clearance from cabinet edges, and avoid glass.
Check every attachment regularly for loosening, wear, or damage.
Can I Decorate Above Cabinets in a Rental Without Damaging the Walls?
Yes, you can decorate above cabinets in a rental without damaging walls. Think of a light touch, like a gallery’s changing display: choose freestanding baskets, lightweight framed art, or removable LED strips with damage-free adhesive.
Add decorative lighting using battery-powered puck lights or tension-mounted fixtures. Rotate seasonal accents in stable trays, and avoid nails, screws, and heavy objects.
Before applying anything, test adhesive on an inconspicuous surface and follow your lease’s rules.
How Often Should I Deep-Clean the Area Above Kitchen Cabinets?
Deep-clean above your kitchen cabinets every three to six months, or monthly if you cook frequently, fry foods, or notice greasy dust. Remove decorations, vacuum loose debris, then wipe surfaces with warm, soapy water and dry them thoroughly.
Use decorative tray ideas to group items neatly and simplify removal. For seasonal decorating tips, rotate lightweight displays while cleaning each time.
Check corners, cabinet tops, and nearby walls for buildup, pests, or moisture.
Conclusion
With the right pieces, the space above your kitchen cabinets can become more than an awkward dust collector—it can complete the room. Measure first, then layer decor that matches your style, balances the cabinet line, and adds height without clutter.
Rotate baskets, art, and seasonal accents to keep the display fresh. But before you place that final statement piece, step back and look up. That last detail may be the one that transforms your entire kitchen and completes your kitchen cabinet decor.