How to Clean Painted Kitchen Cabinets in 10 Easy Steps
Painted kitchen cabinets can quickly show grease, fingerprints, and everyday grime, making your kitchen feel less fresh. You’re not alone—many people struggle to clean painted surfaces without leaving streaks or damaging the finish.
This guide to how to clean painted kitchen cabinets makes the process simple and safe.
To clean painted kitchen cabinets, gather mild dish soap, warm water, microfiber cloths, and a soft sponge. Test diluted cleaner on a hidden spot first. Remove hardware and dust surfaces from top to bottom. Mix a lightly sudsy solution, then wipe gently with a well-wrung cloth. Clean edges, handles, and stuck-on residue carefully. Rinse with a clean damp cloth, then dry immediately.
Open doors briefly to air-dry, and consider the next steps for lasting protection.
Key Takeaways
- Gather warm water, mild dish soap, microfiber cloths, a soft sponge, and clean towels. Avoid abrasive or harsh chemical cleaners.
- Remove hardware and dust cabinets from top to bottom before washing. This helps prevent scratches and spreading dirt.
- Test diluted soapy water on a hidden area. Check for bubbling, dullness, stickiness, or color transfer.
- Wipe painted surfaces gently with a well-wrung microfiber cloth. Soften stubborn grime instead of scrubbing aggressively.
- Rinse away soap residue, dry immediately, and leave doors slightly open until cabinets are completely dry.
Gather Safe Cabinet-Cleaning Supplies
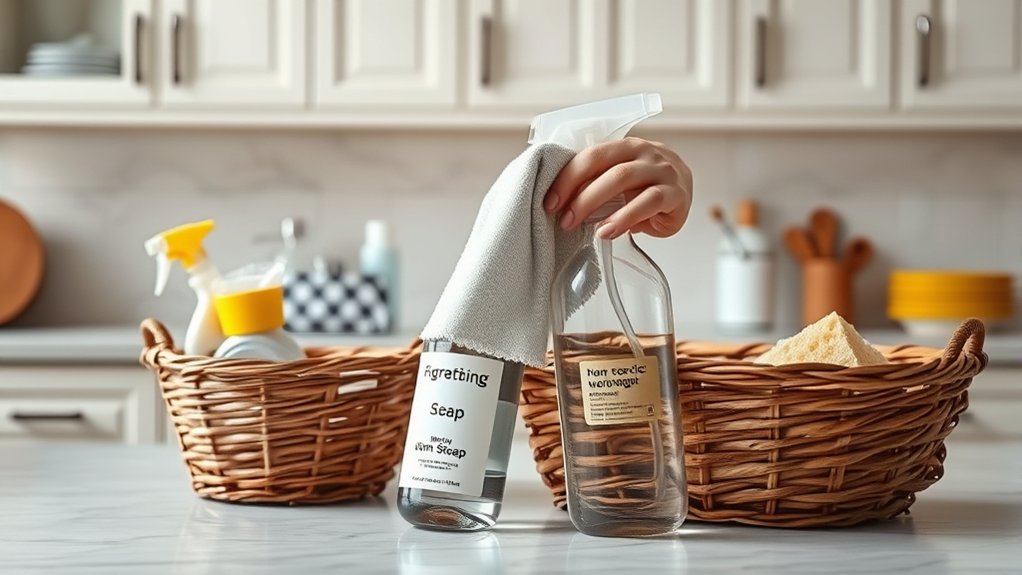
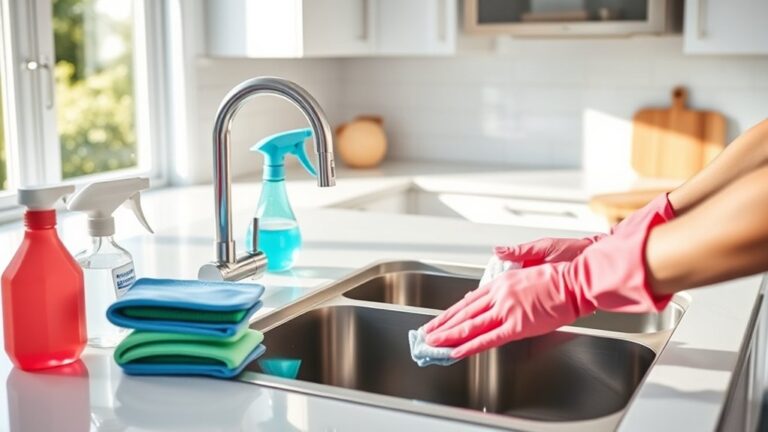
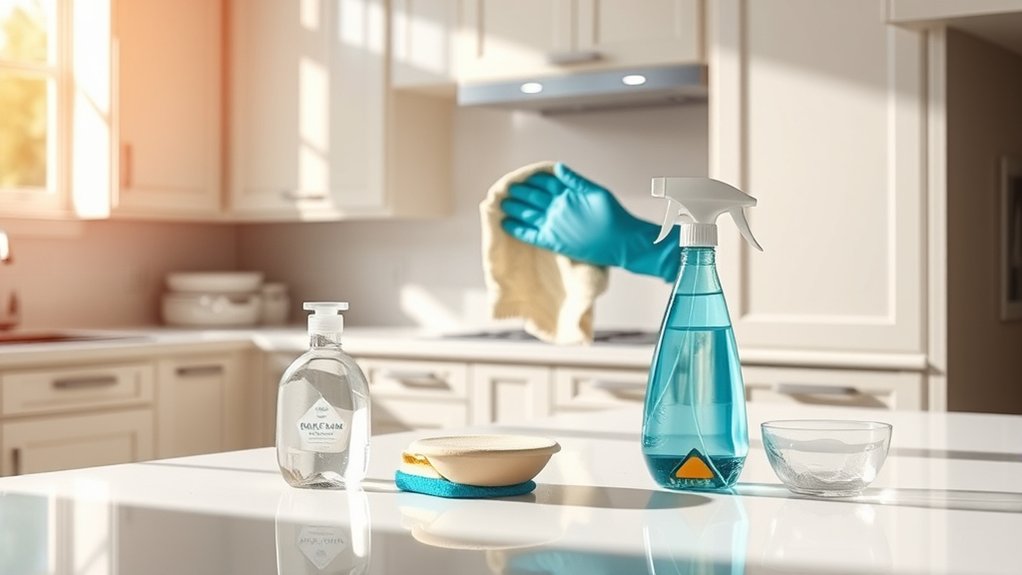
Before you begin, gather a bucket, warm water, mild dish soap, microfiber cloths, a soft sponge, and a clean towel. Choose supplies that lift grease without scratching or dulling your cabinet paint.
Gather gentle supplies first to lift grease safely while protecting your cabinet paint from scratches, dullness, and damage.
Mild dish soap works well for everyday residue, while warm water helps loosen sticky spots. Avoid abrasive powders, scouring pads, bleach, ammonia, and strong solvents because they can damage the finish or discolor painted surfaces.
Use separate cloths for washing and drying so you don’t spread grime or leave moisture behind. Keep a small bowl nearby for rinsing the sponge, and wring it out thoroughly before touching the doors.
Excess water can seep into seams, edges, and hardware openings. Add these supplies to your cleaning schedule so you won’t need harsh products when buildup becomes severe.
Check each cloth and sponge for trapped grit before use. Clean tools support safer, more consistent cabinet care and protect your finish during routine maintenance.
Test the Paint Before Cleaning
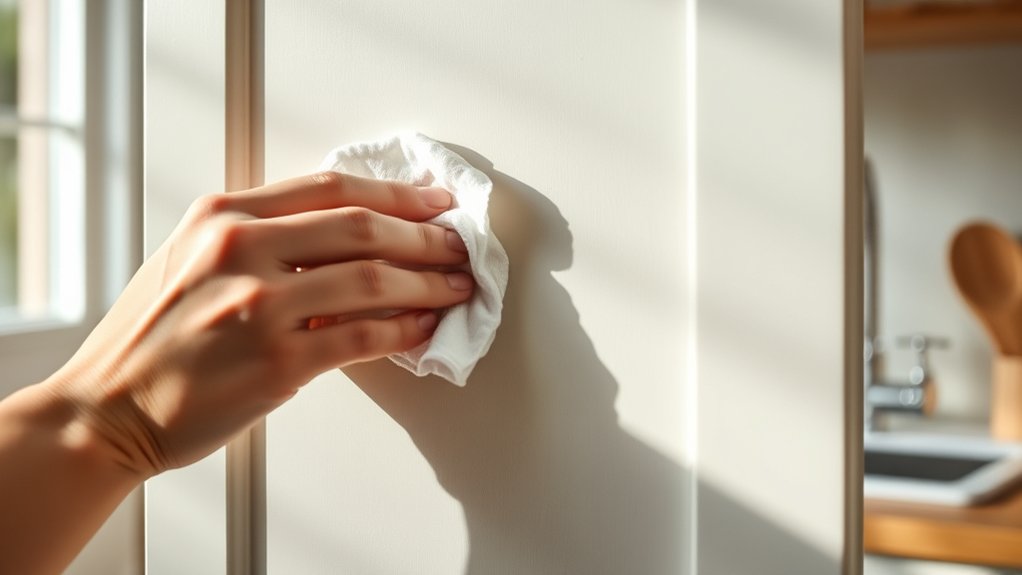
Once your supplies are ready, test the paint in a hidden spot, such as the inside edge of a door or a lower corner. Apply a small amount of your diluted cleaning solution with a soft, damp cloth. Don’t scrub yet.
Wait a few minutes, then wipe the area dry and inspect it under good lighting.
Check for changes that could signal poor paint durability or damage:
- Bubbling, peeling, or softening
- Cloudy streaks or a sticky feel
- Color transfer on the cloth
- Dullness, fading, or uneven color
If the test area looks unchanged after drying, your solution is likely safe for the rest of the cabinet’s painted surfaces.
If you notice any reaction, stop and choose a milder cleaner or dilute the solution further. Test again in another concealed area before continuing.
This simple check protects color retention and helps you avoid spreading damage across visible doors and drawers. Always let the spot dry completely before deciding.
Remove Hardware and Loose Dust

Remove knobs, pulls, and other hardware so you can clean around every edge without obstruction. Place screws and fittings in a labeled container, and photograph each door first if the pieces differ. This hardware removal step prevents lost parts and keeps grime from spreading.
For dust elimination, brush loose particles from doors, frames, hinges, and cabinet tops with a soft microfiber cloth or vacuum brush attachment. Work from the highest surfaces downward, using light pressure to avoid scuffing the paint.
Don’t scrub yet. Dry debris can scratch painted finishes when dragged across them.
| Area | Recommended tool | Handling tip |
|---|---|---|
| Door fronts | Microfiber cloth | Wipe gently |
| Hinges | Soft brush | Reach crevices |
| Cabinet tops | Vacuum brush | Start at the back |
Check edges and corners for crumbs, hair, or grit, then remove anything trapped around hinge plates. Keep removed hardware together until cleaning and drying are complete.
A clear workspace lets you inspect the finish and spot chips before proceeding.
Mix a Gentle Cleaning Solution
Mix warm water with a small amount of mild dish soap in a bucket or bowl. Choose a gentle formula without bleach, ammonia, solvents, or abrasive additives, which can dull or weaken your cabinet’s paint finish.
Use only enough soap to create a lightly sudsy solution. Too much leaves a sticky film and requires extra rinsing.
Consider these points before you begin:
- Match the solution’s strength to the amount of grease present.
- Test the mixture on a hidden spot to check for color changes.
- Prepare fresh solution if the water becomes cloudy or greasy.
- Keep a separate container of clean water nearby for later rinsing.
Your cleaning frequency also affects how mild the solution should be. For routine dust and light fingerprints, use very diluted soapy water.
For stubborn cooking residue, slightly increase the soap, but don’t make the mixture harsh. Avoid mixing dish soap with other cleaners, especially vinegar, bleach, or ammonia, because these combinations may damage finishes or create harmful fumes.
Wash Painted Cabinets With a Soft Cloth
Choose a soft, lint-free cloth to help protect your painted cabinets from scratches. Dip the cloth into the gentle cleaning solution, then wring it out well. Gently wipe each cabinet, following the grain and avoiding too much pressure.
Choose A Soft Cloth
A soft microfiber cloth is your best choice for washing painted kitchen cabinets because it lifts grease and dust without scratching or dulling the finish. Choose a clean, lint-free cloth before you begin, especially when your cabinets have a dark Paint color that reveals stray fibers.
Keep separate cloths for cabinet doors, handles, and nearby surfaces to prevent grime transfer. If your cabinets have a textured finish, select microfiber with a gentle, tightly woven surface that can collect dust without catching on raised details.
Avoid rough sponges, paper towels, abrasive pads, and old cloths with hardened residue.
- Select white or colorfast microfiber to prevent dye transfer.
- Keep several clean cloths available for the job.
- Replace a cloth once it looks dirty or gritty.
- Wash microfiber separately, without fabric softener.
A suitable cloth protects the finish and supports cleaner results.
Wipe Cabinets Gently
With a clean, damp microfiber cloth ready, wipe each painted cabinet in gentle, overlapping strokes. Work from the top down, letting the cloth lift grease and crumbs without pressing hard.
Rinse the cloth often in clean water, then wring it thoroughly before continuing. A damp, not dripping, cloth supports cabinet safety by preventing water from seeping into seams, edges, and hardware openings.
For stubborn spots, pause and hold the cloth over the area briefly to soften residue. Don’t scrub, scrape, or use abrasive pads.
Wipe around handles carefully, where fingerprints collect, and dry every surface with a fresh, soft towel. Adjust your cleaning frequency to your kitchen’s use, wiping spills immediately and giving cabinets a gentle wash weekly or as needed.
Always test your method on a hidden area first.
Remove Grease From Painted Cabinets
Grease can build up quickly on painted cabinets, especially around the stove and cabinet handles. To remove grease stains safely, start with a soft microfiber cloth and warm water. If residue remains, mix a few drops of mild dish soap into the water.
Remove grease from painted cabinets with warm water, a soft microfiber cloth, and mild dish soap when needed.
Test the solution on a hidden spot first, since painted finishes can react differently.
- Dampen the cloth rather than soaking it.
- Wipe in small, gentle circles.
- Rinse the cloth often as it lifts grime.
- Dry the cleaned area immediately with a towel.
For stubborn kitchen splatters, hold the damp, soapy cloth over the spot for several seconds to soften the buildup.
Don’t scrape, scrub with an abrasive pad, or use strong degreasers. These can dull or remove paint.
Apply cleaner to the cloth, not directly to the cabinet, to control moisture. Work in small sections, refreshing your water when it looks cloudy.
Once the grease disappears, use a clean, lightly damp cloth to remove soap residue. Then dry the surface completely.
Clean Doors, Frames, Edges, and Handles
Wipe cabinet doors and frames with a soft, damp cloth and mild cleaner. Pay extra attention to the edges, where grime tends to collect, and clean them gently. Then wipe the handles and dry every surface to prevent moisture damage.
Clean Doors and Frames
Start with the cabinet doors and frames, working from the top down so loosened grime doesn’t soil areas you’ve already cleaned. Mix warm water with a small amount of mild dish soap, then dampen a microfiber cloth. Wring it well; excess water can seep into seams and damage paint.
- Wipe one small section at a time.
- Use gentle, overlapping strokes.
- Rinse the cloth frequently.
- Dry each area immediately.
For stuck-on residue, hold the damp cloth over the spot briefly, then lift the grime without scrubbing aggressively. Follow the manufacturer’s care instructions, especially for delicate cabinet finishes.
Avoid abrasive pads, strong solvents, and melamine sponges, which can dull or remove paint. If your painted surfaces look worn, careful cleaning supports paint restoration by preventing additional damage.
Keep your pressure light, and inspect the finish as you work.
Wipe Edges and Handles
Once the door fronts are clean, pay close attention to the edges and handles, where grease and fingerprints often collect. For effective edge cleaning, dip a soft microfiber cloth in warm water mixed with a few drops of mild dish soap.
Wring it out well, then wipe along the top, bottom, and side edges of each door. Use a cotton swab to reach narrow seams and corners without soaking the paint.
Rinse the cloth, wipe away soap residue, and dry every surface immediately. For handle polishing, wipe each pull or knob with the same damp cloth, working around its base and mounting points.
Dry metal hardware thoroughly to prevent water spots. Don’t use abrasive pads, harsh degreasers, or excessive moisture, which can dull finishes and damage painted edges over time.
Wipe Away Soap Residue
After cleaning each section, remove soap residue with a clean, damp microfiber cloth. Rinse the cloth often in fresh water so you don’t spread loosened grime across the painted surface. Work from the top of each cabinet downward, using gentle strokes and light pressure. Pay attention to corners, grooves, and areas near handles, where cleaner can collect.
- Use lukewarm water to loosen remaining cleaner without stressing the finish.
- Fold the microfiber cloth into sections, switching to a clean side frequently.
- Inspect the surface from different angles to spot cloudy or sticky patches.
- Repeat the wipe if you still feel a slippery film beneath your fingers.
Removing all soap residue improves cleaning effectiveness and helps your cabinets look smooth and refreshed. Don’t use abrasive sponges or excessive water, since either can dull or weaken painted areas.
Remove soap residue thoroughly to improve cleaning results and keep painted cabinets smooth, refreshed, and protected from dulling.
If a patch feels tacky, rinse your cloth thoroughly and wipe it again rather than adding more cleaner. Keep your movements controlled, and treat delicate painted details carefully.
This final rinse removes cleaner traces and leaves the surface ready for the next care step.
Dry Cabinets to Prevent Paint Damage
With the soap residue removed, dry each cabinet promptly using a clean, soft microfiber cloth. Press gently instead of rubbing, which can spread moisture across seams or dull the finish.
Open doors and drawers slightly so air can reach edges, corners, and hardware. Don’t use a hair dryer or place cabinets near intense heat; sudden temperature changes may soften, crack, or blister paint.
| Area | Drying techniques | Why it matters |
|---|---|---|
| Flat surfaces | Wipe with a dry microfiber cloth | Prevents water spots |
| Edges and seams | Blot carefully, then air-dry | Limits moisture seepage |
| Hardware | Dry around screws and hinges | Reduces rust risk |
Run your fingers lightly over the surface to check for dampness, especially beneath the cabinet lip. Replace the cloth when it becomes wet, because a saturated towel only redistributes moisture.
Allow the finish to dry completely before closing cabinets. Careful drying supports paint durability and helps preserve a smooth, even appearance after cleaning. Never leave pooled water standing on painted wood.
Prevent Future Grease and Fingerprints
Protect your painted cabinets with a suitable cabinet wax. You can also install handle pulls to help reduce fingerprints. And if anything spills, wipe it up promptly before it hardens.
Apply Cabinet Wax
Apply a thin coat of cabinet wax once the painted surface is clean, dry, and fully cured. Cabinet waxing adds a light protective barrier that helps repel grease, moisture, and fingerprints without changing the paint’s color.
Test the wax in a hidden spot first, then follow the product label for compatibility and curing time.
For effective Polish application:
- Choose a wax made for painted wood or cabinetry.
- Use a clean, soft microfiber cloth or applicator pad.
- Spread a very thin, even layer using gentle circular motions.
- Buff lightly with a fresh cloth before the wax becomes hard.
Don’t apply wax over damp paint, heavy residue, chipped areas, or uncured finishes.
Reapply only when the surface loses its smooth feel. Excessive buildup can attract dust and create a cloudy appearance.
Clean spills promptly to preserve the finish and extend each protective treatment.
Install Handle Pulls
Install handle pulls after the cabinet paint has fully cured to give your fingers a clean grip and reduce contact with the painted surface. Choose pulls with smooth, sealed finishes that won’t trap grease or shed rough edges.
Before drilling, measure each door and drawer carefully, then mark matching positions with a template or level. Protect the surface with painter’s tape while you drill, and use screws sized for your cabinet thickness.
Tighten each pull securely, but don’t overtighten and damage the finish. If you’re replacing knobs, fill old holes with a compatible, paintable filler before installing new decorative hardware.
Select styles that feel comfortable and provide enough clearance for your fingers. Well-placed pulls make daily use easier, help preserve the paint, and limit fingerprints on cabinet fronts. Clean the hardware according to its material.
Wipe Spills Promptly
Wipe spills as soon as they happen to prevent grease, sauces, and fingerprints from drying onto painted cabinet surfaces. Keep a soft microfiber cloth nearby so you can handle quick cleanup without scrubbing or spreading residue.
Dampen the cloth with warm water, wipe gently, and dry the area immediately to protect the finish.
Make spill prevention part of your routine:
- Use cabinet-safe mats beneath cooking oils, coffee makers, and mixers.
- Keep clean towels within reach of busy prep areas.
- Open doors with clean hands whenever possible.
- Teach everyone to report splashes and sticky spots promptly.
Pay special attention to handles, edges, and doors near the stove, sink, and dishwasher, where grime collects fastest.
Don’t let standing moisture linger, since it can seep into seams and damage paint. A few seconds of daily care will keep cabinets cleaner and reduce the need for intensive washing.
Frequently Asked Questions
How Often Should Painted Kitchen Cabinets Be Professionally Cleaned?
You should have painted kitchen cabinets professionally cleaned once every one to two years, depending on cooking frequency, grease buildup, and household traffic. Schedule service sooner if grime remains after gentle wiping or your finish looks dull.
Professionals protect paint durability by using suitable products and careful techniques. Ask them to clean cabinet hardware separately, since handles collect oils and bacteria.
Between appointments, wipe spills promptly and avoid abrasive cleaners that can damage painted surfaces.
Can Painted Cabinets Be Safely Cleaned With a Steam Cleaner?
You can steam-clean painted cabinets, but you should proceed cautiously. Steam cleaning may loosen paint, soften finishes, force moisture into seams, or damage wood and MDF.
For paint safety, check the manufacturer’s care instructions and test steam on a hidden spot first. Keep the nozzle moving, use low pressure, and avoid prolonged heat.
Wipe surfaces dry immediately. In most cases, you’ll protect your cabinets better with mild soap, water, and a soft cloth.
What Should You Do if Cabinet Paint Starts Peeling or Bubbling?
Stop cleaning the area and let it dry completely if cabinet paint starts peeling or bubbling. Gently remove loose paint with a plastic scraper, then lightly sand the edges smooth.
Check for moisture, leaks, grease, or excessive heat and fix the source. Clean and dry the surface before applying primer and matching paint.
Test paint adhesion first, and avoid harsh cleaners to protect cabinet durability. For widespread damage, contact a professional refinisher.
Are Painted Cabinets Suitable for Kitchens With High Humidity?
Yes, painted cabinets can suit high-humidity kitchens—if you choose and maintain them wisely.
Think of moisture as paint’s quiet adversary. Humidity effects may include swelling, peeling, bubbling, or mildew, especially around sinks and dishwashers.
Improve paint durability by selecting moisture-resistant, high-quality cabinet paint, sealing exposed edges, and ensuring proper ventilation.
Wipe condensation promptly, repair damaged areas quickly, and avoid soaking surfaces. With these precautions, your cabinets can remain attractive and functional for years.
How Can You Repair Scratches or Chips in Painted Cabinet Surfaces?
You can repair scratches or chips by cleaning the damaged area, lightly sanding rough edges, and wiping away dust. Match the existing color, then apply thin paint touch-ups with a small artist’s brush.
Let each coat dry before adding another. For deeper chips, fill the spot with wood filler, sand it smooth, prime it, and repaint.
Include these repairs in regular cabinet maintenance to prevent moisture from reaching the underlying wood and worsening damage.
Conclusion
With the right supplies and a gentle approach, you can keep painted kitchen cabinets looking fresh. Test the paint, remove dust, wash away grime, wipe off residue, and dry every surface thoroughly.
Don’t scrub harshly, soak the wood, or ignore edges and handles. Instead, clean regularly, handle cabinets carefully, and prevent grease before it builds up.
Follow these simple steps to protect the finish, brighten your kitchen, and enjoy beautifully clean painted kitchen cabinets for longer.