How to Clean Kitchen Tiles in 3 Simple Steps
Greasy splashes, dull surfaces, and stubborn grout can make your kitchen feel less clean than it really is. You’re not alone—many people struggle to get sparkling tiles without spending hours scrubbing or using harsh products.
Clean kitchen tiles in three simple steps. First, gather warm water, mild dish soap, microfiber cloths, a damp sponge, and a soft brush.
Next, clear the counters, wipe away loose grime, and gently scrub small sections with soapy water. Let stubborn grease sit briefly, then use a tested baking soda paste if needed.
Finally, rinse from top to bottom with clean water, wipe away residue, and dry every tile thoroughly. Keep going for extra tips on spotless grout and shine.
Key Takeaways
- Clear the counters, remove loose grime, and mix warm water with a few drops of mild dish soap.
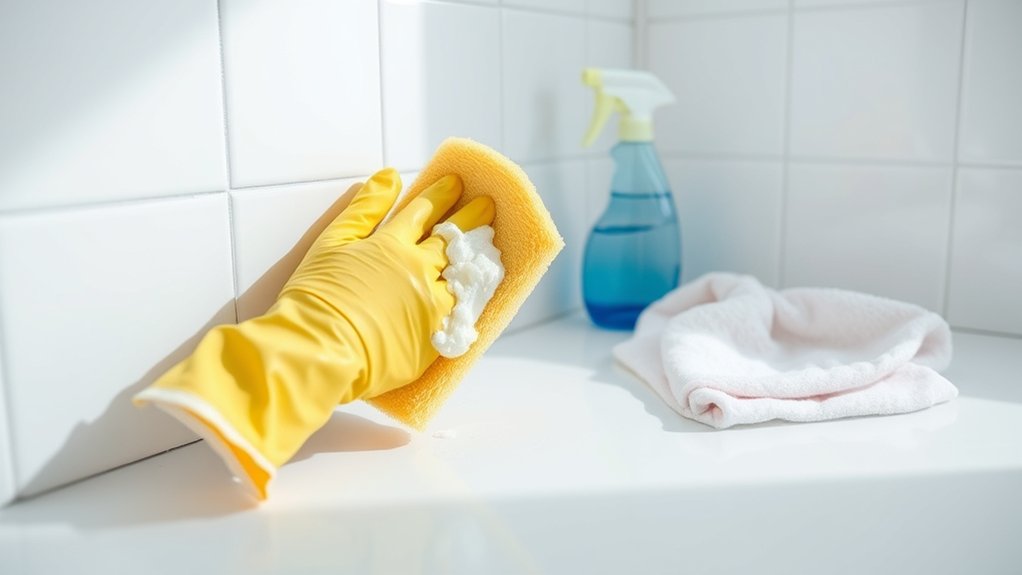
- Wash tiles in small sections using a well-wrung sponge, working gently from top to bottom.
- Let stubborn grease sit briefly, then scrub carefully with a soft brush or tested baking soda paste.
- Rinse with clean water, frequently refreshing the sponge to prevent spreading residue across tiles and grout.
- Dry thoroughly with a lint-free microfiber cloth, then inspect under bright light for streaks or remaining spots.
Choose Supplies to Clean Kitchen Tiles
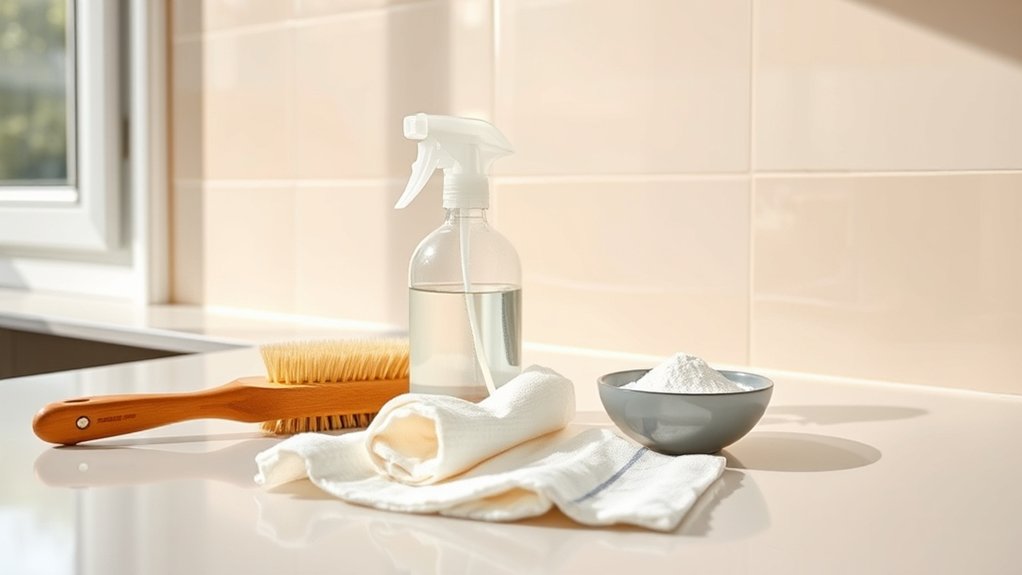
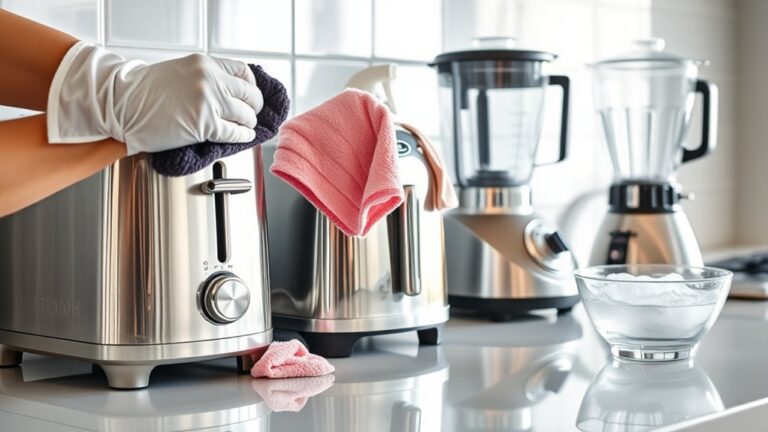
Before you begin, gather a bucket, warm water, mild dish soap, microfiber cloths, a soft-bristled brush, and clean towels. These basic cleaning tools suit most kitchen tile surfaces and help you work without scratching or dulling the finish.
Choose a bucket large enough to hold your solution and leave room for your cloth. Use warm water, not boiling water, to loosen everyday dirt. Select mild dish soap without bleach, ammonia, or abrasive particles.
Keep separate microfiber cloths for washing and drying so you won’t spread residue. For tile grout, pick a soft-bristled brush or an old toothbrush.
Avoid stiff wire brushes, scouring pads, and rough sponges because they can damage grout and glaze. Check your tile manufacturer’s care instructions before using any product, especially on natural stone.
Place your supplies within reach, then clear counters and remove loose items. You’ll clean more efficiently when everything’s ready before you start.
Clean Kitchen Tile Grease Safely
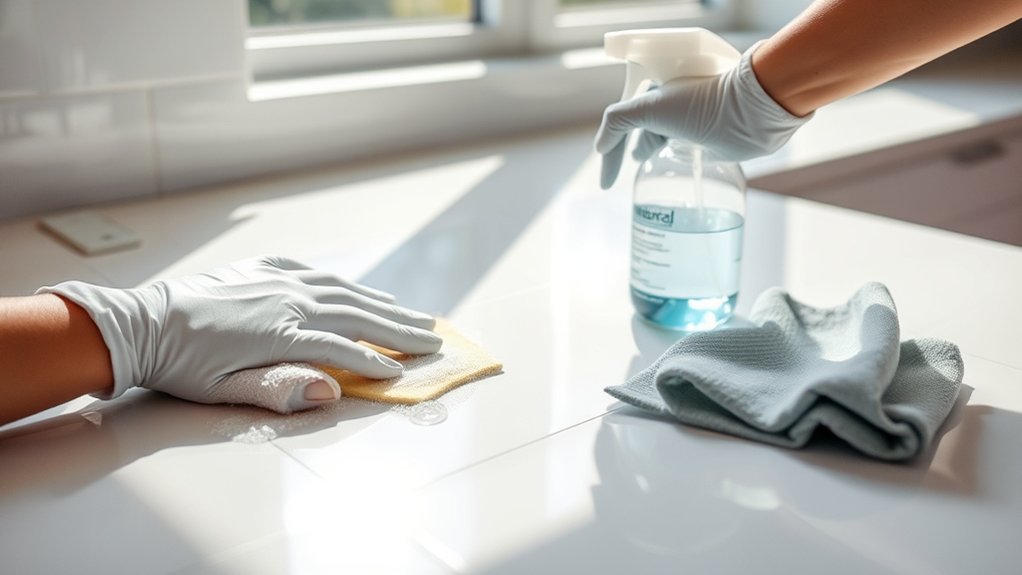
With your supplies ready, start by removing surface grease from the kitchen tiles. Put on gloves, open a window, and wipe loose grime with a dry paper towel.
Remove surface grease safely: wear gloves, ventilate the room, and wipe away loose grime before wet cleaning.
Mix warm water with a few drops of dish soap in a bowl. Dip a soft sponge into the solution, wring it out well, and work in small sections.
Let the soapy mixture sit on stubborn grease for several minutes, but don’t let it dry. Scrub gently to protect glossy finishes and prevent scratches.
For effective tile stain removal, apply a paste of baking soda and water to dark, sticky spots. Test it on an inconspicuous tile first, especially if your tiles are natural stone.
Use an old toothbrush for grout cleaning techniques, brushing along the grout lines without pressing too hard. Avoid bleach, ammonia, and abrasive powders, which can damage surfaces or create harmful fumes.
Keep greasy sponges away from clean areas, and replace the cleaning solution when it becomes cloudy.
Rinse and Dry the Tiles
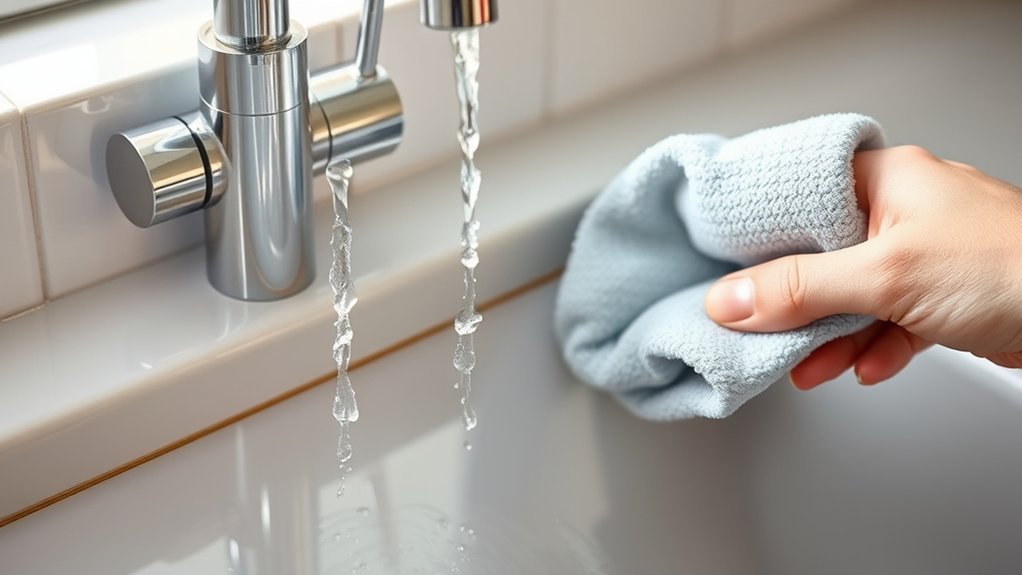
Once the grease has loosened, rinse the tiles with a clean, damp sponge to remove soap and residue. Work from the top downward, rinsing the sponge often so you don’t spread grime across clean areas.
Pay special attention to tile grout, where cleaner and grease can collect.
| Area | Rinse method | Drying tip |
|---|---|---|
| Tile faces | Wipe with clean water | Use a microfiber cloth |
| Tile grout | Sweep along the lines | Press gently, don’t scrub |
| Corners | Use a folded sponge | Check for trapped moisture |
After rinsing, wipe every tile with a dry, lint-free microfiber cloth. Drying prevents water spots, streaks, and mildew, especially around the sink and stovetop.
Replace the cloth when it becomes damp; a saturated cloth only moves moisture around. Inspect the surface under bright light, then buff lightly to restore the surface shine.
Leave the area ventilated for several minutes, and don’t return appliances or containers until the backsplash feels completely dry. This final check helps keep your kitchen clean longer.
Frequently Asked Questions
How Often Should Kitchen Tiles Be Professionally Deep-Cleaned?
You should have your kitchen tiles professionally deep-cleaned once or twice yearly, depending on traffic, spills, cooking residue, and grout condition. Schedule cleaning sooner if you notice dull surfaces, persistent stains, odors, or darkened grout.
Busy households, restaurants, and homes with pets may need quarterly service. Ask your professional about tile sealing afterward to protect porous surfaces and grout whitening if discoloration remains.
Between visits, sweep regularly and wipe spills promptly to maintain cleanliness.
Can I Clean Kitchen Tiles Without Removing the Grout?
Can you clean kitchen tiles without removing the grout? Absolutely—you can wash the tile surface while leaving grout intact. Mix warm water with mild dish soap, then scrub gently using a soft brush or microfiber cloth.
For stubborn marks, apply safe stain removal techniques, such as baking soda paste, and rinse thoroughly. Avoid harsh acids or abrasive tools, which can damage grout.
Regular grout maintenance keeps lines clean, strong, and less prone to discoloration.
What Causes Discoloration on Kitchen Tiles Over Time?
You’ll often see kitchen tile discoloration from grease, food spills, soap residue, and prolonged moisture. Mold buildup can darken tile surfaces and grout, especially in poorly ventilated areas.
Mineral deposits from hard water may leave white, cloudy, or chalky marks. Sunlight, harsh cleaners, and aging sealants can also fade or stain tiles.
Clean spills quickly, improve airflow, use gentle products, and reseal porous grout periodically to prevent lasting discoloration.
Are Steam Cleaners Safe for All Types of Kitchen Tiles?
Steam cleaners aren’t safe for every kitchen tile. You can usually use them on well-sealed ceramic or porcelain, but avoid steam on unsealed natural stone, porous terracotta, damaged tiles, or loose grout.
Heat and moisture may worsen cracks, discoloration, or adhesive failure. Check your manufacturer’s instructions first, test a hidden spot, and use low pressure.
Tile sealing and Grout sealing improve protection, but they don’t guarantee steam safety.
How Can I Repair Cracked or Chipped Kitchen Tiles?
Repair cracked or chipped kitchen tiles by cleaning and drying the area, then removing loose fragments. Apply two-part epoxy or tile repair filler, matching the tile’s color, and smooth it before it cures.
For larger damage, replace the tile: carefully cut out the grout, break and remove the tile, apply adhesive, and set a matching replacement. Finish with grout restoration and tile sealing to protect against moisture, stains, and future damage.
Conclusion
Clean kitchen tiles don’t need complicated products or hours of scrubbing. Gather your supplies, cut through grease safely, then rinse and dry every surface for a streak-free finish.
You’ll be surprised to learn that kitchen sponges can harbor more than 50 billion bacteria per square inch, so replace or sanitize yours regularly.
With these three simple steps, you’ll keep your tiles brighter, fresher, and easier to maintain, helping your kitchen look clean long after you finish cleaning kitchen tiles.