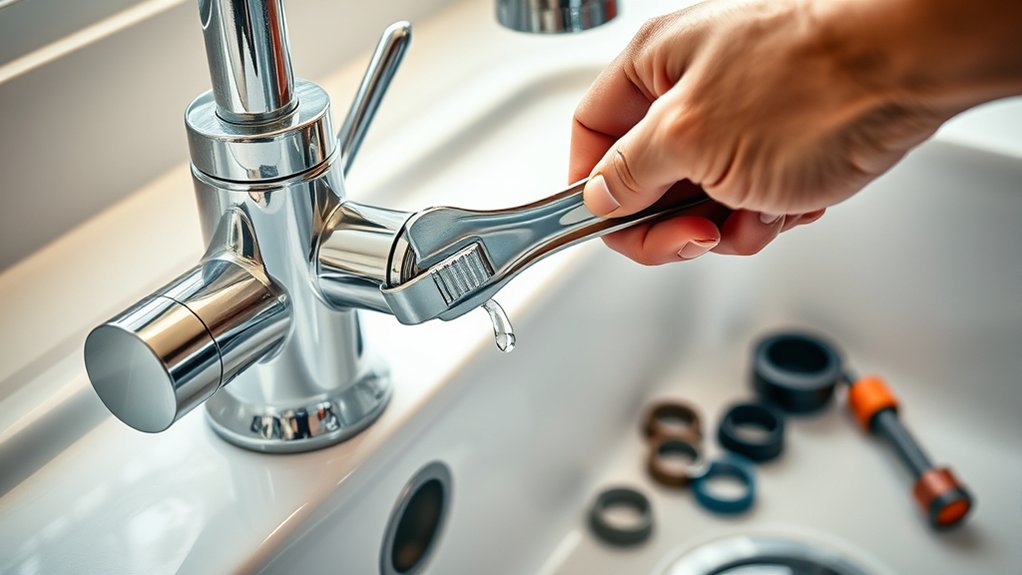
How to Fix a Leaky Kitchen Faucet in 5 Steps
A leaky kitchen faucet can quickly turn into an annoying daily problem, from constant dripping and wasted water to damp counters and unexpected repair costs. You’re not alone—many homeowners struggle to identify the source and choose the right fix. The good news is that a few simple steps can often solve the issue.
To fix a leaky kitchen faucet, first dry the area and identify whether water comes from the spout, handle, hose, or fittings. Next, shut off both supply valves, open the faucet, and remove the handle.
Replace the worn cartridge, washer, O-ring, or compatible seal. Reassemble everything without overtightening, then slowly restore water and check for drips.
Finally, clean the aerator and inspect regularly. Keep going for helpful details that can make future repairs easier.
Key Takeaways
- Locate the leak by drying the faucet, running water briefly, and inspecting the spout, handle, hose, and supply connections.
- Shut off hot and cold water valves, open the faucet to release pressure, then remove the handle carefully.
- Match the failed cartridge, washer, O-ring, or stem assembly with a compatible replacement part for your faucet model.
- Reinstall all parts in the correct order, restore water slowly, and check for leaks while operating the handle.
- Prevent future leaks by inspecting regularly, cleaning the aerator, and replacing worn seals, hoses, or washers promptly.
Find the Kitchen Faucet Leak and Gather Tools
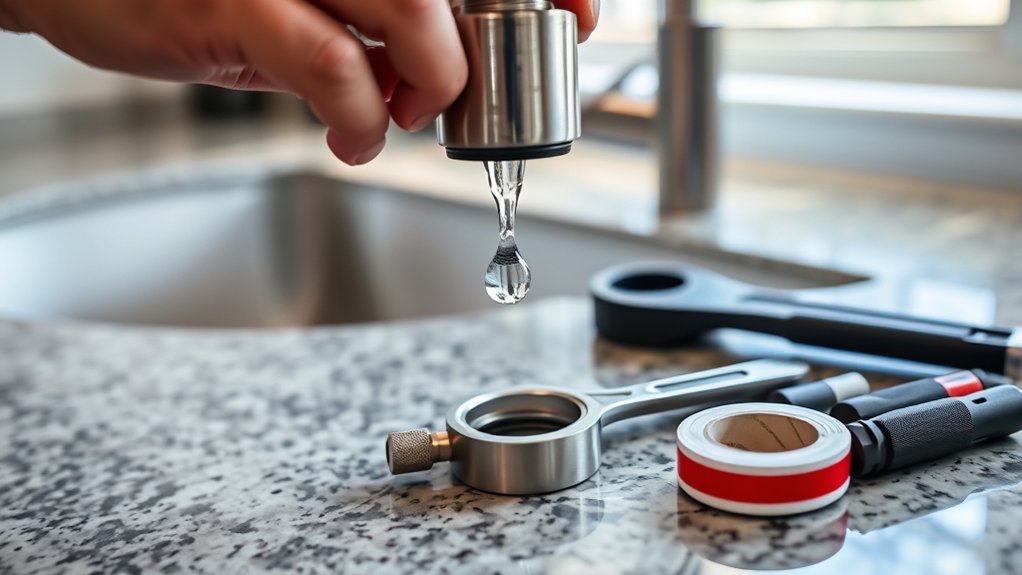
Before you begin repairs, find exactly where the water is escaping. Dry the faucet and surrounding counter completely, then watch for fresh moisture. Check the spout, handle base, spray hose connection, and supply-line fittings.
Pinpoint the leak’s source by drying the area, running water briefly, and watching each connection for fresh moisture.
Run water briefly and observe each area with a flashlight. A leak from the spout often points to an internal cartridge or valve issue, while water around the handle may indicate a worn seal. Moisture beneath the sink can come from a loose connection or damaged hose, so inspect those locations carefully.
After you identify the source, plan your tool selection. Gather an adjustable wrench, screwdriver set, hex keys, replacement seals or cartridge, a flashlight, towels, and a small container for loose parts.
Match replacement components to your faucet’s brand and model whenever possible. Photograph the assembly before disassembling anything, and keep screws organized.
Careful leak detection prevents unnecessary repairs and helps you buy only the parts you need. Don’t guess at the source based on where water pools.
Shut Off Water and Remove the Handle
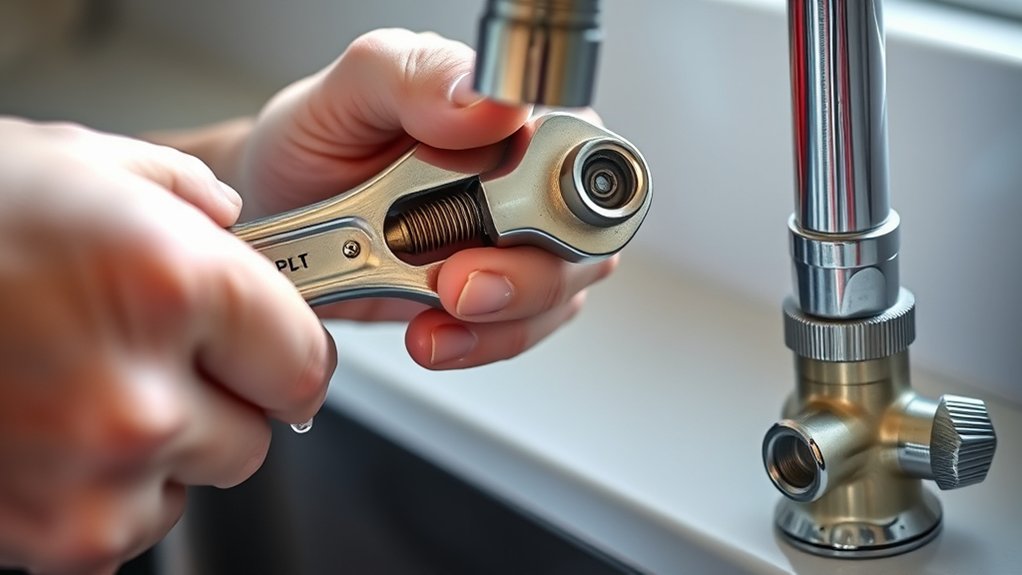
Turn off the faucet’s hot- and cold-water shutoff valves beneath the sink, then open the faucet to relieve pressure. Confirm that no water flows before you begin.
Place a towel over the drain and cabinet floor to catch drips or dropped screws.
| Task | Action |
|---|---|
| Find the cover | Look for the decorative cap on the handle. |
| Remove the screw | Pry up the cap gently, then loosen the screw with the correct driver. |
| Lift the handle | Pull the handle straight up; wiggle it gently if it sticks. |
If mineral buildup holds the handle, apply penetrating oil around its base and wait briefly. Don’t force it, or you could damage the Handle assembly.
Keep each small part in order so you’ll reinstall it correctly. Check Water pressure by briefly opening a shutoff valve only if needed, then close it again before continuing.
Wipe the exposed area clean, but leave internal components undisturbed for the next repair step.
Match the Leak to the Right Replacement Part
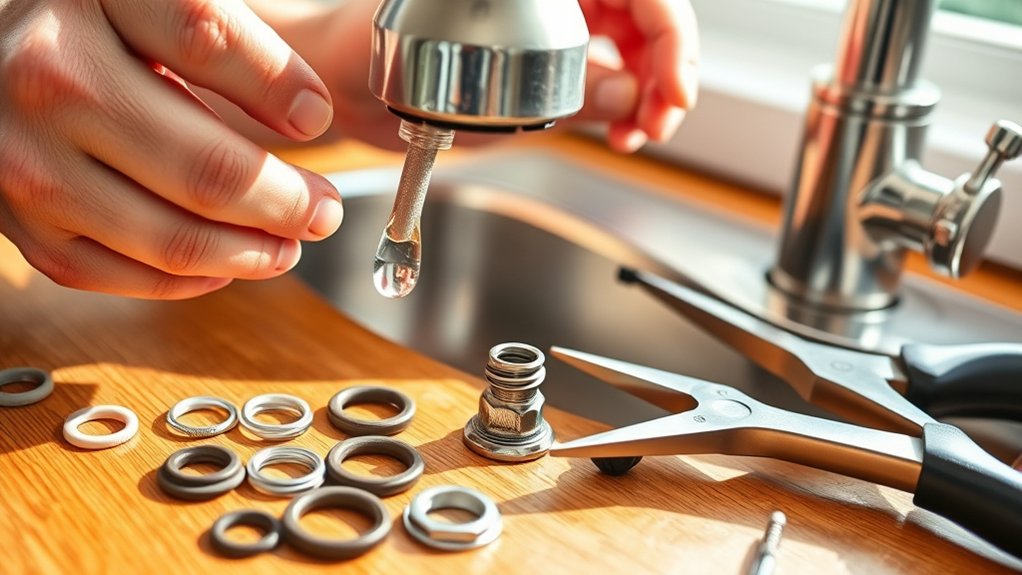
Identify the faucet type and where the leak started to choose the right replacement part. A drip from the spout often points to a worn cartridge, ball, disc, or stem assembly, depending on the faucet design.
Water leaking around the handle commonly indicates a damaged O-ring or cartridge seal. A leak beneath the sink may come from supply connections or a failed hose, rather than the faucet’s internal valve.
Remove the old part carefully and compare its shape, length, openings, and retaining features with the replacement. Check your faucet’s brand and model number, usually printed on the body or listed in the manual, before buying.
During corrosion inspection, look for pitting, mineral buildup, or cracked metal that could prevent a proper seal. Confirm material compatibility, especially when choosing washers, O-rings, or hoses.
The replacement must withstand drinking water, temperature, and pressure. Replace matching seals whenever they appear flattened, brittle, or torn.
Reassemble and Test the Faucet
Once the replacement part matches the original, reinstall it in the correct order and secure each retaining clip, screw, or nut without overtightening. Replace the handle, escutcheon, and any decorative caps, then turn the faucet’s water supply valves on slowly.
Open the faucet and let cold and hot water run for several seconds to clear debris from the lines. Watch every connection beneath the sink and around the spout for drips.
Move the handle through its full range, checking that water starts, stops, and changes temperature smoothly. If you see a leak, shut off the supply, tighten the connection slightly, and test again.
Don’t force parts, since overtightening can damage seals or threads. Wipe the faucet and sink dry, then check them again after a few minutes.
Clean installation supports water conservation by preventing wasted flow. It can also provide a foundation for future aesthetic upgrades without affecting the repair.
Prevent Future Kitchen Faucet Leaks
Prevent future kitchen faucet leaks by checking the faucet and supply connections periodically for moisture, corrosion, or loose hardware. Wipe these areas dry, then look for fresh droplets, stains, or mineral buildup. Early leak detection helps you address small problems before water damages cabinets, flooring, or plumbing.
Check faucet and supply connections regularly for moisture or corrosion to catch leaks early and prevent costly water damage.
Practice simple faucet maintenance by cleaning the aerator every few months. Soak it in vinegar to remove mineral deposits that can restrict flow and strain internal components. Don’t overtighten handles, cartridges, or supply-line nuts; excessive force can damage seals and threads.
Replace worn washers, O-rings, and flexible hoses at the first sign of cracking or stiffness. Keep the area beneath the sink uncluttered so you can spot drips quickly.
Check shutoff valves occasionally, and turn them gently to prevent seizing. If you’ll be away for an extended period, shut off the water supply.
Schedule a plumber’s inspection when corrosion, recurring leaks, or hidden moisture persists.
Frequently Asked Questions
Can a Leaky Kitchen Faucet Increase My Water Bill Significantly?
Yes, a leaky kitchen faucet can increase your water bill considerably, especially if it drips continuously or leaks from the handle. Even a slow drip wastes gallons over time, and a steady stream can waste hundreds.
You’ll save money by repairing worn washers, cartridges, or seals promptly. Practice water conservation by monitoring your usage, and prioritize leak prevention with regular inspections.
If the leak persists, call a licensed plumber before damage worsens.
When Should I Call a Professional Plumber for a Faucet Leak?
Call a professional plumber when your faucet leak persists after basic DIY fixes, worsens, or causes water to pool beneath the sink. You should also seek help if you can’t identify the leak’s source, notice corroded or damaged pipes, or need specialized tools.
A plumber can prevent hidden water damage, restore proper operation, and recommend leak prevention measures. Don’t delay if water reaches electrical outlets, cabinetry, flooring, or other vulnerable areas in your home.
Are Kitchen Faucet Repairs Covered by Homeowners Insurance?
Usually, homeowners insurance doesn’t cover routine kitchen faucet repairs caused by wear, corrosion, or poor maintenance. Your policy may cover resulting water damage if a sudden, accidental leak damages cabinets, flooring, or walls, but you’ll still pay your deductible.
Review your policy’s Coverage limitations before filing Insurance claims, since gradual damage and neglected leaks often receive exclusions. Contact your insurer promptly, document the damage, and ask whether your policy covers both repairs and cleanup costs.
How Long Does a Typical Kitchen Faucet Repair Take?
A typical kitchen faucet repair takes 30 minutes to two hours, depending on the leak, your experience, and available parts. Simple washer or cartridge replacements may take under an hour, while corroded connections or pull-down Faucet types can require longer.
Gather basic Repair tools, including an adjustable wrench, screwdriver, pliers, and flashlight, before starting. If you encounter seized components or persistent leaks, you’ll likely need a professional, who may finish within one visit.
Can Hard Water Damage Cause Recurring Faucet Leaks?
Yes, hard water can cause recurring faucet leaks. As minerals accumulate, mineral buildup can clog aerators, damage cartridges, and prevent washers or seals from sitting tightly.
You’ll often notice drips returning after a repair if you haven’t addressed the water quality. Clean removable parts with vinegar and replace damaged components.
Consider installing a water softener or filter. You’ll reduce deposits and help your faucet remain leak-free much longer with regular maintenance.
Conclusion
With the right replacement part and a few careful turns, you can send that kitchen faucet leak down the drain. Check every connection, restore the water slowly, and watch for fresh drips.
If the faucet stays dry, you’ve silenced the steady tap that once echoed through your kitchen. Wipe away standing water, avoid overtightening, and inspect the fixture occasionally.
A few minutes of maintenance can keep your sink flowing smoothly and your cabinets safe for years. With regular care, your kitchen faucet should stay leak-free.