How to Clean Wood Kitchen Cabinets in 7 Steps
Greasy fingerprints, dull spots, and stubborn buildup can make beautiful wood cabinets feel impossible to keep clean. You’re not alone—many people struggle to remove grime without damaging the finish, especially when choosing between household cleaners and cabinet-safe products.
To clean wood kitchen cabinets in seven steps, first check the finish and test your method in a hidden spot. Gather mild dish soap, warm water, microfiber cloths, and a soft brush.
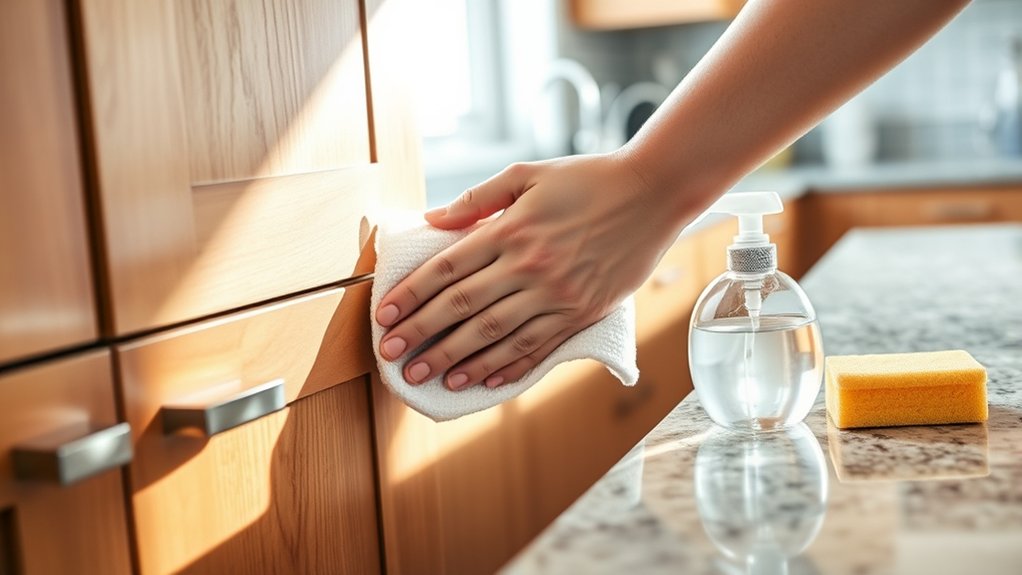
Dust from top to bottom, then mix a few soap drops into water. Wipe with a barely damp cloth, gently soften grease, and avoid soaking the wood.
Rinse and dry immediately, following the grain. Inspect the finish and protect it appropriately.
Continue for detailed guidance on keeping cabinets clean safely.
Key Takeaways
- Check the cabinet finish and test your cleaner on a hidden area before cleaning the entire surface.
- Remove dust and debris with a microfiber cloth, soft brush, or vacuum brush attachment.
- Mix warm water with a few drops of mild, bleach-free dish soap.
- Wipe small sections with a wrung-out cloth, following the wood grain, then rinse the cloth frequently.
- Dry cabinets immediately with a clean microfiber cloth, paying special attention to edges, corners, and hardware.
Check Your Wood Cabinet Finish First
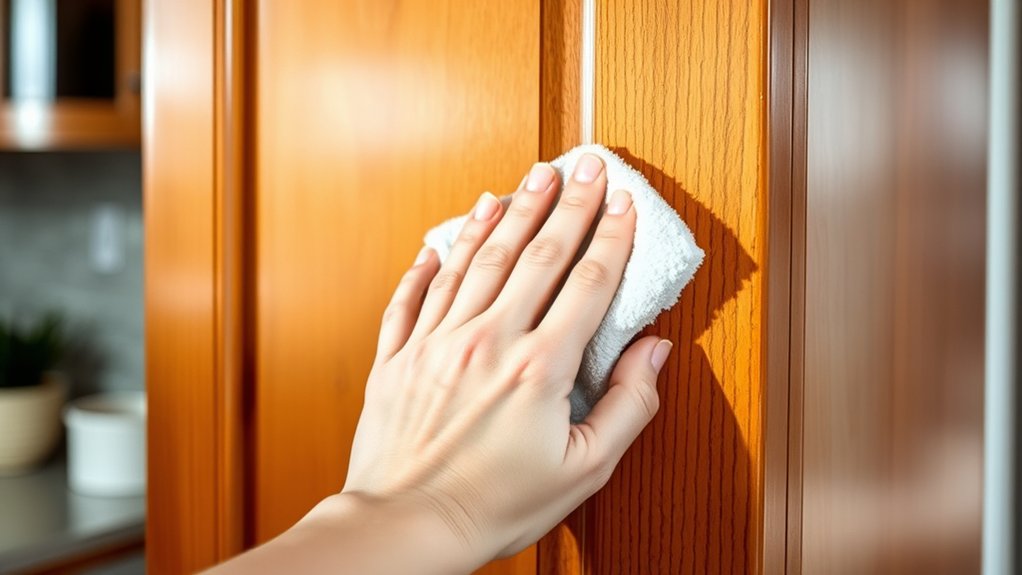
Before you clean your wood kitchen cabinets, identify their finish, since different surfaces can react differently to moisture and cleaning products. Look closely at a hidden area, such as the cabinet’s inside edge or lower corner.
Notice whether the surface looks glossy, satin, or matte, and compare the finish sheen across the doors and frames. A consistent sheen often indicates a clear protective coating, while dull, uneven areas may signal worn finish or exposed wood.
Compare the cabinet’s sheen and texture to spot protective coatings, worn finish, or exposed wood before cleaning.
Next, examine the wood grain. If you can feel its texture beneath a thin coating, the cabinet may have an oil-based or penetrating finish. A smooth, sealed surface usually has stronger protection against moisture.
Watch for peeling, cloudy patches, white rings, cracking, or discoloration, which can reveal finish damage. Don’t scrub or wet the surface during this inspection.
If you’re unsure, check the manufacturer’s care instructions or test your planned method on an inconspicuous spot first. Identify repairs before cleaning.
Gather Gentle Cabinet-Cleaning Supplies
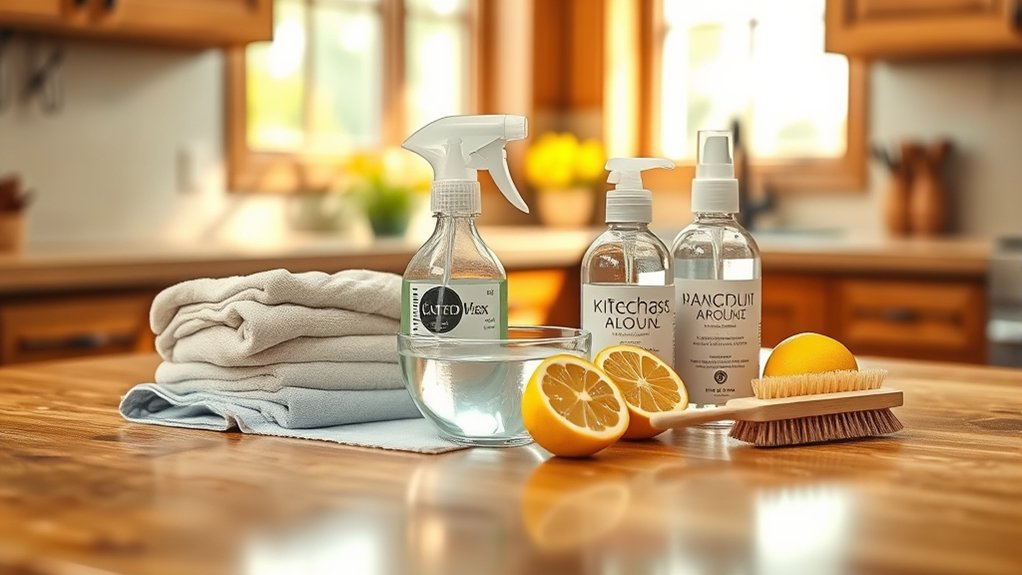
Choose a gentle, wood-safe cleaner that won’t strip the cabinet finish. You’ll also need soft microfiber cloths, a small bucket, and a nonabrasive sponge. With these supplies on hand, you can clean effectively without scratching or damaging the wood.
Choose Gentle Cleaning Products
Gather a few gentle supplies: a soft microfiber cloth, warm water, mild dish soap, and a clean, dry towel. Choose products that protect your cabinet’s finish instead of stripping its natural oils.
Look for mild, pH-neutral soap without bleach, ammonia, alcohol, or abrasive ingredients. Eco-friendly options can work well when their labels confirm they’re safe for finished wood.
You can also make a natural cleaning solution by mixing a small amount of mild dish soap with warm water. Avoid concentrated cleaners, furniture polish, and vinegar unless your cabinet manufacturer approves them.
Acidic or oily formulas may dull, stain, or leave residue. Read each product label, and check your cabinet-care instructions before cleaning.
If you’re unsure, test the solution on a hidden spot first.
Gather Essential Cleaning Tools
Keep your cabinet-cleaning tools simple: use a soft microfiber cloth, a small bucket of warm water, mild dish soap, and a clean, dry towel. Choose a cloth with a smooth weave so it won’t scratch or leave lint on the wood.
Keep a second cloth nearby for wiping spills and drying seams, where moisture can cause damage. Use a soft toothbrush or cotton swabs to clean grooves, corners, and cabinet hardware without forcing debris into the finish.
Avoid abrasive sponges, steel wool, ammonia, and harsh degreasers, which can dull or strip protective coatings. Before you begin, clear nearby counters and place supplies within reach.
This supports cabinet organization and makes cleaning faster. Handle knobs and pulls gently to support hardware maintenance and prevent loose fittings.
Remove Dust and Loose Debris
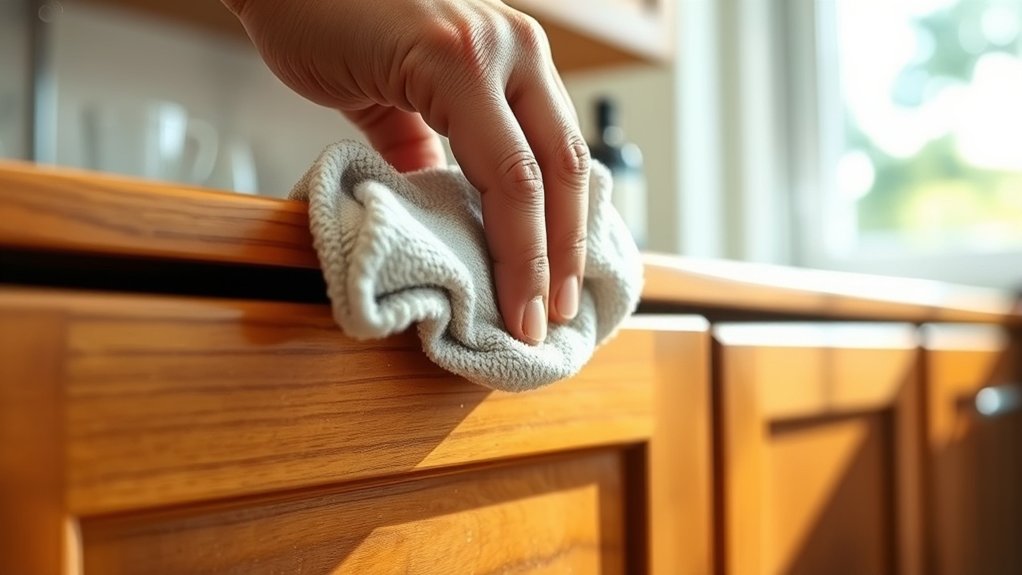
Gather your cleaning supplies before you begin, including a soft microfiber cloth and a vacuum with a brush attachment. Gently dust each cabinet surface to remove loose debris without scratching the wood. Then, use the vacuum or cloth to clean the corners, crevices, and hardware details.
Gather Cleaning Supplies
Before you begin, collect a microfiber cloth, a soft-bristled brush or vacuum with a brush attachment, warm water, and a small bowl. Keep your supplies nearby so you won’t interrupt the cleaning process.
Use the brush to loosen crumbs and dirt from corners, grooves, and edges without scratching the finish. A vacuum attachment can capture debris quickly, but maintain light pressure to protect the wood.
Set aside a clean cloth for handling cabinet hardware, such as knobs, pulls, and hinges. Remove fragile kitchen accessories from nearby work areas, including canisters, décor, and small appliances, so they won’t get in your way.
Avoid abrasive sponges, harsh cleaners, and excess water. These materials can damage wood finishes. Check each tool for grit or residue before you start, ensuring everything is clean and ready.
Dust Cabinet Surfaces
Start by dusting the cabinet doors, frames, and exposed sides with a dry microfiber cloth. Use gentle, straight strokes, working from the top downward so falling dust doesn’t settle on cleaned areas.
Apply light pressure to protect the wood finish, and refold the cloth as it collects debris. For effective dusting techniques, use a vacuum with a soft brush attachment on broad surfaces, keeping the nozzle from touching the cabinetry.
Don’t use water or cleaning solution yet; moisture can spread dust and make surface preparation harder. If the cabinets have a glossy finish, buff lightly with a fresh, dry section of the cloth to remove loose particles without creating streaks.
Finish by wiping nearby countertops and floors, preventing stirred-up dust from returning to the cabinet surfaces during the next cleaning step.
Clean Corners and Crevices
With the main surfaces dust-free, focus on the corners and crevices where loose debris often collects. Use a soft, dry toothbrush or a narrow vacuum attachment to lift crumbs, dust, and grit from cabinet joints, trim, and hinge areas.
Work gently so you don’t scratch the wood or force debris deeper into the gaps. For detailed corner cleaning, wrap a microfiber cloth around a dull butter knife, then guide it carefully along tight edges.
Check beneath shelf supports, around handles, and inside door frames, where buildup can hide. During crevice cleaning, use short strokes and change to a clean section of cloth as needed.
Don’t spray cleaner directly into gaps. Excess moisture can swell unfinished edges or damage hardware. Finish by vacuuming or wiping away the loosened debris.
Mix a Safe Wood Cabinet Cleaner
Mix a gentle cleaner with warm water and a few drops of mild dish soap in a bucket. Choose a soap without bleach, ammonia, abrasives, or strong fragrances, since these ingredients can dull finishes or damage wood.
Mix warm water with mild, nonabrasive soap, avoiding bleach, ammonia, and fragrances that may damage wood finishes.
You can also use a cleaner labeled safe for finished wood, but read its instructions before adding it to your solution. Keep the mixture mild; concentrated soap can leave a sticky film and attract dust.
Test your cleaner on a hidden cabinet area first, especially if you’re unsure how the finish will react. Don’t add vinegar, baking soda, or other acidic or gritty ingredients unless the manufacturer specifically approves them.
These substances may affect the wood stain or weaken the protective coating. Skip furniture oils and cabinet polish in your cleaning mixture, too.
They belong in a separate finishing step and can make surfaces slippery. Prepare only what you need, and replace the solution when it becomes cloudy or dirty.
Wipe Cabinets Without Soaking the Wood
Once your solution is ready, dip a soft microfiber cloth into it and wring it out thoroughly until it’s damp, not dripping. Starting at the top, wipe one cabinet section at a time, following the wood grain. Use gentle, even strokes rather than pressing hard, which can spread moisture into seams and joints.
After cleaning each section, immediately dry it with a clean, lint-free towel. Don’t let water or cleaner sit on the surface, especially around edges, corners, handles, and panel grooves. For detailed areas, use a barely damp cloth and finish with a dry cotton swab or folded towel.
Rinse and wring your cloth frequently so you’re lifting residue instead of redistributing it. If the cabinet still looks dirty, repeat the light wipe rather than adding more liquid.
This careful method supports stain preservation and helps with water damage prevention. Keep your work area ventilated, and leave doors slightly open until every surface feels completely dry.
Remove Grease Without Scratching the Finish
For stubborn grease, apply a small amount of mild dish soap to a damp microfiber cloth, then wipe gently along the wood grain. Work in small sections, turning the cloth often so you don’t spread oil across the surface.
For stuck-on spots, hold the damp cloth over the grease for several seconds to soften it, then lift the residue with light, repeated passes. Don’t use abrasive sponges, scouring powders, steel wool, or harsh degreasers; they can dull the finish and leave fine scratches.
Test any cleaner on a hidden area first, especially if your cabinets have a tinted, painted, or delicate coating. Use separate polishing techniques only after cleaning, and choose a product labeled safe for your cabinet’s finish.
If you’re planning cabinet painting, remove all grease beforehand so new paint bonds evenly. Avoid scraping with knives or fingernails, which can gouge wood.
Keep your pressure gentle, and let the cleaner do the work.
Dry and Protect Your Wood Cabinets
After cleaning, dry the cabinets immediately with a clean, lint-free microfiber cloth, following the wood grain and paying extra attention to edges, corners, and areas around hardware. Don’t let water sit on the surface, because moisture can swell wood, loosen joints, or damage the finish.
Open cabinet doors briefly to improve airflow, but avoid placing them near intense heat, which can dry and crack the wood.
For ongoing wood grain maintenance, wipe spills as soon as they happen and use coasters, mats, or liners in moisture-prone areas.
Once the cabinets are completely dry, inspect the finish for dull, worn, or peeling spots. Choose cabinet sealant options suited to your cabinet’s existing finish, such as paste wax, polyurethane, or a manufacturer-recommended protective coating.
Test any product on a hidden area first, then apply a thin, even layer according to its instructions. Never seal over dirt, grease, or dampness, and keep hardware dry to prevent corrosion and staining.
Frequently Asked Questions
How Often Should Wood Kitchen Cabinets Be Deep Cleaned?
You should deep clean your wood kitchen cabinets every three to six months, depending on cooking frequency, household traffic, and visible buildup. Wipe spills and greasy spots weekly so grime doesn’t harden.
Use gentle Cleaning tools, such as a soft microfiber cloth, mild soap, and warm water. Avoid soaking wood or using abrasive products.
Helpful Maintenance tips include drying surfaces immediately, cleaning handles monthly, and checking cabinet finishes for damage before stains worsen or moisture penetrates.
Can I Clean Painted Wood Cabinets Differently From Stained Cabinets?
Yes, you can clean painted wood cabinets differently from stained ones, and the difference matters. Painted and stained surfaces need distinct cleaning techniques.
For painted cabinets, use a soft microfiber cloth, warm water, and mild dish soap. Avoid scrubbing, which can dull the finish.
For stained wood, clean gently with diluted soap, following the grain, then dry immediately. Don’t let moisture sit, or you’ll invite damage. Test any cleaner first.
How Do I Clean Cabinet Hardware and Hinges?
Wipe cabinet hardware and hinges with a soft cloth dampened with warm water and mild dish soap. Dry them immediately to prevent moisture damage and streaks. For stubborn grime, use a soft toothbrush, but avoid abrasive cleaners that can scratch finishes.
Remove hardware only when necessary, and label screws for easy reinstallation. For hardware maintenance, inspect loose screws regularly. Apply a tiny drop of light machine oil for hinge lubrication, then wipe away excess.
What Should I Do if My Wood Cabinets Have Water Damage?
Act fast when water damage strikes your wood cabinets: stop the leak, remove wet items, and dry everything with towels and fans. Don’t scrub, sand, or refinish swollen wood until it’s completely dry, or you’ll seal in moisture.
Check for soft spots, mold, peeling veneer, and warped doors. For minor damage, lightly sand and reseal.
Call a professional for structural damage or extensive cabinet restoration. Otherwise, today’s drip could become tomorrow’s flood.
When Should I Refinish or Replace My Wood Kitchen Cabinets?
Refinish your wood kitchen cabinets when the doors remain sturdy, the layout works, and damage stays limited to faded finishes, scratches, or minor water stains. You can update the cabinet style with new hardware or cabinet paint.
Replace cabinets when water damage causes swelling, mold, soft wood, warped boxes, or recurring structural problems. If repairs cost nearly as much as new cabinetry, replacement usually makes more sense.
Also replace cabinets when storage, functionality, or layout no longer meet your needs.
Conclusion
With these seven steps, you can clean wood kitchen cabinets safely without stripping their finish or soaking the wood. Check the surface, use gentle supplies, lift dust first, and tackle grease patiently.
Then dry and protect every cabinet to keep it looking its best. Since kitchens rank among the most-used rooms in many homes, your cabinets may face daily contact dozens of times.
A few careful minutes of cleaning wood kitchen cabinets can preserve their beauty for years.