How to Make Kitchen Cabinets in 7 Steps
Designing a kitchen that looks great and fits your space can be challenging, especially when ready-made options don’t match your layout or budget. You’re not alone—many homeowners struggle to find cabinets that offer the right style, storage, and fit. Learning how to make kitchen cabinets gives you more control over every detail.
To make kitchen cabinets in seven steps, first plan your layout and measure walls, appliances, and clearances. Next, choose a cabinet style, materials, and tools suited to your space.
Cut and label each component accurately, then assemble square, sturdy cabinet boxes. Build, sand, and finish the doors before mounting them.
Install base and wall cabinets level and secure them to studs. Finally, apply the finish, attach hardware, and adjust doors and drawers for smooth operation.
The steps below explain each stage in detail.
Key Takeaways
- Measure the kitchen, appliances, walls, utilities, traffic paths, and clearances, then create a scaled cabinet layout.
- Choose suitable cabinet styles and materials, accounting for strength, moisture resistance, finishes, and compatibility with countertops and flooring.
- Cut labeled panels accurately using sharp blades and straightedge guides, then sand and pre-finish components before assembly.
- Assemble cabinet boxes and doors on flat surfaces, using glue, clamps, fasteners, square checks, and properly positioned hinges.
- Install cabinets on shims, level and secure them to studs, then attach doors, drawers, hardware, and make final alignment adjustments.
Plan Your Kitchen Cabinet Layout
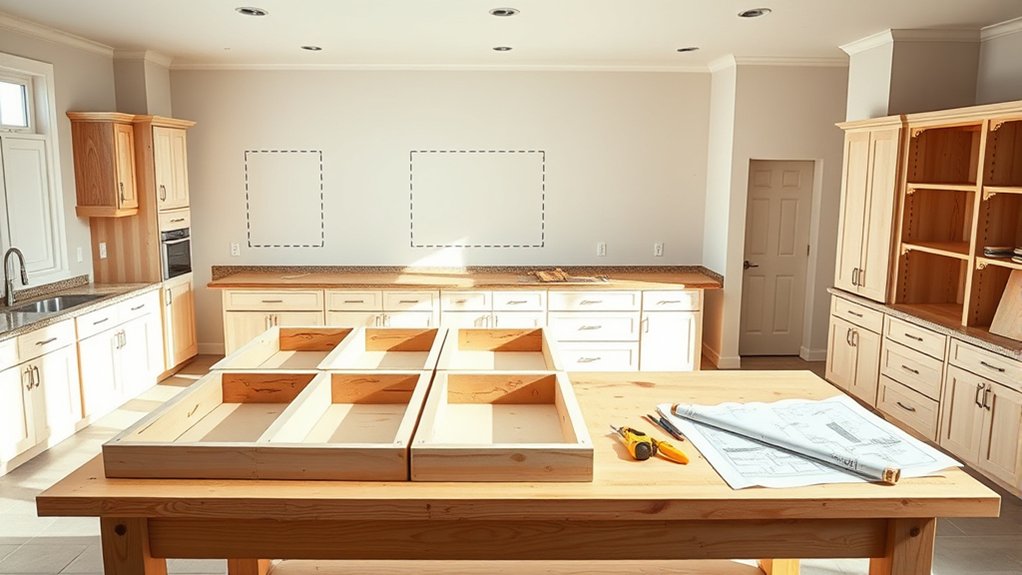
Before cutting any wood, decide how your cabinets will fit the kitchen. Measure each wall, doorway, window, appliance, and utility connection, then record every dimension on graph paper or design software.
> Measure your kitchen carefully, documenting walls, openings, appliances, and utilities before finalizing your cabinet layout.
Mark the room’s traffic paths so doors and drawers won’t block walkways, appliances, or one another. Plan cabinet runs around fixed features, including plumbing, outlets, vents, and radiators.
Allow enough clearance for appliance doors, countertop overhangs, and comfortable movement between work zones. Group storage according to how you use the kitchen: keep daily dishes near the dishwasher, cookware near the range, and food storage near the preparation area.
Consider color coordination early by mapping how cabinetry will relate to flooring, walls, counters, and nearby rooms. Include lighting integration in your layout, leaving space for under-cabinet fixtures, switches, and wiring access.
Finally, label every cabinet’s width, height, depth, and purpose. Review the plan from several angles, revise conflicts, and confirm measurements before proceeding.
Choose Cabinet Styles, Materials, and Tools

Choose a cabinet style that fits your kitchen’s layout and reflects your personal taste. Next, compare materials based on their durability, appearance, and cost. Once you’ve made your choices, gather the essential tools you’ll need to build accurately and efficiently.
Select a Cabinet Style
Start by deciding which cabinet style fits your kitchen’s layout, storage needs, and overall design. Choose framed cabinets if you prefer traditional detailing, sturdy face frames, and visible reveals around each door.
Select frameless cabinets for a sleek, contemporary appearance and slightly more accessible interior space. Shaker doors offer simple lines that suit both modern and classic kitchens, while flat-panel doors create a minimalist look.
Raised-panel doors add depth and formal character, so consider whether that detail complements your room. Think about how drawers, doors, and open shelving will support your daily routines.
Plan Decorative hardware, such as knobs and pulls, to reinforce the style and improve usability. Include Cabinet lighting if you want to highlight display areas or brighten work zones.
Sketch your preferred layout before building.
Compare Material Options
With your cabinet style selected, compare materials based on durability, appearance, cost, and how easily you can work with them.
Solid hardwood offers natural character and long service life, but it costs more and can expand with moisture. Plywood provides excellent strength, stable construction, and clean edges, making it a practical choice for cabinet boxes.
Medium-density fiberboard (MDF) creates smooth painted doors at a lower price, though it’s heavier and vulnerable to water damage. Melamine-coated particleboard keeps costs down and cleans easily, but it may chip at exposed edges.
Match your choice to nearby finishes, such as laminate countertops or hardwood flooring, while considering color and grain. Choose moisture-resistant finishes for sink areas, and reserve premium wood for visible doors, face frames, or decorative accents.
Gather Essential Tools
Gather essential tools before cutting any material so you can work accurately and safely. You’ll need a tape measure, combination square, pencil, clamps, level, stud finder, and utility knife for precise layout and installation.
Add a circular saw or table saw, jigsaw, drill, countersink bit, and random-orbit sander for cutting, joining, and smoothing parts. Keep extra blades, drill bits, screws, wood glue, and sandpaper nearby so you won’t interrupt your workflow.
Wear safety glasses, hearing protection, and a dust mask, and use push sticks when operating saws. Organize tools within reach, but keep cords and debris off the floor.
As you plan kitchen decoration, reserve tools for mounting cabinet lighting, such as a drill, wire stripper, and voltage tester. Check each tool before use and replace damaged equipment promptly.
Measure and Cut Kitchen Cabinet Parts

Accurate measurements guarantee your cabinets fit properly, so record the wall dimensions, cabinet openings, and appliance spaces before cutting any material. Measure each wall in several places, noting uneven floors, corners, windows, plumbing, and electrical outlets.
Measure walls, openings, and appliance spaces carefully, noting irregularities before cutting materials for a precise cabinet fit.
Transfer every dimension to a scaled drawing, and label finished sizes separately from raw panel sizes.
Choose sheet goods with consistent thickness, then mark panels on the best face. Account for edge banding, reveals, toe-kick space, and the clearance required for a cabinet hinge or drawer slide.
Use a sharp pencil, straightedge, and reliable square to create clean, unmistakable cut lines. Support large sheets securely before cutting, and keep the blade on the waste side of each mark.
Cut cabinet sides, bottoms, shelves, doors, drawer parts, and backs according to your plan. Label every piece immediately, including its orientation and location.
Dry-check measurements against the drawing before making the next cut, and recut only after identifying any discrepancy.
Assemble Square, Sturdy Cabinet Boxes
Cut accurate cabinet panels so every piece fits cleanly and the layout stays consistent. Then secure the square boxes with clamps and fasteners, checking each corner as you go. This keeps the cabinet boxes sturdy and aligned during installation.
Cut Accurate Cabinet Panels
Before cutting, verify your cabinet dimensions and mark each panel clearly so you won’t confuse sides, tops, bottoms, or backs during assembly.
Double-check your panel measurement against the cabinet plan, accounting for material thickness, reveals, and any dadoes or rabbets specified later.
Use a sharp blade, a stable work surface, and a straightedge guide to produce clean, square cuts. Set your saw’s depth correctly, and support large sheets to prevent sagging or binding.
Make a single reference edge on each sheet, then measure from that edge for consistent results. Label the finished faces and orientation immediately.
Cut matching panels together when practical, keeping their edges aligned. Sand only lightly to remove splinters; excessive sanding can change dimensions.
Careful cutting techniques now will help every component fit accurately during assembly.
Secure Square Box Joints
Once you’ve cut and labeled the panels, assemble the cabinet box on a flat surface, joining each corner with the specified dadoes, rabbets, or other box joints. Dry-fit everything first, then check that edges meet cleanly and the case sits square.
Apply a thin, even layer of glue inside each joint, avoiding excess that could interfere with the finish. Use woodworking clamps to pull the panels together without crushing their edges.
- Measure both diagonals; matching measurements confirm square.
- Place clamps across the joints, not directly over fragile edges.
- Add a temporary back panel to stabilize the case.
- Wipe away squeeze-out before it hardens.
- Install screws or nails only where your plan allows.
If a joint needs reinforcement, add corner blocks or a secured back, ensuring they don’t obstruct drawers, shelves, or hardware. Let the glue cure fully before moving the cabinet.
Build and Mount the Cabinet Doors
With the cabinet boxes secured, you can build and mount the doors to complete the face of your kitchen cabinets. Cut each door from a flat, stable panel, or assemble a frame with rails and stiles around a center panel.
Sand every surface smooth, then apply paint, stain, or finish before installation. Let the finish dry completely to prevent sticking.
Mark consistent hinge placement on each door, keeping the hinges the same distance from the top and bottom edges. Drill or chisel recesses for concealed or butt hinges, depending on your design.
Attach the hinge hardware firmly, then hold each door against its opening and secure the mounting plates to the cabinet box.
Check door alignment from every direction. Adjust the hinges until gaps look even and doors sit flush with neighboring faces.
Open and close each door repeatedly to confirm smooth movement. Add knobs or pulls only after you’ve finalized the fit and finish.
Install Base and Wall Cabinets Level
After the doors fit properly, install the cabinet boxes, starting with the base units. Locate wall studs, mark their positions, and place each cabinet on shims. Check the front and side rails with a level, then adjust the shims until the cabinet sits perfectly flat.
Install base cabinet boxes on shims, locate wall studs, and level the front and side rails before securing each unit.
- Secure adjacent cabinets with clamps.
- Drill pilot holes through their face frames.
- Drive screws into studs or solid blocking.
- Recheck level, plumb, and alignment.
- Trim shims flush with a sharp knife.
Keep cabinet faces even as you join the boxes, and don’t overtighten screws. Overtightening can pull frames out of alignment.
For wall cabinets, establish a level reference line and install a temporary support ledger at that height. Lift each cabinet onto the ledger, clamp it to its neighbor, and fasten it through the mounting rail into studs.
Confirm every box remains plumb before moving on. Leave clearance for countertops, appliances, and planned decorative molding.
Protect finished surfaces from scratches, especially if you’ve already applied cabinet paint. Avoid attaching doors or hardware until all cabinets sit securely and align consistently.
Apply Finish and Adjust Cabinet Hardware
When the cabinet boxes are secure and aligned, apply the chosen finish according to the product directions, allowing each coat to dry fully before adding the next. Sand lightly between coats if the manufacturer recommends it, and remove dust with a clean, lint-free cloth.
Use suitable finishing techniques for your material: brush or spray paint for painted cabinets, and a foam applicator for stain or clear protective topcoat. Keep doors and drawers on a flat, protected surface to prevent drips.
After the finish cures completely, reinstall the doors, drawers, and hinges. Attach decorative hardware, measuring carefully so every pull and knob sits at the same height and spacing.
Adjust each hinge until door gaps look even and fronts align with neighboring cabinets. Tighten loose screws, but don’t overtighten them and strip the material.
Test every drawer and door several times, confirming smooth movement, secure latches, and consistent reveals before you finish.
Frequently Asked Questions
How Much Does It Typically Cost to Build Kitchen Cabinets Yourself?
You’ll typically spend $2,000–$8,000 to build kitchen cabinets yourself, depending on your kitchen’s size, design, tools, and finish quality. Your cost estimation should include plywood, hardwood, drawer slides, hinges, handles, paint, fasteners, and finishing supplies.
Material selection makes the biggest difference: affordable plywood and stock hardware reduce expenses, while premium hardwood and custom fittings increase them. You’ll also need to account for tools, waste, delivery, and possible mistakes during construction.
How Long Does Building and Installing Kitchen Cabinets Usually Take?
You’ll typically spend two to six weeks building and installing kitchen cabinets yourself. Allow several days for cabinet design, measurements, and planning, then one to two weeks for material selection, cutting, assembly, sanding, and finishing.
Installation usually takes three to seven days, depending on your kitchen’s size, layout, and your experience. Custom details, unexpected repairs, drying time, and hardware installation can extend the schedule, so add a few extra days as a buffer.
What Safety Precautions Should You Follow When Making Kitchen Cabinets?
Protective gear is your first shield when you build cabinets, keeping hazards at arm’s length. Wear safety glasses, hearing protection, a dust mask or respirator, snug gloves when appropriate, and sturdy, slip-resistant shoes.
Secure lumber before cutting, keep blade guards installed, and use push sticks near table saws. Maintain ventilation safety by opening windows, using dust collection, and avoiding sparks near finishes.
Unplug tools before adjustments, and keep your workspace clean.
Can Beginners Successfully Build Kitchen Cabinets Without Professional Woodworking Experience?
Yes, you can successfully build kitchen cabinets as a beginner, especially if you start with simple designs and realistic expectations.
DIY woodworking becomes manageable when you learn basic measuring, cutting, drilling, and assembly techniques. Begin with a small project, use clear plans, and practice on inexpensive materials.
Cabinet customization lets you create a space that fits your needs, but don’t rush. Measure twice, follow safety precautions, and ask experienced woodworkers for guidance when needed.
When Should You Hire a Professional Cabinetmaker for Your Kitchen Project?
Like calling a specialist when the puzzle stops fitting, you should hire a professional cabinetmaker when your design requires complex layouts, unusual dimensions, or flawless installation. Choose expert help if you lack time, tools, or confidence, or if mistakes could damage expensive materials.
A professional can create Custom finishes, align doors precisely, and recommend durable Cabinet hardware. Bring in a cabinetmaker, too, when structural changes or tight deadlines make precision essential.
Conclusion
By following these seven steps, you can learn how to make kitchen cabinets that fit your space, match your style, and serve your needs. Plan carefully, measure accurately, assemble securely, and install patiently.
Choose durable materials, create square boxes, and mount every door with care. When you apply the finish and adjust the hardware, you’ll see your work come together. Build with confidence, work with precision, and enjoy a kitchen you’ve truly made yourself.