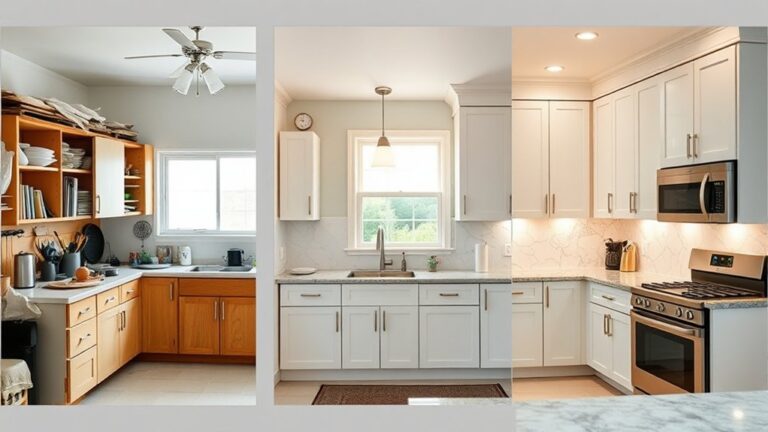
How to Build Kitchen Cabinets in 5 Steps
Building kitchen cabinets can feel overwhelming, especially when you’re trying to balance limited space, a tight budget, and the need for durable storage. You’re not alone—many people struggle to know where to start.
This guide to how to build kitchen cabinets in 5 steps breaks the process into manageable stages and helps you avoid costly mistakes.
To build kitchen cabinets in five steps, first measure your kitchen and plan zones, clearances, utilities, and cabinet placement.
Next, choose plywood, MDF, tools, and create a labeled cut list.
Assemble square, rigid boxes with glue, screws, shelves, and backs.
Install them level and secure to wall studs, then add doors, drawers, and hardware.
Finally, sand, finish, and protect every surface.
The sections below explain each step and help you avoid costly mistakes.
Key Takeaways
- Measure the kitchen, map utilities and traffic paths, and design a cabinet layout with adequate clearances.
- Choose suitable materials and tools, then create labeled cut lists that account for grain, thickness, and edge-banding.
- Assemble square, rigid cabinet boxes using glue, clamps, screws, back panels, and properly supported shelves.
- Install cabinets level and plumb against wall studs, then attach, align, and test doors, drawers, and hardware.
- Sand surfaces, apply a tested finish in thin coats, and allow cabinets to cure fully before use.
Measure Your Kitchen and Plan the Layout

Before cutting any materials, measure your kitchen’s walls, ceiling height, windows, doors, appliances, and utility connections. Record each Kitchen dimensions measurement on a scaled floor plan, noting corners, soffits, vents, outlets, plumbing, and permanent obstacles. Check whether walls and floors sit level, square, or plumb; small irregularities can affect cabinet alignment.
Next, map traffic paths and identify work zones for preparation, cooking, cleaning, and refrigeration. Place cabinets so doors, drawers, and appliances can open without collisions. Reserve comfortable clearance around islands and walkways, and confirm that appliance doors won’t block passages.
Plan storage optimization by assigning space according to how you use each item. Keep frequently used cookware near the range, dishes near the dishwasher, and pantry goods near food-preparation areas. Group tall cabinets deliberately, and use corners, shallow spaces, and vertical areas efficiently. Mark cabinet widths, heights, and clearances on your plan, then review the layout from several angles before proceeding.
Choose Materials, Tools, and Cut Lists
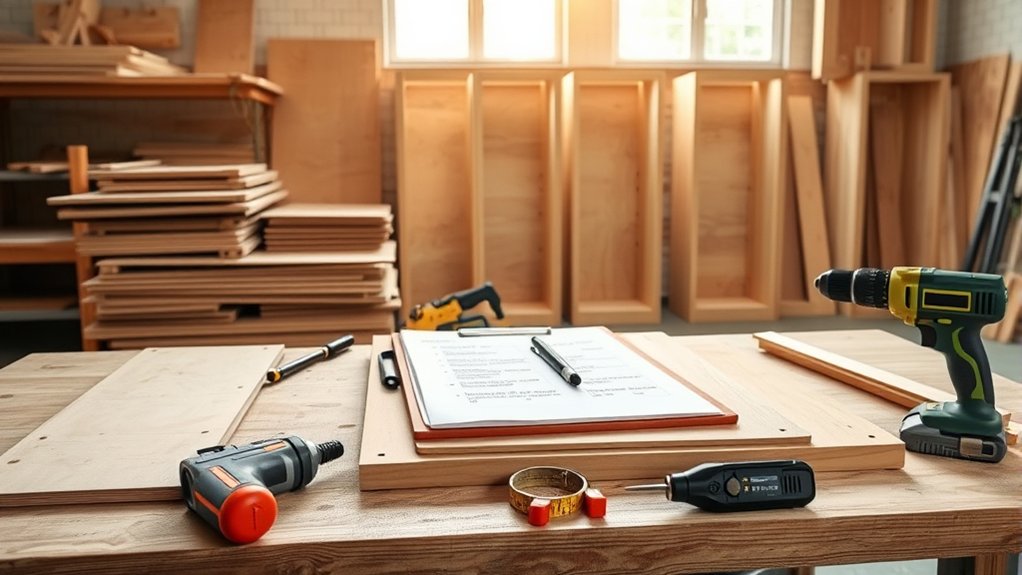
With your kitchen dimensions and layout set, choose materials that match your design, budget, and skill level. For cabinet boxes, plywood offers strength and stable screw holding, while medium-density fiberboard creates smooth, paint-ready panels.
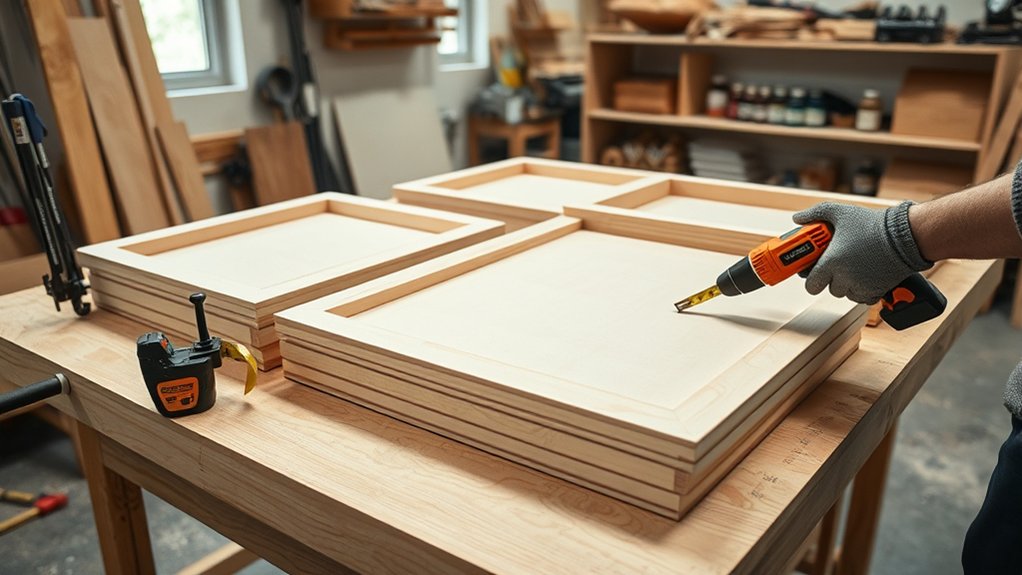
Select hardwood, plywood, or engineered trim for doors based on appearance, cost, and durability. Avoid warped sheets, damaged edges, and inconsistent thicknesses.
Gather tools before cutting:
- Use a table saw or circular saw with a guide, plus a sharp blade suited to your material.
- Prepare a drill, countersink bit, clamps, measuring tape, square, level, and sanding equipment.
- Wear eye and hearing protection, secure workpieces, and follow tool safety practices at every cut.
Create a cut list from your plan, labeling each panel by cabinet, part, material, thickness, length, width, and quantity. Include grain direction, edge-banding locations, and a small allowance for trimming.
Check every measurement twice, then organize the list to reduce waste. Buy extra material for test cuts and mistakes.
Assemble Your Kitchen Cabinet Boxes
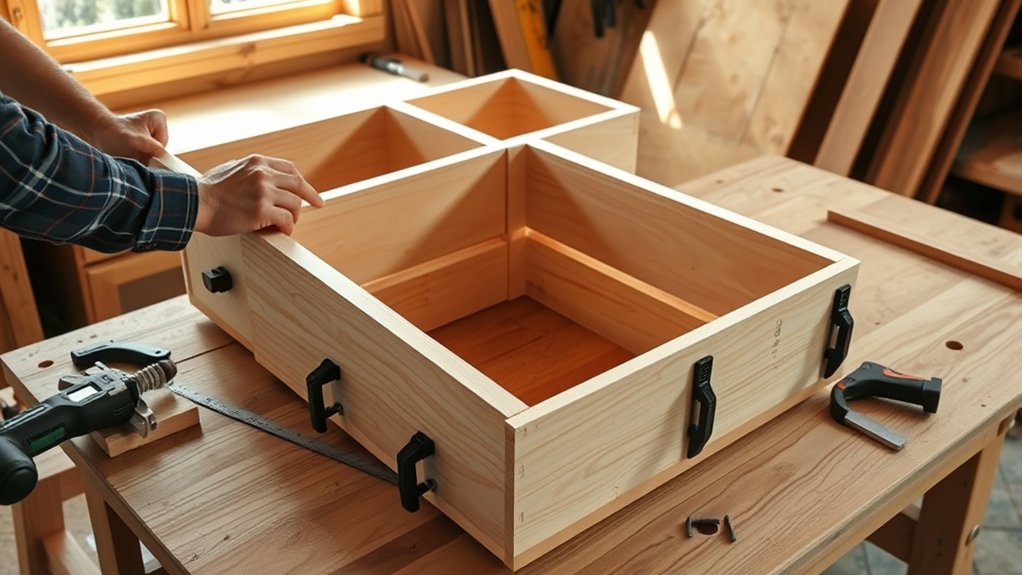
Start by assembling each cabinet box on a flat, level surface so the panels stay square. Dry-fit the sides, bottom, and back, then confirm every edge faces the correct direction.
Apply wood glue to each joint, clamp the parts, and drive screws through predrilled holes. Check diagonals before the glue sets; equal measurements confirm a square box.
| Checkpoint | What to verify | Helpful tool |
|---|---|---|
| Panels | Edges and grain align | Tape measure |
| Joints | Tight, flush connections | Clamps |
| Corners | Equal diagonals | Framing square |
| Back | Fully seated and straight | Level |
Fasten the back carefully because it strengthens the cabinet and prevents racking. Add fixed shelves with evenly spaced supports, keeping their fronts flush with the frame.
Mark each completed box immediately to avoid mixing sizes. Don’t begin Cabinet hinge installation or Drawer slide alignment yet; those tasks belong after the boxes are installed with their doors and hardware.
Let the glue cure fully, then sand exposed edges lightly and remove dust. Your finished boxes should feel rigid, square, and ready for the next construction stage.
Install Your Cabinets, Doors, and Hardware
Once the cabinet boxes are cured, square, and labeled, secure them in their planned positions. Locate wall studs, mark a level reference line, and drive screws through the cabinet backs and hanging rails. Clamp neighboring boxes together, align their faces, and fasten them without overtightening. Check each run for level, plumb, and consistent spacing before removing supports.
- Install doors: Match hinges to your chosen cabinet door styles, then attach hinge plates and adjust each door until gaps look even.
- Add drawers: Fit slides according to their instructions, test smooth movement, and correct misalignment before loading them.
- Mount hardware: Use hardware installation techniques that keep pulls and knobs consistent, including a template for repeatable hole locations.
Attach doors and drawer fronts only after the boxes sit securely. Use a level and straightedge to verify alignment across the entire run. Confirm every screw holds firmly, but don’t strip the material.
Finish by checking door swings, drawer clearances, and appliance openings. Make small hinge or slide adjustments now for clean, reliable operation.
Sand, Finish, and Protect the Cabinets
After installation, sand exposed surfaces and edges smooth, then remove all dust before applying your chosen finish. Begin with 120-grit sandpaper, progress to 180-grit, and finish with 220-grit for a smooth, even surface.
Sand with the grain, ease sharp corners slightly, and use a vacuum followed by a tack cloth. Careful surface preparation helps prevent scratches and uneven color.
Test your stain, paint, or clear coat on scrap wood before covering the cabinets. Apply thin, consistent coats with a quality brush, roller, or sprayer, and allow each coat to dry according to the manufacturer’s instructions.
Lightly sand between coats when recommended, then remove dust before recoating. Protective finishes such as polyurethane, lacquer, or conversion varnish help resist moisture, stains, and daily wear.
Pay special attention to cabinet edges, doors, and areas near sinks. Let the final coat cure fully before loading shelves or using the cabinets heavily.
Ventilate your workspace, and wear appropriate respiratory and eye protection throughout the process.
Frequently Asked Questions
Can I Build Kitchen Cabinets Without Prior Woodworking Experience?
Yes, you can build kitchen cabinets without prior woodworking experience, but you’ll need patience, careful planning, and basic tools. Start with simple cabinet boxes, practice accurate measuring and cutting, and follow reliable plans or tutorials.
DIY woodworking lets you learn through manageable projects while developing confidence. Focus on skill development by mastering one technique at a time.
Wear safety gear, check every measurement twice, and consider professional help for complex installation or electrical work.
How Much Money Can I Save by Building My Own Kitchen Cabinets?
You can typically save 30–50% by building your own kitchen cabinets, depending on your design, tools, and labor. A cost comparison should include lumber, plywood, hardware, finishes, equipment, and mistakes—not just store prices.
Careful material selection can reduce expenses, while premium wood or custom features may erase savings. If you already own tools and value your time modestly, DIY construction often saves thousands compared with professionally installed custom cabinetry for a complete kitchen.
How Long Does Building a Complete Set of Kitchen Cabinets Take?
A complete kitchen cabinet set typically takes 4–8 weeks for a DIY builder, though larger or more detailed projects can require several months. Start with cabinet design, which may take one to two weeks, then allow time for material selection, cutting, assembly, sanding, finishing, and installation.
You’ll work faster with accurate plans and basic tools, but expect delays for mistakes, drying finishes, hardware shortages, or coordinating countertop installation and plumbing.
What Safety Precautions Should I Follow While Building Kitchen Cabinets?
Wear safety gear whenever you build cabinets: safety glasses, hearing protection, a dust mask, and sturdy shoes. Keep your workspace clean, bright, and well ventilated.
Inspect power tools before use, follow their manuals, and unplug them before changing blades or making adjustments. Secure lumber firmly, keep hands away from blades, and use push sticks when appropriate.
Clamp workpieces, control cords, and never rush cuts. Store sharp tools safely and keep children away.
When Should I Hire a Professional Cabinetmaker or Contractor?
Hire a professional cabinetmaker or contractor when your project feels like a puzzle missing several pieces. If you lack precise measuring skills, specialized tools, or installation experience, professional help can prevent costly mistakes.
Bring one in for complex layouts, uneven walls, structural changes, or tight deadlines. You’ll also benefit from expert design aesthetics and material selection guidance.
Consider hiring someone when safety, quality, or your confidence starts slipping.
Conclusion
By now, you’ve measured your kitchen, chosen materials, built sturdy cabinet boxes, and installed the doors and hardware. But don’t rush to celebrate yet—the final details determine whether your cabinets look homemade or professionally crafted.
Sand every surface smooth, apply your chosen finish, and protect it against daily wear. Then step back and inspect your work.
That last careful touch may be the difference between ordinary storage and the kitchen transformation you’ve been waiting to reveal. With these steps, you’ve learned how to build kitchen cabinets that look polished and professional.