How to Build an Outdoor Kitchen in 5 Steps
Building an outdoor kitchen can feel overwhelming when you’re unsure where to start, how much to spend, or which features matter most. You’re not alone—many homeowners struggle to balance layout, utilities, weather protection, and convenience.
This guide breaks the process into five practical steps to help you plan an outdoor kitchen with confidence.
To build an outdoor kitchen in five steps, choose a convenient, well-drained location protected from harsh weather.
Next, map cooking, prep, serving, and dining zones, set a budget, and check permits.
Prepare a stable base, then run code-compliant gas, electrical, and plumbing utilities.
Install the grill, refrigerator, sink, storage, and waste area, testing each connection.
Finally, add layered lighting, shade, weatherproof cabinets, and appliance covers.
The steps below will help you plan each detail confidently.
Key Takeaways
- Choose a convenient, well-drained location near your home, considering sun, wind, smoke, privacy, and traffic flow.
- Plan cooking, preparation, serving, and dining zones. Then set a budget, measure the space, and verify permits and codes.
- Prepare a stable foundation and install compliant gas, electrical, plumbing, drainage, and ventilation systems using licensed professionals.
- Install weather-resistant cabinets, countertops, a grill, refrigerator, sink, storage, and waste stations. Ensure proper clearances and secure connections.
- Add layered lighting, shade, waterproofing, corrosion-resistant hardware, appliance covers, and drainage for year-round comfort and protection.
Choose the Right Outdoor Kitchen Location
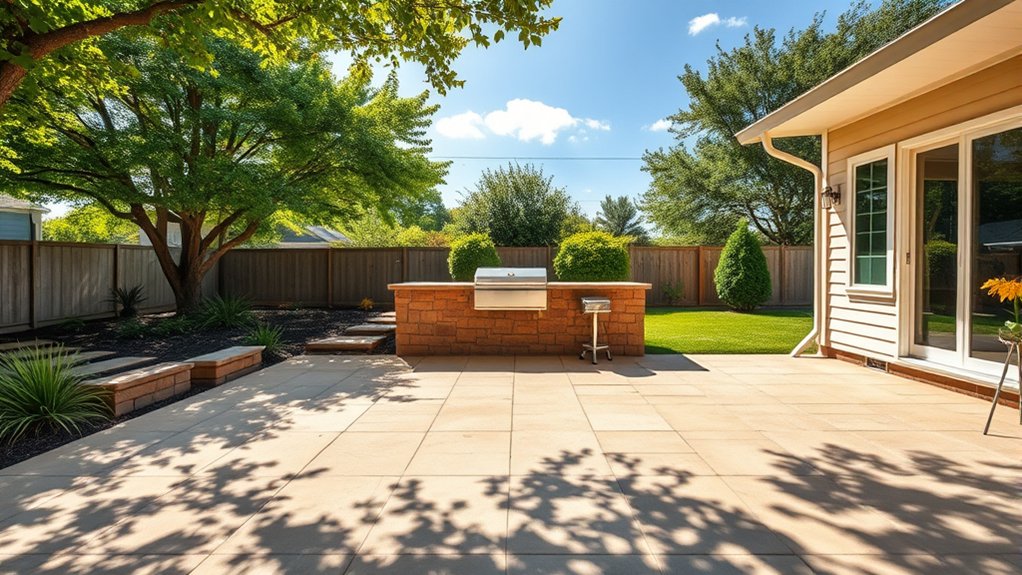
Before choosing appliances or countertops, decide where your outdoor kitchen will function best. Look for a spot near your home so you can carry food, dishes, and supplies easily.
Keep the kitchen close enough to existing utilities, but don’t let smoke, heat, or cooking odors drift through open doors or windows. Check the area’s exposure to sun, wind, and rain.
Keep utilities nearby while positioning the kitchen to minimize smoke, heat, and odors, and account for sun, wind, and rain exposure.
A partially shaded location can make cooking more comfortable, while a windbreak can protect flames and surfaces. Consider views, privacy, and how the kitchen connects with your yard.
Use landscaping ideas such as hedges, trees, or raised planters to define the space without blocking access. Leave enough room for people to move safely around hot equipment.
Think about traffic from doors, gates, and walkways, too. Position outdoor furniture where guests can socialize without crowding the cooking zone.
Finally, choose stable, well-drained ground to prevent puddles and shifting surfaces.
Plan Your Outdoor Kitchen Layout, Budget, and Permits
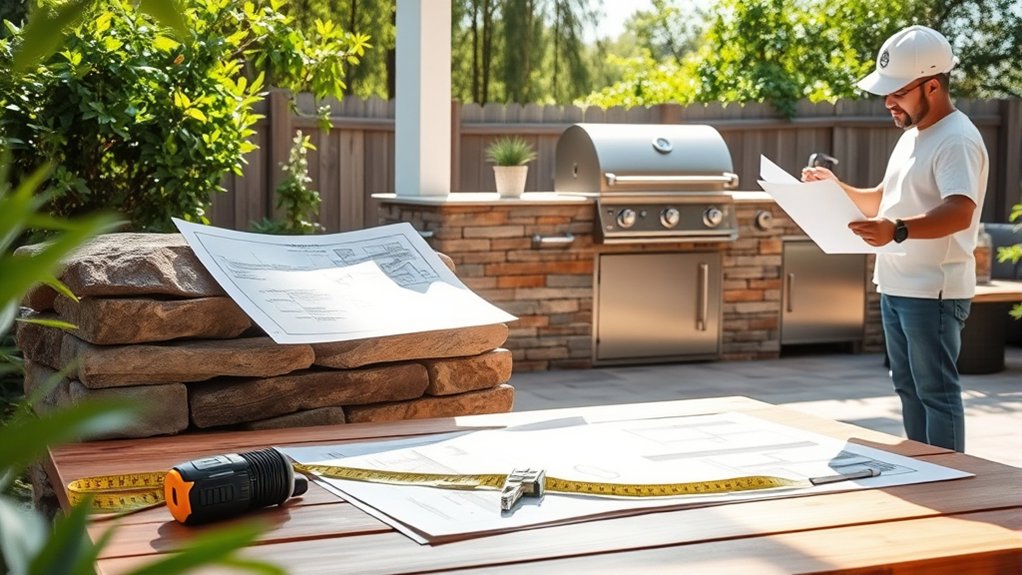
Sketch your outdoor kitchen layout before buying materials or appliances. Mark cooking, preparation, serving, and dining zones, then check walking paths and clearance around doors, furniture, and property lines. Your outdoor design should support an efficient work triangle without crowding the existing patio.
Build a realistic budget that includes appliances, cabinets, countertops, lighting, delivery, labor, taxes, and a contingency fund. Compare options during material selection, balancing weather resistance, appearance, maintenance, and long-term value. Keep essential features first, and identify upgrades you can add later.
Use this planning checklist:
- Measure the available footprint and note fixed obstacles.
- Choose appliance sizes and confirm their placement.
- Price materials, furnishings, permits, and professional services.
- Verify local codes, HOA rules, setbacks, and inspection requirements.
Contact your building department early to learn whether your design needs permits. Ask about structural, electrical, plumbing, gas, fire-safety, and zoning requirements before beginning installation. Save approvals, estimates, receipts, and revised drawings together for easy reference.
Run Utilities and Build the Kitchen Base
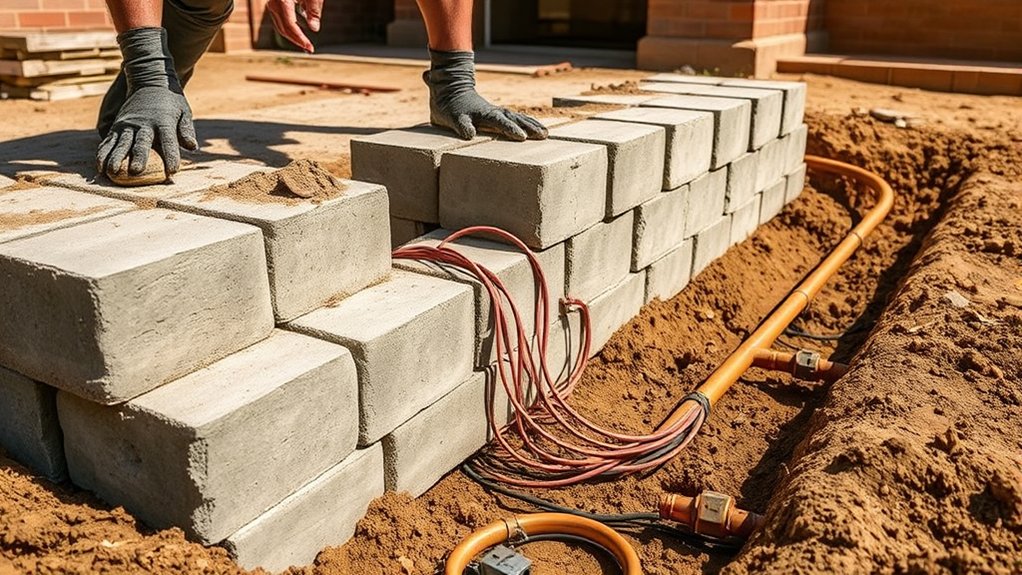
With your layout approved, run electrical, plumbing, and gas lines to their designated locations, following local codes and appliance specifications. Plan utility routing before excavation, and hire licensed professionals for gas and electrical work when required.
Plan utility routes early, follow local codes, and use licensed professionals for safe electrical, plumbing, and gas installations.
Install weatherproof conduit, shutoff valves, and properly sloped drain lines. Pressure-test every connection before covering it.
Protect buried lines with suitable depth, marking tape, and sleeves where they pass through masonry.
Next, prepare a stable, level foundation that can support the finished kitchen. Choose a concrete slab, masonry footing, or approved structural platform based on your site and climate.
Account for drainage, frost movement, and clearance from combustible surfaces. For the base construction, use exterior-rated concrete block, steel framing, or another noncombustible system.
Anchor the framework securely, check each wall for plumb, and leave planned openings for ventilation and service access. Seal exposed edges and apply a weather-resistant finish.
Before closing the structure, photograph utility locations and confirm that inspectors approve the work. Keep the workspace clean and dry throughout construction.
Install Grills, Appliances, and Outdoor Storage
Once the base has cured and utility connections are ready, position the grill, refrigerator, sink, and other appliances according to the approved layout. Keep cooking, washing, and serving zones close enough to reduce unnecessary steps, while leaving safe clearance around hot surfaces.
Confirm that doors, lids, and drawers open fully without blocking walkways or Seating arrangements.
Use this checklist before securing each unit:
- Level every appliance and cabinet on the finished surface.
- Connect gas, water, drainage, and electrical lines according to local codes.
- Test burners, refrigeration, faucets, and shutoff valves for proper operation.
- Anchor appliances and storage components to resist movement and weather.
Choose stainless steel or other exterior-rated materials that withstand moisture, heat, and temperature changes. Add sealed cabinets or drawers for utensils, cookware, fuel, and cleaning supplies, but keep combustible items away from the grill.
Coordinate finishes with your Outdoor decor, and leave accessible space for waste and recycling bins. Finally, verify ventilation requirements and inspect every connection before use.
Add Lighting, Shade, and Weather Protection
Plan layered lighting to make cooking, dining, and cleanup safe after dark. Install bright, weather-rated task lights above grills, counters, sinks, and storage areas.
Add softer fixtures around seating and walkways to prevent trips without creating glare. Decorative lighting, such as string lights, lanterns, or under-counter strips, can establish a welcoming atmosphere.
Choose sealed, outdoor-rated fixtures and protect connections with weatherproof boxes.
Add shade structures to keep your kitchen comfortable during hot, sunny weather. A pergola, retractable canopy, umbrella, or covered roof can shield you and your guests while allowing airflow.
Position the shade so it covers the primary work and dining zones throughout the day. Select durable, fade-resistant materials.
Plan for rain, wind, and freezing temperatures, too. Use waterproof cabinetry, corrosion-resistant hardware, and sealed countertops.
Install gutters or a slight roof slope to direct water away from appliances. Store cushions and portable equipment indoors, and cover fixed appliances when you’re not using them.
Verify that electrical work meets local outdoor safety codes.
Frequently Asked Questions
How Do I Protect My Outdoor Kitchen From Insects and Pests?
You can protect your outdoor kitchen by combining pest-resistant materials with smart insect-repellent strategies. Seal gaps around cabinets, counters, plumbing, and utility lines to block entry.
Choose stainless steel, stone, and sealed composites that resist nesting and moisture. Keep food, pet dishes, and trash in tightly closed containers.
Clean spills promptly, remove standing water, and install screened vents. Use fans, citronella, or professionally approved treatments when needed, following label directions carefully.
What Cookware and Utensils Are Best Suited for Outdoor Cooking?
About 70% of outdoor cooks rely on grilling, so you’ll want durable, heat-resistant cookware and utensils. Choose stainless-steel or cast-iron pans, which handle high temperatures and resist rust when maintained.
Equip yourself with long-handled tongs, a sturdy spatula, a basting brush, skewers, and a digital thermometer. Quality Grill accessories and Cooking tools help you control food safely.
Add heatproof gloves, a cutting board, and lidded storage to protect everything outdoors.
How Should I Clean and Maintain My Outdoor Kitchen Surfaces?
You should clean spills promptly and wipe counters after every meal to prevent stains, grease, and mold. Adjust your cleaning routines to your surface materials: use mild soap and water on stainless steel, sealed stone, and tile, but avoid abrasive pads and harsh chemicals.
Dry everything thoroughly, especially around seams and fixtures. Inspect grout, sealants, and cabinet hardware monthly, then reseal porous surfaces as needed to protect them from weather and moisture.
Can I Use an Outdoor Kitchen During Winter?
Yes, you can use your outdoor kitchen during winter, but you’ll need to prepare for nature’s less gentle moods. Add winter insulation around exposed pipes, cabinets, and appliances to reduce freezing risks.
Keep snow clearance a priority around entrances, grills, vents, and utility connections. Cover equipment when you’re not cooking, and shut off water lines before hard freezes.
Check manufacturer guidance, use weather-rated appliances, and never operate gas equipment in enclosed spaces.
How Do I Prevent Smoke and Cooking Odors From Bothering Neighbors?
You can reduce neighbor complaints by controlling smoke and cooking odors at the source. Use dry, well-seasoned firewood or clean-burning fuel, and avoid excessive grease, wet wood, and smoky marinades.
Position your grill away from property lines, windows, and shared outdoor spaces. Install effective ventilation, such as a hood or fan, where appropriate.
For stronger Smoke control, add Odor barriers like screens or strategic landscaping, and cook considerately.
Conclusion
You’ve now got the roadmap for how to build an outdoor kitchen—from choosing a practical location to adding appliances, storage, lighting, and weather protection.
As you finalize each detail, prioritize safety, drainage, and materials designed for outdoor use. Here’s an interesting fact: well-designed outdoor living spaces can deliver a return on investment of roughly 55% to 65% when you sell your home.
Build thoughtfully, and you’ll create a comfortable, useful gathering spot that adds lasting value.