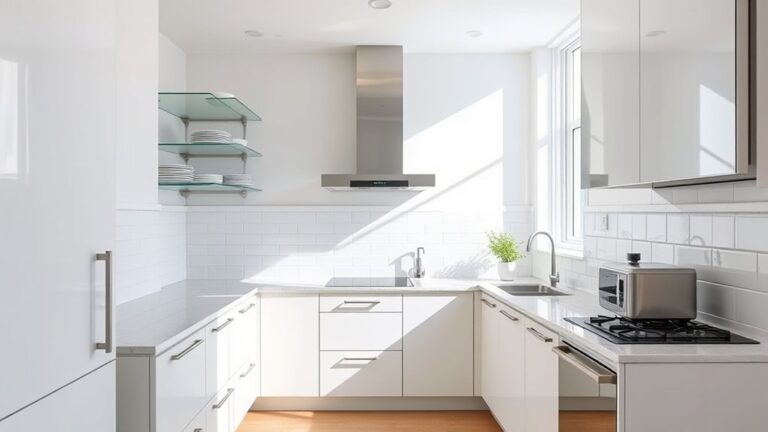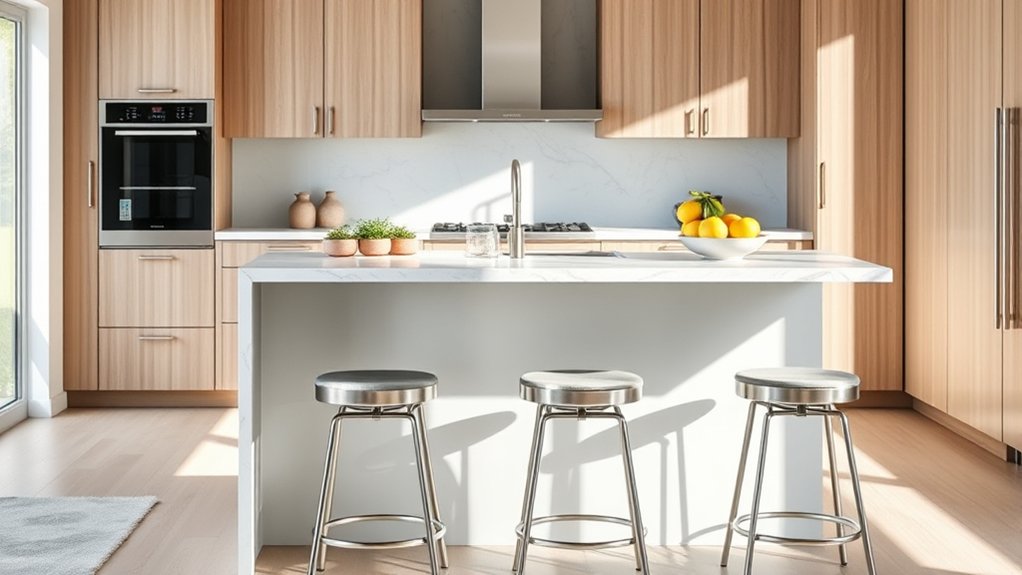
How Tall Should a Kitchen Island Be?
Choosing the right kitchen island height can be tricky, especially when you want a comfortable workspace and seating that feels natural. You’re not alone—many homeowners struggle to balance food prep, dining, and easy movement in one design.
For most kitchens, you’ll want your kitchen island about 36 inches tall, including the countertop, to match standard counter height and support comfortable food preparation.
Choose approximately 42 inches if you’re creating a bar-height dining or conversation area.
For seating, pair a 36-inch island with 24- to 26-inch counter stools, and provide at least 9 to 12 inches of knee clearance.
Leave 36 inches around the island for movement, or 42 to 48 inches in busy work zones.
You’ll find more planning guidance below.
Key Takeaways
- Standard kitchen islands are typically 36 inches high, matching most countertops and supporting comfortable food preparation.
- Choose a 42-inch island for bar-height seating, dining, or casual conversation with appropriately sized bar stools.
- Measure finished height from the floor to the countertop surface, including the countertop’s thickness.
- Provide at least 24 inches of width and 9–12 inches of knee clearance per seated person.
- Maintain at least 36 inches around the island, or 42–48 inches in busy work areas, for safe movement.
What Is the Standard Kitchen Island Height?
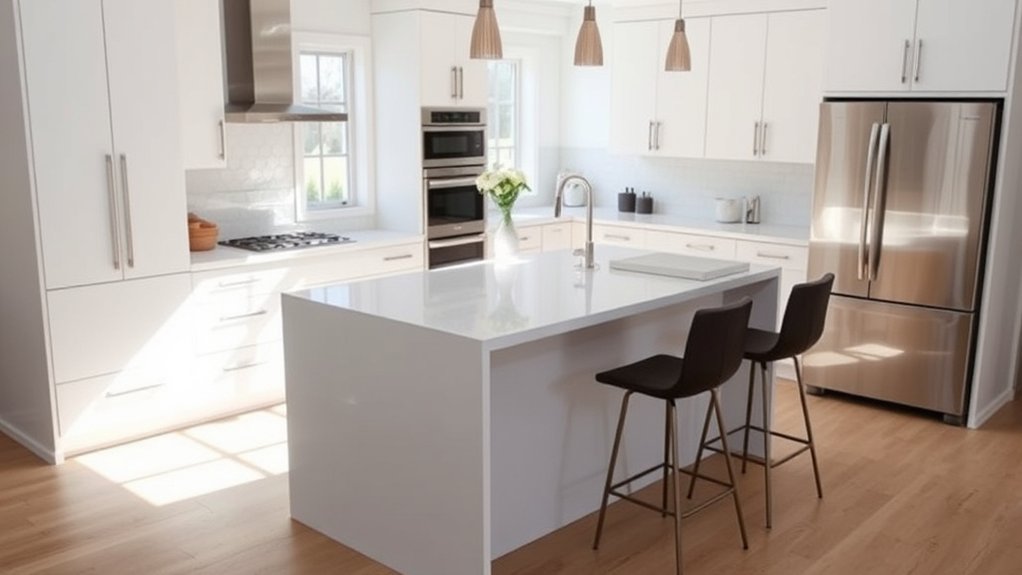
The standard kitchen island height is about 36 inches, matching most kitchen countertops. This measurement gives you a comfortable surface for chopping, mixing, serving, and everyday meal preparation. It also lets you move items easily between the island and surrounding work areas without awkward reaching.
A 36-inch kitchen island provides a comfortable, practical surface that coordinates seamlessly with surrounding countertops.
You’ll typically find island cabinets measuring 34½ inches tall, with a 1½-inch countertop added above them. However, your ideal height may vary slightly. If you’re shorter or taller than average, adjust the island to support a relaxed elbow angle and comfortable posture.
Check appliance placement before finalizing the height, especially if you’ll install a dishwasher, microwave, or other built-in unit nearby.
A consistent 36-inch surface helps create visual balance across your kitchen and keeps the island looking integrated rather than oversized. Before construction, test the proposed height with a temporary platform or stacked boards. You’ll quickly notice whether the surface feels natural for your daily tasks and movement.
Compare Counter, Bar, and Table Heights
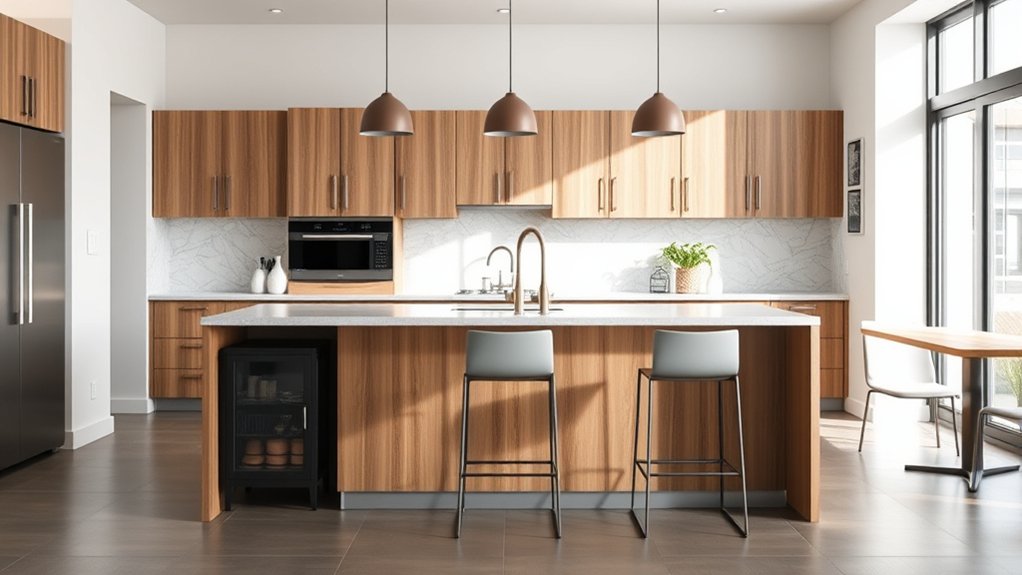
Counter-height islands are typically 36 inches tall, while bar-height surfaces usually measure 40 to 42 inches and table-height surfaces sit around 28 to 30 inches. Each height creates a different visual relationship with your kitchen and seating.
A counter surface aligns with most countertops, producing a continuous workspace and a streamlined appearance. A bar surface rises above nearby counters, adding distinction and allowing stools with taller seats.
A table-height island feels more familiar and approachable, especially when you prefer standard dining chairs.
Your choice also affects proportion. Compare the island’s height with surrounding cabinetry, appliances, and windows before committing.
Consider how countertop materials influence its appearance. Thick stone can make an island seem taller, while a slim edge looks lighter.
Kitchen lighting matters, too. Pendant fixtures should hang high enough above bar or counter surfaces without crowding sightlines.
Check stool dimensions carefully, since seat height must match the island’s finished surface for comfortable legroom and balanced proportions.
Choose Island Height by Kitchen Function
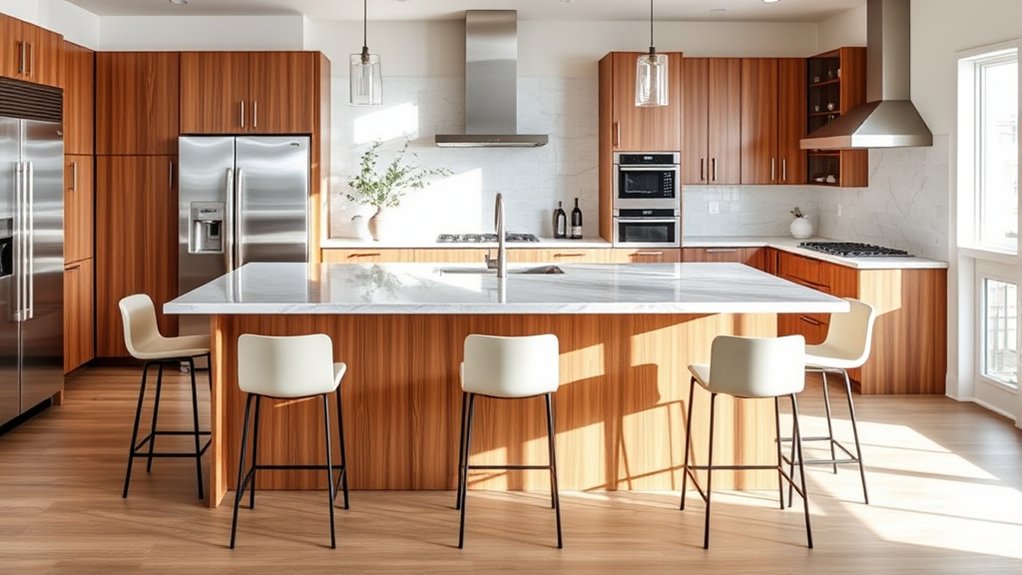
Choose a standard prep height if you’ll use the island mainly for chopping, mixing, and cooking. If you want a comfortable spot for meals or casual conversation, choose a raised dining height instead. Before deciding, think about how you’ll use the island most often.
Standard Prep Height
For most food-preparation tasks, set your kitchen island at the standard counter height of 36 inches. This level lets you chop, mix, roll dough, and assemble meals comfortably while keeping your elbows in a natural position.
You’ll also find it easier to use cutting boards, small appliances, and serving tools without excessive bending or reaching. Match the island with your existing countertops to create a consistent work surface and streamlined Kitchen decoration.
Before finalizing the height, measure your preferred work zone and consider who uses the kitchen most often. You can add drawers, shelves, or cabinets beneath the surface to improve Storage options without changing the island’s ergonomic function.
A 36-inch island also works well with standard counter stools for quick tasks, though you should prioritize comfortable preparation over seating needs.
Raised Dining Height
If you want your island to function primarily as a dining area, set it at a raised height of about 42 inches. This counter height pairs with bar-height stools, creating comfortable legroom and a relaxed place for casual meals.
You’ll also keep food preparation separate from dining, which can make your kitchen feel more organized. For the best dining comfort, choose stools with supportive backs and footrests.
Test the seat and counter together before committing, because stool height and island thickness affect your posture. Thoughtful ergonomic design helps everyone sit comfortably without hunching or reaching.
- Leave enough knee clearance beneath the overhang.
- Allow approximately 24 inches of width per diner.
- Use durable, easy-clean materials for everyday meals.
A raised island works especially well in open kitchens, where you want to define the dining zone without adding a separate table.
How Tall Should a Seated Island Be?
For a seated island, a standard 36-inch counter height usually works best. Choose counter stools that match the island’s height and leave enough space for comfortable legroom. Be sure to allow adequate knee clearance, too, so you can sit, eat, and work comfortably.
Standard Seated Island Height
A seated kitchen island is typically 36 inches high, giving you a comfortable surface for counter-height stools. This standard suits everyday meals, casual conversations, and quick tasks while preserving a practical worktop height.
Measure from the finished floor to the countertop’s highest surface, including its thickness. You’ll also want enough knee clearance beneath the overhang, usually about 9 to 12 inches, so you can sit naturally without bumping your legs.
Consider your household’s height, accessibility needs, and preferred posture before finalizing the design. To make the island inviting, add:
- Decorative accents that complement your cabinetry and finishes
- Lighting fixtures positioned to illuminate the seating area
- A durable countertop edge that feels comfortable against your arms
A 36-inch island creates a balanced progression between food preparation and relaxed seating, helping your kitchen feel functional, welcoming, and visually cohesive.
Counter Stool Compatibility
Choose counter stools with a seat height of about 24 to 26 inches for a standard 36-inch kitchen island. This pairing suits most seated dining setups and keeps your stool selection aligned with the island’s finished height.
If you’re designing a raised surface, measure from the floor to the countertop, then select bar stools that match the higher level. Check each manufacturer’s listed seat height, since labels such as counter height and bar height can vary.
You can also coordinate your seating with the island’s style through upholstery colors, wood tones, and decorative finishes. Consider material options such as metal, solid wood, molded plastic, or woven fibers to complement your cabinetry and countertop.
Before buying, mark the stool height on a chair or test a display model so you can confirm its scale.
Legroom And Comfort
Once you’ve matched the stools to the island’s height, make sure the seating area leaves enough room for comfortable leg movement.
For a seated island, aim for a counter around 36 inches high, with approximately 9–12 inches between the seat and countertop.
Provide at least 24 inches of width per person and 15 inches of knee depth so you won’t feel cramped.
A deeper overhang, typically 12–15 inches, lets you sit upright without bumping the cabinet below.
Check that drawers, appliances, and footrests won’t obstruct your knees.
Then balance comfort with style by choosing:
- Supportive stools with properly placed footrests
- Decorative accents that don’t reduce knee clearance
- Lighting fixtures positioned high enough to avoid head bumps
Test the seating before installation. A short trial quickly reveals awkward height, reach, or legroom.
Plan Stool Clearance and Legroom
Plan at least 24 inches of width per stool so each person has enough elbow room, and allow 9 to 12 inches of knee clearance beneath the countertop overhang.
Measure from the island’s finished edge to the support structure, keeping brackets, panels, and drawers from crowding legs. You’ll create a more comfortable seat when stools slide fully underneath without hitting obstructions.
| Seating plan | Width needed | Clearance |
|---|---|---|
| One stool | 24 in. | 9–12 in. |
| Two stools | 48 in. | 9–12 in. |
| Three stools | 72 in. | 9–12 in. |
| Four stools | 96 in. | 9–12 in. |
Choose stools with a footprint that fits your layout, and check that the seats won’t collide when people turn or stand.
Color schemes and material choices can guide your stool selection, but comfort should lead. Test the arrangement with temporary chairs before you finalize the island.
You’ll quickly spot tight knees, blocked drawers, or awkward entry paths. Keep walkways behind seated guests open, so everyone can move safely around the island.
Account for Countertop Thickness
Countertop thickness affects the island’s finished height, so include it when setting the cabinet or support frame. Measure from the floor to the countertop’s top surface, not merely to the cabinet box. A standard cabinet height may need adjustment when you choose a thicker slab or add a substantial edge detail.
Compare countertop materials before finalizing your base height. Quartz, granite, and some solid-surface products can vary in thickness, while butcher block may require a different installation approach. Confirm the manufacturer’s specifications, including any buildup beneath the visible surface.
- Record the cabinet height, countertop thickness, and finished total.
- Subtract the planned top thickness from your target island height.
- Ask your installer to verify measurements before fabrication.
If you’re following current kitchen design trends, remember that waterfall edges, layered tops, and integrated surfaces can change the finished dimension. Mock up the profile with cardboard or scrap material, then check how it feels beside nearby counters.
This simple step helps you avoid an island that looks or feels unexpectedly tall.
Leave Room for Appliances and Work Zones
Leave enough space around appliances and key work zones so the island supports your kitchen’s workflow without creating bottlenecks. Plan the island around your refrigerator, range, sink, dishwasher, and primary prep areas.
Plan your island around key appliances and work zones to maintain smooth traffic flow and prevent kitchen bottlenecks.
You’ll need enough clearance to open doors and drawers fully without striking stools, cabinets, or nearby appliances. Keep the most frequently used tools and ingredients within a comfortable reach of your main work surface, while preserving clear paths between cooking, cleaning, and storage zones.
Appliance placement can also influence your island’s height. If you’re adding a cooktop, choose a surface height that lets you work comfortably and safely.
A prep sink may need room beneath the counter for plumbing and disposal equipment, so confirm dimensions before finalizing the base. Coordinate outlets, ventilation, and lighting with your layout, too.
Thoughtful planning protects your kitchen decor from crowded additions and helps the island function as a practical, efficient workstation. Don’t finalize measurements until you’ve mapped every appliance swing and active zone.
Make Your Island Accessible
Make your island accessible by choosing seating that allows you to sit comfortably at the counter. Also, leave enough clearance around the island so you can move around easily, work comfortably, and open appliances without obstruction.
Ensure Comfortable Seating
For comfortable seating, choose an island height that lets you sit with your feet supported and your elbows resting naturally on the surface. Match the counter to your seating style: standard counter stools suit a 36-inch surface, while bar stools work better with a 42-inch bar-height top.
For a family-friendly setup, consider adjustable stools so each person can find a comfortable position. Check these details before you finalize the design:
- Leave enough legroom beneath the overhang for relaxed knees and feet.
- Choose supportive seats with backs or footrests for longer meals.
- Test the height in person before ordering cabinets or stools.
Your island should feel inviting, not like a perch. Coordinate upholstery with your kitchen’s decorative accents, and select lighting options that illuminate faces and the work surface without glare.
Provide Adequate Clearance
Plan at least 36 inches of clearance around your island so you can walk comfortably, open appliances, and work without bumping into others.
If you’ll cook with multiple people, aim for 42 to 48 inches between the island and surrounding counters.
Measure appliance doors, cabinet drawers, and seating areas at their widest points, then add space for movement.
You’ll appreciate extra room near the dishwasher, refrigerator, and oven, where traffic often gathers.
Keep walkways clear of stools when you’re not using them, or choose models that tuck completely underneath.
Adequate clearance also helps guests move safely and lets you clean without awkward turns.
Once you’ve planned the layout, coordinate your island’s color schemes and lighting options so the open area feels inviting rather than crowded.
Test your measurements with painter’s tape before installation.
Avoid Height and Clearance Mistakes
Avoid height and clearance mistakes by measuring the island against your kitchen’s traffic patterns, not just the countertop. A beautiful design aesthetic won’t compensate for cramped walkways, blocked appliances, or uncomfortable seating.
Measure your kitchen’s traffic patterns first; an attractive island won’t fix cramped walkways, blocked appliances, or uncomfortable seating.
Keep the island height consistent with its purpose: standard work surfaces suit food preparation, while a raised section can separate dining from cooking. Don’t let a thick countertop or decorative trim create an unexpected step in height.
Your material selection matters, too. Heavy stone may require stronger support without changing the usable work surface.
- Check that doors, drawers, and appliances can open fully.
- Leave enough room for people to pass behind seated guests.
- Keep outlets, seating, and work zones from competing for the same space.
Test the arrangement with temporary boxes or painter’s tape, then walk through normal cooking and serving routines. You’ll spot conflicts before installation and protect comfort, safety, and workflow.
Balance practical clearances with your preferred style, rather than forcing the room to match a fixed island design.
Measure Your Kitchen Before Ordering
Before you order an island, measure the kitchen’s full footprint, including walls, doorways, appliance doors, walkways, and ceiling features. Record each dimension, then note where plumbing, outlets, vents, and radiators could limit placement.
Measure from finished surfaces, not rough framing, so your plan reflects the kitchen you’ll actually use.
Mark the island’s proposed length and width on the floor with painter’s tape. Walk around it while opening the refrigerator, dishwasher, oven, and nearby cabinets.
You’ll quickly spot tight clearances or blocked routes. Check ceiling height, pendant locations, and other lighting fixtures to ensure they won’t compete with the island or obstruct sightlines.
Consider seating, too. Pull out chairs and allow enough room behind them for comfortable passage.
If your island includes a raised counter, measure both working and dining heights. Bring these measurements to your designer or supplier, and confirm the final dimensions, overhangs, and installation requirements before ordering.
Coordinate the island’s finish with your Kitchen decor, but prioritize safe, usable clearances.
Frequently Asked Questions
Can a Kitchen Island Include Multiple Countertop Heights?
Yes, you can include multiple countertop heights in one kitchen island. A multilevel design lets you separate food preparation, dining, and entertaining areas while adding visual interest.
Consider ergonomic factors carefully: set prep surfaces at a comfortable working height, lower eating areas for standard chairs, or raise counters for bar stools.
Make sure each level provides enough workspace, supports safe movement, and coordinates with your appliances, lighting, and overall kitchen layout for everyday convenience.
How Does Island Height Affect Lighting and Pendant Placement?
Most kitchen islands use pendants hung 30–36 inches above the countertop, making height essential to lighting design. A taller island may require slightly higher pendant placement, while a lower prep surface lets you hang fixtures closer without blocking your sightline.
You’ll want pendants centered over the work area, not merely the island’s edges. If your island includes multiple levels, adjust each fixture’s height to illuminate surfaces evenly and preserve comfortable conversation.
Which Materials Work Best for a Durable Kitchen Island Countertop?
Quartz offers an excellent balance of material durability, stain resistance, and low countertop maintenance. Granite handles heat, scratches, and daily cooking well, though you’ll need periodic sealing.
Butcher block adds warmth and lets you sand away minor damage, while stainless steel resists heat and germs but shows fingerprints. Choose porcelain or sintered stone if you want exceptional durability and easy cleaning.
Consider your cooking habits, budget, and desired appearance before deciding.
Can a Kitchen Island Be Adjusted After Installation?
Yes, you can adjust a kitchen island after installation, but the method depends on its construction. A fixed island may need cabinet modifications, new legs, or a raised platform, while an adjustable-height base offers simpler changes.
Choose an adjustable-height system if you want flexibility between food preparation and seating. Prioritize ergonomic design, and confirm plumbing, electrical connections, and countertop stability before altering anything.
Professional help can prevent costly damage.
Does Kitchen Island Height Affect Resale Value?
Yes, kitchen island height can affect resale value, but usually as part of your home’s overall market appeal rather than as a separate selling point.
Choose a comfortable, standard height that suits food preparation, seating, and surrounding counters. An unusually high or low island may feel inconvenient and discourage buyers.
If you’re renovating before selling, prioritize quality, practical layout, durable materials, and cohesive design over costly height adjustments alone.
Conclusion
Choose your kitchen island height with purpose. Whether you prefer counter-height prep, bar-height breakfasts, or table-height dining, match the surface to your daily routines, seating, storage, and appliances.
Measure carefully, protect comfortable clearance, and plan for everyone who’ll use the space. A well-planned island makes cooking, chatting, and cleaning easier.
Before you order, confirm every dimension twice. Then create a practical, polished centerpiece you’ll enjoy for years. Knowing how tall a kitchen island should be helps you design a comfortable, functional space.