How to Measure for New Kitchen Cabinets in 7 Steps
Choosing new kitchen cabinets can feel exciting until you realize how easy it is to measure something incorrectly. You’re not alone—many homeowners struggle with accounting for uneven walls, appliances, doors, and clearances.
Learning how to measure for new kitchen cabinets helps you avoid costly ordering mistakes and create a layout that truly works.
To measure for new kitchen cabinets, gather a tape measure, pencil, level, and graph paper. Sketch each wall, then record wall lengths and ceiling heights.
Mark doors, windows, trim, soffits, beams, outlets, switches, vents, and plumbing. Measure appliances, including handles, hoses, swings, and required clearances.
Plan cabinet sizes, fillers, panels, and placement around utilities and walkways. Recheck every dimension with someone else before ordering.
The following steps will help you avoid costly mistakes and plan confidently.
Key Takeaways
- Sketch each wall separately, marking doors, windows, outlets, switches, vents, plumbing, and other obstructions.
- Measure wall lengths, ceiling heights, openings, trim, soffits, and beams at multiple points. Record the smallest clearances.
- Measure appliances, including overall dimensions, handles, door swings, ventilation space, and utility connection locations.
- Plan cabinet placement, widths, fillers, panels, toe kicks, trim, work zones, and clearance around appliances and walkways.
- Recheck every measurement against the layout. Have someone review your plans and resolve discrepancies before ordering.
Gather Tools and Draw a Wall-by-Wall Plan
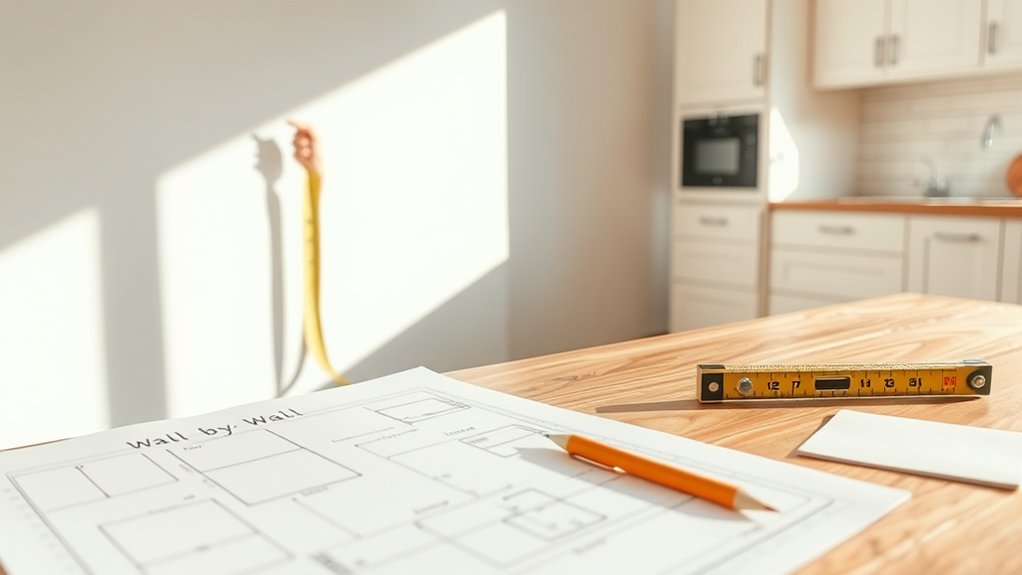
Before measuring, gather a tape measure, pencil, graph paper, level, and ladder. Then sketch each kitchen wall separately.
Label every drawing clearly, using one page per wall so you can organize notes without crowding. Mark doors, windows, walkways, and openings with simple symbols, but don’t record dimensions yet.
Leave room beside each sketch for later measurements and notes. Use a consistent orientation, such as viewing every wall straight on.
Add arrows to show where walls meet. Identify corners, appliances, sinks, and other fixed features by name.
Include the location of outlets, switches, vents, and lighting controls so your cabinet plan accounts for them. Note obstacles that could affect installation, including trim, radiators, and exposed pipes.
At this stage, consider your preferred cabinet style and finish options. These choices may influence layout details and clearance needs.
Keep your sketches neat, dated, and easy to revise as you develop the plan.
Measure Walls and Ceiling Height
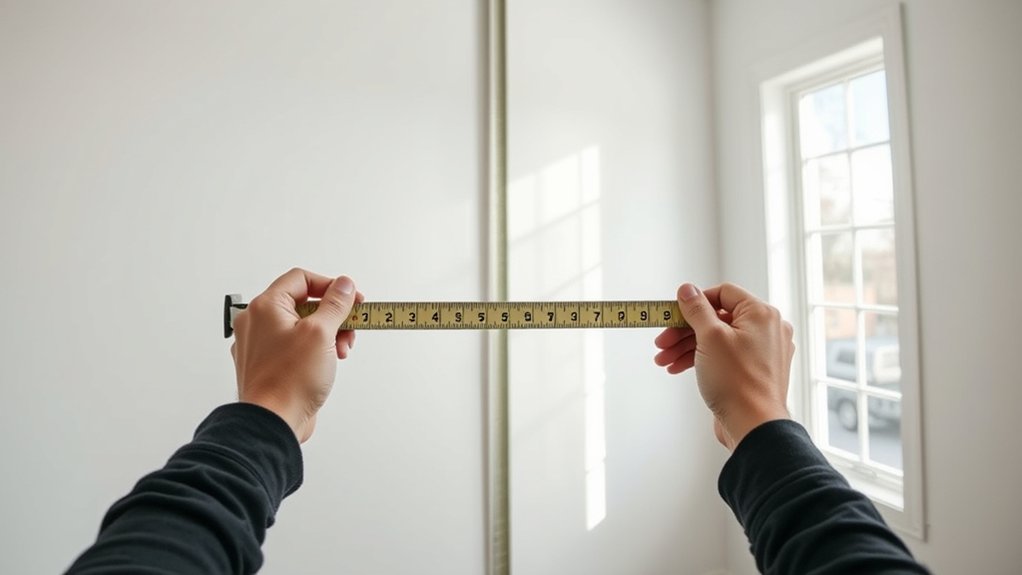
Start with a level, uninterrupted wall and measure its full length from corner to corner, recording the result on your sketch. Measure each wall separately, even if opposing walls appear identical. Use a steel tape, keep it taut, and note measurements to the nearest 1/8 inch.
Record ceiling height in several locations because floors and ceilings may vary.
- Measure from the finished floor to the ceiling at the left, center, and right.
- Note the shortest height, which helps you plan cabinet clearance accurately.
- Record soffits, beams, vents, and other fixed ceiling features, including their height and depth.
Mark the locations of lighting fixtures and ceiling fixtures on your sketch. Then measure their distances from the nearest corners and walls.
These details help you plan cabinet placement and avoid conflicts during installation. If your room has an uneven ceiling, document every change rather than averaging it.
Double-check each measurement before moving on, and label every dimension clearly so your cabinet designer can interpret your plan without guessing.
Mark Doors, Windows, and Trim
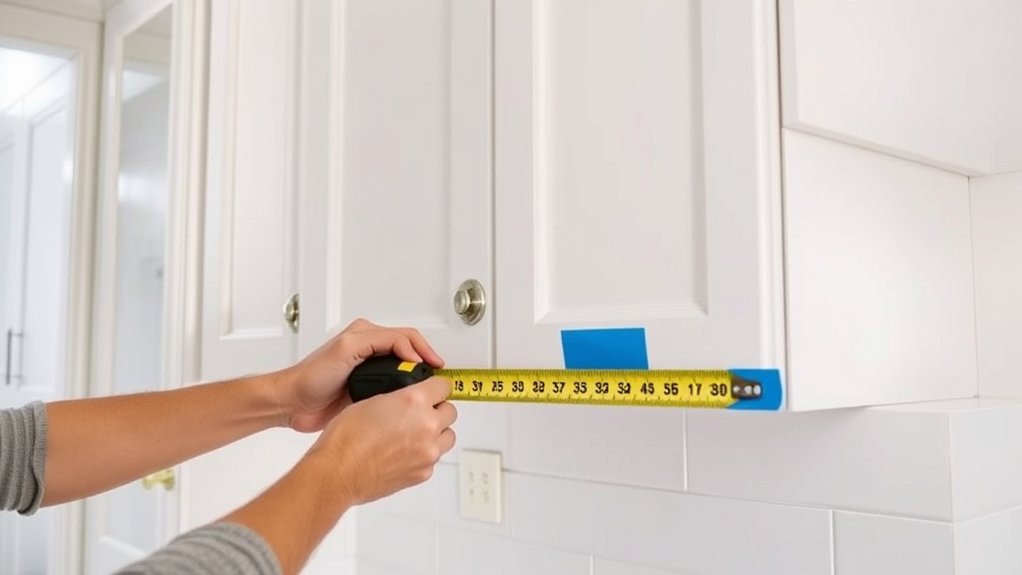
Mark each door location so you know where cabinets can’t interfere with movement. Measure every window opening and note the thickness of the surrounding trim. These details will help you plan cabinet placement and ensure that doors, drawers, and windows operate properly.
Identify Door Locations
Record every door, window, and piece of trim on your kitchen sketch. Note each location and measure how far it extends into the room.
Pay special attention to doors because their swing can limit cabinet depth, drawer access, and walkway clearance. Mark the hinge side and direction of movement, then note how fully each door opens.
- Label each door by room or purpose, such as pantry, hallway, or exterior entry.
- Measure the distance from each door’s edge to the nearest wall corner.
- Note casing, baseboards, and other trim that could interfere with installation.
Include door hinge placement in your notes so you can plan practical cabinet style choices and avoid blocked handles.
Don’t assume existing trim will stay unchanged. Record it now, then discuss possible removal or replacement with your installer.
Keep all marks clear and scaled.
Measure Window Openings
Measure each window opening from the nearest wall corner. Note its width, height, and distance from the floor. Record the measurements on your kitchen sketch, and label each window clearly.
Measure the opening at the bottom, middle, and top because walls may not be perfectly square. Use the smallest width and height when planning cabinet placement to ensure the units won’t overlap the opening.
Mark the window framing, including the sill, header, and side edges, so you can see the usable space around it. Note each window’s location relative to nearby walls, doors, appliances, and corners.
Identify window styles, such as casement, sliding, or double-hung, and record which direction each one opens. Photograph unusual features, then verify every measurement before ordering your cabinets to prevent costly layout errors.
Note Trim Thickness
Note the thickness and projection of every door, window, and piece of trim, including casing, baseboards, crown molding, and chair rails. Record each measurement on your kitchen sketch, and mark where the trim begins and ends.
Accurate trim thickness helps you determine whether cabinets can sit flush against walls or need fillers.
- Measure casing around doors and windows, including its deepest projection.
- Measure baseboards and chair rails from the wall to their outer edges.
- Measure crown molding and note how far it extends across the ceiling.
Check nearby doors and windows for swing or clearance issues. A cabinet overhang may collide with thick casing or block an opening, so include every projection in your layout.
If you’ll remove or replace trim, record both existing and planned dimensions. These notes help your installer position cabinets accurately and prevent costly surprises.
Note Plumbing, Outlets, and Vents
Mark the locations of your sink’s plumbing, including the water lines and drain. Also note every outlet and vent, along with its position and size. This information will help you plan your cabinet placement without blocking any essential connections.
Mark Plumbing Locations
Before finalizing cabinet dimensions, identify the locations of plumbing lines, electrical outlets, switches, and ventilation openings. For this step, focus on documenting plumbing accurately so your cabinet plan accommodates existing connections and future installation needs.
Use a tape measure and mark each location on your floor plan. Note distances from walls and nearby corners.
- Locate the sink’s hot and cold supply lines, drain, dishwasher connection, and any water filter or ice-maker line.
- Record pipe heights, diameters, and how far connections extend from the wall or floor.
- Photograph exposed plumbing and label every measurement before removing anything.
Consider plumbing fixture placement when choosing cabinet widths and sink locations. Include pipe routing considerations, such as access, bends, shutoff valves, and clearance for drawers.
If the layout may change, ask a plumber to verify measurements and recommend adjustments. Keep these notes with your cabinet drawings.
Note Outlets And Vents
Once you’ve documented the plumbing, record every electrical outlet, switch, and ventilation opening on your floor plan. Measure each location from the nearest corner and from the floor, noting dimensions clearly.
Include outlets inside adjacent walls, islands, peninsulas, and appliance areas, since new cabinets may hide or obstruct them. Check outlet placement against your planned countertop, backsplash, and cabinet layout.
Mark switches, under-cabinet lighting connections, and dedicated appliance circuits as well.
Next, identify every vent, grille, and register. Measure their size and distance from nearby walls, then note airflow direction and whether cabinets currently cover or surround them.
Careful vent positioning helps preserve heating, cooling, and ventilation performance. Photograph each wall before removing anything, and label photos to match your plan.
If an outlet or vent conflicts with a cabinet, ask your contractor or electrician about relocation before ordering.
Measure Appliances and Required Clearances
Measure each appliance’s width, height, and depth, including handles, doors, and hoses. Then record the clearances required for ventilation, opening, and installation.
Check the manufacturer’s specifications, since models may need different spacing than standard dimensions. Include trim, knobs, water lines, gas connections, and power cords in your measurements.
- Refrigerator: Measure the cabinet opening, door swing, hinge side, and space needed to remove drawers or shelves.
- Range or cooktop: Note its full width and depth, plus the required distance from walls, combustible surfaces, and overhead materials.
- Dishwasher or microwave: Record opening dimensions, door travel, ventilation space, and connection locations.
Use these figures to verify appliance placement against your existing room measurements. Do not assume every unit fits a standard opening.
Keep the clearance requirements with your measurement notes, and add the appliance model numbers. This information helps you confirm accurate specifications later.
It also helps prevent cabinets from blocking doors, vents, connections, or service access.
Plan Kitchen Cabinet Sizes and Placement
Use your room and appliance measurements to plan cabinet sizes and placement. Sketch each wall, then mark doors, windows, plumbing, outlets, and ventilation points.
> Sketch each wall with accurate measurements, noting doors, windows, plumbing, outlets, and ventilation before planning cabinet placement.
Assign base cabinets to work areas, leaving room for appliance doors, food preparation, and comfortable movement. Position the sink near existing plumbing when possible.
Place drawers where you’ll use utensils, cookware, and everyday supplies.
Choose cabinet widths that fit your wall lengths without creating awkward filler spaces. Use corner units efficiently, but don’t force oversized cabinets into tight areas.
Plan wall cabinets around window height, backsplash space, and your preferred reach. Include tall cabinets for pantry storage, ovens, or refrigeration.
Keep frequently used items within easy reach.
Compare cabinet styles with your room’s layout and storage needs. Consider materials based on moisture resistance, durability, ease of cleaning, and budget.
Mark each cabinet’s intended location and function on your sketch. This helps your designer or installer translate the plan into an accurate layout.
Include trim and fillers for a finished appearance.
Double-Check Measurements Before Ordering
With your cabinet layout sketched, verify every measurement before placing the order. Small errors can create costly gaps, blocked doors, or appliances that won’t fit.
Use your original room sketch, then measure independently rather than relying on memory.
1. Check dimensions: Confirm wall lengths, ceiling height, window and door openings, soffits, outlets, plumbing, and appliance spaces.
Measure each wall in several places because floors and walls may not be perfectly level.
2. Confirm clearances: Recheck walkways, corner access, countertop depth, and door swings.
Make sure drawers and appliance doors can open without collisions.
3. Review your selections: Match each cabinet size to its location, and confirm the cabinet style, finish, hardware, and material options.
Verify that fillers, panels, toe kicks, and trim are included.
Have someone else compare your notes with the layout. If measurements differ, measure again and resolve the discrepancy before submitting payment.
Ask the supplier to review the final plan, too. A second set of eyes can prevent an expensive mistake.
Frequently Asked Questions
Should I Hire a Professional to Verify My Kitchen Measurements?
Yes, you should hire a professional to verify your kitchen measurements, especially before placing a costly cabinet order. You can use DIY tips and measurement tools to create an initial layout, but uneven walls, corners, plumbing, and appliance clearances can cause expensive mistakes.
A professional catches these issues and confirms your design fits accurately. If your kitchen has a simple layout, you might skip verification, but professional review still offers valuable peace of mind.
How Much Do Custom Cabinets Typically Cost?
Custom cabinets typically cost $500–$1,500 per linear foot, so a medium kitchen may run $15,000–$30,000, including installation.
Like a 19th-century ledger, your Cost estimation should separate cabinet boxes, doors, hardware, finishes, delivery, and labor.
You’ll spend more with premium woods, intricate designs, specialty storage, or unusual layouts.
For effective Budget planning, request itemized quotes, reserve 10–20% for surprises, and compare several reputable cabinetmakers before committing.
What Cabinet Materials Are Best for Humid Kitchen Environments?
For humid kitchens, you’ll get the best performance from plywood with a durable laminate, thermofoil, or high-quality acrylic finish. These materials resist warping better than particleboard or standard MDF.
Choose solid wood selectively, since it can expand and contract as humidity changes. Protect against cabinet moisture with sealed edges, quality finishes, and properly installed sinks and dishwashers.
Look for humidity resistant construction, strong ventilation, and manufacturers’ warranties covering moisture-related damage.
How Long Does Cabinet Installation Usually Take?
Your cabinet installation timeline can move like clockwork, usually taking two to five days for a standard kitchen. You’ll need extra time if installers must remove old cabinets, modify plumbing or electrical connections, level uneven walls, or accommodate custom designs.
These factors affecting installation time can extend the project to one or two weeks. After installation, schedule countertop templating and fitting separately, since those steps often require additional measurements and fabrication time.
Can I Reuse My Existing Cabinet Hardware?
Yes, you can often reuse your existing cabinet hardware, but check each piece first. Confirm hardware compatibility by measuring screw spacing, diameter, and length against your new doors and drawers.
Inspect hinges, handles, and knobs for wear, damage, or outdated finishes. Reusing hardware can save money, though you may need new screws, adapters, or hinges.
Test-fit everything before installation, and replace any parts that don’t align, operate smoothly, or provide secure attachment.
Conclusion
With your measurements in hand, your kitchen’s blueprint is ready to guide the journey. Treat each wall like a road, every window like a landmark, and each outlet like a signpost.
When you retrace the route and confirm every number, you’ll avoid costly detours. Then, your cabinets can arrive at their proper destinations, fitting together like travelers in a well-planned caravan.
Measure carefully now, and you’ll build a kitchen that welcomes you home for years to come. These accurate measurements are the foundation for successfully measuring for new kitchen cabinets.