3 Steps to Paint Kitchen Countertops
Worn, outdated countertops can make your entire kitchen feel tired, and replacing them isn’t always practical or affordable. You’re not alone—many homeowners want a fresh, durable look without the cost and mess of a full renovation. The right countertop paint can offer a budget-friendly solution when applied correctly.
To paint kitchen countertops, first clean, degrease, lightly sand, and repair the surface before applying a compatible bonding primer.
Next, apply several thin, even coats of countertop paint, letting each coat dry completely and sanding rough spots only when allowed.
Finally, brush or roll on a compatible protective topcoat in thin layers, following the manufacturer’s recoat and curing instructions. Keep the counter unused until it’s fully cured.
Continue for practical tips that help you achieve a durable, even finish.
Key Takeaways
- Clean, repair, lightly sand, and remove dust from the countertop before painting.
- Apply a compatible bonding primer in a thin, even layer and let it dry completely.
- Apply several thin coats of countertop paint, allowing each coat to dry before recoating.
- Inspect under bright light and smooth permitted rough spots between coats.
- Protect the finish with a compatible topcoat, then allow the countertop to cure fully.
Prepare and Prime Your Countertop
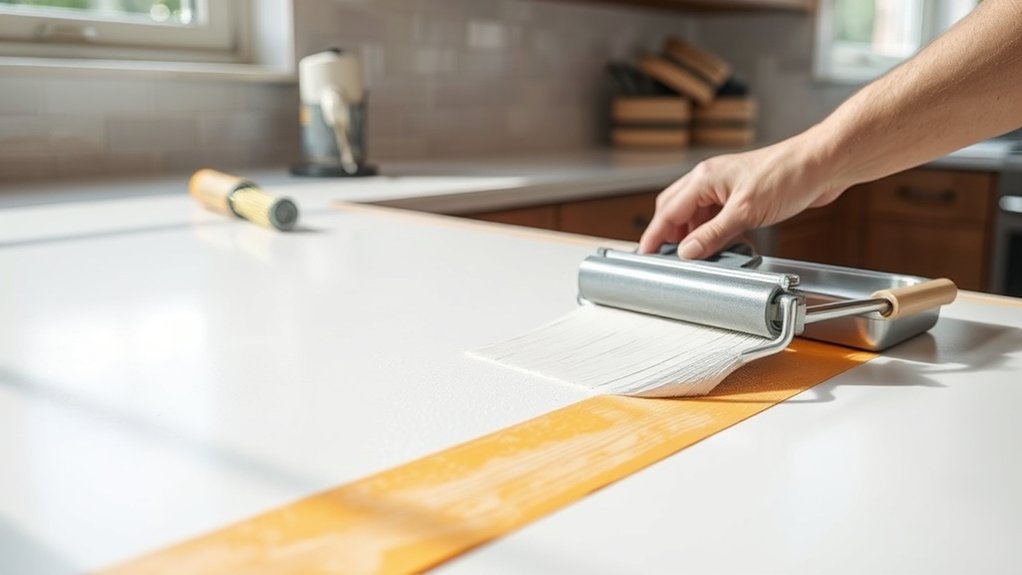
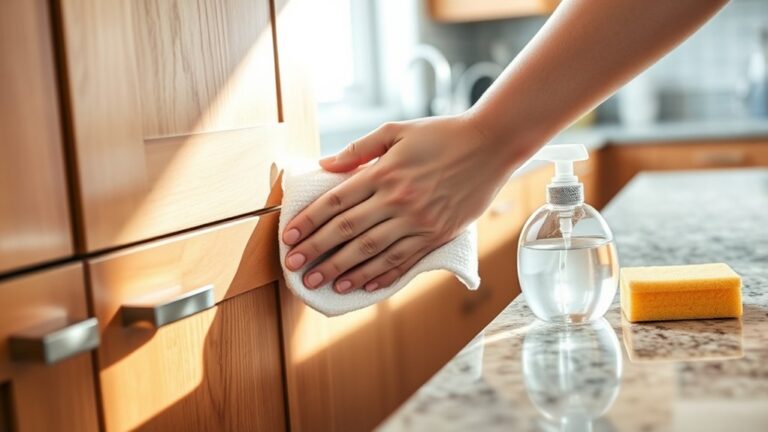
Start by cleaning the countertop thoroughly with a degreasing cleaner to remove grease, dirt, and residue. Focus on seams, edges, and areas around the sink, where buildup often collects.
Rinse away the cleaner completely, then let the surface dry. Complete any necessary repairs by filling chips, cracks, or gaps with an appropriate countertop filler.
Once the filler cures, sand the repairs smooth and remove all dust with a vacuum and tack cloth. Protect walls, cabinets, appliances, and floors with painter’s tape and drop cloths.
Before priming, complete your color selection and confirm that your chosen countertop coating works with the primer. Lightly scuff the entire surface with fine-grit sandpaper to create a better bond, then wipe it clean.
Apply a compatible bonding primer in a thin, even layer with a quality brush or roller. Cover the edges and backsplash carefully, but avoid pooling primer in corners.
Follow the manufacturer’s instructions for ventilation, cleanup, and the required waiting time before the next step.
Apply Thin Coats and Let Them Dry
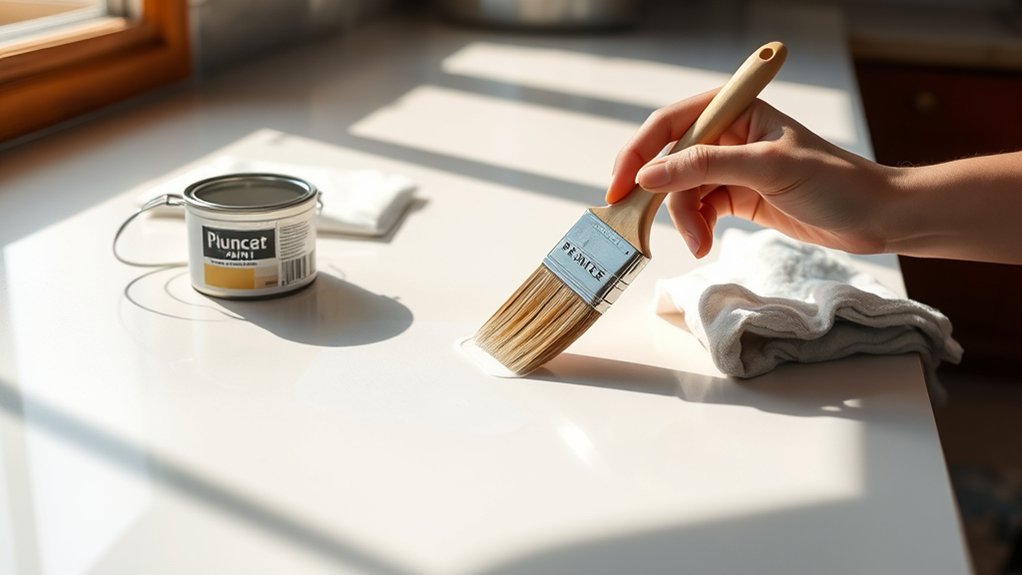
Once the primer is fully dry, apply the countertop paint in thin, even coats with a high-quality brush, roller, or sprayer. Don’t overload your tool; excess paint creates drips, ridges, and uneven coverage.
Use consistent brush techniques, moving in one direction and lightly smoothing each pass. If you’re using multiple colors, practice color mixing on cardboard first, then recreate your chosen pattern sparingly.
| Tool | Best practice |
|---|---|
| Brush | Smooth edges and details |
| Roller | Cover broad, flat areas |
| Sprayer | Apply controlled, light passes |
| Sponge | Create subtle texture |
Let the first coat dry according to the paint manufacturer’s instructions before adding another. Resist touching the surface while it feels tacky, because you may pull up paint or leave fingerprints.
Inspect the countertop under bright light, lightly sand only rough spots if the directions allow it, and remove dust. Apply additional thin coats until the color looks solid and even.
Keep your workspace clean, ventilated, and free from drafts that could deposit debris. Don’t rush drying between coats; patience prevents visible flaws.
Add a Protective Topcoat and Let It Cure
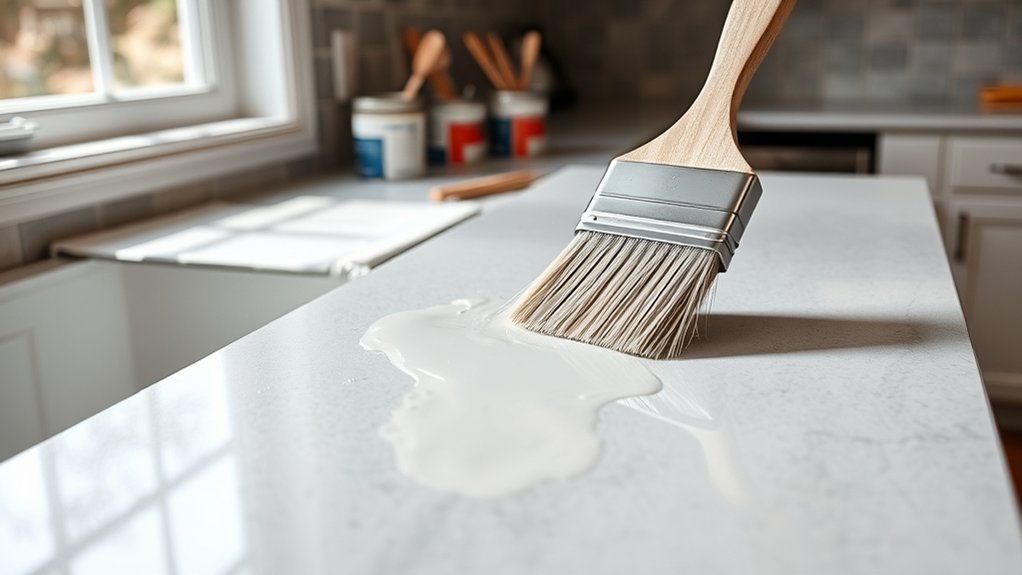
After the final paint coat has dried completely, apply a compatible protective topcoat in thin, even layers to shield the countertop from stains, scratches, moisture, and daily wear. Choose a product designed for painted surfaces, such as water-based polyurethane or a countertop-specific sealer. Follow the manufacturer’s instructions for ventilation, coverage, and recoat timing.
Use careful Sealing techniques: load your brush or roller lightly, work in one direction, and smooth each pass before the finish begins to set. Don’t overwork the coating, or you may create bubbles, streaks, or uneven areas.
Let the first layer dry fully, then apply additional coats if the product recommends them. Lightly sand between coats only when directed, and remove dust before recoating.
Respect the curing process, which takes longer than surface drying. Keep the countertop free from dishes, spills, and cleaning products during this period. Don’t use it normally until the sealer has cured completely.
Frequently Asked Questions
Can I Paint Laminate, Tile, or Granite Kitchen Countertops?
Yes, you can paint laminate, tile, or granite kitchen countertops, but each surface requires preparation and the right coating. Clean and degrease thoroughly, repair damage, and lightly sand glossy areas.
Use a compatible bonding primer, then apply countertop paint with careful painting techniques, such as thin, even coats. Granite needs extra adhesion testing, while tile may require grout attention.
Protect your finish with a durable sealer to improve countertop durability and longevity.
How Long Will Painted Kitchen Countertops Typically Last?
Painted kitchen countertops typically last three to five years, though you can extend their lifespan with proper care. Durability factors include surface preparation, paint and sealer quality, daily use, moisture, heat, and impact.
Maintenance tips include using cutting boards, trivets, and gentle cleaners while avoiding abrasive pads, standing water, and harsh chemicals. You’ll need occasional touch-ups, especially around sinks and edges, and should reseal the surface when its protective finish starts wearing.
Is Painted Countertop Material Safe for Food Preparation?
Yes, painted countertops can be safe for food preparation if you use a certified, food-safe coating and let it cure completely. Don’t prepare food directly on surfaces with unknown paint, exposed primer, chips, or peeling areas.
For better food safety, use cutting boards and avoid placing hot cookware directly on the finish. Surface durability depends on proper preparation, sealing, and maintenance. Follow the manufacturer’s curing time and cleaning instructions carefully before use.
What Colors and Finishes Work Best for Kitchen Countertops?
You’ll get the best results with colors that complement your cabinets, backsplash, and flooring. Try warm white, soft gray, beige, or charcoal for a timeless look; add contrast with navy or deep green.
Investigate color combinations such as white with gray veining or black with metallic accents. Choose satin or semi-gloss for durability and easy cleaning.
Finishes and textures like faux stone, concrete, or subtle speckles can hide imperfections while creating visual interest.
How Much Does It Cost to Paint Kitchen Countertops?
You’ll typically spend $100–$300 to paint kitchen countertops yourself, while professional services often cost $500–$1,500, depending on counter size, materials, preparation, labor, and finish.
For accurate cost estimation, measure your countertop area and price primer, paint, sealant, tools, and repairs. Helpful budgeting tips include comparing quotes, choosing a countertop kit, watching seasonal sales, and adding 10–20% for unexpected expenses.
A durable finish may increase your initial investment but extend longevity.
Conclusion
With these three steps to paint kitchen countertops, you can transform tired surfaces into a fresh, inviting feature. After careful preparation, smooth primer, and thin, even paint coats, your counters will begin to glow with renewed color.
Seal them with a durable topcoat, then let patience do its work while the finish cures. Soon, sunlight will skim across the surface like water, highlighting your handiwork.
You’ll enjoy a beautiful upgrade that makes your kitchen feel brighter, cleaner, and entirely yours.