How to Measure a Kitchen in 5 Easy Steps
Measuring your kitchen can feel overwhelming, especially when one missed detail leads to costly layout mistakes. You’re not alone—many people struggle to capture every wall, opening, and fixture accurately. This guide makes it easier with five simple steps.
Measure your kitchen in five easy steps. First, gather a tape measure, pencil, graph paper, and camera, then sketch the room. Next, measure every wall corner to corner, checking each dimension twice.
Mark doors, windows, and openings, including swings, heights, and distances from corners. Map appliances, plumbing, outlets, and switches with exact locations.
Finally, verify ceiling height, soffits, trim, obstructions, and uneven walls. Keep clear notes and photos handy as you plan your layout with confidence.
Key Takeaways
- Gather measuring tools, photograph the kitchen, and sketch a scaled floor plan showing walls, openings, fixtures, and fixed features.
- Measure every wall twice. Record corner-to-corner lengths, irregular angles, recesses, and changes in wall depth.
- Measure doors, windows, and openings, including widths, heights, corner distances, swings, sills, and recesses.
- Map appliance locations, plumbing connections, electrical points, switches, outlets, and utility shutoffs from fixed reference points.
- Verify ceiling and wall heights, soffits, beams, trim, vents, pipes, radiators, and other obstructions using the smallest measurements.
Gather Tools and Draw a Kitchen Floor Plan
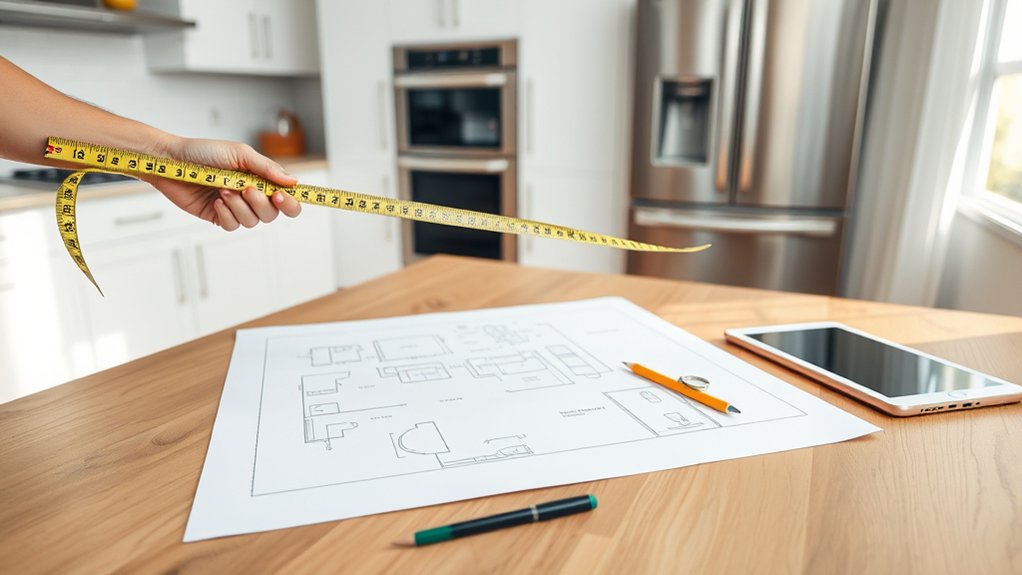
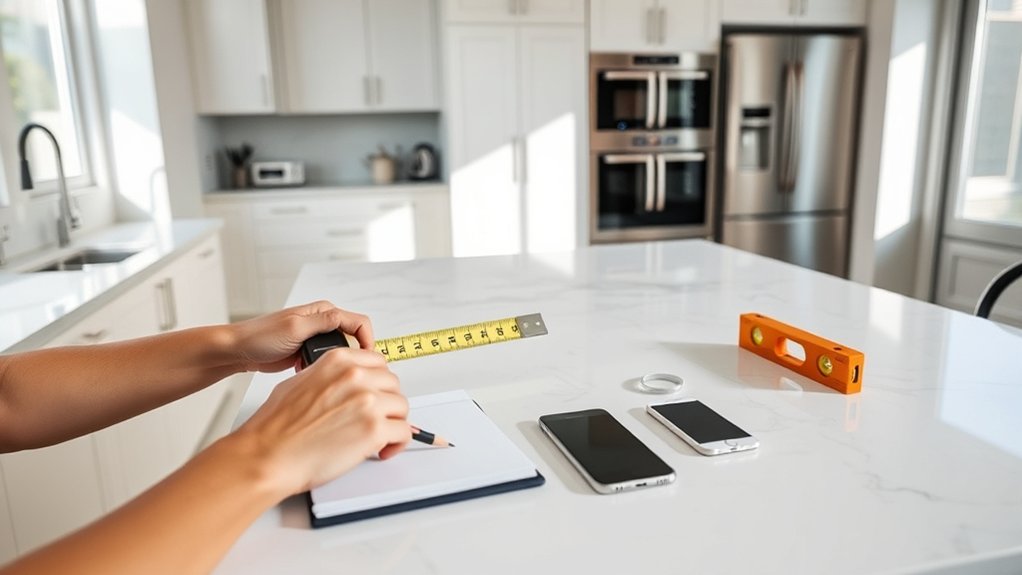
Before you measure, gather a tape measure, pencil, graph paper, ruler, and a camera or phone. Add sticky notes, an eraser, and a clipboard if they’ll help you stay organized.
Use the phone to photograph walls, windows, doors, outlets, plumbing, appliances, and other fixed features. Don’t measure yet; simply document what you see.
Start your floor plan with a clear outline of the kitchen’s shape. Draw it from a bird’s-eye view, using the ruler to keep lines straight.
Mark doorways, windows, openings, islands, columns, and permanent fixtures in their approximate locations. Label each wall and leave room for notes.
Use a consistent scale, such as one square representing one foot, so your sketch remains easy to read.
Record design information separately, including color schemes, material options, finishes, lighting, and appliance styles. Note anything you may want to preserve or replace.
Keep your tools, photographs, and sketches together before moving to detailed measurements.
Measure Each Kitchen Wall Corner to Corner
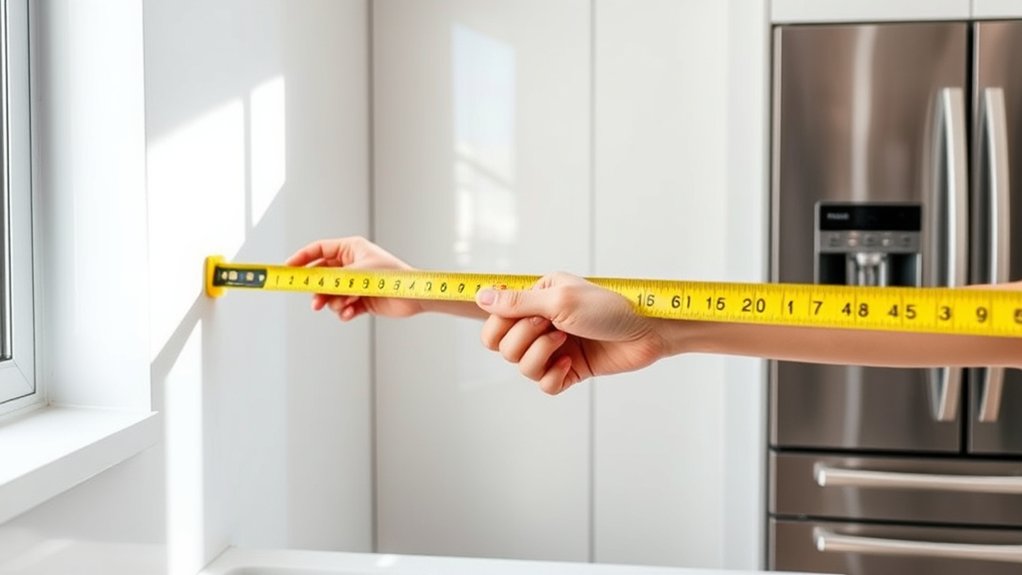
With your sketch, tools, and photos ready, measure each kitchen wall from corner to corner. Hold your tape measure level, keep it tight, and record the distance to the nearest fraction of an inch.
Start at one corner, extend the tape along the wall, and note the measurement directly on your floor plan. Label every wall clearly so you won’t confuse similar lengths later.
Start at one corner, measure each wall carefully, and label every dimension clearly on your floor plan.
For accurate measurement techniques, measure each wall twice and compare the results. If the numbers differ, check that the tape didn’t sag or angle across the space.
Measure at floor level, then repeat higher up if the wall appears uneven. Use the smaller dimension when planning a tight fit.
Record wall corner measurements in a consistent format, such as feet and inches. Note unusual angles, recesses, or changes in wall depth on your sketch, but don’t estimate them.
Use a straightedge or laser measure when available to verify longer runs and improve accuracy.
Mark Doors, Windows, and Openings
Mark every door, window, and opening on your sketch, noting its exact position along the wall. Measure each feature’s width and height, then record the distance from nearby corners. Include the frame or trim if it affects usable wall space.
Show which way each door swings and whether a window has a sill, deep recess, or low clearance.
Use clear symbols and short labels so your drawing stays easy to read:
- Door: mark the opening and swing arc.
- Window: show the frame, sill, and height from the floor.
- Archway: measure its width and tallest point.
- Pass-through: record its full opening and surrounding trim.
Note fixed obstructions, such as columns or boxed-in sections, without mapping services or appliances.
These details help you judge cabinet placement and compare Decorating styles. They’ll also guide Material options, since trim, wall finishes, and exposed edges may need to coordinate.
Recheck every measurement before finalizing your sketch.
Map Appliances, Plumbing, and Electrical Points
Record the location of every appliance, plumbing connection, and electrical point on your sketch, including its distance from nearby walls or corners. Note the current and planned positions of your refrigerator, range, oven, dishwasher, microwave, and extractor fan. Label each item clearly, even if you might replace it later.
Document every appliance, plumbing connection, and electrical point, noting precise measurements from nearby walls, corners, and other fixed reference points.
For accurate appliance placement, measure from fixed reference points, such as a corner or doorway, to each appliance’s centerline or edge. Mark water supply lines, drainpipes, gas connections, and shutoff valves.
Your plumbing considerations should include the sink, dishwasher, refrigerator water line, and any filtration system. Identify outlets, switches, dedicated circuits, and outlets located inside cabinets or behind appliances.
Record their distances from reference points and indicate which connections you’ll keep, move, or add. Photograph crowded areas for reference, and note inaccessible or concealed services you uncover.
Don’t assume connections are centered. Map their actual positions carefully, and keep this sketch with your measurements so you can plan cabinetry and installation accurately.
Verify Heights, Obstructions, and Wall Dimensions
Before planning cabinets or shelving, measure each wall’s height and length at several points to catch uneven floors, ceilings, or walls. Record the smallest measurements so your design fits safely.
Measure from the finished floor to the ceiling, noting soffits, beams, trim, and changes in ceiling height. Check doors and windows, including their frames, swing paths, and distances from nearby corners.
Look closely for anything that could interfere with installation:
- Mark outlets, switches, vents, radiators, pipes, and gas lines.
- Note baseboards, crown molding, ledges, and exposed structural posts.
- Measure window-sill heights and clearance above each opening.
- Photograph unusual angles, cracks, or bulges for reference.
Confirm your planned cabinet heights against ceiling clearance, appliance requirements, and molding. Measure countertop depths around corners and beside appliances, allowing room for doors, handles, and walkways.
Use a level to identify sloping surfaces, and recheck every critical dimension before ordering materials. Label your sketch clearly, then share it with your designer or installer.
Frequently Asked Questions
Can I Measure My Kitchen Accurately Without Professional Measuring Equipment?
Yes, you can measure your kitchen accurately without professional equipment. Use basic measuring tools, including a tape measure, pencil, paper, and a level.
Measure each wall, doorway, window, appliance space, and ceiling height twice. Record dimensions in inches or centimeters.
Keep your tape straight and taut, and note obstacles such as pipes or trim. For better measurement accuracy, create a simple floor plan and verify every measurement before ordering cabinets or appliances.
How Often Should I Remeasure My Kitchen Before Ordering Cabinets?
You should remeasure your kitchen at least twice before ordering cabinets: once during planning and again immediately before placing your order. Recheck after any demolition, flooring, drywall, plumbing, or electrical changes, since these can alter your Kitchen layout and Cabinet dimensions.
Measure each wall, opening, ceiling height, and appliance space, then compare your notes. If anything differs, verify the measurements again rather than relying on memory or earlier drawings.
Should I Measure the Kitchen Before or After Removing Existing Cabinets?
Measure your kitchen before removing existing cabinets so you can document wall lengths, ceiling height, windows, doors, utilities, and appliance locations while everything remains visible. Use reliable measurement tools, such as a tape measure, level, and laser measure, and record several points for accuracy.
After cabinet removal, remeasure exposed walls to confirm hidden conditions, uneven surfaces, and plumbing or electrical locations. Compare both sets of measurements before ordering replacement cabinets or finalizing your layout.
What Should I Do if My Kitchen Walls or Floors Are Uneven?
If your kitchen walls or floors are uneven, don’t panic. It can feel like the entire room has shifted! Record multiple measurements at different heights and along several floor points.
For Wall leveling, identify high and low spots, then use shims, furring strips, or leveling compound before installing cabinets.
For Floor correction, repair dips or slopes with suitable underlayment or self-leveling compound. Mark uneven areas on your plan, and tell your installer before ordering cabinets.
Can a Kitchen Designer Verify My Measurements Before Installation?
Yes, you can ask a kitchen designer to verify your measurements before installation. Provide your sketches, wall lengths, ceiling heights, appliance sizes, and notes about uneven surfaces.
The designer may visit your home or review photos and plans remotely. This check can protect your kitchen aesthetics, reveal fitting problems, and support accurate Budget considerations.
Confirm whether verification costs extra, and request written confirmation of approved dimensions before ordering cabinets, worktops, or appliances.
Conclusion
With your measurements complete, you’ve turned your kitchen into a clear picture on paper. Double-check each wall, opening, appliance point, and ceiling height before ordering cabinets or planning improvements.
Those few extra minutes can spare you from unwelcome surprises, like a cabinet that “rests” where a door should swing. Keep your floor plan, notes, and photos together, and you’ll move confidently from measuring a kitchen to creating one that fits beautifully.