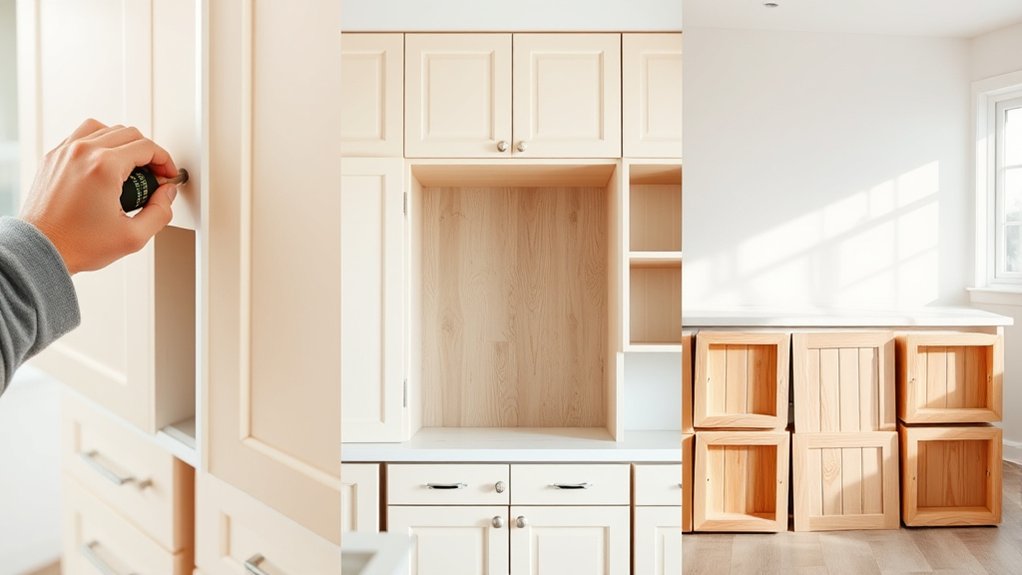
How to Remove Kitchen Cabinets in 3 Steps
Removing kitchen cabinets can feel like a messy, intimidating project, especially when you’re worried about damaging walls, flooring, plumbing, or wiring. You’re not alone—many homeowners struggle with knowing where to begin.
This guide to how to remove kitchen cabinets in 3 steps breaks the process into manageable stages.
To remove kitchen cabinets in three steps, first shut off water and electricity, protect nearby surfaces, and clear the work area. Next, remove doors and shelves, label hardware, then support and unscrew wall cabinets before easing them down. Finally, place a bucket under the P-trap, disconnect and cap plumbing, remove drawers, and detach base cabinets and countertops carefully.
Work slowly around wiring, flooring, and plumbing, and continue for tips that make demolition safer and easier.
Key Takeaways
- Shut off water and electricity, protect surfaces, wear safety gear, and identify plumbing, wiring, and cabinet fasteners.
- Remove doors, shelves, drawers, and hardware, labeling parts and storing reusable components safely.
- Disconnect plumbing beneath base cabinets, drain the P-trap, cap open pipes, and remove countertop fasteners.
- Support countertops and wall cabinets while removing screws, caulk, filler strips, and neighboring connections.
- Dismantle cabinets carefully from an end unit, avoiding hidden utilities, then inspect walls and manage debris safely.
Prepare to Remove Kitchen Cabinets Safely
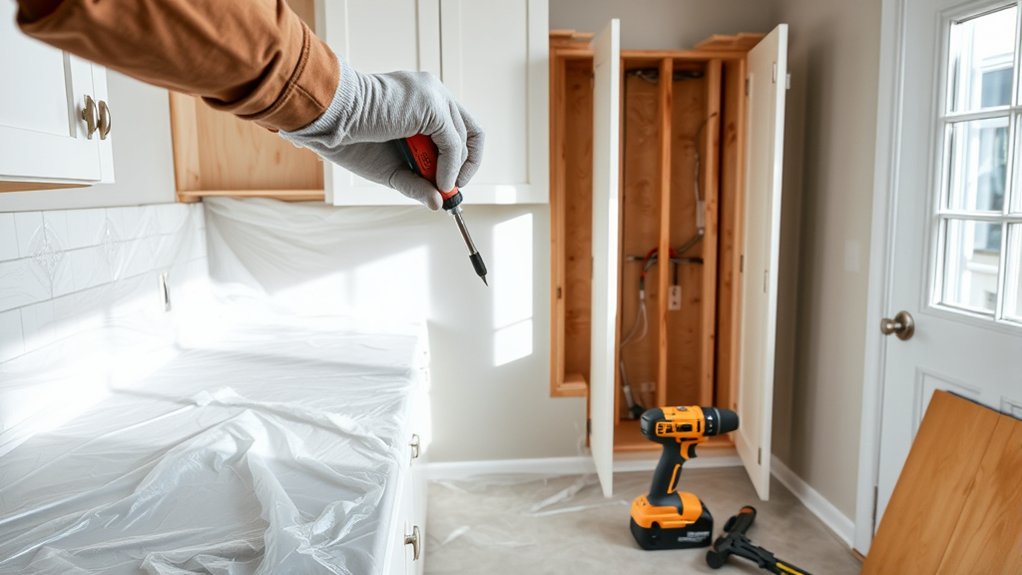
Before you remove the cabinets, shut off the water and electricity serving the kitchen, clear the work area, and put on safety glasses, gloves, and sturdy shoes. Confirm that the circuits are dead with a noncontact voltage tester, and close the water supply valves.
Shut off utilities, clear the workspace, wear protective gear, and verify circuits are dead before removing kitchen cabinets.
Protect the floor with thick drop cloths or cardboard, then cover nearby appliances and countertops to prevent scratches and dust damage. Open a window or run an exhaust fan for ventilation, especially if you’ll create dust while loosening fasteners.
Gather a pry bar, drill, screwdriver, utility knife, hammer, adjustable wrench, buckets, and a stud finder. Keep a fire extinguisher and first-aid kit nearby, and ask someone to help support heavy sections.
Plan your cabinet demolition before you start: identify plumbing, wiring, and wall studs, and mark hazards clearly. These safety precautions reduce injuries, property damage, and unexpected delays.
Don’t rush, and stop immediately if you find hidden connections or structural concerns.
Remove Doors, Shelves, and Wall Cabinets
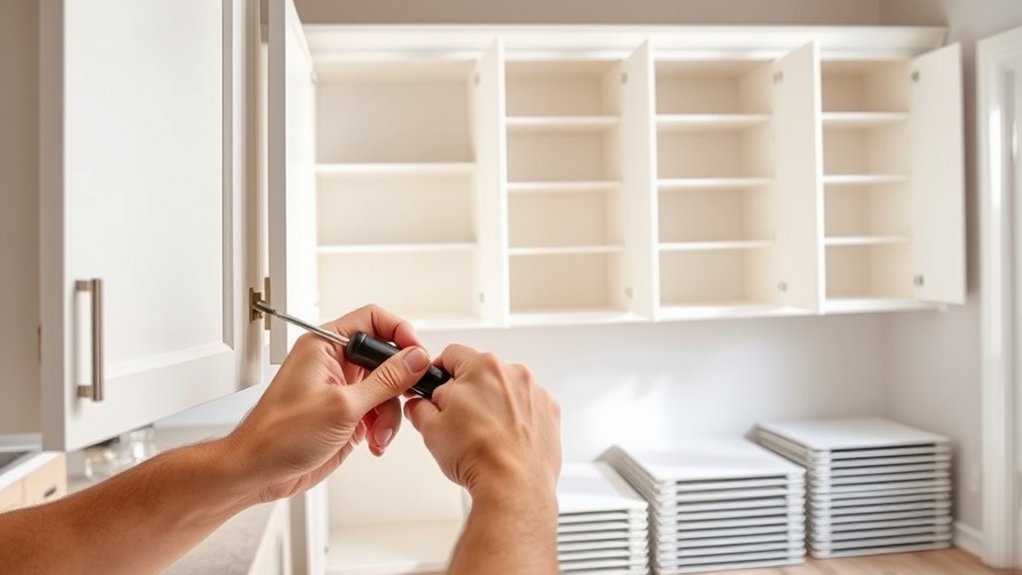
Start by removing the cabinet doors and shelves to reduce weight and make the remaining units easier to handle. Support each door as you loosen its hinge screws, then label hinges and hardware in separate bags.
Lift adjustable shelves from their pegs; unscrew fixed shelves only when necessary. During cabinet dismantling, choose tools that fit the fasteners precisely, such as a drill, screwdriver, pry bar, utility knife, and level. This careful Tool selection helps prevent stripped screws and wall damage.
Before taking down wall cabinets, clear the countertop and create a stable landing area. Ask someone to steady each cabinet while you remove screws connecting it to neighboring units.
Locate and remove the screws securing the cabinet to wall studs, keeping your helper’s support in place. Cut through caulk or paint along edges with a sharp utility knife, then ease the cabinet forward.
Lower it carefully, avoiding sudden shifts. Set aside reusable hardware, and inspect the wall for remaining screws or brackets.
Disconnect Plumbing and Remove Base Cabinets
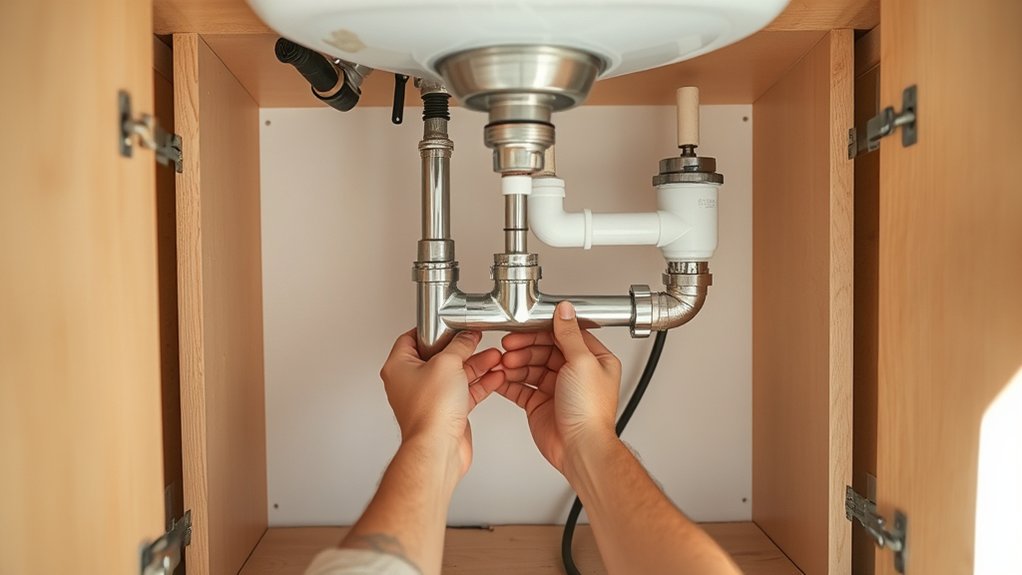
With the wall cabinets down, disconnect the sink plumbing before removing the base cabinets. Place a bucket beneath the P-trap, then loosen the slip nuts and let the water drain.
Shut off both supply valves, disconnect the faucet lines, and cap the open pipes to prevent leaks. If the valves won’t close, turn off the main water supply.
Clear drawers, shelves, and contents from each cabinet. Use a drill or screwdriver for screws, a pry bar for stubborn sections, and a utility knife to cut caulk along walls and countertops.
Support the countertop while removing the screws that fasten it to the cabinets. If you’re reusing it, lift it with help and set it on padded supports.
Begin cabinet demolition at an end unit. Remove wall and neighboring fasteners, then pull each cabinet forward.
Cut through shared screws or filler strips, and work slowly around flooring, wiring, and plumbing. Label reusable hardware and dispose of debris safely.
Frequently Asked Questions
Can I Reuse My Kitchen Cabinets After Removing Them?
Yes, you can reuse your kitchen cabinets if they’re structurally sound and you remove them carefully. Label each cabinet, save hardware, and protect doors and shelves during transport.
You can reinstall them in another kitchen, garage, laundry room, or workshop. Cabinet refinishing can refresh worn surfaces, while cabinet repurposing gives old units new uses, such as storage benches or bathroom vanities.
Inspect for moisture damage, pests, and warped panels before committing to reuse.
How Should I Dispose of Old Kitchen Cabinets?
You should first check whether your local waste facility accepts cabinets as bulky waste or construction debris. For recycling, remove hardware, separate metal, glass, and wood, then contact a cabinet recycler or transfer station.
If the cabinets remain usable, follow donation tips: clean them, photograph them, and call Habitat for Humanity ReStore, a reuse center, or a community organization.
Otherwise, disassemble them safely and arrange pickup or disposal according to local rules.
What Tools Are Needed to Repair Walls After Cabinet Removal?
You’ll need a utility knife, pry bar, hammer, screwdriver, drill, and pliers for basic wall repairs. For wall patching, gather a putty knife, sanding block, stud finder, measuring tape, and a level.
Keep drywall scraps, joint compound, mesh tape, and drywall screws nearby for drywall repair. A shop vacuum, dust mask, and safety glasses protect you while cleaning debris.
With these tools, you’ll turn damaged walls into smooth surfaces again.
How Much Does Professional Cabinet Removal Typically Cost?
You’ll typically pay $300–$800 for professional cabinet removal, though larger kitchens, built-in units, difficult access, and disposal can raise the total to $1,500 or more.
Ask contractors whether labor, hauling, wall repairs, and cleanup appear in the estimate. If you’re planning Cabinet staining or Cabinet refinishing afterward, budget those services separately.
Compare at least three written quotes, confirm insurance, and ask how the crew will protect your floors, countertops, and nearby appliances.
Should I Remove Countertops Before or After Removing Cabinets?
Remove countertops before cabinet demolition in most cases. Nearly 70% of countertop damage during renovations happens when crews force cabinets out first, putting unnecessary stress on slabs and seams.
Start with countertop removal: disconnect plumbing, detach appliances, cut caulk, and lift each section carefully. Then remove the cabinets from the wall and floor.
If the countertop’s disposable or heavily damaged, you can demolish everything together, but protect nearby surfaces and wear safety gear.
Conclusion
With these steps, you can remove kitchen cabinets safely and confidently. Wear protective gear, work carefully, and get help with heavy sections.
Once the doors, shelves, wall cabinets, plumbing, and base units are out, inspect the space before starting your next project. You’ll feel like a pioneer crossing the frontier, though your trusty “horse” is probably a modern drill.
Take your time, protect nearby surfaces, and don’t hesitate to call a professional when electrical, gas, or plumbing work gets complicated.