How to Install a Kitchen Sink in 7 Steps
Struggling to install a kitchen sink without creating leaks, damaging the countertop, or ending up with loose connections? You’re not alone—many homeowners find this project more complicated than expected. The right tools and a clear process can make the job much easier.
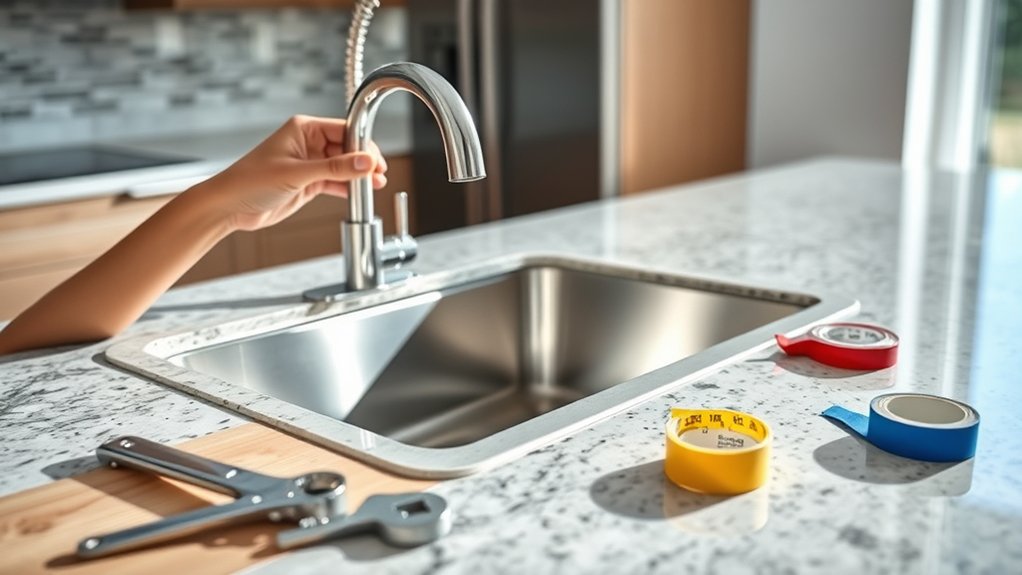
To install a kitchen sink, gather tools and shut off the water supply. Measure and mark the countertop opening, then remove the old sink if necessary. Install the faucet and drain strainer before lowering the new sink into a silicone-lined opening.
Connect the drain, trap, and hot- and cold-water supply lines without over-tightening. Seal the edges, allow curing time, and test for leaks by running water and checking every connection.
Follow the steps below for helpful installation details.
Key Takeaways
- Gather tools, protect the cabinet, shut off water supplies, and disconnect existing plumbing before removing the old sink.
- Measure and mark the countertop using the manufacturer’s template. Verify dimensions, clearances, faucet placement, and cabinet support.
- Install the faucet and drain strainer with the correct gaskets, plumber’s putty, and evenly tightened mounting hardware.
- Apply silicone around the cutout, lower the sink carefully, secure it with clips, and let the sealant cure fully.
- Connect supply hoses and drain piping. Test the hot and cold water for leaks, tightening or resealing fittings as needed.
Gather Tools and Shut Off Water
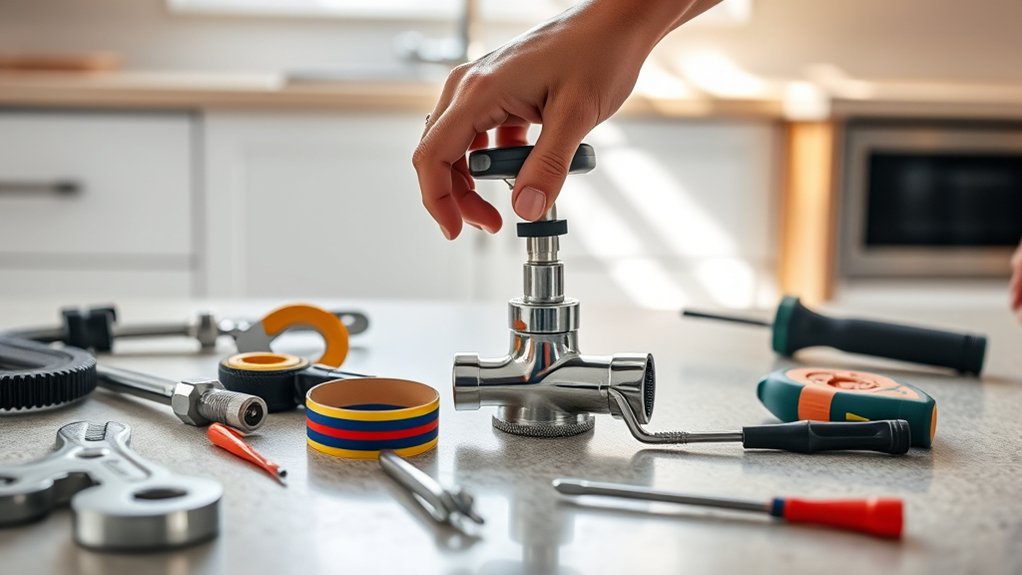
Before you begin, gather an adjustable wrench, basin wrench, screwdrivers, plumber’s putty, a bucket, towels, and the sink manufacturer’s recommended supplies. Check that each tool works properly, and review the sink’s installation instructions for any specialized hardware or sealant.
Good Tool organization keeps your workspace efficient, so place frequently used items within reach and protect the cabinet floor with towels. Keep the bucket beneath the plumbing connections to catch residual water when you disconnect the lines.
Keep tools within reach, protect the cabinet floor, and position a bucket beneath connections to catch residual water.
Locate the hot- and cold-water valves beneath the sink, then turn both handles clockwise until they stop. Open the faucet to release pressure and confirm that no water flows.
If the valves don’t close fully, shut off your home’s main water supply before continuing. Disconnect the garbage disposal’s power or switch off its circuit breaker if your installation requires removal.
Wear safety glasses, keep the cabinet well lit, and remove stored items so you can work safely.
Measure the Countertop Opening
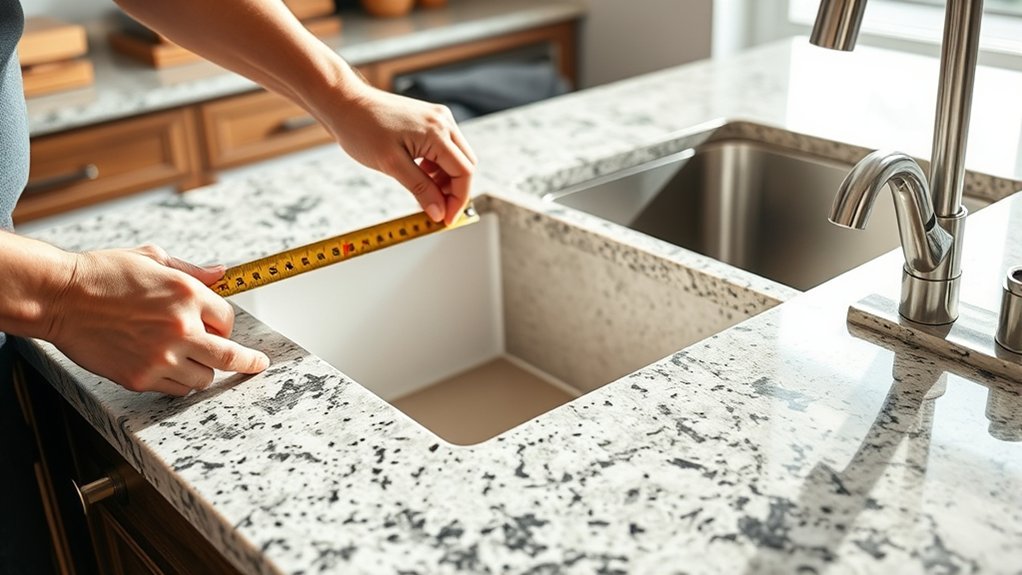
Before you start cutting, check your sink’s dimensions against the manufacturer’s specifications. Place the sink template on the countertop and clearly mark the cutout boundaries. Then, double-check your measurements to make sure the sink will fit securely without damaging the counter.
Confirm Sink Dimensions
Measure the countertop opening from front to back and side to side, then compare those dimensions with the sink’s specifications. Check the manufacturer’s requirements for cabinet width, rim clearance, and basin depth.
Your opening must provide enough room for the sink to rest securely without crowding the cabinet or plumbing space.
Review these details before installation:
- Length and width: Confirm the opening matches the sink’s required dimensions, allowing any specified support or clearance.
- Depth: Compare the basin and drain depth with the cabinet interior and available plumbing space.
- Design requirements: Verify the sink material and countertop compatibility, especially when pairing a heavy, undermount, or farmhouse model with your counter.
Account for uneven surfaces or inaccurate existing measurements. If the dimensions don’t match, stop and resolve the mismatch before proceeding.
Don’t force the sink into place, since pressure can damage the counter or sink.
Mark Cutout Boundaries
With the sink dimensions confirmed, place the manufacturer’s template on the countertop and align it with the cabinet, backsplash, and surrounding edges. Check that the faucet holes and bowl sit where you want them.
Secure the template with painter’s tape, then trace its opening with a sharp pencil. If you lack a template, center the sink upside down and trace the rim, then draw the required setback line inside it.
These measurements help you mark cutout boundaries accurately and prevent costly mistakes.
| Check | What to verify |
|---|---|
| Front setback | Leave room for the countertop edge |
| Back clearance | Avoid the backsplash and wall |
| Cabinet support | Confirm the bowl fits below |
| Faucet position | Keep holes accessible |
Before cutting, measure each traced side twice and compare it with the sink. These sink installation techniques help ensure a clean, properly supported opening.
Don’t cut on the line until every clearance looks correct.
Remove the Old Sink if Needed
If you’re replacing an existing sink, shut off the water supply first. Then disconnect the supply lines and drain before carefully lifting the old sink from the countertop.
Shut Off Water Supply
Before disconnecting anything, turn off the sink’s hot- and cold-water supply valves by rotating them clockwise until they stop. This releases incoming Water pressure and helps prevent unexpected spray while you prepare the work area.
If either valve won’t close completely, shut off the home’s main supply instead. Keep a bucket and towels nearby, and follow your local plumbing code when handling older or unusual systems.
- Turn on both faucet handles briefly to confirm that water stops flowing.
- Close the drain opening with a stopper or cloth so small parts can’t fall inside.
- Check nearby appliances, such as a dishwasher, and shut off their dedicated supply if necessary.
Don’t force corroded valves; excessive pressure can damage the plumbing. If you notice leaks, brittle pipes, or no accessible shutoff, call a licensed plumber before continuing.
Leave the supply off until installation and leak testing are complete.
Disconnect and Lift Sink
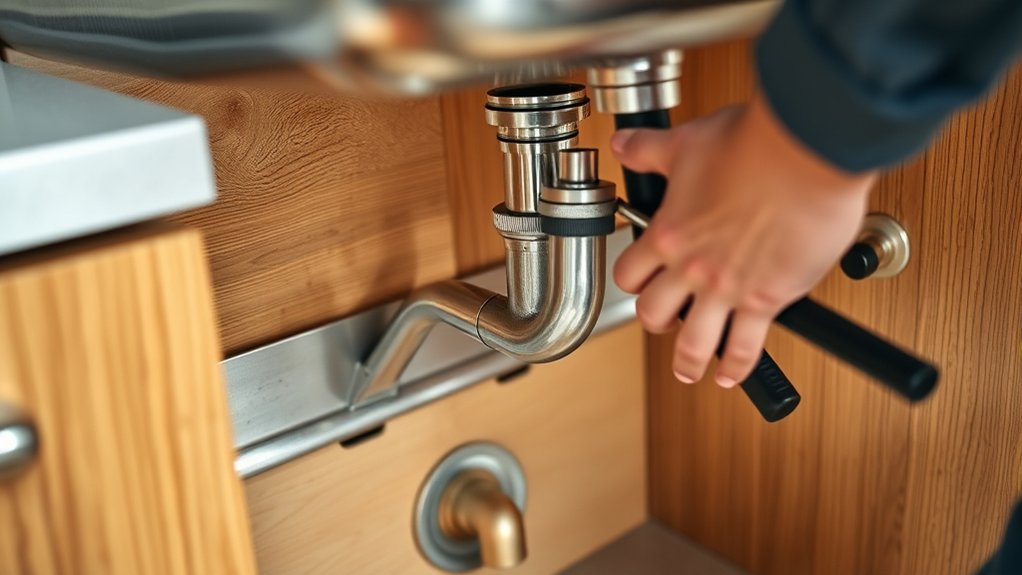
Start by disconnecting the supply lines and drain connections beneath the sink, using a bucket to catch any remaining water. Loosen the faucet supply nuts with an adjustable wrench, then remove the trap and drainpipe.
If your sink has a garbage disposal, disconnect its power and detach the discharge tube. Cut through old caulk around the rim with a utility knife.
Remove mounting clips or brackets securing the sink to the countertop. Ask someone to help you lift the sink straight up, especially if it’s heavy.
Scrape away remaining adhesive, then wipe the countertop clean. Complete any necessary sink cleaning before installing the replacement.
If you’ll reuse the plumbing, inspect washers, valves, and pipe insulation for damage. Replace worn parts before setting the new sink.
Dispose of the old sink responsibly.
Install the Faucet and Drain Strainer
With the sink upside down, attach the faucet and drain strainer according to the manufacturer’s instructions, tightening each connection securely without overtightening.
Faucet installation starts by feeding the faucet lines through the correct opening. Position the gasket and mounting plate beneath the faucet, then tighten the nuts evenly with a basin wrench. Don’t twist or kink the supply lines.
Feed faucet lines through the correct opening, secure the gasket and mounting plate, and tighten mounting nuts evenly without twisting the supply lines.
For drain strainer selection, choose a model that matches the sink opening and drainpipe size. Apply plumber’s putty beneath the strainer flange, unless the manufacturer specifies silicone.
Press the strainer into the opening, add the lower gasket and locknut, and tighten until the putty squeezes out evenly. Wipe away excess material.
- Check that the faucet handle moves smoothly.
- Confirm every gasket sits flat.
- Inspect threaded connections for visible gaps.
Install any included sprayer hose, soap dispenser, or escutcheon now. Don’t connect water supplies or drain piping until you’ve finished preparing each component and verified the manufacturer’s required orientation.
Set the Kitchen Sink Into Place
Once the faucet and drain strainer are secure, prepare the cabinet opening for the sink. Remove debris, confirm the countertop cutout matches the manufacturer’s template, and dry-fit the basin.
Check that the rim sits evenly on all sides without forcing it into place. If necessary, enlarge the opening gradually with the appropriate tool, then smooth rough edges to prevent damage.
Apply a continuous bead of kitchen-and-bath silicone around the cutout’s upper edge, following the product instructions. With help, lift the sink by its sides, center it over the opening, and lower it straight down.
Don’t lift it by the faucet or drain assembly. Press firmly around the rim so the sealant spreads evenly, then wipe away excess with a damp cloth.
Use these cleaning tips: remove residue before it cures and protect the countertop from scratches. Install clips underneath if your sink includes them, tightening them evenly.
Decorative fixtures shouldn’t hide an uneven fit. Verify the rim remains level before the sealant sets.
Connect the Drain and Supply Lines
Connect the drain and supply lines after the sink is firmly seated and the sealant has set according to the manufacturer’s instructions. Gather an adjustable wrench, slip-joint pliers, plumber’s tape, the drain kit, and flexible supply hoses. Keep a bucket beneath the connections to catch residual water.
Connect drain and supply lines only after the sink is firmly seated and the sealant has fully set.
- Install the drain: Fit the basket strainer, gasket, and locknut beneath the basin, then tighten them evenly. Attach the tailpiece and trap, aligning each washer correctly. For drain pipe installation, connect the trap to the wall drain and tighten slip nuts by hand before giving them a slight wrench turn.
- Connect the supplies: Attach the hot and cold flexible hoses to the faucet’s threaded shanks. Wrap threaded valve connections with plumber’s tape, keeping the tape off the first thread.
- Complete the supply line connection: Fasten the opposite hose ends to the matching shutoff valves. Keep hot on the left and cold on the right, and avoid twisting or sharply bending hoses. Leave valves closed until testing.
Seal the Edges and Check for Leaks
After connecting the drain and supply lines, seal the sink’s edges with a continuous bead of kitchen-and-bath silicone if the installation instructions call for it. Keep the bead smooth and unbroken, especially around corners and faucet openings.
Use a damp finger or finishing tool to press the sealant firmly against both surfaces, then wipe away excess before it skins over. This edge sealing prevents water from reaching the cabinet or countertop.
Allow the silicone to cure for the time listed on its label before using the sink. Next, begin your leak inspection.
Place a bucket beneath the drain, then run cold and hot water through the faucet. Fill the basin, release the stopper, and watch every connection, including the trap, supply valves, and faucet shanks.
Feel joints with a dry tissue; even a small drip will leave a mark. If you find a leak, tighten the fitting gently.
Replace damaged washers or reseal threaded connections as needed. Recheck everything after repairs.
Frequently Asked Questions
Can I Install a Kitchen Sink Without Professional Plumbing Experience?
Yes, you can install a kitchen sink without professional plumbing experience if you’re comfortable following instructions and working carefully. Start with a Tool checklist: adjustable wrench, basin wrench, plumber’s putty, screwdriver, bucket, level, and towels.
Learn basic DIY plumbing steps, including shutting off water, disconnecting supply lines, securing the sink, and checking for leaks. If pipes, drains, or cabinets require modification, call a professional to prevent water damage and costly repairs.
How Long Does a Typical Kitchen Sink Installation Take?
Time flies when you’re upgrading your kitchen: you’ll typically finish a kitchen sink installation in two to four hours. You can expect about 30–60 minutes for removal, 45–90 minutes for mounting the sink, and another 60–90 minutes for the drain assembly and faucet installation.
If you need cabinet modifications, new supply lines, or countertop cutting, the project may take a full day. Complex plumbing issues can extend the timeline, too.
What Type of Kitchen Sink Is Easiest for Beginners to Install?
Choose a top-mount, or drop-in, sink if you’re a beginner. You’ll place it into a countertop opening, secure its rim, and connect the plumbing without needing specialized support.
Check countertop compatibility first, because this style works with many laminate, tile, stone, and solid-surface counters. Among sink material options, stainless steel offers a lightweight, affordable, forgiving choice.
You’ll still need accurate measurements, plumber’s putty, a wrench, and patience.
How Much Does Professional Kitchen Sink Installation Typically Cost?
You’ll typically pay $200–$500 for professional kitchen sink installation, though complex jobs can exceed $1,000. A gleaming new sink may sit above aging pipes, and that contrast drives your bill.
Cost factors include sink type, countertop modifications, plumbing repairs, garbage-disposal connections, and local labor rates. Ask for a written estimate before work begins.
Confirm service warranties covering leaks, installation defects, or follow-up adjustments, so you’re protected after completion.
When Should I Replace Rather Than Repair My Kitchen Sink?
Replace your kitchen sink when cracks, persistent leaks, severe rust, or warped surfaces compromise performance and sanitation. You’ll usually save money by repairing minor clogs, loose fittings, small scratches, or replaceable seals.
Consider sink durability, especially if damage keeps returning or the basin feels weak. Choosing materials like stainless steel, fireclay, or composite can improve longevity.
Replace the sink if repairs approach replacement costs, installation disrupts your routine, or its design no longer meets your needs.
Conclusion
With your new sink secured, reconnect the water, test every joint, and wipe away excess sealant. Don’t skip the leak check: even a slow drip can damage cabinets and encourage mold.
In fact, household leaks waste nearly 1 trillion gallons of water annually in the United States, according to the EPA. By following these seven steps for how to install a kitchen sink, you’ll protect your countertop, improve daily cleanup, and enjoy a professional-looking installation without calling a plumber or risking unnecessary water waste.