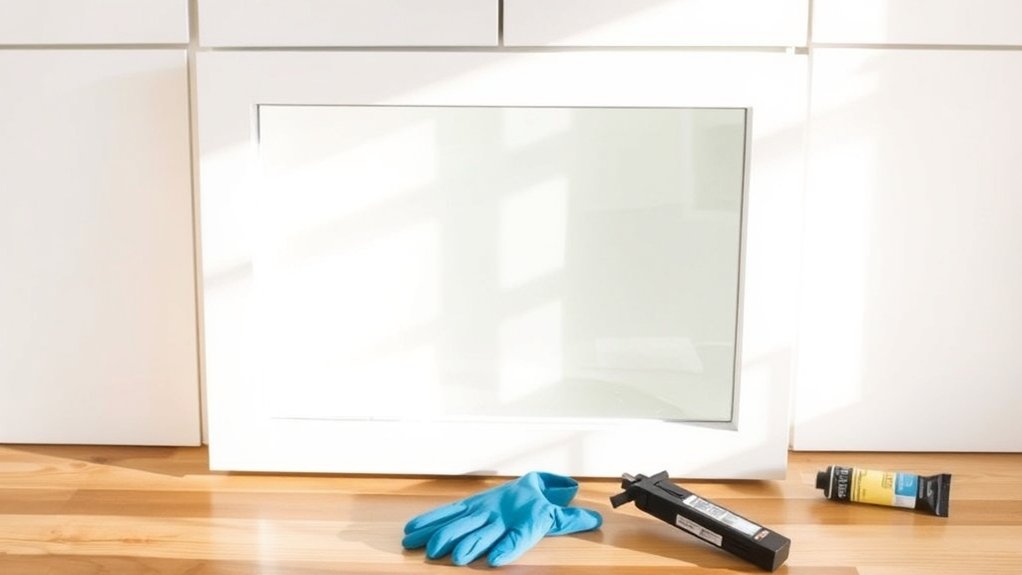
How to Add Glass to Kitchen Cabinets in 3 Steps
Want to give your kitchen a fresh, updated look without replacing every cabinet? You’re not alone—many homeowners struggle with dark, dated cabinet doors and want an affordable way to display their favorite dishes. Learning how to add glass to kitchen cabinets can create an open, stylish feel with just a few simple steps.
To add glass to kitchen cabinets, first remove the door and existing panel. Support the door, loosen the hinges, and carefully remove clips, screws, or nails.
Next, measure the opening at several points, using the smallest dimensions, and choose suitable tempered glass.
Finally, place the glass in its groove or against the frame, then secure it with retaining clips, molding, or silicone.
Avoid overtightening, reattach the door, and test its movement. The steps below explain each detail.
Key Takeaways
- Remove the cabinet door, hardware, and existing panel carefully. Support the door and label each part.
- Measure the opening at multiple points. Choose properly sized tempered glass with a suitable thickness and style.
- Place the glass in the groove or against the frame, centering it evenly.
- Secure the panel with retaining clips, molding, glazier’s points, or a neat silicone bead.
- Reattach the door, clean the glass, and test its movement after the sealant cures.
Remove the Cabinet Door and Existing Panel
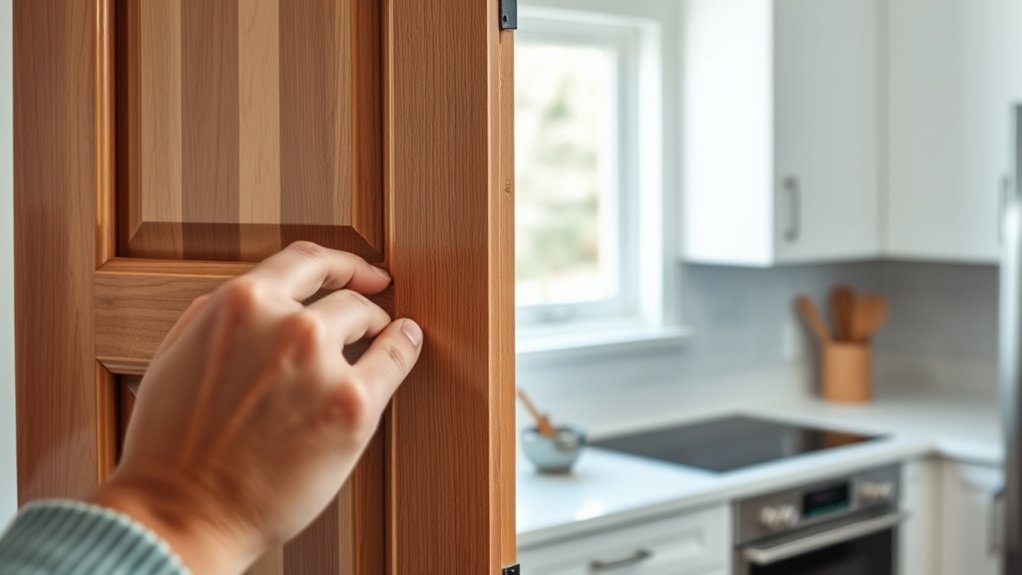
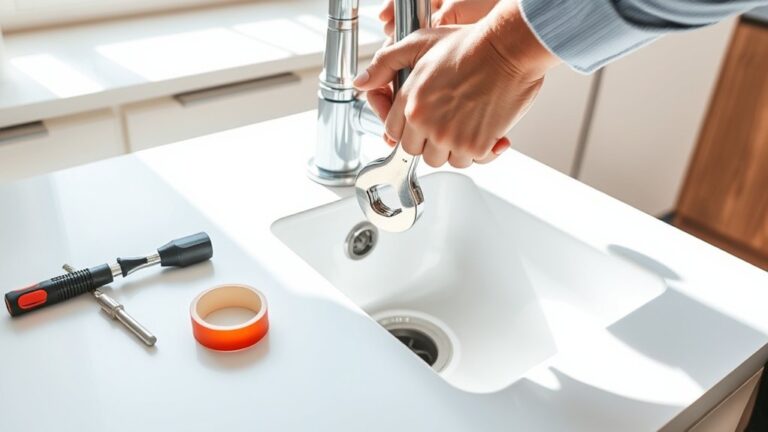
Start by removing the cabinet door and placing it on a padded, flat surface. Support the door with one hand while you loosen each hinge screw with a screwdriver.
Remove the cabinet door carefully, supporting its weight as you loosen each hinge screw and keeping the hardware together.
If your hinges include quick-release clips, press them before lifting the door away. Keep the screws and hardware in a small container so you won’t lose anything during cabinet hinge removal.
Next, inspect the back of the door to identify how the existing panel sits inside the panel framing. Look for retaining clips, brads, screws, or a routed groove.
Remove clips or screws carefully, then pull out any nails with pliers. If the panel feels stuck, score painted edges with a utility knife to prevent splintering.
Work slowly around the frame, and don’t pry against its finished face. Once the panel comes free, label the door and hardware, then vacuum dust from the frame.
Wear safety glasses whenever you cut, pry, or pull fasteners.
Measure the Opening and Choose Cabinet Glass
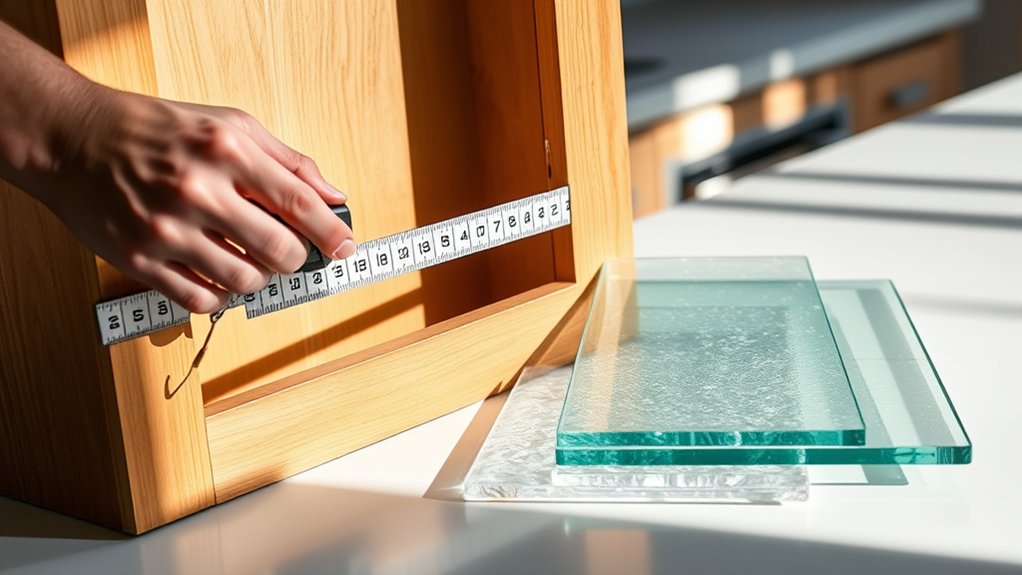
With the panel removed, measure the opening inside the door frame—not the old panel itself. Measure the width at the top, middle, and bottom, then measure the height along both sides and the center.
Record the smallest width and height, since slight variations can affect the fit. Check the frame’s depth, too, and note whether the glass sits in a groove or against a flat surface.
Before ordering, confirm the cabinet door’s construction and measure twice for accuracy.
Next, choose glass that suits your kitchen’s style and storage needs. Clear glass keeps dishes visible and makes the room feel open.
Textured or decorative glass adds visual interest while disguising fingerprints and clutter. Privacy glass, such as frosted or seeded glass, conceals contents more effectively.
Consider tempered safety glass for durability, especially in busy kitchens. Ask your glass supplier about edge finishing and available thicknesses, but don’t order until your measurements are verified.
Install and Secure the Glass Panel
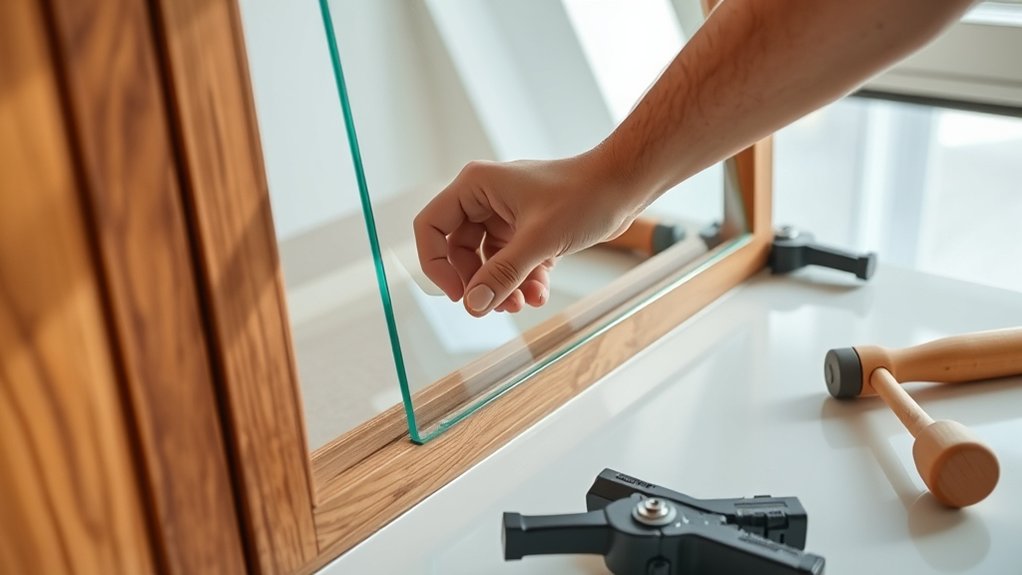
Once the glass fits, place it into the door’s groove or against the frame from the back, keeping it centered and flush. Use one hand to hold the panel while you install the retaining clips, molding, or glazier’s points with the other.
Space fasteners evenly around the perimeter, and don’t overtighten them, since pressure can crack the glass. If the cabinet door lacks a stable channel, add thin wood strips or a compatible silicone bead to create cabinet reinforcement.
Keep adhesive away from the visible glass and follow its curing instructions. Before finalizing the installation, check that the panel doesn’t rattle or shift when you gently move the door.
Trim any excess sealant neatly with a utility knife after it sets. Complete your glass cleaning with a soft, lint-free cloth and a nonabrasive cleaner.
Reattach the door, tighten its hinges, and open and close it several times to confirm smooth movement and secure placement. Wear gloves and eye protection throughout installation.
Frequently Asked Questions
What Tools Are Needed to Add Glass to Kitchen Cabinets?
You’ll need a tape measure, pencil, screwdriver, drill, clamps, utility knife, and a pry bar for removing cabinet panels. Use a router or glass-cutting service to create the opening, plus sandpaper for smoothing edges.
Keep a level and square nearby for accurate alignment. Add glazing points, silicone adhesive, and protective gloves. When choosing glass types, wear safety glasses.
For DIY installation, include a measuring guide, drop cloth, and vacuum.
Can Glass Be Added to Cabinets Without Professional Help?
Yes, you can add glass to cabinets without professional help if you’re comfortable measuring, removing doors, routing panels, and installing glazing securely. Follow DIY safety by wearing eye protection, gloves, and a dust mask, and support each door while working.
Consider budget considerations, including glass, clips, tools, and replacement materials. Choose tempered or acrylic panels for added durability. If cutting feels risky, have a glass shop size the panels.
Which Glass Styles Best Complement Different Kitchen Designs?
You’ll match glass styles to your kitchen by considering its overall design. Choose clear or lightly frosted glass for Modern cabinet styles, keeping lines clean and displaying streamlined dishware.
Select seeded, textured, or stained glass for farmhouse and cottage kitchens, adding warmth and character. Try reeded glass for connecting spaces, balancing traditional details with contemporary appeal.
Decorative glass, including leaded or patterned options, suits vintage and eclectic kitchens beautifully.
How Do You Clean and Maintain Glass Cabinet Doors?
Treat your glass cabinet doors like clear windows into your kitchen: clean them gently, and they’ll keep shining. For effective Cleaning techniques, remove dust with a microfiber cloth, then spray cleaner onto the cloth—not the glass—to prevent drips.
Wipe in overlapping circles and dry with a lint-free towel. Follow these Maintenance tips: clean spills promptly, avoid abrasive pads, inspect hardware regularly, and tighten loose handles carefully to prevent stress cracks or damage.
How Much Does It Cost to Replace Cabinet Panels With Glass?
You’ll typically pay $150–$400 per cabinet door to replace a wood panel with glass, including labor. Basic clear glass costs less, while textured, frosted, or tempered options raise the price.
Your total also depends on the door’s size, frame construction, glass thickness, and local labor rates. Budget extra for cabinet hardware if hinges, handles, or clips need replacement.
Request several quotes, and confirm whether measuring, installation, finishing, and disposal are included in the estimate.
Conclusion
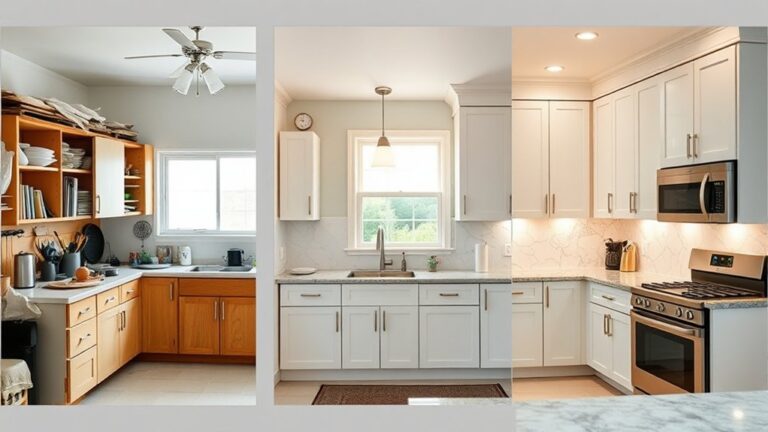
With these three steps, you can turn ordinary cabinet doors into light-catching displays. After removing the old panel, measuring carefully, and securing your chosen glass, you’ll give your kitchen a fresh sense of openness.
Every reflection can symbolize new possibilities, while your favorite dishes become memories on display. Take your time, trust your hands, and enjoy adding glass to kitchen cabinets.
You’re not just updating cabinets; you’re opening a window to the warmth, personality, and stories that make your kitchen feel like home.