How to Clean Greasy Kitchen Cabinets
Greasy kitchen cabinets can make even a clean home feel messy, and you’re not alone if stubborn buildup keeps coming back. Many people struggle to find effective products that cut through grease without damaging their cabinets.
In this guide, we’ll explore practical solutions for cleaning and protecting your cabinets, starting with these simple care tips.
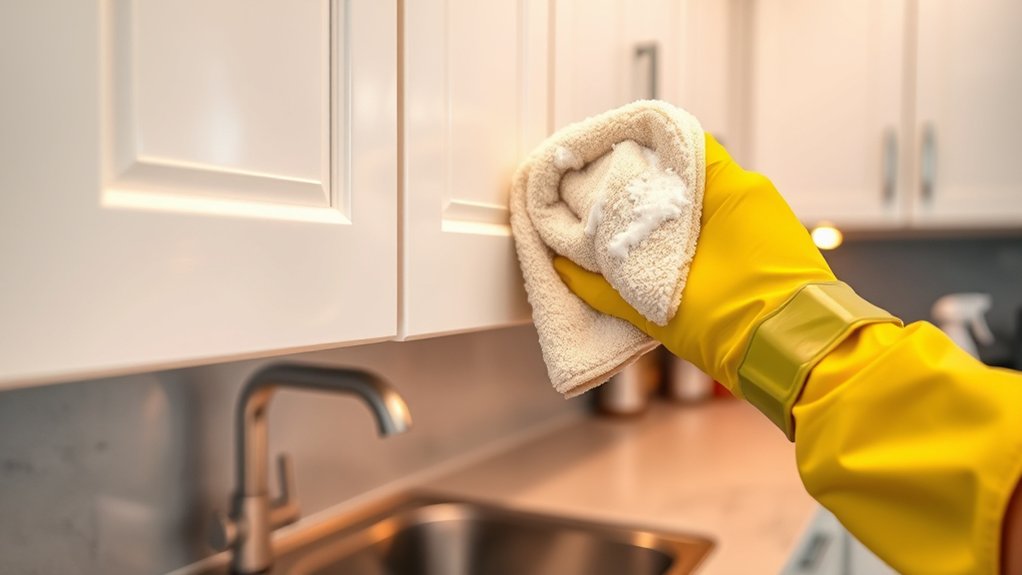
Mix a few drops of mild dish soap with warm water, then test the solution on a hidden cabinet area. Remove dust first with a dry microfiber cloth. Wipe greasy surfaces with a damp cloth, focusing on handles, edges, and grooves.
Rinse with a barely damp cloth to remove residue, then dry immediately. Leave doors open to air-dry, and avoid bleach, ammonia, abrasives, and soaking wood.
Keep exploring for more ways to prevent grease buildup.
Key Takeaways
- Remove dust and loose debris with a dry microfiber cloth or soft brush before addressing greasy cabinet surfaces.
- Mix warm water with a few drops of mild dish soap, then apply it using a damp, non-abrasive microfiber cloth.
- Test the solution on a hidden area first, especially when cleaning painted, varnished, or unfinished wood cabinets.
- Wipe grease gently, focusing on handles, edges, corners, and grooves. Rinse with a barely damp cloth to remove soap residue.
- Dry cabinets immediately with a clean towel. Leave doors open for ventilation, and prevent buildup with regular wiping and exhaust ventilation.
Gather Supplies for Cleaning Greasy Cabinets
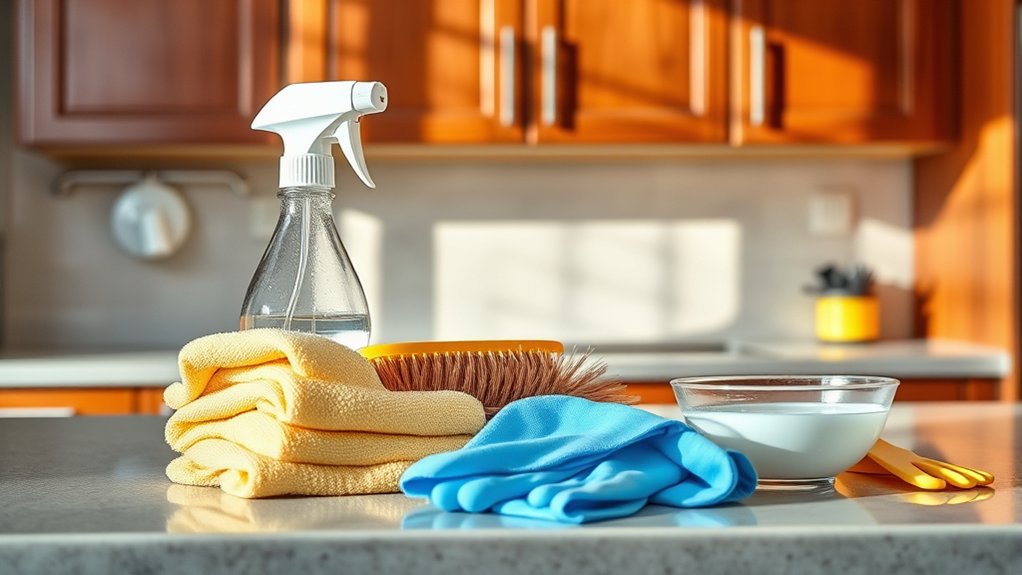
Before you begin, gather a bucket, warm water, dish soap, microfiber cloths, a soft sponge, an old toothbrush, and a dry towel. These basic supplies help you remove grease without scratching cabinet surfaces or spreading residue.
For Choosing appropriate cleaning tools, match each item to the task. Use microfiber cloths for wiping doors and frames, since they trap grime and limit lint.
Choose a soft sponge for stuck-on grease, and reserve the toothbrush for corners, grooves, and hardware edges. Keep a dry towel nearby to remove moisture after cleaning.
When Selecting eco friendly cleaning solutions, start with warm water and a small amount of mild dish soap. This simple mixture cuts everyday grease while reducing harsh chemical exposure.
Avoid abrasive powders, steel wool, and strong solvents, which can damage finishes. Pour only enough solution into your bucket for immediate use, and replace it when it turns cloudy or greasy.
Set everything within reach before you start.
Identify and Test Your Cabinet Finish
Once your supplies are ready, identify your cabinet’s finish so you can choose a safe cleaning method. Check the manufacturer’s information, if available, or examine an inconspicuous area inside a door.
Painted cabinets may have latex, acrylic, oil-based, or lacquer coatings. Different paint types react differently to moisture and solvents. Wood finishes can include polyurethane, varnish, shellac, wax, or penetrating oil, and each requires a gentler approach.
Cabinet coatings vary widely, so identify the finish first and use a gentle cleaning method suited to its specific needs.
Test your planned cleaner before treating visible surfaces. Apply a small amount to a hidden corner with a cotton swab or soft cloth.
Wait several minutes, then inspect the area for color transfer, dullness, whitening, bubbling, tackiness, or a softened finish. If you notice any change, stop and choose a milder solution.
When the test area remains intact, you can proceed confidently with that product. If you can’t identify the finish, use the least aggressive option and avoid abrasive powders, strong degreasers, and excess water.
Photograph the test area for comparison.
Remove Dust and Loose Grime
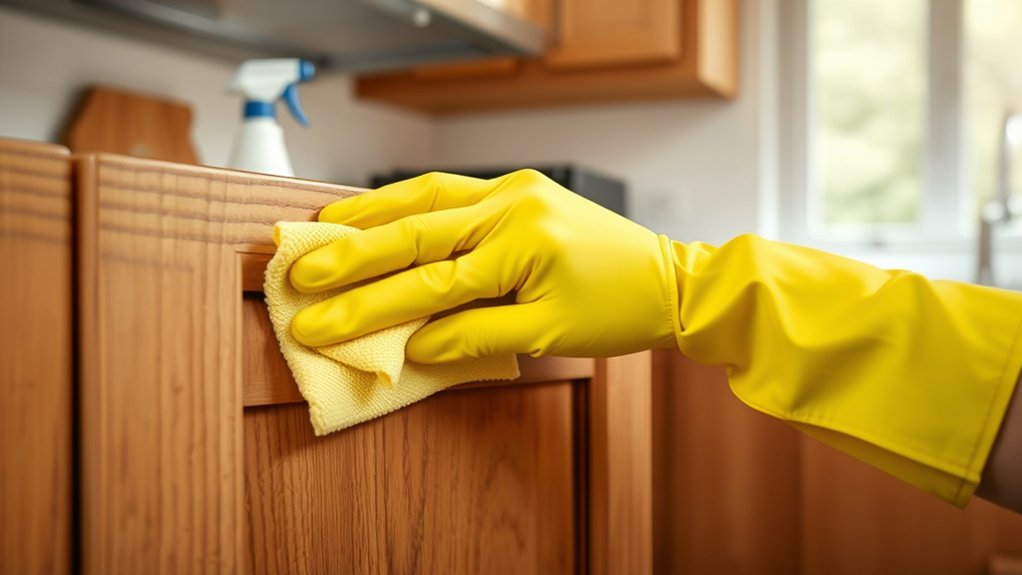
Start by removing loose dust and crumbs so they don’t turn into muddy grit when you add cleaner. Open each cabinet door and clear the shelves, corners, and hardware. Use a soft, dry microfiber cloth to wipe broad surfaces, working from the top down. Fold the cloth often so you’re not spreading dust accumulation from one area to another.
For framed cabinets, run the cloth along the edges, seams, and hinges where particles collect. A clean, soft-bristled brush can lift debris from carved details and narrow gaps without scratching the finish.
Use a vacuum with a brush attachment for stubborn crumbs, keeping the nozzle slightly above delicate surfaces. Don’t press hard or scrub yet. Friction can push loose grime into the finish.
Check the cabinet tops and undersides, too, especially near the stove. Remove crumbs from shelves and drawer tracks, then inspect every area under bright light before continuing. Dispose of the collected debris so it doesn’t settle back onto clean surfaces.
Mix a Safe Cleaning Solution
Choose gentle ingredients that won’t damage your cabinet’s finish. Mix warm water with a small amount of dish soap to make a safe cleaning solution.
Choose Safe Ingredients
What should you use to cut through grease without damaging your cabinets? Start by choosing gentle ingredients suited to your cabinet’s finish.
Natural remedies, such as mild dish soap, white vinegar, or baking soda, can help loosen everyday grime, but don’t assume every option works for every surface.
Vinegar’s acidity may dull stone, waxed, or certain wood finishes, while baking soda can scratch delicate coatings.
Chemical cleaners can work effectively, yet strong degreasers, bleach, ammonia, and abrasive formulas may discolor paint or damage protective layers.
Read the cabinet manufacturer’s care instructions before selecting any product.
When you’re unsure, test the ingredient on a hidden spot and watch for fading, swelling, or cloudiness.
Choose fragrance-free, nonabrasive products when possible, and wear gloves if your skin reacts easily to cleaning agents.
Mix The Solution
Once you’ve chosen a cabinet-safe cleaner, mix a small amount with warm water according to the product’s instructions. Don’t guess at the ratio; too much cleaner can leave a sticky film or dull the finish.
Pour the solution into a bowl or spray bottle, but never spray directly onto cabinet surfaces. A lightly dampened microfiber cloth gives you better control and helps prevent moisture from reaching seams, hinges, and edges.
For stubborn grease, prepare a slightly stronger mixture only if the label allows it, and test it inside a hidden corner first. Different cabinet styles, including painted wood, laminate, and veneer, may react differently.
As with practical cooking tips, measure carefully, start gently, and adjust only when necessary. Keep clean water nearby for rinsing and another cloth ready for drying.
Clean Greasy Kitchen Cabinets Safely
Clean greasy kitchen cabinets safely by opening a window, wearing gloves, and testing your cleaner on a hidden spot first. Good kitchen ventilation reduces fumes, especially when you use a commercial degreaser. Read the product label, follow its dilution instructions, and never mix cleaners. Combining bleach, ammonia, vinegar, or other chemicals can create dangerous gases.
Protect your skin with gloves, and wear eye protection if splashing seems possible. Keep children and pets away while you work, and remove nearby food, dishes, and small appliances.
Use a soft, damp cloth rather than abrasive pads, steel wool, or sharp tools that could scratch the finish. Don’t soak wood, laminate, or painted surfaces; excess moisture can cause swelling, peeling, or discoloration.
Work in a small, manageable area, and rinse away cleaner residue with a clean, barely damp cloth. Dry the surface promptly with a towel.
If the finish remains sticky, stop and check the manufacturer’s care instructions. Choose gentle products that won’t damage grease-resistant finishes over time.
Wash Doors, Handles, and Edges
Start with the cabinet doors, wiping them from top to bottom with a soft cloth dipped in warm, diluted dish soap. Work in small sections, rinsing the cloth often so you don’t spread oily residue.
Keep the cloth damp, not soaking wet, to protect wood joints and finishes. Follow with a clean, slightly damp cloth to remove soap, then dry each surface with a soft towel.
Wash cabinet hardware separately when possible. Wipe knobs, pulls, and hinges with the same mild solution, paying attention to fingerprints and areas around their bases.
Don’t spray cleaner directly onto hardware or cabinet surfaces. Moisture can seep into seams. Use a soft toothbrush to clean edge detailing, corners, and grooves without scratching them.
Open each door and wipe its edges, then clean the frame where grease collects. Check for missed streaks under good lighting, and leave doors open briefly so every surface dries completely.
Remove Stubborn Grease Buildup
For grease that remains after washing, apply a small amount of diluted dish soap to a microfiber cloth and hold it over the buildup for a few minutes to soften it. Gently rub the spot in small circles, using light pressure to protect the cabinet finish.
For hardened residue, use a plastic scraper or an old bank card. Keep the edge flat so you don’t gouge the surface. Repeat the treatment rather than scrubbing aggressively.
If dish soap doesn’t work, mix baking soda with a few drops of water to create a soft paste. Test it first on an inconspicuous area, then massage it onto stubborn spots with a damp cloth.
Avoid steel wool, abrasive powders, and harsh solvents, which can dull paint or damage wood. As part of your Cooking tips, wipe splatters soon after meals.
Better Kitchen organization also keeps oils and sauces away from cabinet fronts, reducing future buildup.
Rinse and Dry Cabinets Well
Rinse the cabinets with a clean, damp cloth to remove any cleaning residue. Then, wipe each surface with a fresh cloth and let the cabinet doors air-dry completely.
Remove Cleaning Residue
Once the grease is gone, wipe the cabinet surfaces with a clean, damp microfiber cloth to remove any cleaner residue. Rinse the cloth frequently so you don’t spread diluted grime across the doors.
Pay extra attention to edges, corners, handles, and grooves where soap can collect. Leftover cleaner may attract dirt, dull cabinet finishes, or leave streaks near oil stains.
| Area | Residue check | Rinsing approach |
|---|---|---|
| Doors | Look for haze | Wipe evenly |
| Edges | Check for foam | Trace seams |
| Handles | Feel for stickiness | Rinse around hardware |
Use a fresh bowl of clean water when the solution turns cloudy. Don’t soak wood, laminate seams, or unfinished edges, as excess moisture can cause swelling.
Keep rinsing until the surface feels smooth rather than slick. Avoid adding more cleaner during this step.
Thorough residue removal protects the finish and prepares each cabinet for drying.
Use a Clean Cloth
Use a clean, dry microfiber cloth to remove remaining moisture after rinsing the cabinets. Gently wipe each surface, working from the top downward, so water doesn’t run onto areas you’ve already cleaned.
Pay close attention to corners, edges, grooves, and around handles, where residue and moisture can collect. Choose fresh cleaning cloths for every section if your current cloth becomes damp, greasy, or dirty.
Soft microfiber towels work well because they absorb water without scratching finishes or leaving lint behind. Don’t scrub aggressively while drying; use light, even strokes to protect painted, wood, laminate, or stained surfaces.
Check the cloth frequently, and replace it as needed. Finish by wiping cabinet frames, trim, and hardware with a separate clean cloth to prevent spreading grease or cleaning residue.
Air-Dry Cabinet Doors
After wiping away the remaining moisture, leave the cabinet doors open so air can circulate around them. Don’t close or reattach them while they’re still damp, because trapped moisture can cause swelling, peeling, or mildew.
To air dry cabinet doors, keep them open for several hours, especially around hinges, corners, and edges where water collects. Use a clean, dry towel to blot any visible drops, then let airflow finish the job.
If possible, turn on a fan or open a window to speed drying, but avoid directing intense heat at the wood or finish. Check each surface before closing the doors; it should feel completely dry, not cool or tacky.
These natural cleaning methods help protect your cabinets and prevent greasy residue from mixing with leftover rinse water.
Avoid Finish-Damaging Cleaners
Harsh cleaners can strip cabinet finishes, dull the sheen, or discolor the wood, so skip bleach, ammonia, abrasive powders, and strong solvents. Instead, mix a few drops of mild dish soap with warm water.
Dampen a soft microfiber cloth, wring it out thoroughly, and wipe the cabinet surface gently. Don’t soak wood, laminate, or painted doors, because excess moisture can seep into seams and cause swelling or peeling.
Test any cleaner on a hidden spot first, then check for changes in color, texture, or shine. For stubborn grease, let the soapy cloth rest on the residue briefly rather than scrubbing harder.
A soft toothbrush can loosen buildup around handles and trim without scratching the finish. Rinse with a clean, barely damp cloth and dry immediately.
Good finish protection depends on gentle tools and controlled moisture. Adjust your cleaning frequency to the cabinet’s condition, cleaning small spills promptly instead of relying on harsh products later.
Prevent Grease From Returning
Prevent grease from returning by running your range hood or exhaust fan whenever you cook, especially when frying or sautéing. Good kitchen ventilation pulls airborne oil away from cabinet doors and nearby surfaces before it settles. Keep the fan running for several minutes after cooking to clear lingering moisture and particles.
Cover pots with lids or splatter screens, and lower the heat when oil begins popping. Wipe spills and fresh splashes promptly with a soft, damp cloth so they don’t harden into sticky buildup.
During weekly cleaning, wash the areas around your cooktop, including handles, doors, and the cabinet underside.
To prevent grease buildup, clean or replace your range hood filter according to the manufacturer’s instructions. A clogged filter can’t capture oil effectively.
You can also keep frequently used countertop appliances away from the wall cabinets when possible. These small habits reduce residue, protect your finish, and make future cabinet cleaning faster.
Check your cooking setup regularly, and adjust ventilation whenever smoke or strong odors escape into the room.
Frequently Asked Questions
Can I Clean Greasy Cabinets Without Removing Their Doors?
Yes, you can clean greasy cabinets without removing their doors. First, check the cabinet material, since wood, laminate, and painted surfaces need different care.
Use mild dish soap, warm water, microfiber cloths, and soft cleaning tools. Wipe cabinet fronts, handles, edges, and hinges, then remove residue with a damp cloth.
Dry everything immediately to prevent damage. For stubborn grease, apply diluted vinegar only if your finish safely tolerates it.
How Often Should I Deep-Clean Kitchen Cabinets?
Deep-clean your kitchen cabinets every three to six months, or sooner if you cook frequently, notice sticky buildup, or spot grime. Wipe spills and handles weekly to prevent grease from spreading.
Before you start, remove items and refresh your Cabinet organization so you can reach every surface. Gather gentle Cleaning tools, such as microfiber cloths, warm water, and mild dish soap. Avoid harsh chemicals that can damage finishes, wood, or protective coatings.
What Should I Do if Cabinet Grease Smells Unpleasant?
If cabinet grease smells unpleasant, don’t assume fragrance alone will fix it; trapped residue, moisture, or spoiled food may cause the odor. Remove everything, wipe surfaces with warm water and dish soap, then dry them completely.
For odor neutralization, place baking soda or activated charcoal inside overnight. Natural remedies like diluted white vinegar can help, but never mix vinegar with bleach.
Check hinges, liners, and nearby trash, and repeat cleaning before adding fresh shelf liners.
Can Professional Cabinet Cleaning Restore Severely Neglected Cabinets?
Yes, professional cabinet cleaning can often restore severely neglected cabinets, though results depend on the cabinet material and damage. Technicians remove hardened grease, residue, and odors with specialized tools and carefully selected cleaning chemicals.
They’ll test products first to prevent discoloration, swelling, or finish damage. If neglect has caused peeling, warping, or deep staining, you may need sanding, refinishing, or replacement.
Ask for an inspection and written estimate before approving work.
When Should I Replace Cabinets Instead of Cleaning Them?
Replace cabinets when damage threatens safety, function, or value—not merely because they’re greasy. About 70% of kitchen remodel budgets often goes toward cabinetry, so assess carefully before committing.
Compare cabinet materials: solid wood may justify professional repair, while swollen particleboard, delamination, mold, or broken frames usually signals replacement.
Replacement timing makes sense when repairs approach half the cost of new units, doors no longer align, or storage needs have changed considerably.
Conclusion
If you’ve heard that harsh chemicals clean greasy cabinets best, test that theory on a hidden spot first. You’ll likely find that warm water, mild dish soap, and a soft cloth remove everyday buildup without harming the finish.
For stubborn grease, gentle repetition beats aggressive scrubbing. Rinse, dry, and avoid abrasive or acidic products.
With regular dusting and better ventilation, you’ll prevent grease from returning and keep your cabinets clean, protected, and looking their best. These simple tips can help you learn how to clean greasy kitchen cabinets safely and effectively.